Search Our Database
How to setup Email on Apple Mail
Introduction
This guide explains how to set up an email account on Apple Mail, the built-in email client for macOS. By following this guide, you will be able to configure your email account to send and receive emails using Apple Mail on your Mac. This process applies to any email account provided by your hosting provider, including those using custom domains.
Prerequisites
Before proceeding, ensure you have:
- Your email address and password.
- Incoming and outgoing mail server information (usually provided by your hosting provider).
- macOS device with Apple Mail installed.
Follow these simple steps to set up your email on Apple Mail. If you’re setting up a new account, you’ll be directly prompted to add an account. However, in this tutorial, we’ll guide you through adding a new account step-by-step.
Steps to Set Up Email on Apple Mail
1. Open Apple Mail
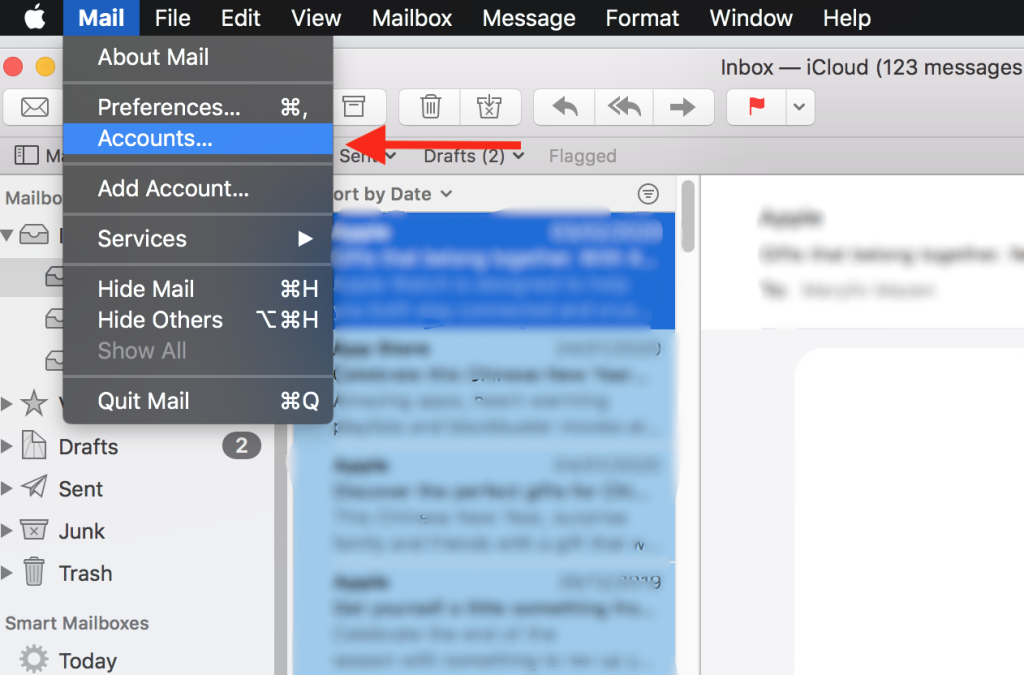
When you open Mail, you’ll either be prompted to add an account, or you can choose to add a new one manually.
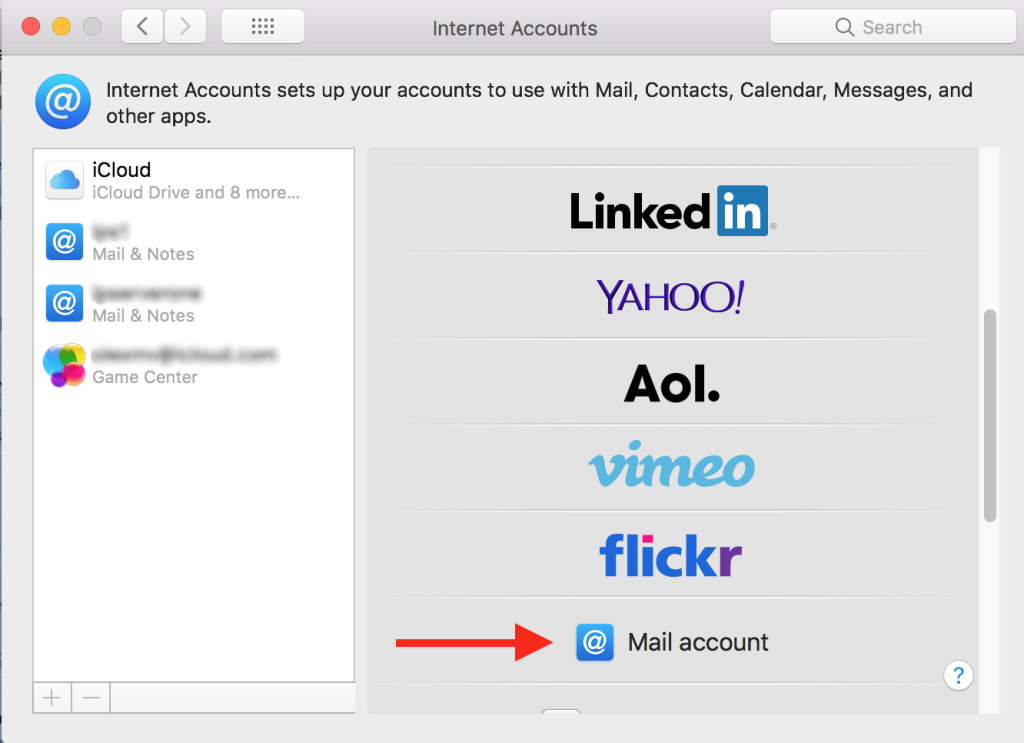
2. Add a New Mail Account
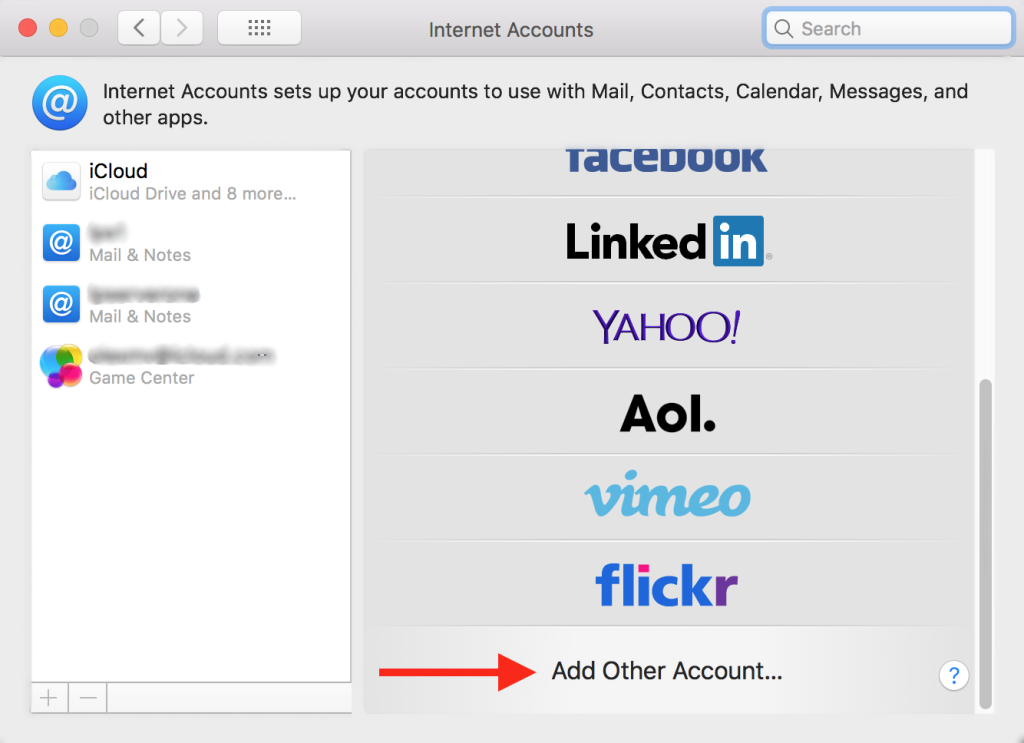
Select Add Other Account and click on Add Mail Account.
3. Enter Your Account Information
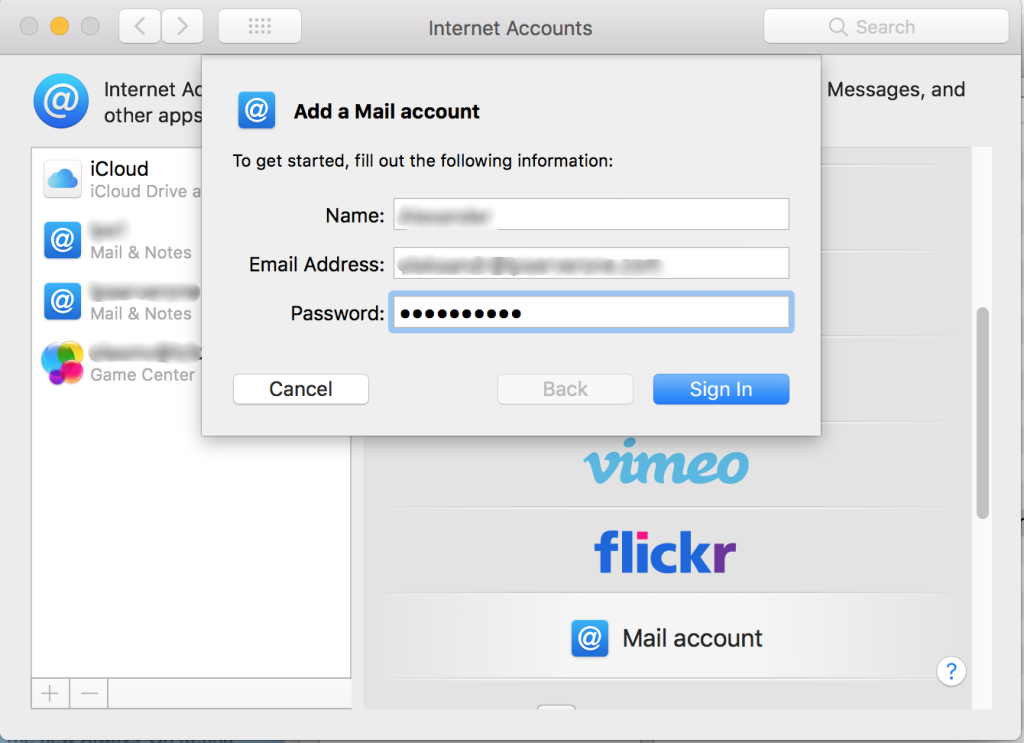
Insert your email account information, then click Sign In.
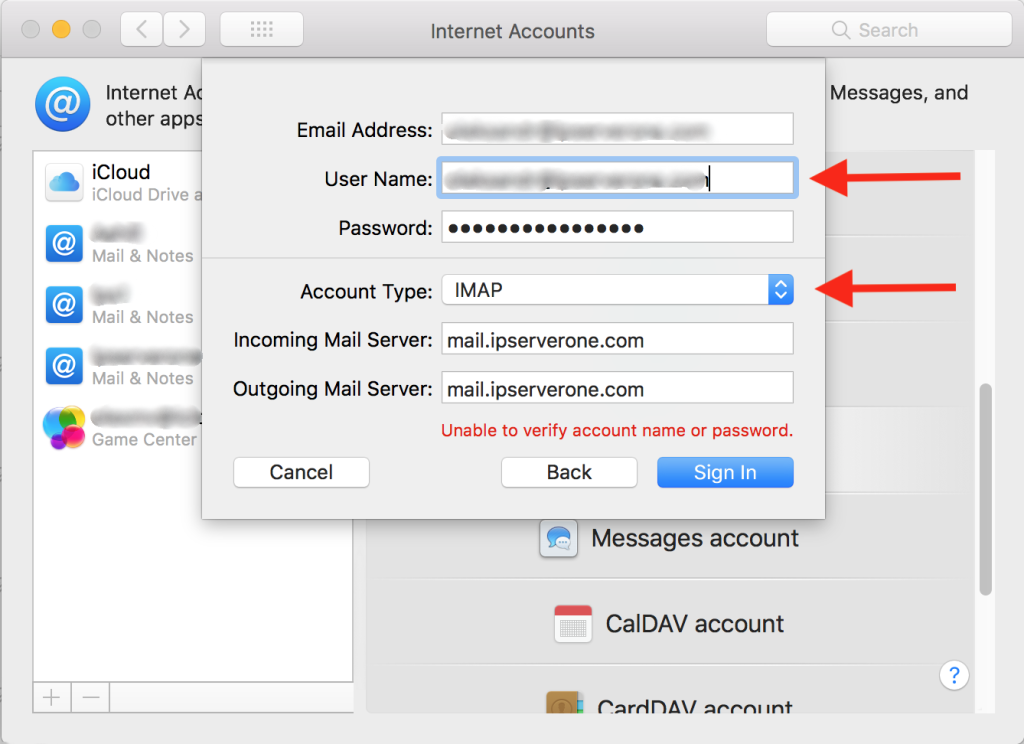
4. Configure Mail Server Settings
Choose the account type (IMAP or POP3), then insert your incoming and outgoing mail server settings. Click Sign In. Ensure that all details are correct, or you’ll be prompted to recheck them.
5. Select Applications
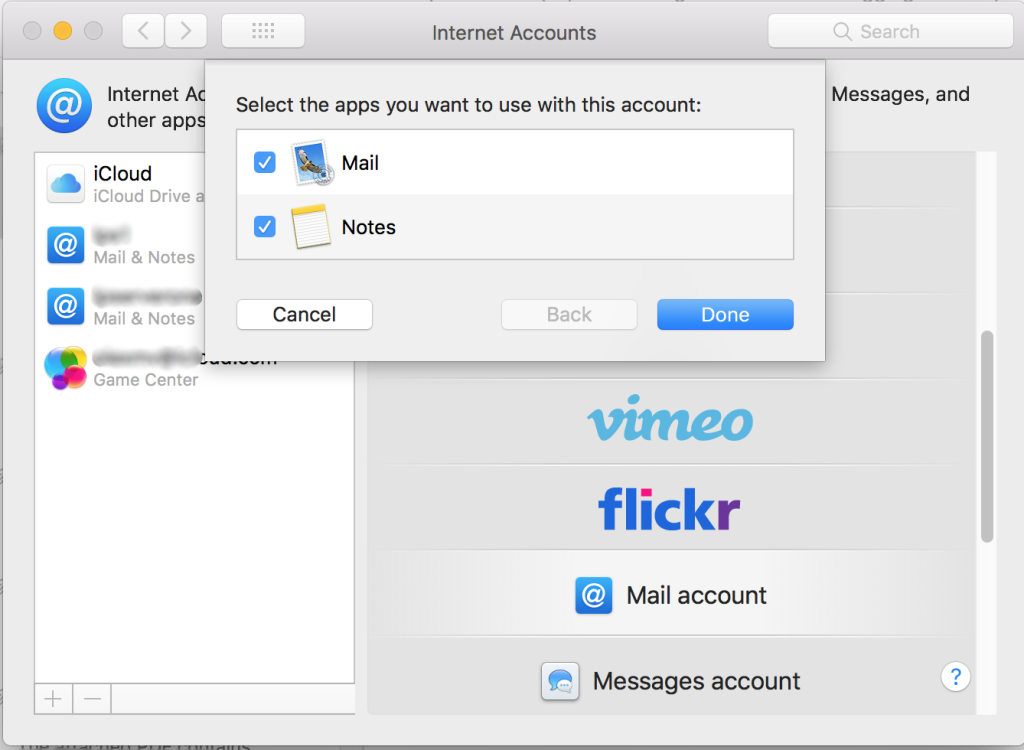
You will be asked to select which apps you want to use with this account. Choose the apps you prefer and click Done.
Conclusion
By following these steps, you will successfully configure your email account on Apple Mail, allowing you to send and receive emails seamlessly. For any further assistance or if you encounter issues during setup, please contact our support team at support@ipserverone.com.
Article posted on 4 March 2020 by IPSERVERONE.
