Search Our Database
Allocate IP Address in WebsitePanel
Introduction
This guide explains how to allocate an IP address to a website using WebsitePanel. It is designed for system administrators and users who manage hosting services and need to assign a dedicated IP address to a specific website. The guide outlines the steps to allocate an IP address in WebsitePanel to ensure the proper configuration of hosting services.
Prerequisites
Before proceeding, ensure you have:
- Access to the WebsitePanel control panel with administrator privileges.
- A free or unallocated IP address available for use.
- The domain or website to which the IP address will be assigned.
Steps to allocate an IP address in WebsitePanel
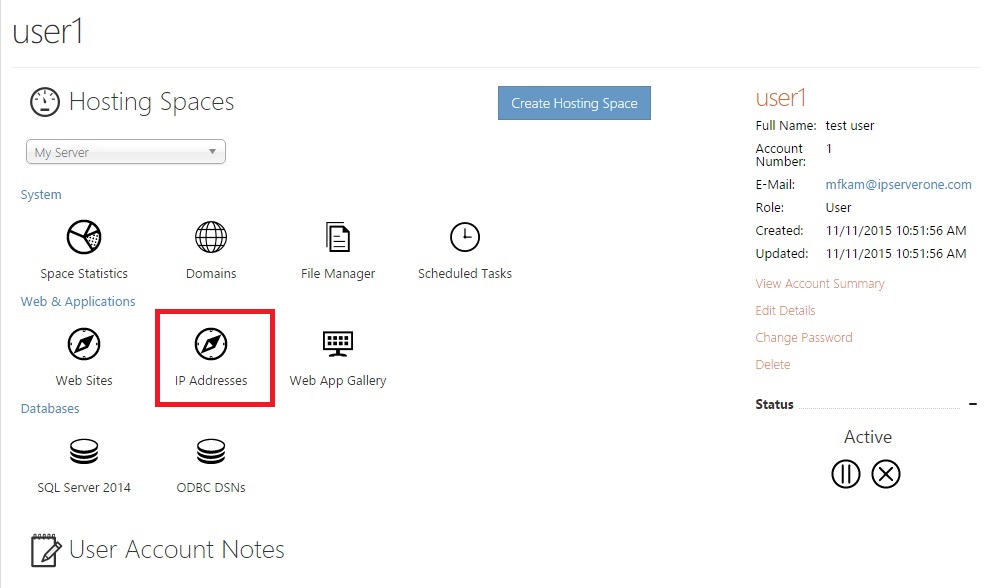
1: At the user account page, click on the “IP Addresses” icon.
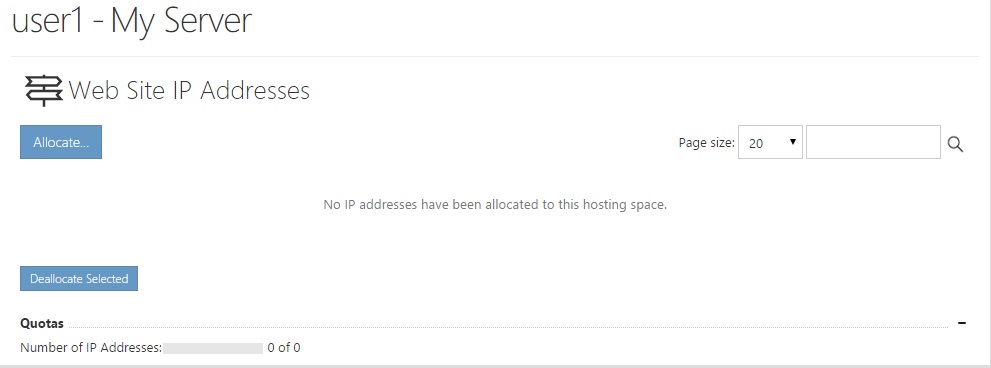
2: Click the “Allocate…” button to allocate IP addresses available in your domain’s IP pool to the created websites.
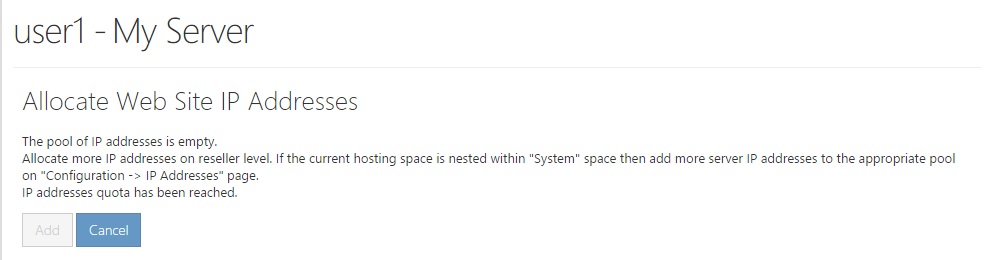
If your IP pool is empty, you can allocate more IP addresses on the reseller level (created by choosing “reseller” as account type when creating a user).
Follow the instructions below to add more available IP addresses.
Conclusion
By following these steps, you can successfully allocate an IP address to a website using WebsitePanel. For additional assistance or if you encounter any issues, please contact our support team at support@ipserverone.com.
Article posted on 24 March 2020 by IPSERVERONE