Search Our Database
Install LAMP on CentOS 7
Important Note: CentOS 7 reached End of Life (EOL) on June 30, 2024, and is no longer supported by Red Hat. This means CentOS 7 may be vulnerable to security risks and unpatched vulnerabilities. It is strongly recommended to consider upgrading to a supported operating system to ensure continued security and support.
If you still wish to use CentOS 7, you need to import the old repository by running the following commands to access archived packages:
sed -i s/mirror.centos.org/vault.centos.org/g /etc/yum.repos.d/CentOS-*.repo
sed -i s/^#.baseurl=http/baseurl=http/g /etc/yum.repos.d/CentOS-*.repo
sed -i s/^mirrorlist=http/#mirrorlist=http/g /etc/yum.repos.d/CentOS-*.repo
Introduction
LAMP is a software stack consisting of Linux, Apache, MySQL (or MariaDB), and PHP, and is widely used for hosting websites and web applications. This combination of technologies allows the server to serve dynamic web content and interact with databases, making it essential for content management systems like WordPress and Joomla.
Here’s a breakdown of the LAMP stack components:
- Linux: The operating system (e.g., Red Hat, CentOS, Rocky Linux).
- Apache: The web server application.
- MySQL/MariaDB: The relational database management system.
- PHP: A server-side scripting language used for web development.
This guide walks through the steps of installing and configuring each of these components on CentOS 7.
Step 1: Install Apache
- Install Apache by running the following command:
yum install httpdyum install httpd
yum install httpd
- Start the Apache service:
systemctl start httpd.servicesystemctl start httpd.service
systemctl start httpd.service
- Disable the firewall for simplicity (not recommended in production environments):
systemctl stop firewalld.servicesystemctl stop firewalld.service
systemctl stop firewalld.service
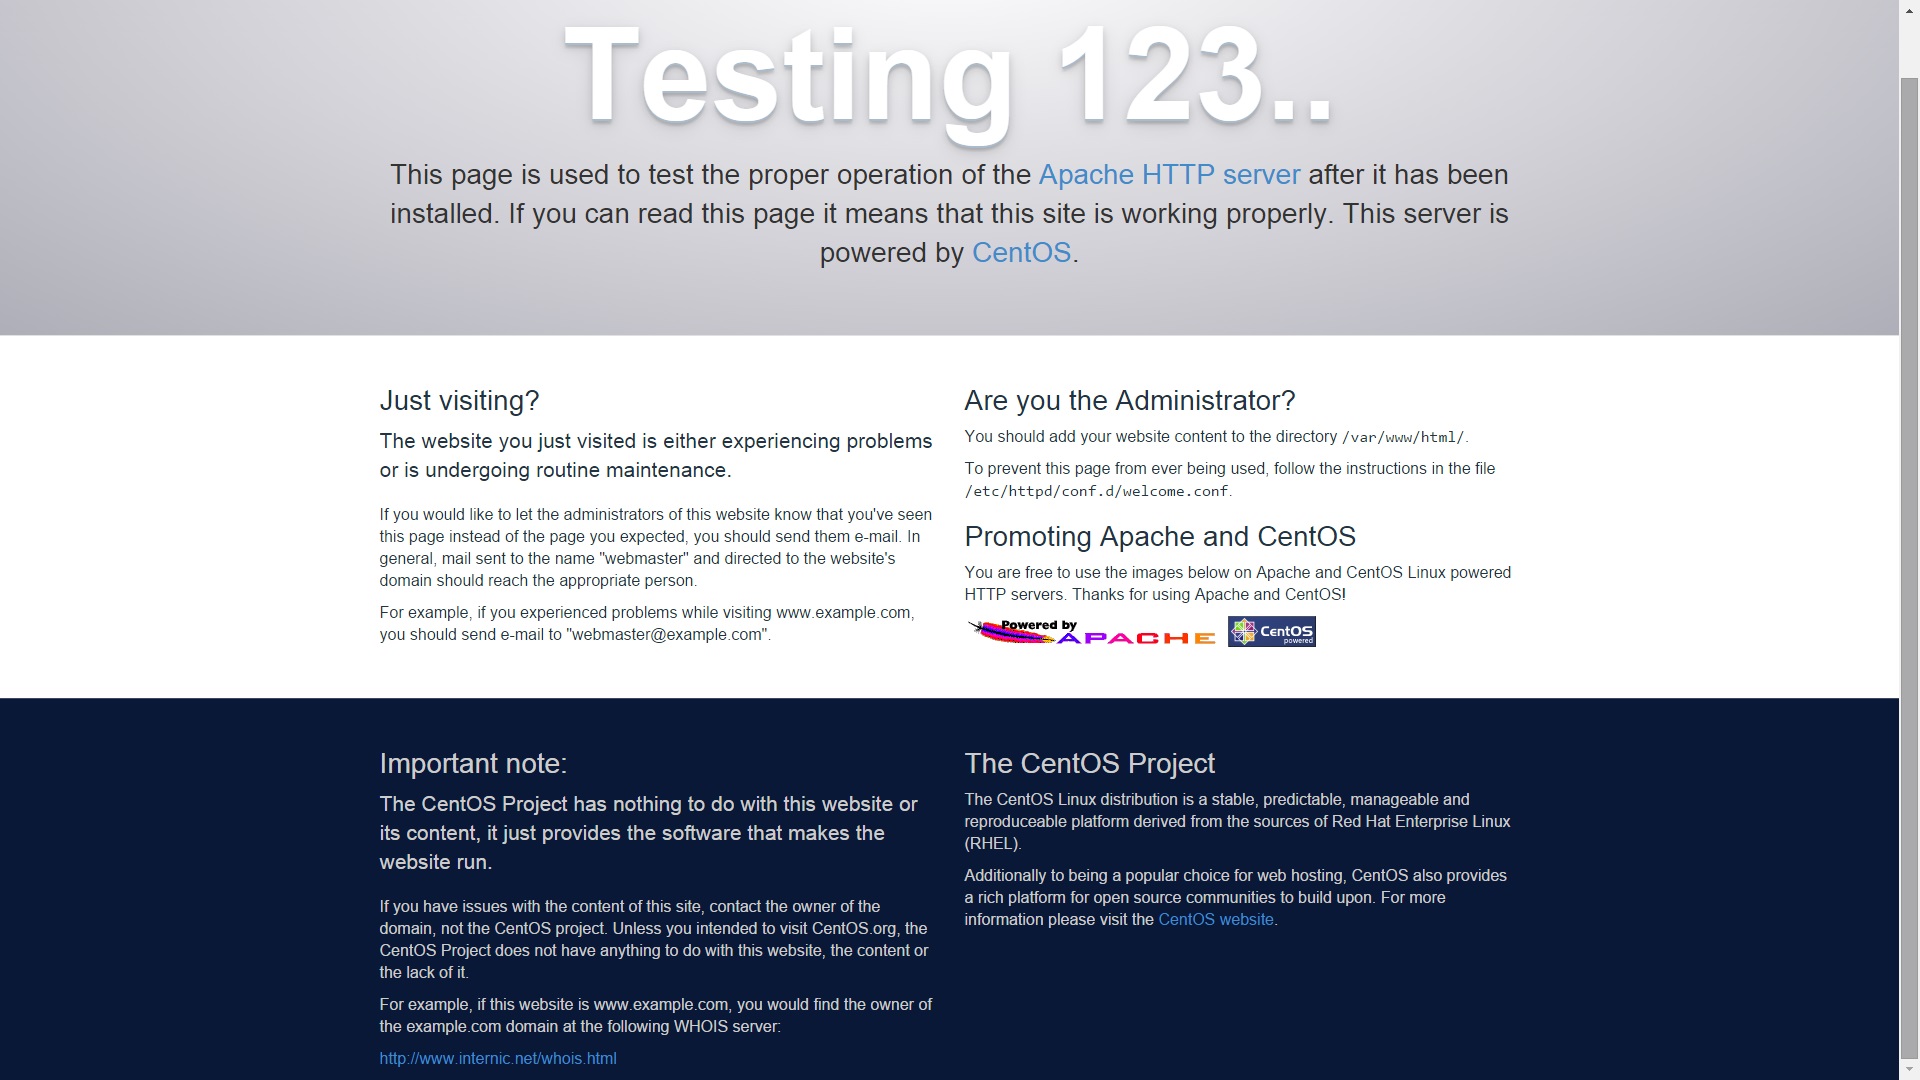
- Open your browser and enter your server’s IP address. If Apache is running, you should see the default Apache test page.
- Enable Apache to start at boot:
systemctl enable httpd.servicesystemctl enable httpd.service
systemctl enable httpd.service
Step 2: Install MariaDB
- Install MariaDB (used in place of MySQL on CentOS 7):
yum install mariadb-server mariadbyum install mariadb-server mariadb
yum install mariadb-server mariadb
- Start and enable MariaDB at boot:
systemctl start mariadb.servicesystemctl enable mariadb.servicesystemctl start mariadb.service systemctl enable mariadb.service
systemctl start mariadb.service
systemctl enable mariadb.service
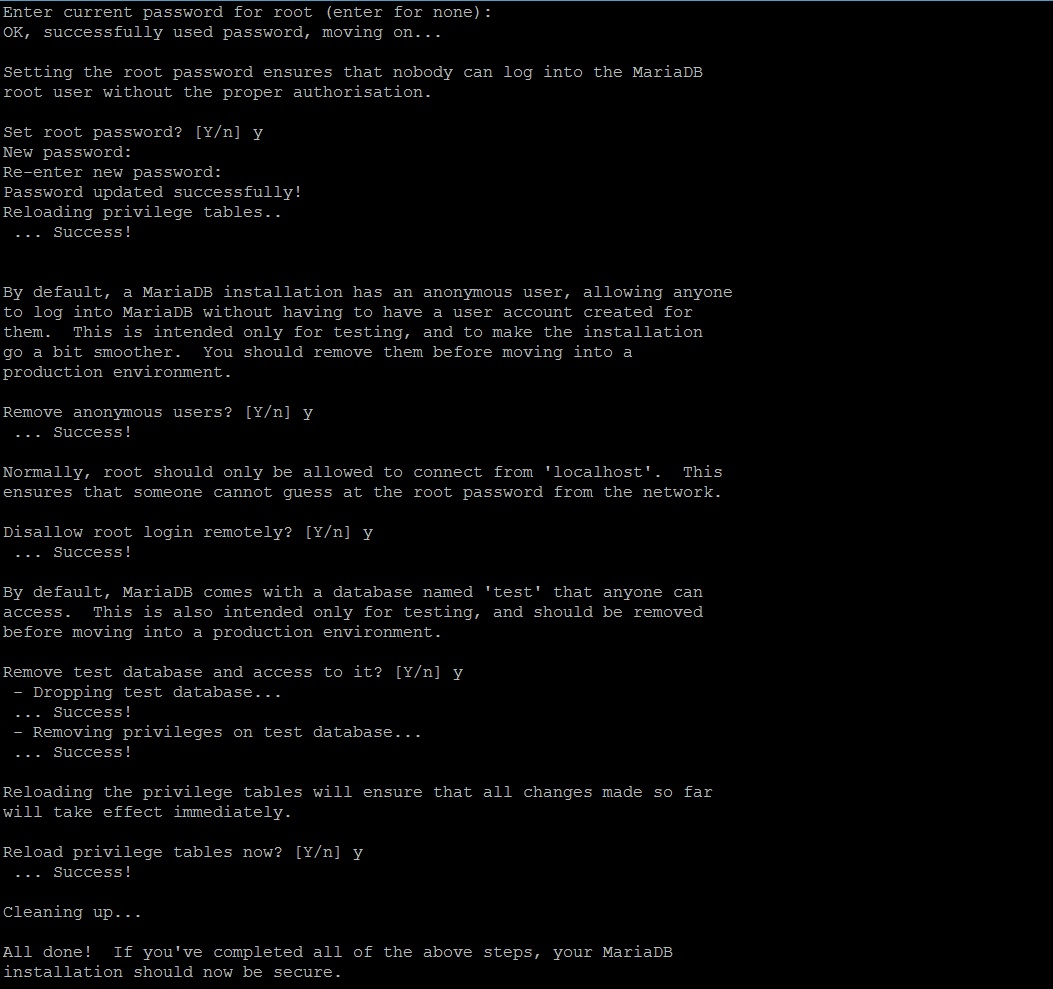
- Secure MariaDB installation:
mysql_secure_installationmysql_secure_installation
mysql_secure_installation
Since we just installed MariaDB there shouldn’t be a root password, press enter then select if you want to add in a password for MariaDB root account. After that, simply enter “y” for the rest of the prompts.
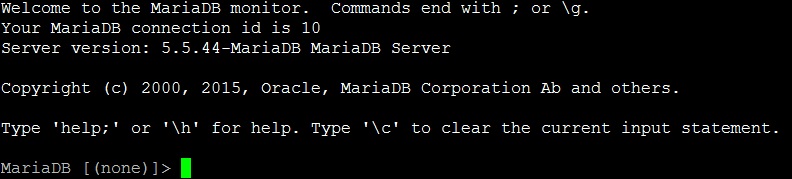
- Access MariaDB as root:
mysql -u root -pmysql -u root -p
mysql -u root -p
Enter the root password (if applicable) to proceed. Type exit to log out.
Step 3: Install PHP
- Install PHP and its MySQL extension:
yum install php php-mysqlyum install php php-mysql
yum install php php-mysql
- Restart Apache to load PHP:
systemctl restart httpd.servicesystemctl restart httpd.service
systemctl restart httpd.service
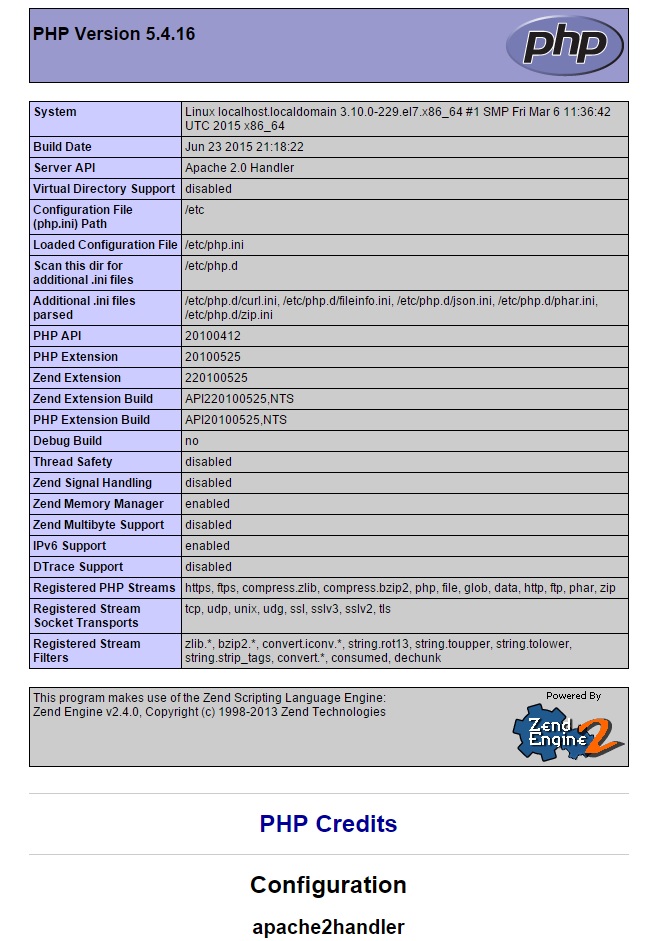
- Create a PHP info file to verify PHP installation:
vi /var/www/html/info.phpvi /var/www/html/info.php
vi /var/www/html/info.php
Add the following:
<?phpphpinfo();?><?php phpinfo(); ?><?php phpinfo(); ?>
- Open your browser and navigate to
<your-server-ip>/info.php
to confirm PHP installation.
Conclusion
By following these steps, you have successfully installed the LAMP stack (Linux, Apache, MariaDB, PHP) on CentOS 7. This setup allows you to host dynamic websites and manage databases on your server. Given CentOS 7’s EOL status, consider migrating to a supported version for long-term security and stability.
Should you have any inquiries about the guidelines, please feel free to open a ticket through your portal account or contact us at support@ipserverone.com. We’ll be happy to assist you further.
Article posted on 14 April 2020 by Louis