Search Our Database
How to Add MX records in DirectAdmin (Evolution Skin)
Introduction
MX (Mail Exchange) records are essential DNS entries that direct email traffic to the appropriate mail server for a domain. Properly configuring MX records is crucial to ensure emails are delivered successfully to your desired email service provider. In this guide, we will explain how to update the MX records in DirectAdmin.
Prerequisites
- Access to the DirectAdmin control panel in evolution skin.
- User-level privileges on DirectAdmin
Step-by-Step Guide
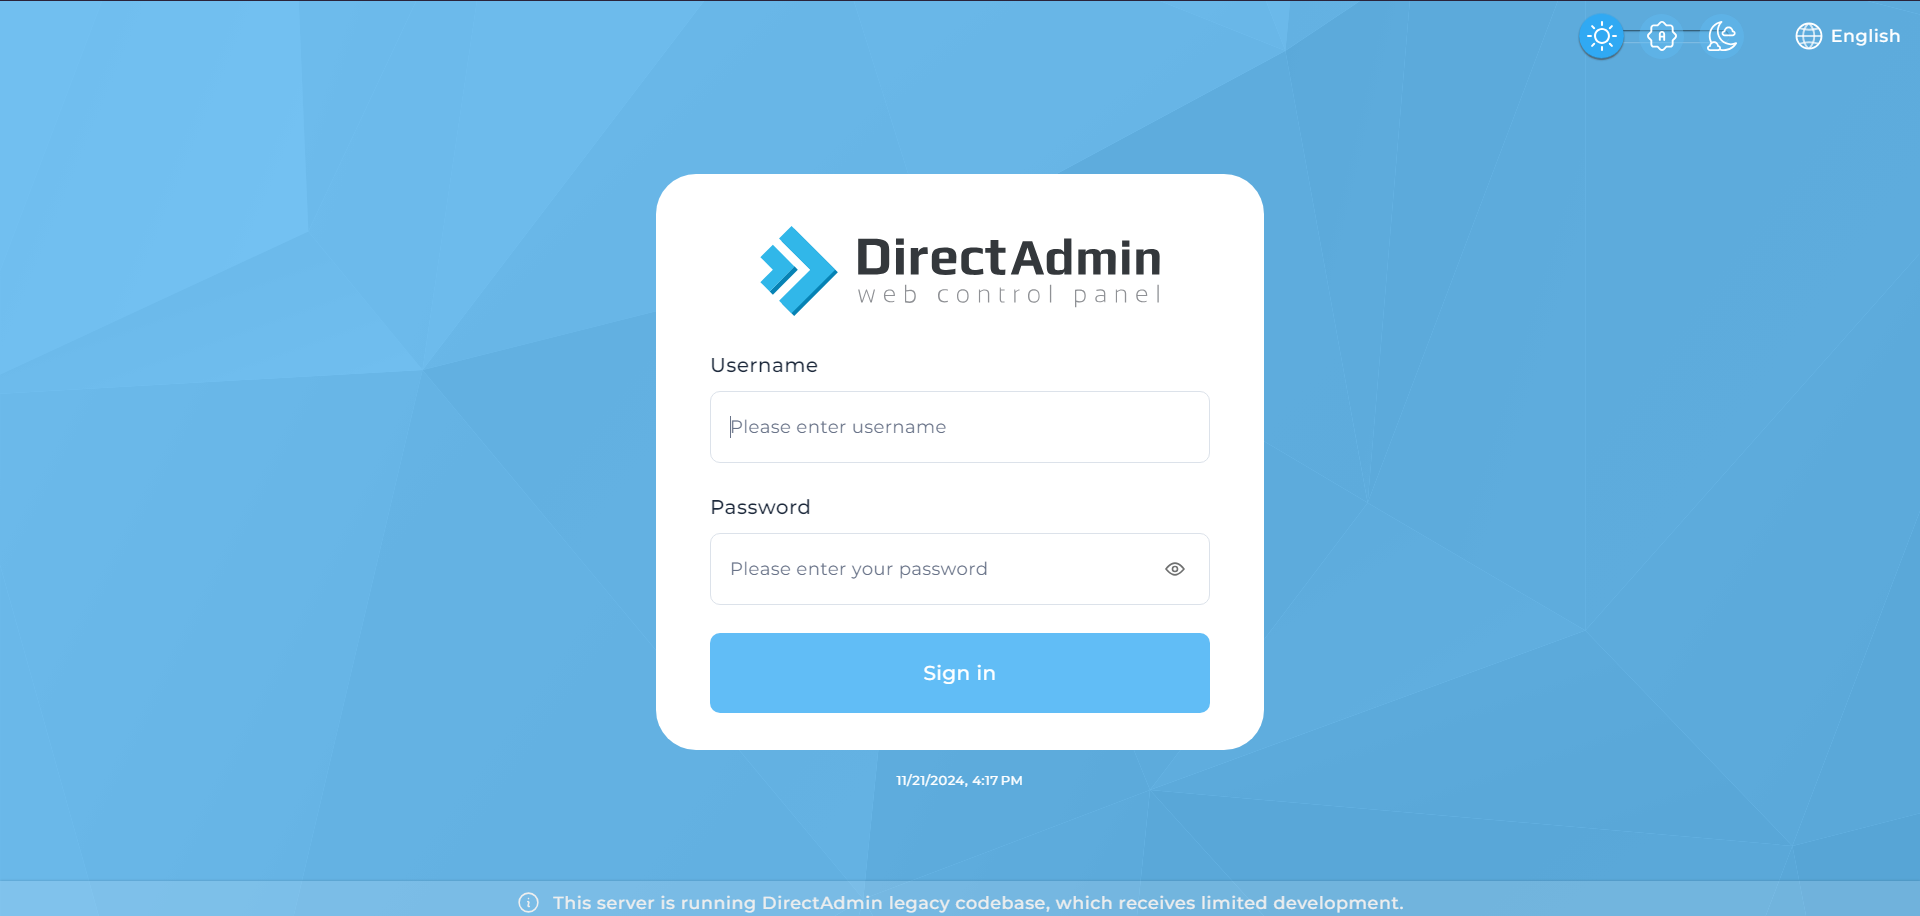
Step 1: Log in to DirectAdmin
- Log into Directadmin as the user who manages the email domain. If you are login as Admin, you can change into user mode by referring to the following guide: How to Move from Admin Level to User Level in Direct Admin
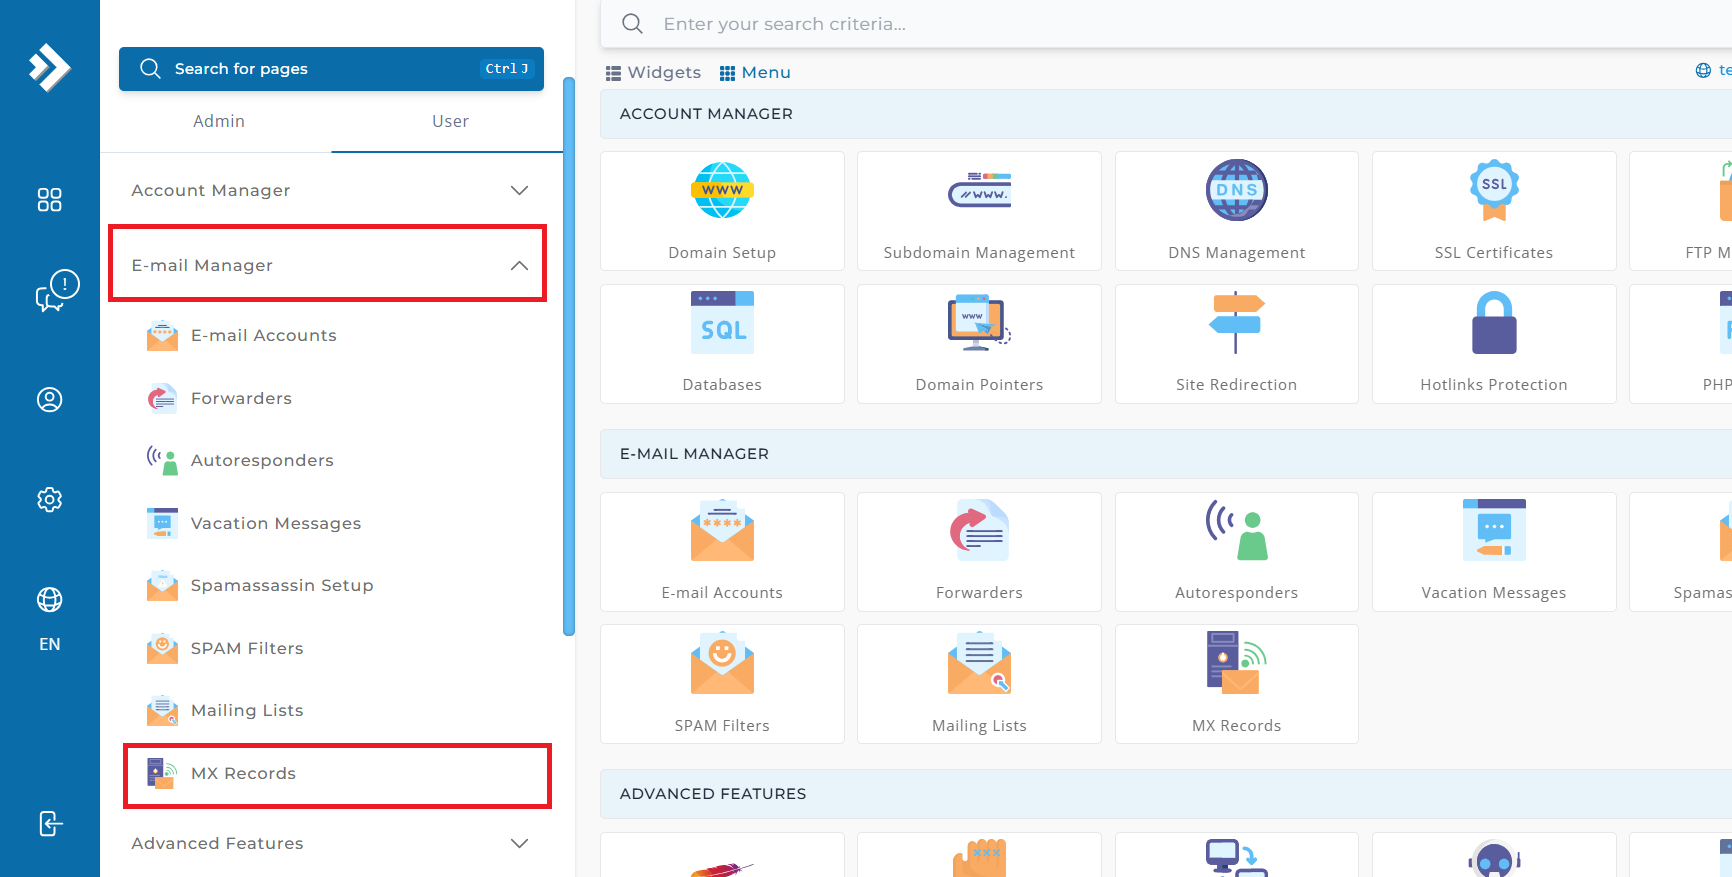
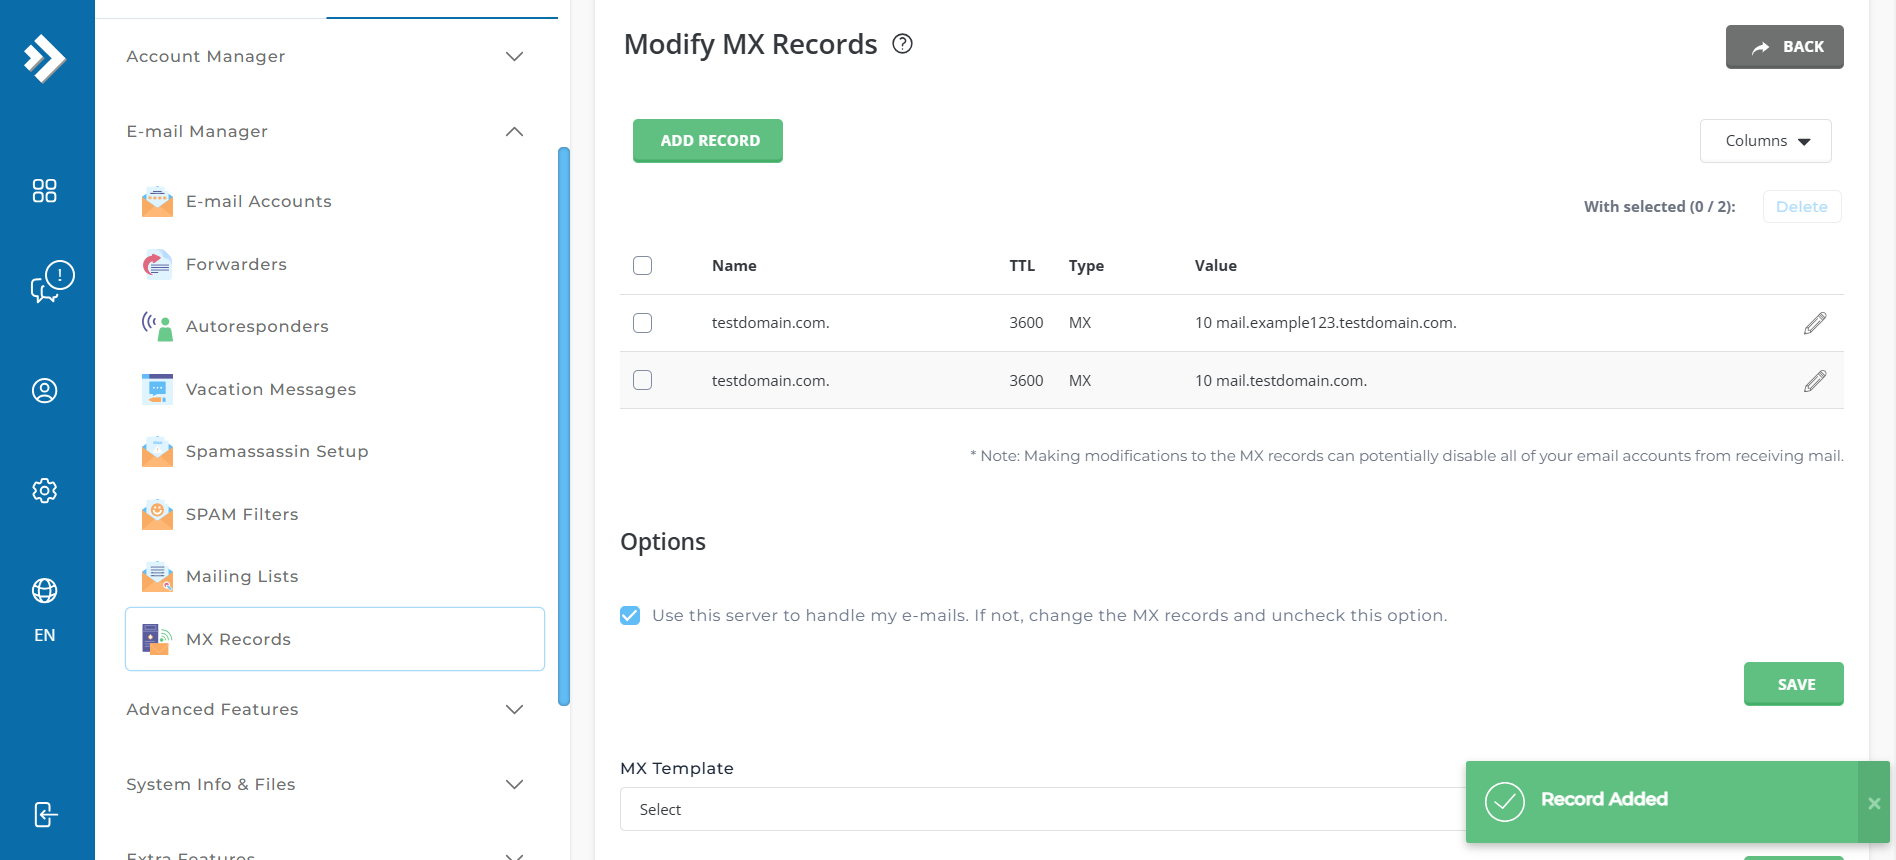
2. Go to the E-mail Manager section and click on MX Records.
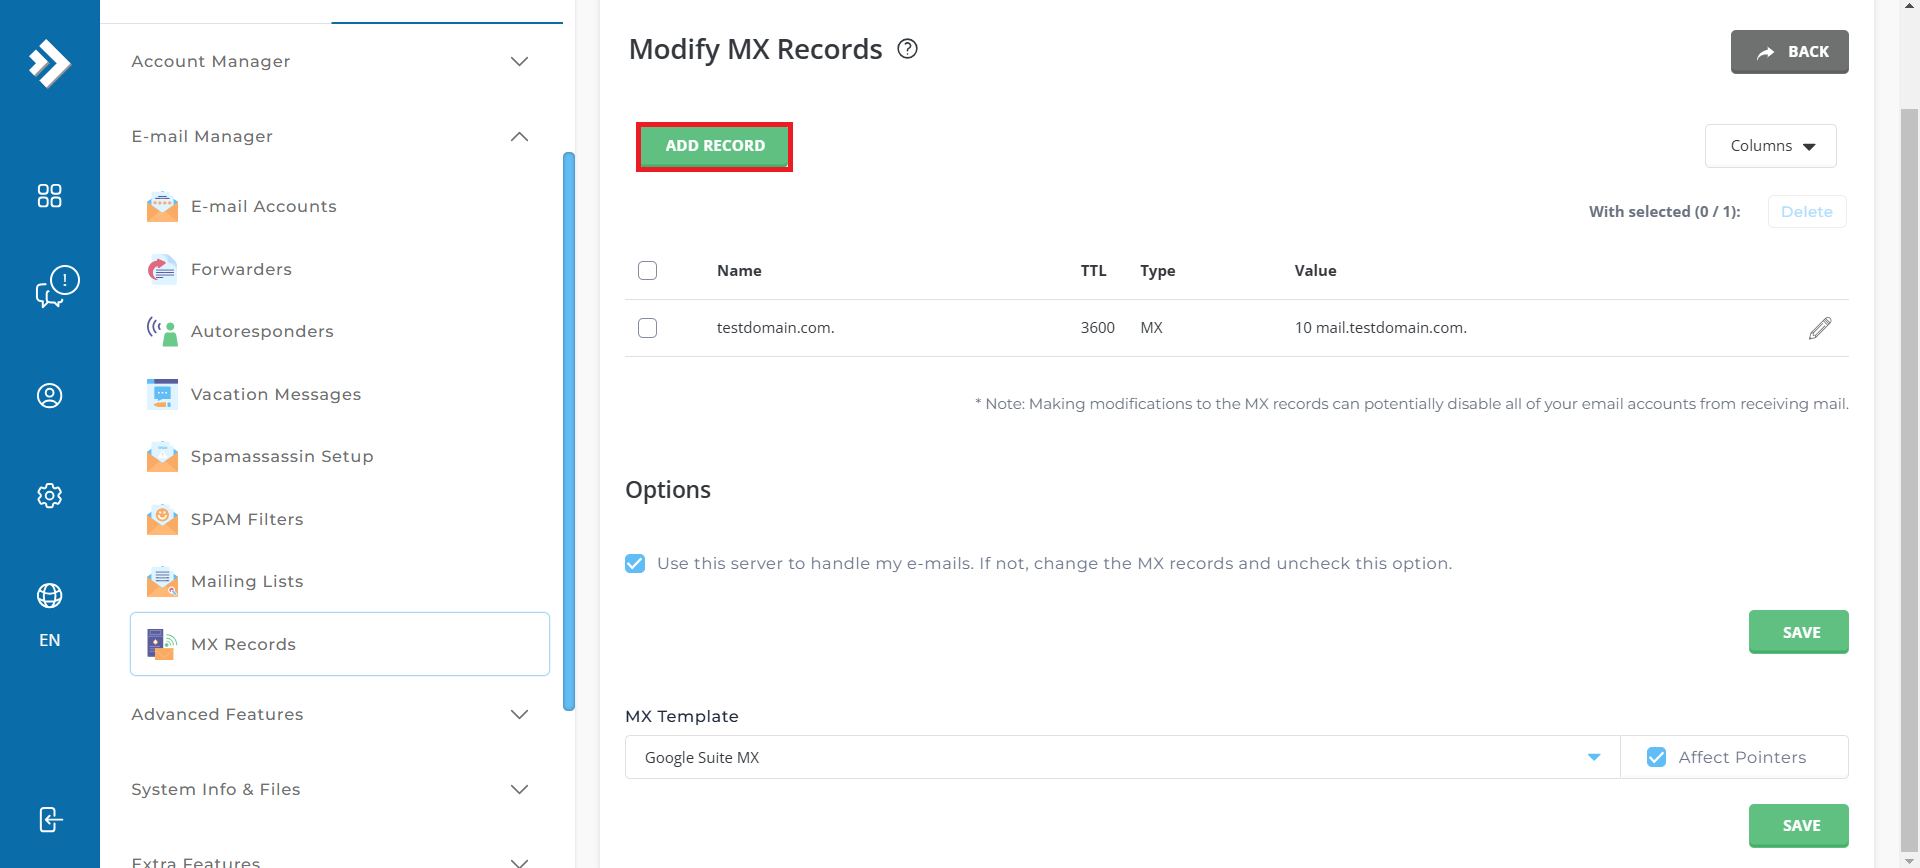
Step 2: Add the A Record
- Click on the Add record
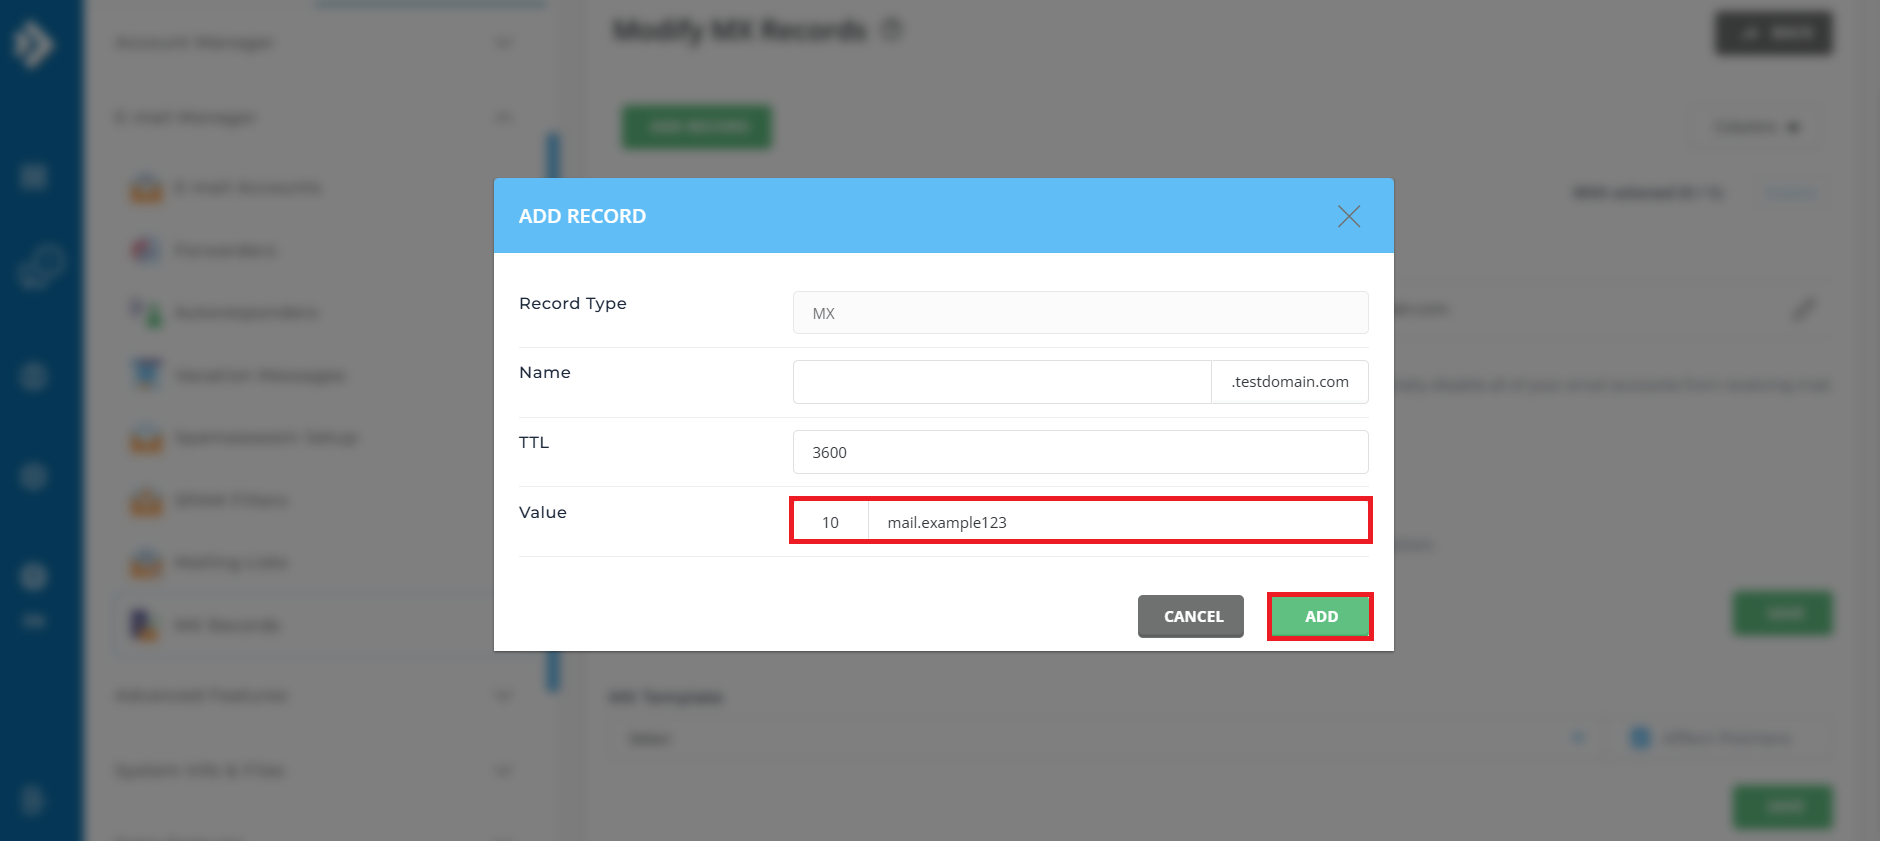
- Update the value and click “ADD”
- Once created successfully, a notification will appear at the bottom.
Step 3: Choose the Correct MX Record
- Before updating, ensure that you select the correct MX record provided by your email service provider.
- Important Note:
- Using the wrong MX record may result in delayed emails or even cause your domain to be unable to receive emails.
- To avoid this, double-check the MX record information with your email service provider or hosting provider.
- If you’re unsure about the correct MX record, contact your service provider for assistance.
- Important Note:
Conclusion
Congrats! The MX records have been successfully added. By ensuring your MX records are correctly configured, you establish a reliable link between your domain and the appropriate mail server, enabling seamless email delivery.
If you have any questions or require further assistance, feel free to open a support ticket through your portal account or contact us at +603-2026 1688. Our team is always ready to assist you.