Search Our Database
How to Restore Backup in cPanel
Introduction
Backups are crucial for website management as they ensure data safety in case of accidental deletions, server failures, or migrations. cPanel and WHM provide multiple methods to restore a backup, depending on whether you need a full account restoration or only specific portions of your data. This guide walks you through the step-by-step process of restoring backups in cPanel/WHM, covering both full and partial restoration options.
Prerequisites
- You have administrator access to WHM (for full account restoration) or cPanel credentials (for partial backups).
- A valid backup file in one of the following formats:
- cpmove file for full restoration
- Partial backup files for specific sections like home directory, databases, or emails
- Sufficient storage space on the destination server
- The IP address or hostname of the remote server (if restoring from a remote cPanel account)
- Internet connectivity for downloading/uploading backup files
Step-by-Step Guide
OPTION 1: Restore a Full Backup for an Account
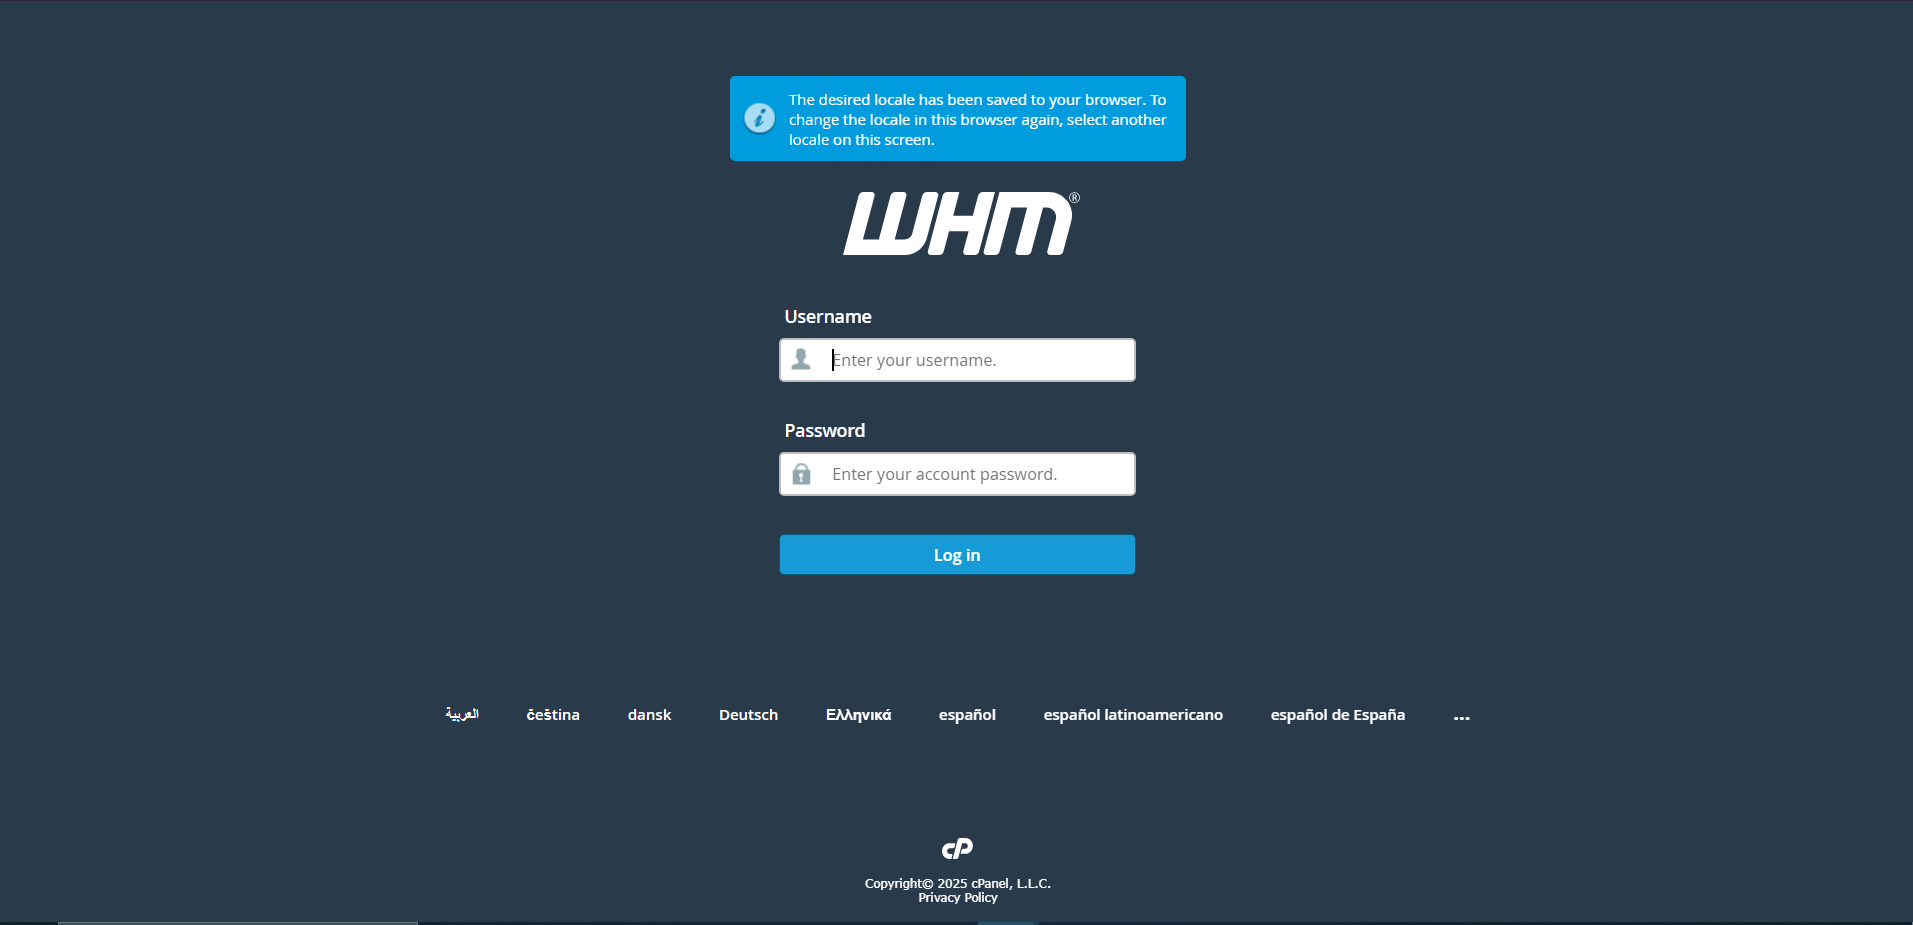
Step 1: Log in to the WHM account as administrator
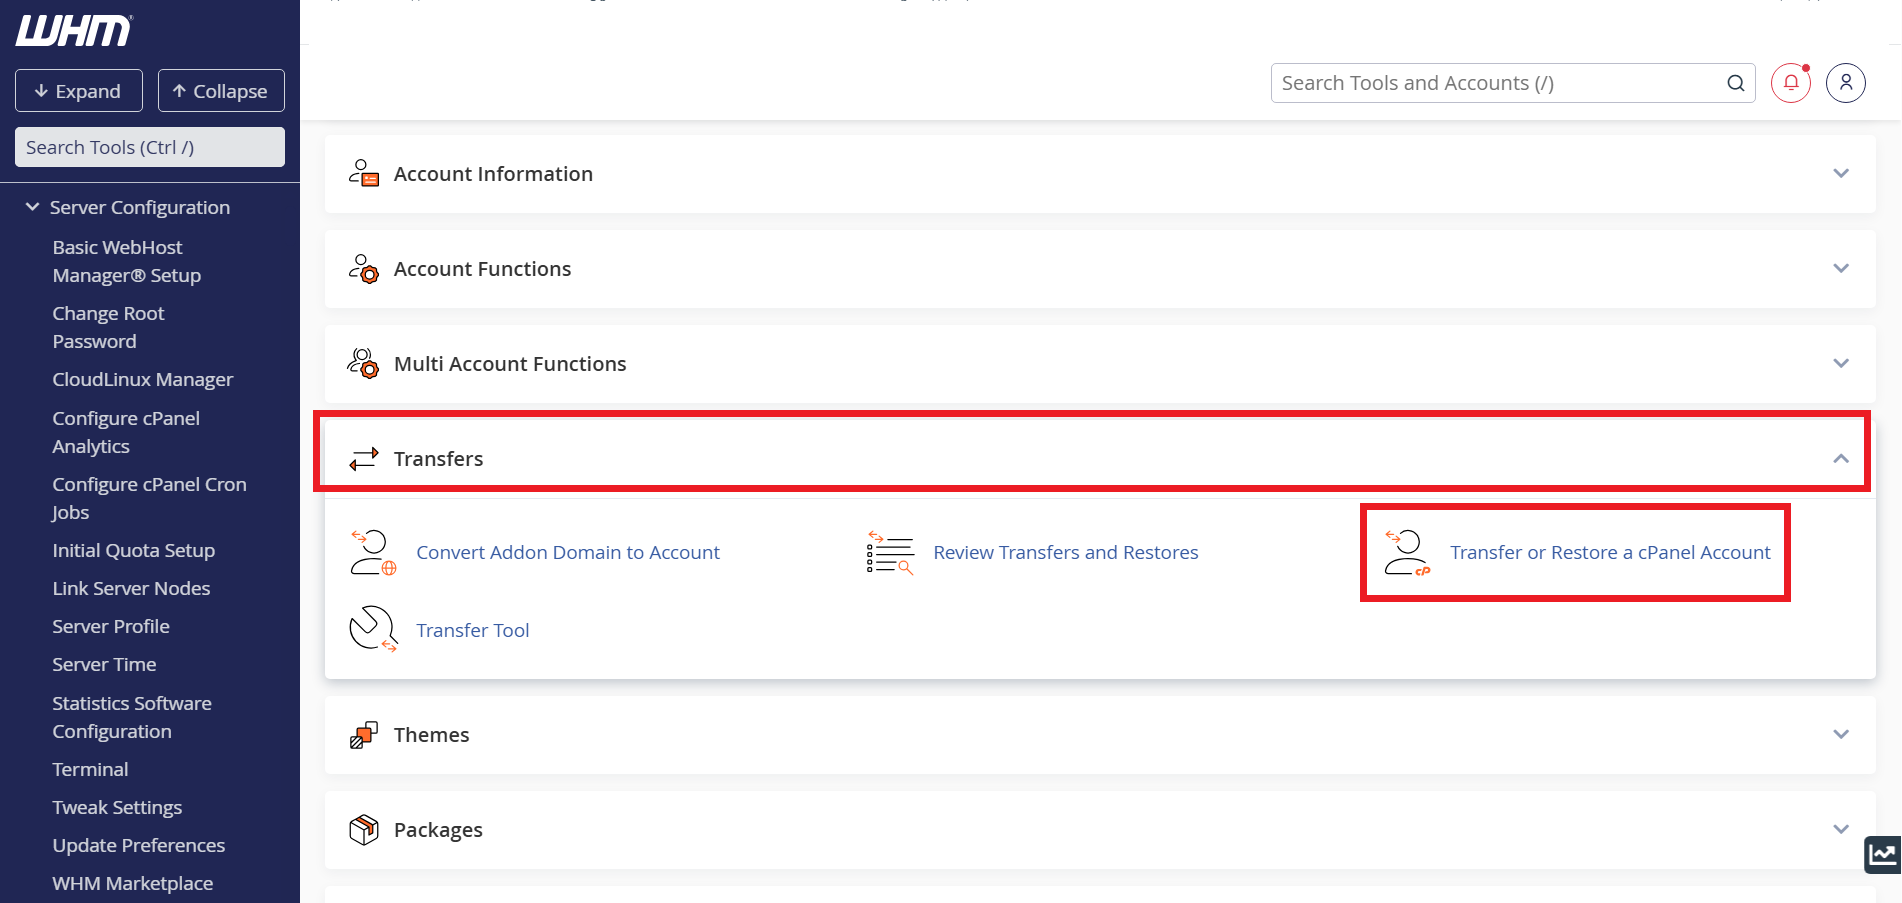
Step 2: Navigate to Transfer or Restore a cPanel Account
- On the cPanel dashboard, scroll down to the Transfer section. Click on Transfer or Restore a cPanel Account.
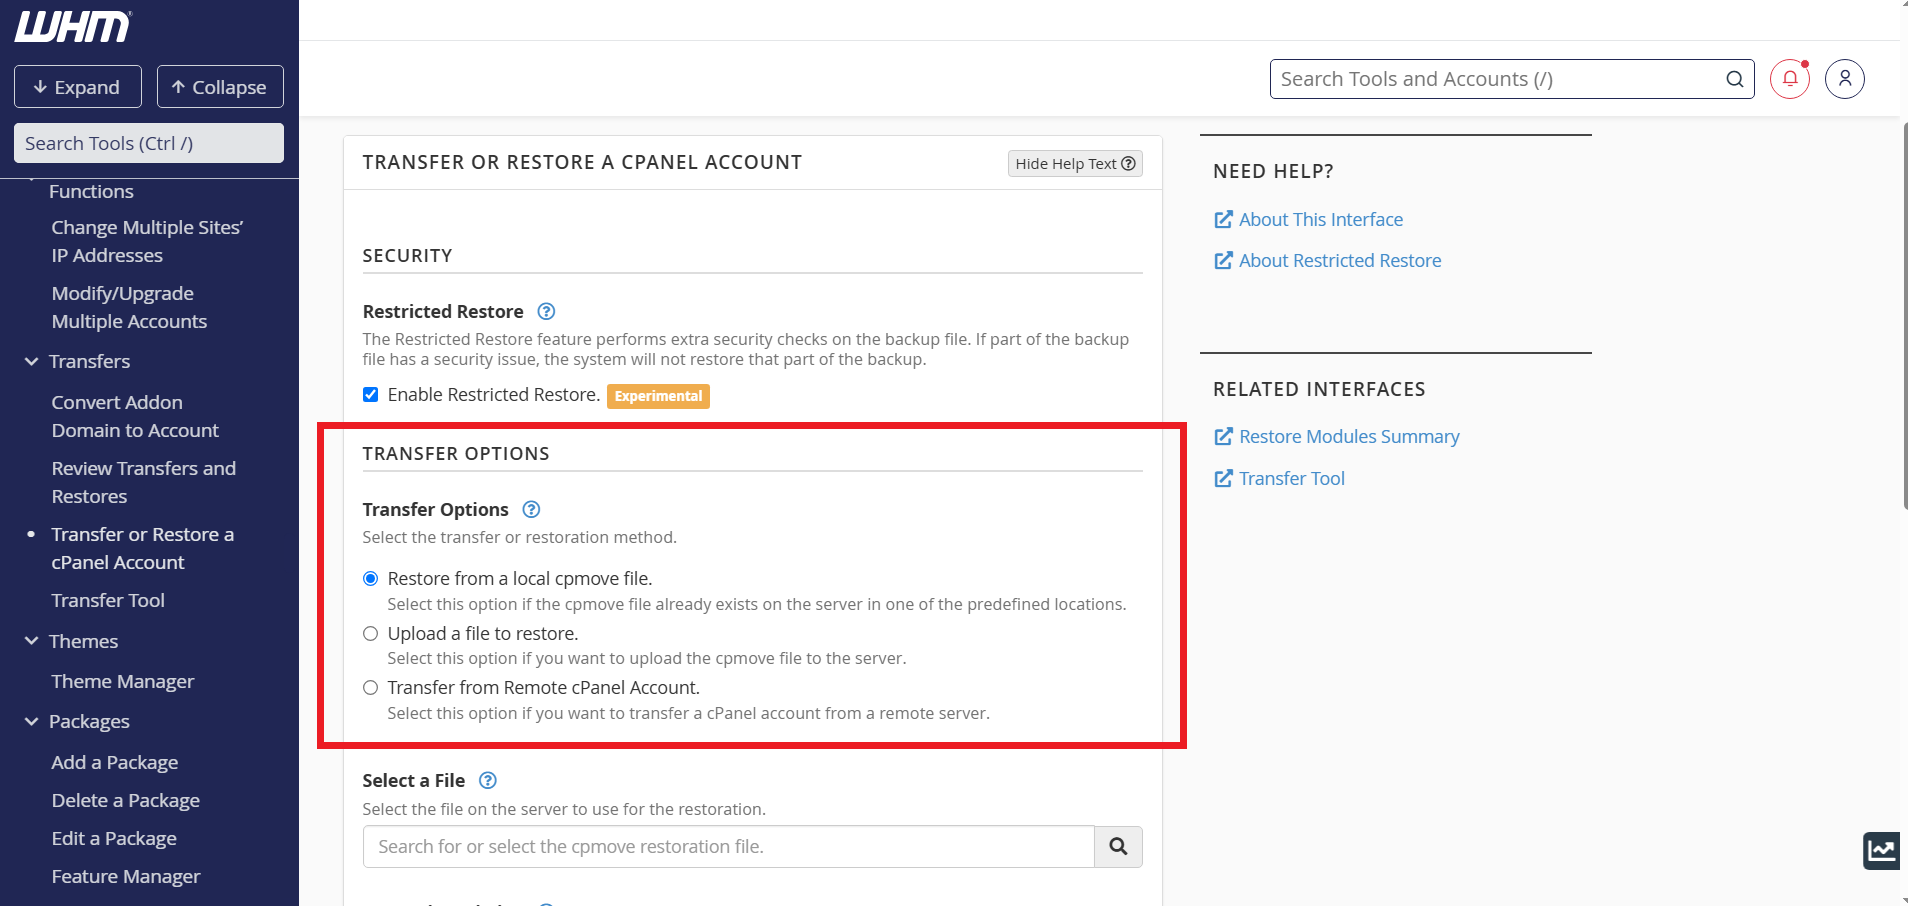
Step 3: Select from one of the Transfer Options
Option 1: Restore from a local cpmove file
The Restore from a local cpmove file option lets you restore an account with an existing cpmove file on the server.
- To restore a cPanel account from a local cpmove file, select the Restore from a local cpmove file option and perform the following steps:
- Select a File: Enter the name of or select the cpmove file on the server to use for the restoration.
- Check the Overwrite if the cPanel user already exists setting to overwrite any cPanel accounts with the same username. This is optional.
- A records: Select one of the following settings:
- Replace All Matching A Records — The system will replace all instances of the source server’s IP address with the destination server’s IP address. For example, a custom A record. This is the default setting.
- cPanel-provided A Records — Only replace the basic cPanel-provided A records in the cPanel account’s zone files.
- Click Restore. The Account Restore interface will appear. The system begins the account restoration process. You can use this interface to monitor the restoration progress.
Option 2: Upload a file to restore
The Upload a file to restore option lets you upload a cpmove file to the server. To restore a cPanel account with an uploaded cpmove file, select the Upload a file to restore option and perform the following steps:
- Upload File: Click Choose File. A new window will appear.
- Locate and select the cpmove file that you want to upload to the server.
- Check the Overwrite if the cPanel user already exists setting to overwrite any cPanel accounts with the same username. This is optional.
- A records: Select one of the following settings:
- Replace All Matching A Records — The system will replace all instances of the source server’s IP address with the destination server’s IP address. For example, a custom A record. This is the default setting.
- cPanel-provided A Records — Only replace the basic cPanel-provided A records in the cPanel account’s zone files.
- IP Address: Select whether to assign a dedicated IP address to the cPanel account on your server. Your server must have at least one available IP address to perform this action.
- Click Restore. The Account Restore interface will appear. The system begins the account restoration process. You can use this interface to monitor the restoration progress.
Option 3: Transfer from Remote cPanel Account
The Transfer from Remote cPanel Account option lets you transfer a cPanel account from a remote server’s archive file. To perform a remote transfer, select the Transfer from Remote cPanel Account option and perform the following steps:
- Remote Server: Enter the server’s IP address or hostname. If you use a hostname, you must include a valid top level domain (TLD) in the domain’s name.
- Remote username: Enter cPanel account’s username on the remote server.
- Remote password: Enter the cPanel account’s password on the remote server.
- IP Address: Select whether to assign a dedicated IP address to the cPanel account on your server. Your server must have at least one available IP address to assign a dedicated IP address.
- Click Transfer. The Remote User Account Transfer interface will appear. The system begins the account restoration process. You can use this interface to monitor the restoration progress.
OPTION 2: Restore a Partial Backup
Step 1: Log in to the cPanel account
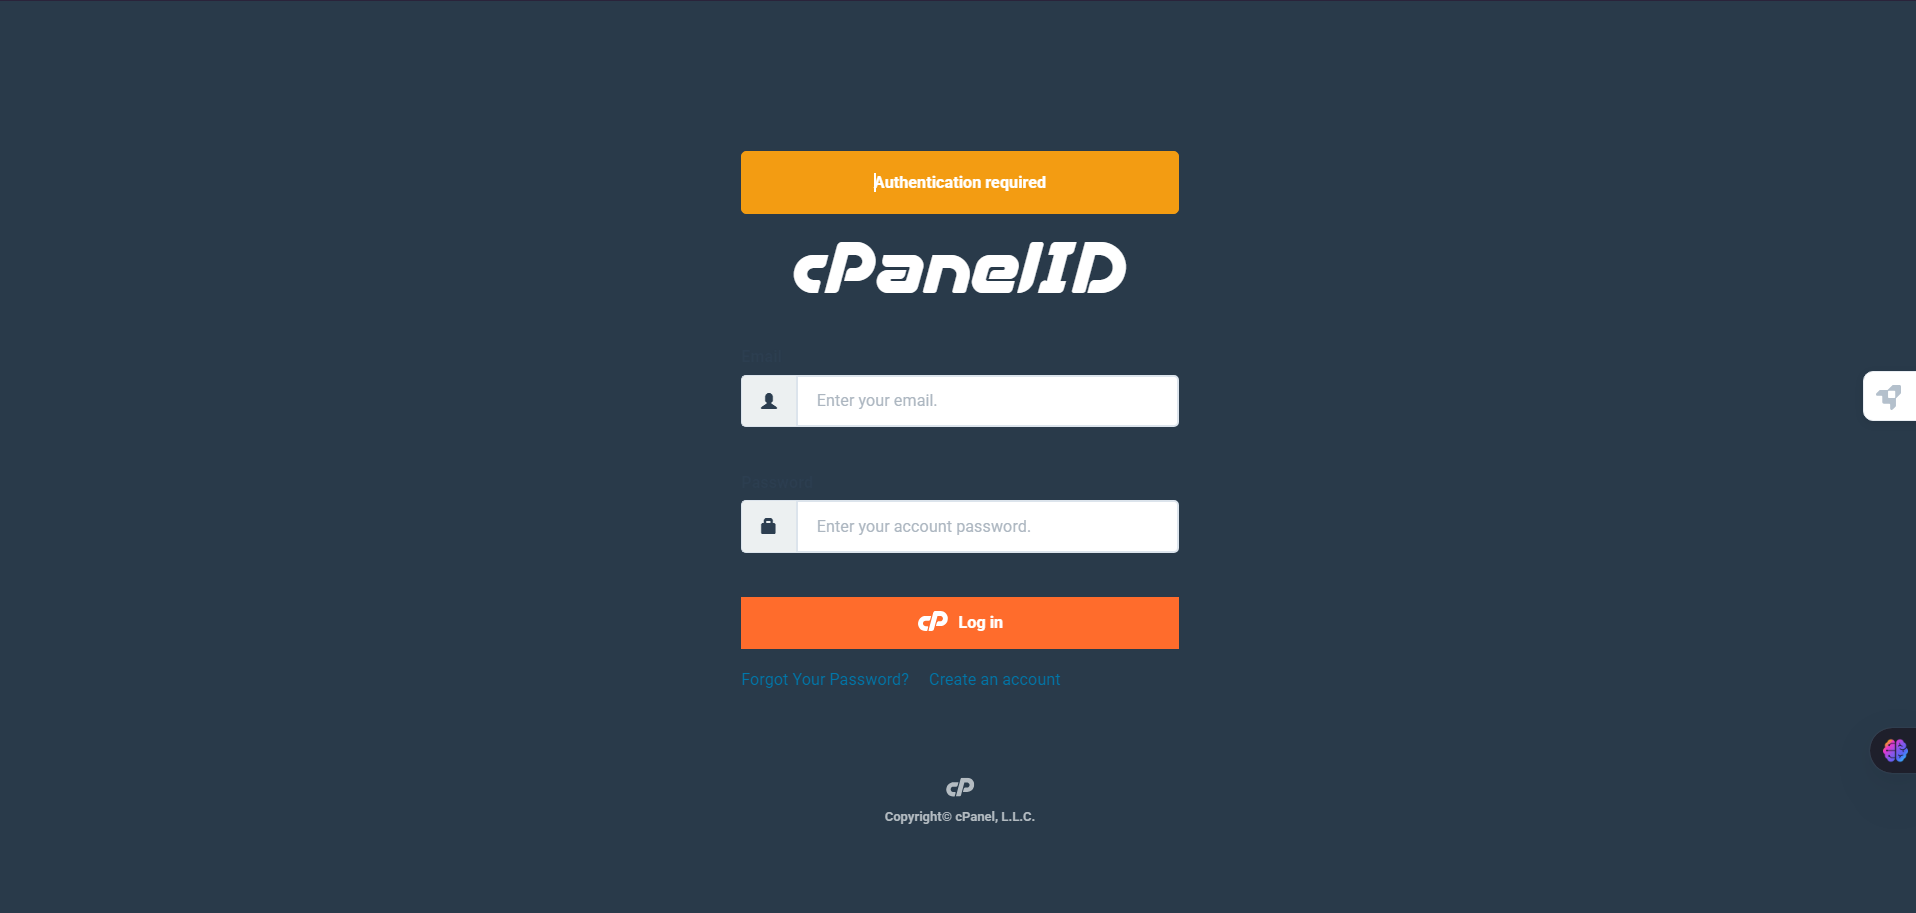
- Log in to cPanel using Username & Password. i.e; (https://yourdomain.com:2083 or https://yourdomain.com/cpanel)
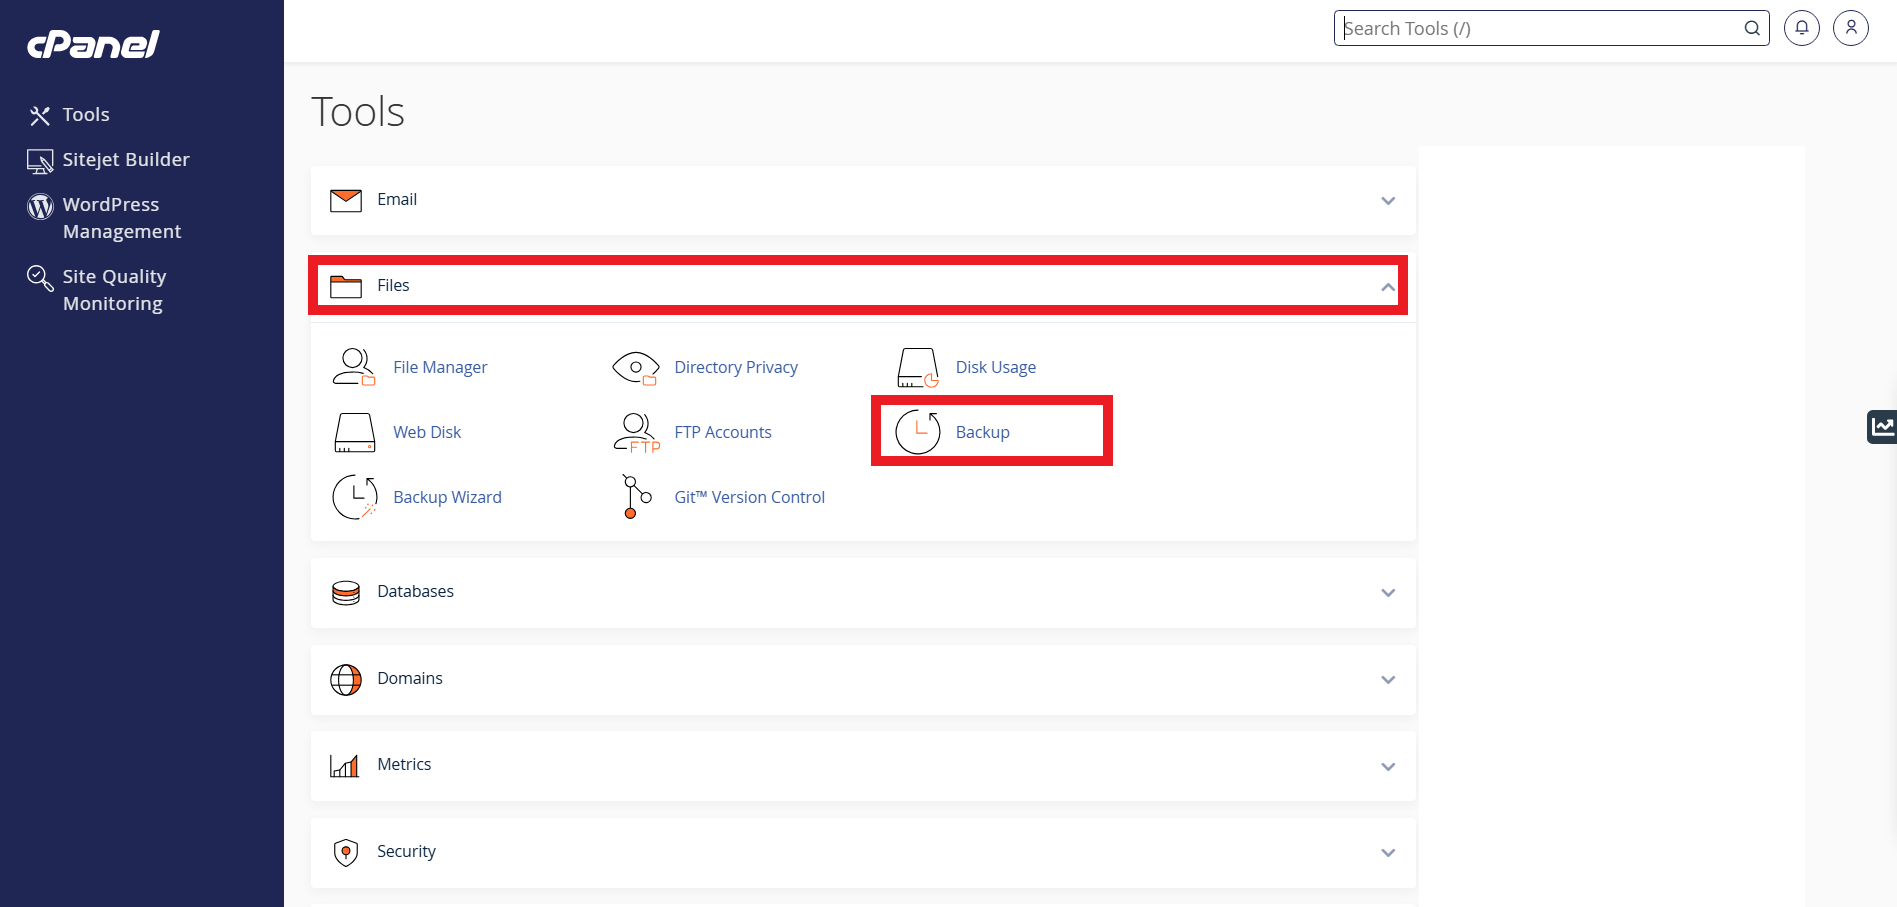
Step 2: Navigate to Backup
- On the cPanel dashboard, scroll down to the Files section. Click on Backup .
Step 3: Restore a partial backup
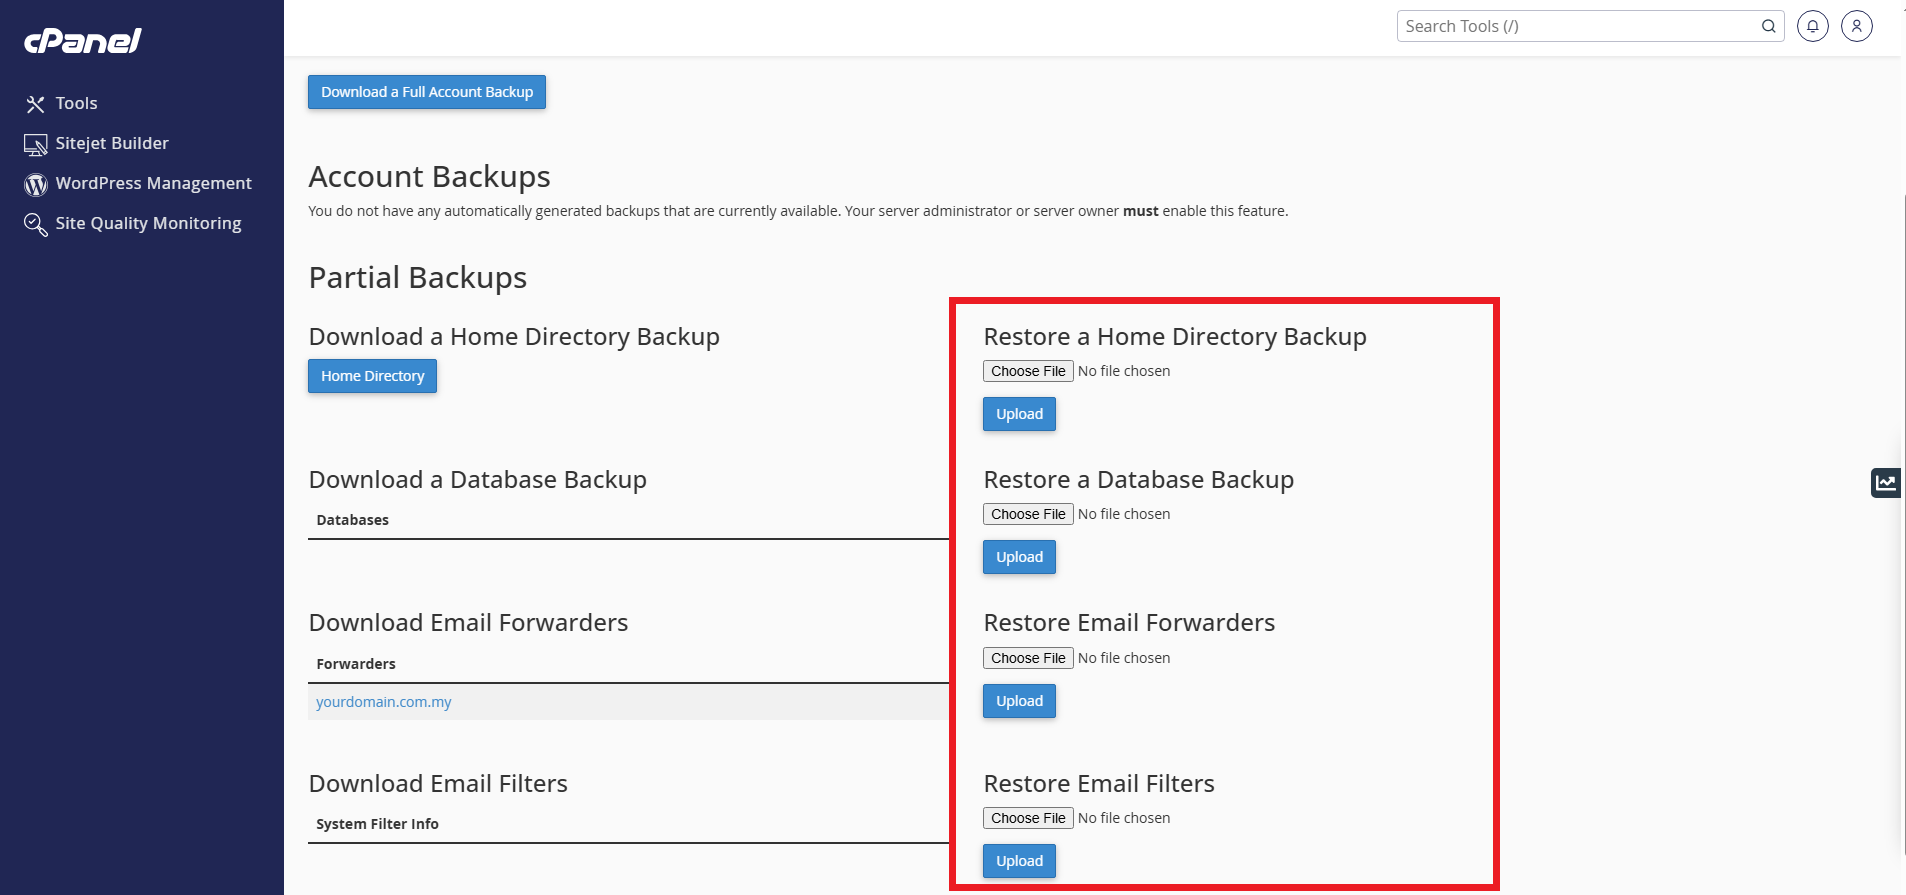
To use a partial backup to restore a portion of your account, click Restore, then perform the following steps:
- Select the appropriate restoration type in the Select Restore Type section. For example, to restore the /home directory, click Home Directory.
- Click Choose File.
- Select the backup file from your computer.
- Click Upload to restore that portion of your account.
Conclusion
Restoring backups in cPanel and WHM is a straightforward process that ensures data recovery in case of loss or migration. Whether performing a full account restoration via WHM or selectively restoring specific components through cPanel, following the appropriate steps will help minimize downtime and data loss. Always verify that backups are correctly restored and regularly update your backup files to prevent data inconsistencies.
Should you encounter any issues or have any questions, our support team at IPSERVERONE is always here to assist you. Don’t hesitate to reach out to us at support@ipserverone.com for any help you need.
