Search Our Database
Access OpenVPN Server via SSH to Create a VPN User
Overview
This guide provides step-by-step instructions on how to connect to your OpenVPN server via SSH and create a new VPN user. By following this process, you’ll be able to generate the necessary client certificates and keys, which are required for new users to securely connect to your OpenVPN environment. This method is commonly used in environments where access control and security are critical, allowing administrators to manage VPN users efficiently.
Prerequisites
Before proceeding, ensure you have the following:
- SSH Access: Administrative privileges to connect to the OpenVPN server via SSH.
- File Transfer Tool (e.g., FileZilla): To securely download the generated VPN user configuration files from the server to your local machine.
Step-by-Step Instructions
This article provides a step-by-step guide on how to create a VPN user on a KB Access OpenVPN Server using the command-line interface via SSH. This is especially useful for system administrators managing secure remote access for multiple users.
Step 1: Login to the server via SSH
Use your terminal or SSH client to access the server. If you’re not sure how, follow this guide: How to Login to Your Linux Server via SSH.
Then switch to the root user:
sudo su -
Step 2: Locate the OpenVPN script
Navigate to the directory where your OpenVPN script is located. Run the following commands:
cd
ls
You should see the OpenVPN install script, for example: almalinux-9-vpn.sh.
Step 3: Run the OpenVPN script to add a new user
Execute the OpenVPN installation script again to bring up the menu and choose to add a new user:
./almalinux-9-vpn.sh
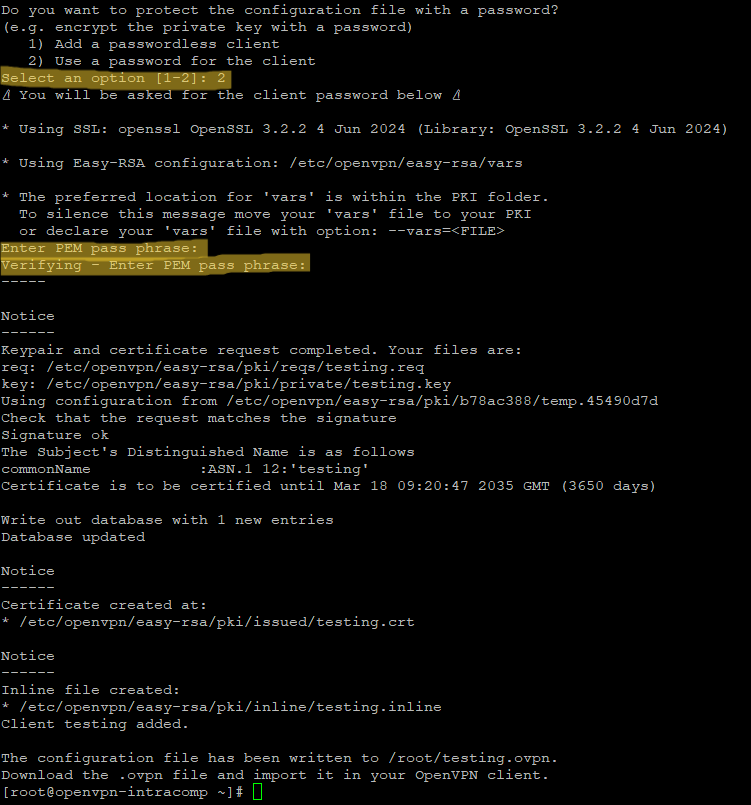
Follow the prompts:
- Select 1) Add a new user
- Enter a name for the new VPN client (e.g., testing )
- Choose to Use a password or not
- Set a password if required
Step 4: Complete the client configuration
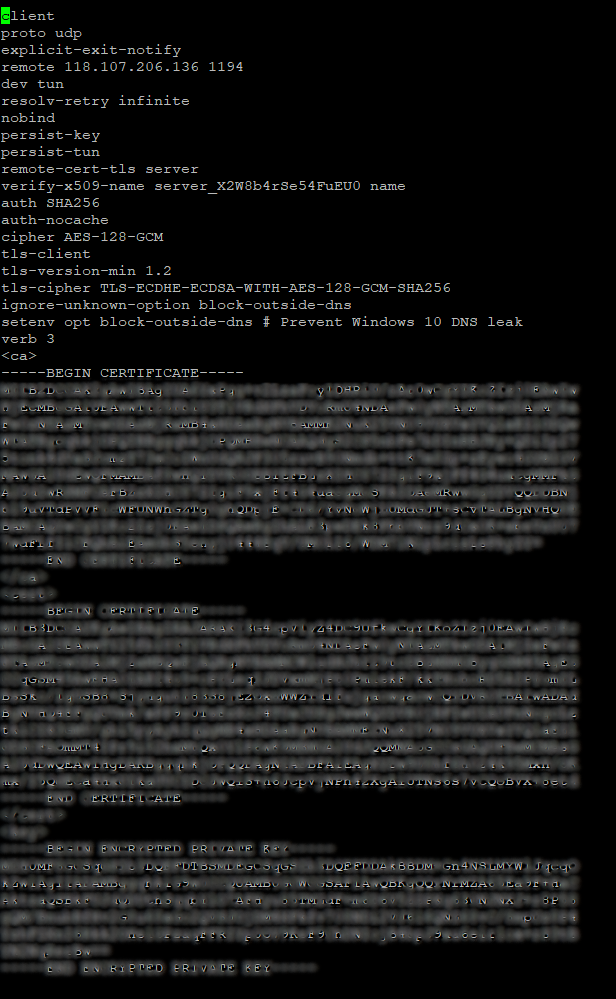
The script will generate keys, certificates, and finally the .ovpn client configuration file.
The final config file is typically saved in the root directory:
/root/testing.ovpn
Step 5: Move the .ovpn file to the target user’s home directory
Copy the generated file to a specific user directory to allow access:
cp testing.ovpn /home/almalinux/
cd /home/almalinux/
ls -la
You should now see testing.ovpn in the user’s directory.
Step 6: Download the .ovpn file using FileZilla
Use FileZilla (or any SFTP client) to connect to the OpenVPN server and download the .ovpn file to your local machine.
Instructions:
- Open FileZilla.
- Enter the OpenVPN server IP, username (e.g., almalinux ), and password.
- Use port 22 for SFTP.
- Navigate to /home/almalinux/ on the right panel (server side).
- Locate and download the testing.ovpn file to your computer.
If you’re unfamiliar with FileZilla, follow this detailed guide: How to Use FileZilla Client to Upload Files to a Hosting Server.
Once downloaded, you can import the .ovpn file into your OpenVPN client (Windows, macOS, Linux, Android, iOS).
Conclusion
You have now successfully created and configured a VPN user for your KB Access OpenVPN server. Repeat the process for any additional users. Always remember to manage and revoke unused credentials to maintain a secure environment.


