Search Our Database
Accessing website files using DirectAdmin (Enhanced Skin)
Introduction
DirectAdmin is a powerful and user-friendly web hosting control panel designed for managing websites, emails, databases, and server configurations. Among its key features is the File Manager, a browser-based tool that enables users to access, modify, upload, and manage website files without needing external FTP software. This is particularly useful for users with minimal technical experience or those looking for a quick way to make changes directly within the hosting control panel.
Accessing website files is a routine task required for editing content, updating scripts, uploading new site files, or troubleshooting errors. Whether the goal is to upload a new index page, modify a .htaccess file, or review logs, the DirectAdmin File Manager offers a convenient way to handle these operations. Additionally, this process is applicable for both primary and addon domains hosted under a DirectAdmin account.
This article provides a step-by-step guide on how to access website files using DirectAdmin. It is suitable for beginners and intermediate users managing hosting plans on servers running DirectAdmin with the Enhanced skin or similar layouts. The guide will also touch on where website files are stored and how to navigate the directory structure effectively.
Prerequisites
- Access to a hosting account with DirectAdmin control panel (Enhanced Skin interface)
- Valid login credentials to DirectAdmin
- A domain already set up on the account
- A supported web browser (Chrome, Firefox, Safari, or Edge)
Step-by-step Guide
Step 1: Log in to DirectAdmin
Access the DirectAdmin login page, usually at:
https://yourdomain.com:2222
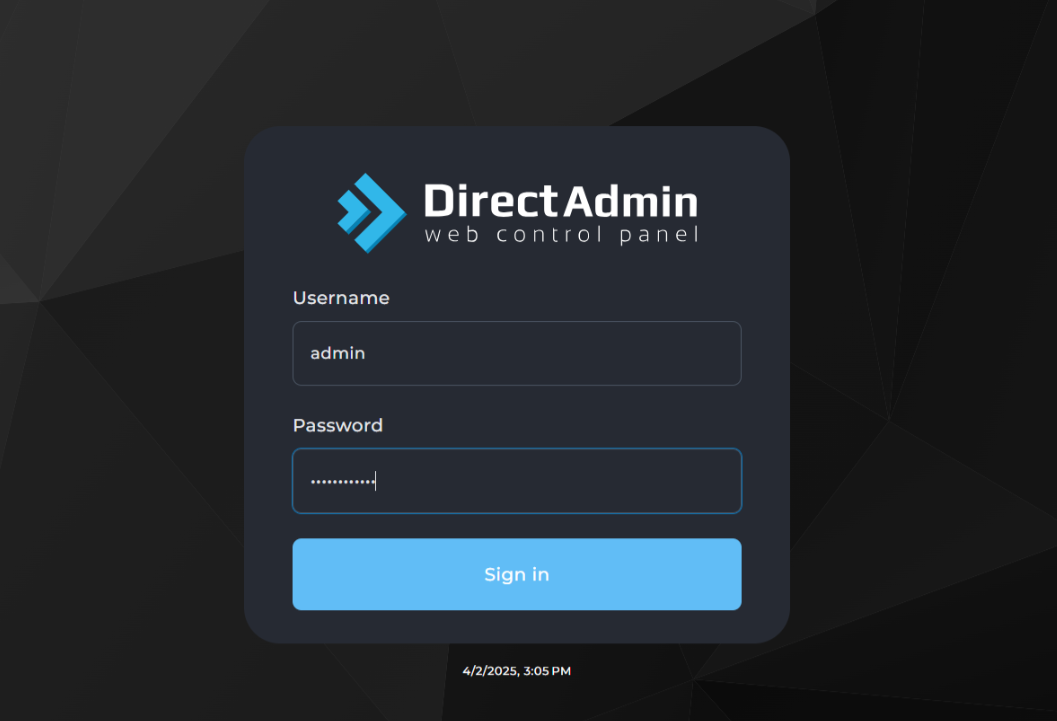
Enter your username and password, then click Login.
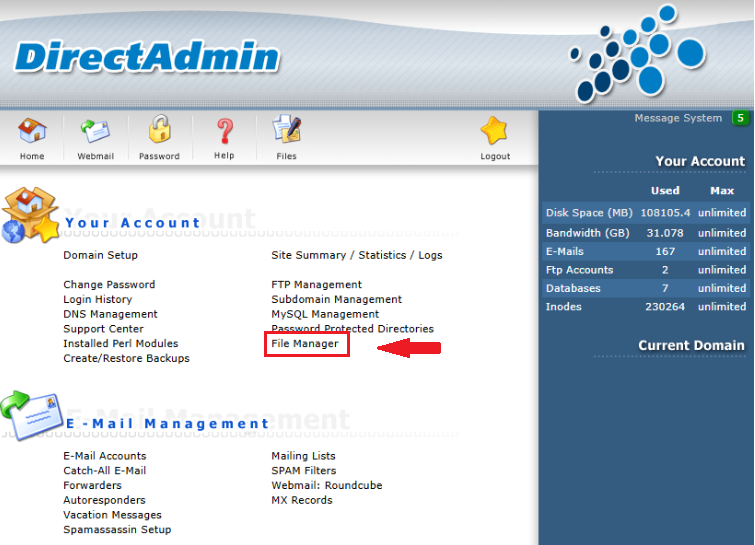
Step 2: Open the File Manager
- Navigate to the Your Account section.
- Click on File Manager.
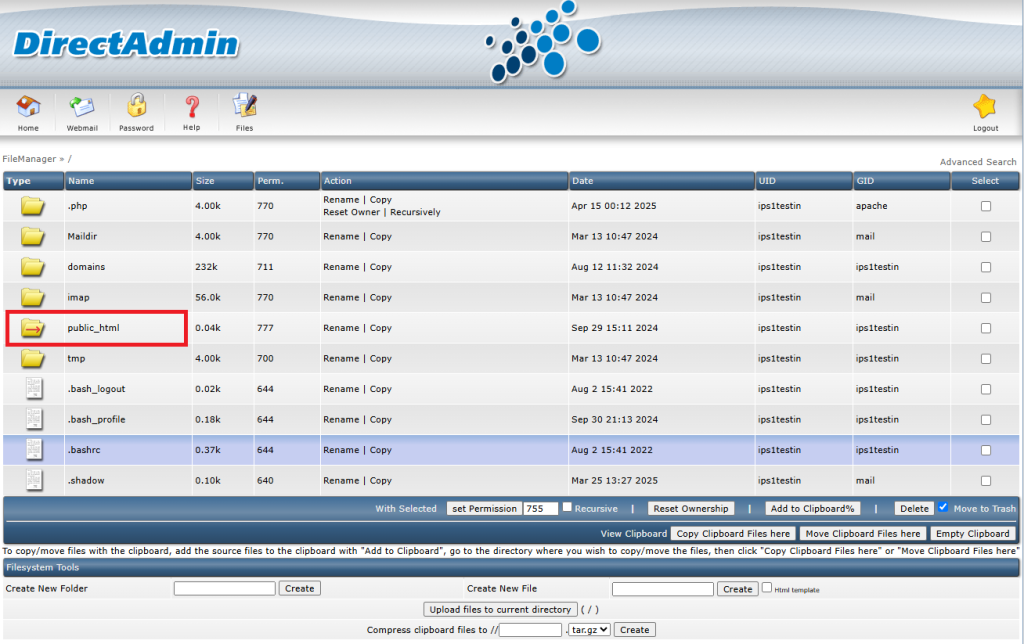
Step 3: Navigate to the Website Root Directory
In File Manager, website files are typically located in the following path:
domains/example.com/public_html
-
In File Manager, website files are typically located in the following path:
- Click on the public_html folder to access the website file.
-
This folder is the document root where your website’s visible content resides.

Step 4: View, Edit, or Upload Files
Once inside the public_html directory, you can:
- View files: Click on a file name to preview its contents.
- Edit files: Click the pencil icon or choose Edit from the context menu.
- Upload files: Click Upload Files to Current Directory at the top.
- Create new files or folders: Use the + icon or right-click options.
Step 5: Manage File Permissions and Ownership (Optional)
- Select the file or folder.
- Click on Set Permissions in the top menu.
- Choose the appropriate permission values (e.g., 755 for folders).
rw-r--r-- (644) for files, rwxr-xr-x (755) for directories
Conclusion
Accessing website files using DirectAdmin is a straightforward process thanks to its built-in File Manager. By navigating to the public_html directory under the respective domain, users can upload, edit, or manage their site files directly from the control panel. This method is efficient for making quick updates without relying on FTP or SSH access.
For further file management, users may also consider using FTP clients such as FileZilla, or learning how to configure directory-level settings using .htaccess files.
Should you have any inquiries about the guidelines, please feel free to open a ticket through your portal account or contact us at support@ipserverone.com. We’ll be happy to assist you further.