Search Our Database
Accessing website files using DirectAdmin (Evolution Skin)
Introduction
DirectAdmin’s Evolution skin offers a modern and responsive user interface designed to improve usability across various devices. As one of the default themes in newer DirectAdmin installations, Evolution provides streamlined access to tools like File Manager, making it easier for users to manage their website files through an intuitive layout.
Accessing website files using the Evolution skin is an essential task for managing web content, uploading site assets, editing code, or troubleshooting scripts. This can be done entirely within the browser through the built-in File Manager, eliminating the need for third-party FTP clients. The interface supports drag-and-drop uploads, inline editing, and permission settings, making it suitable for users at all experience levels.
This guide explains how to navigate the Evolution skin to locate the correct domain directory, typically under the public_html folder, where site files reside. It is applicable to shared hosting users, VPS owners, or administrators managing multiple websites through DirectAdmin.
Prerequisites
- Access to a hosting account with DirectAdmin control panel (Evolution Skin interface)
- Valid login credentials to DirectAdmin
- A domain already set up on the account
- A supported web browser (Chrome, Firefox, Safari, or Edge)
Step-by-step Guide
Step 1: Log in to DirectAdmin
Access the DirectAdmin login page, usually at:
https://yourdomain.com:2222
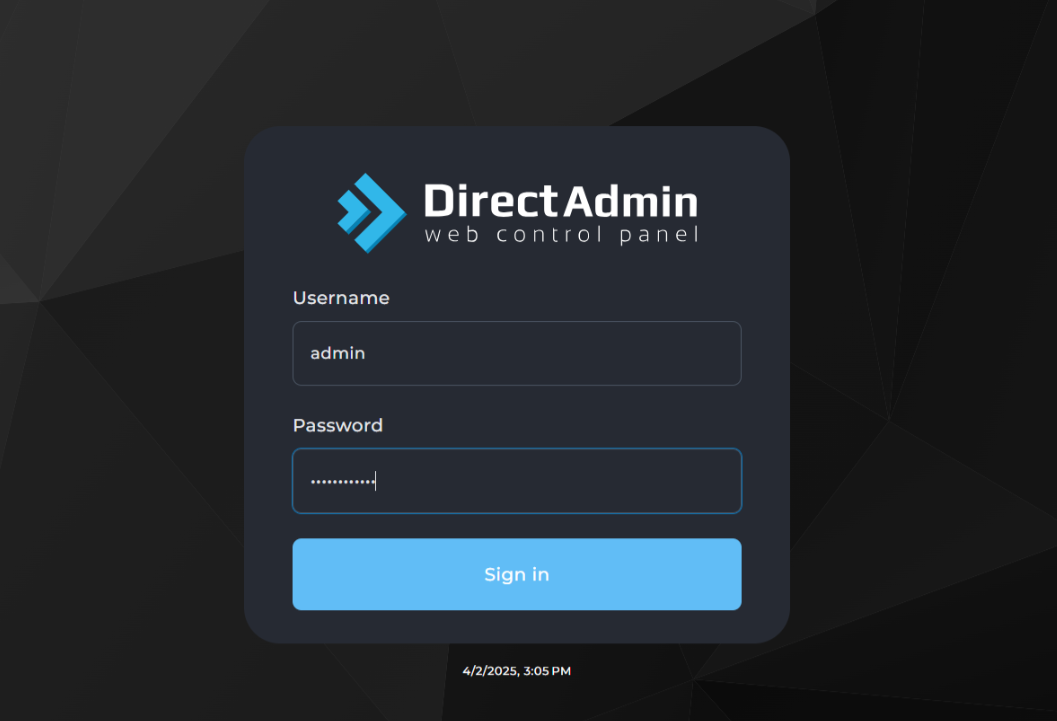
Enter your username and password, then click Login.
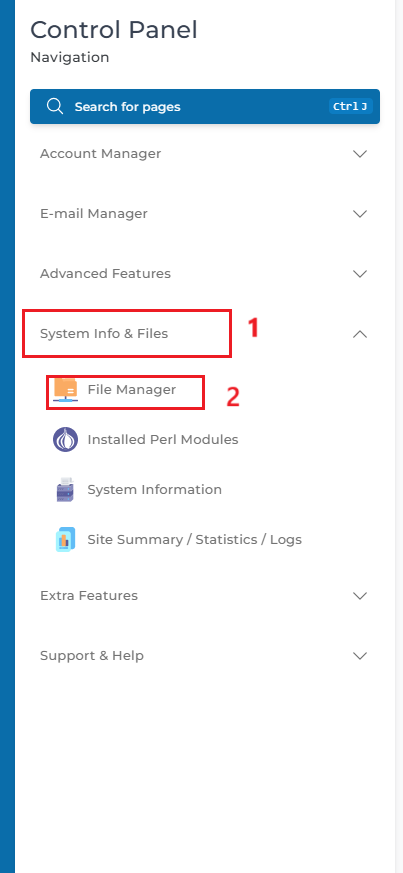
Step 2: Open the File Manager
- On the Control Panel Navigation side bar on the right hand side, navigate to the System Info & Files section.
- Click on File Manager.
Step 3: Navigate to the Website Root Directory
In File Manager, website files are typically located in the following path:
domains/example.com/public_html
Here’s how to access it:
- Double-click the domains folder.
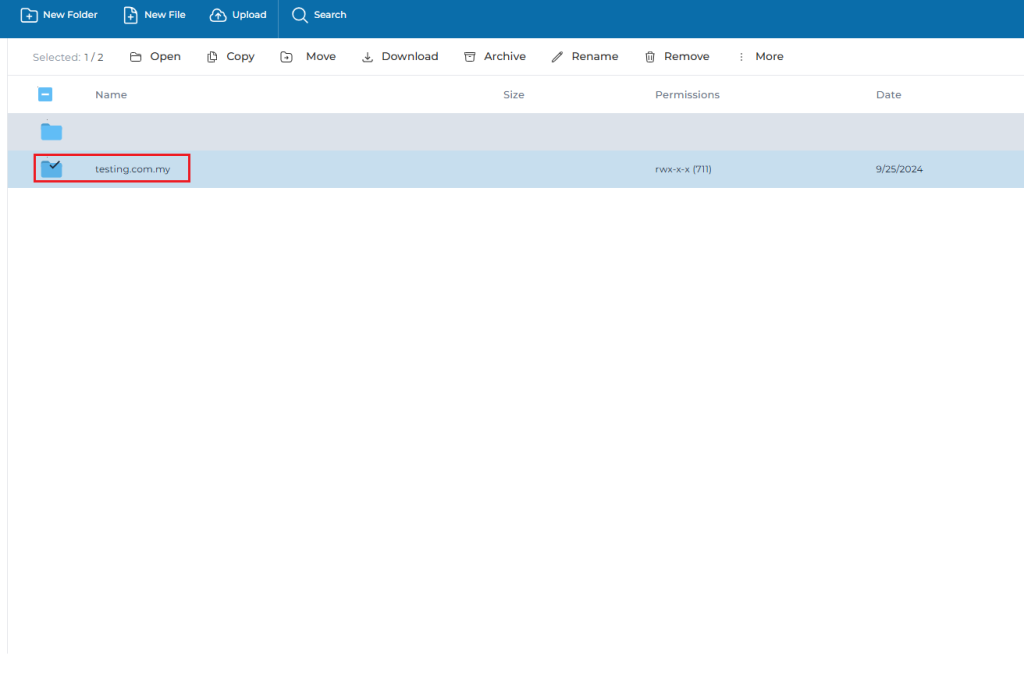
- Open the folder with your domain name (e.g., testing.com.my).
- Double-click the public_html directory.
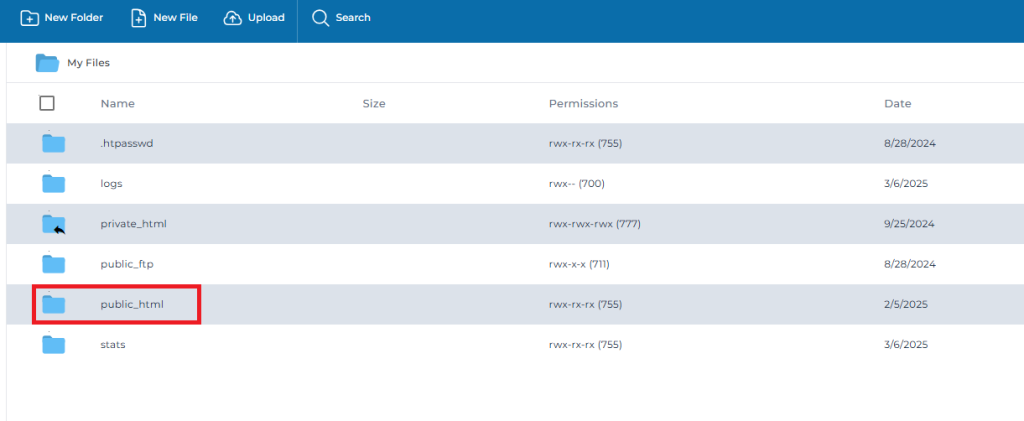

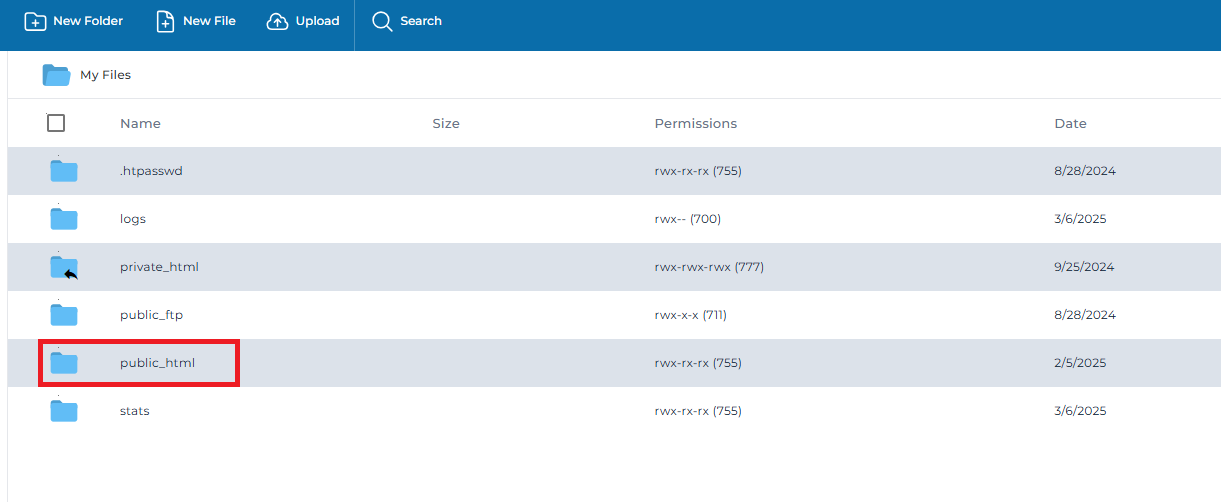
Step 4: View, Edit, or Upload Files
Once inside the public_html directory, you can:
- View files: Click on a file name to preview its contents.
- Edit files: Click the pencil icon or choose Edit from the context menu.
- Upload files: Click Upload Files to Current Directory at the top.
- Create new files or folders: Use the + icon or right-click options.
Step 5: Manage File Permissions and Ownership (Optional)
- Select the file or folder.
- Click on Set Permissions in the top menu.
- Choose the appropriate permission values (e.g., 755 for folders).
rw-r--r-- (644) for files, rwxr-xr-x (755) for directories
Conclusion
Accessing website files using DirectAdmin is a straightforward process thanks to its built-in File Manager. By navigating to the public_html directory under the respective domain, users can upload, edit, or manage their site files directly from the control panel. This method is efficient for making quick updates without relying on FTP or SSH access.
For further file management, users may also consider using FTP clients such as FileZilla, or learning how to configure directory-level settings using .htaccess files.
Should you have any inquiries about the guidelines, please feel free to open a ticket through your portal account or contact us at support@ipserverone.com. We’ll be happy to assist you further.