Search Our Database
Auto cloud credit top up for cloud instance
Introduction
Effectively managing cloud resources is essential for maintaining uninterrupted operations. This guide aims to assist customers in ensuring the continuous functionality of their cloud instances without the need for manual credit management. The focus is on the auto top-up feature, which automatically replenishes your cloud credits to prevent service interruptions. It is crucial to enable auto top-up before your cloud credit balance runs low to avoid downtime due to insufficient funds. This guide applies to cloud hosting platforms where users manage their resources, ensuring that cloud instances remain active. Let’s walk through the steps to set up automatic cloud credit top-up, making cloud management smoother and more efficient.
- If you haven’t yet linked your card in the IP ServerOne portal, please follow this guide:
How to set up and manage auto-renewal payment method in the portal
Step-by-step guide
1. Log in to the portal
First, login to the IP ServerOne Customer Portal.
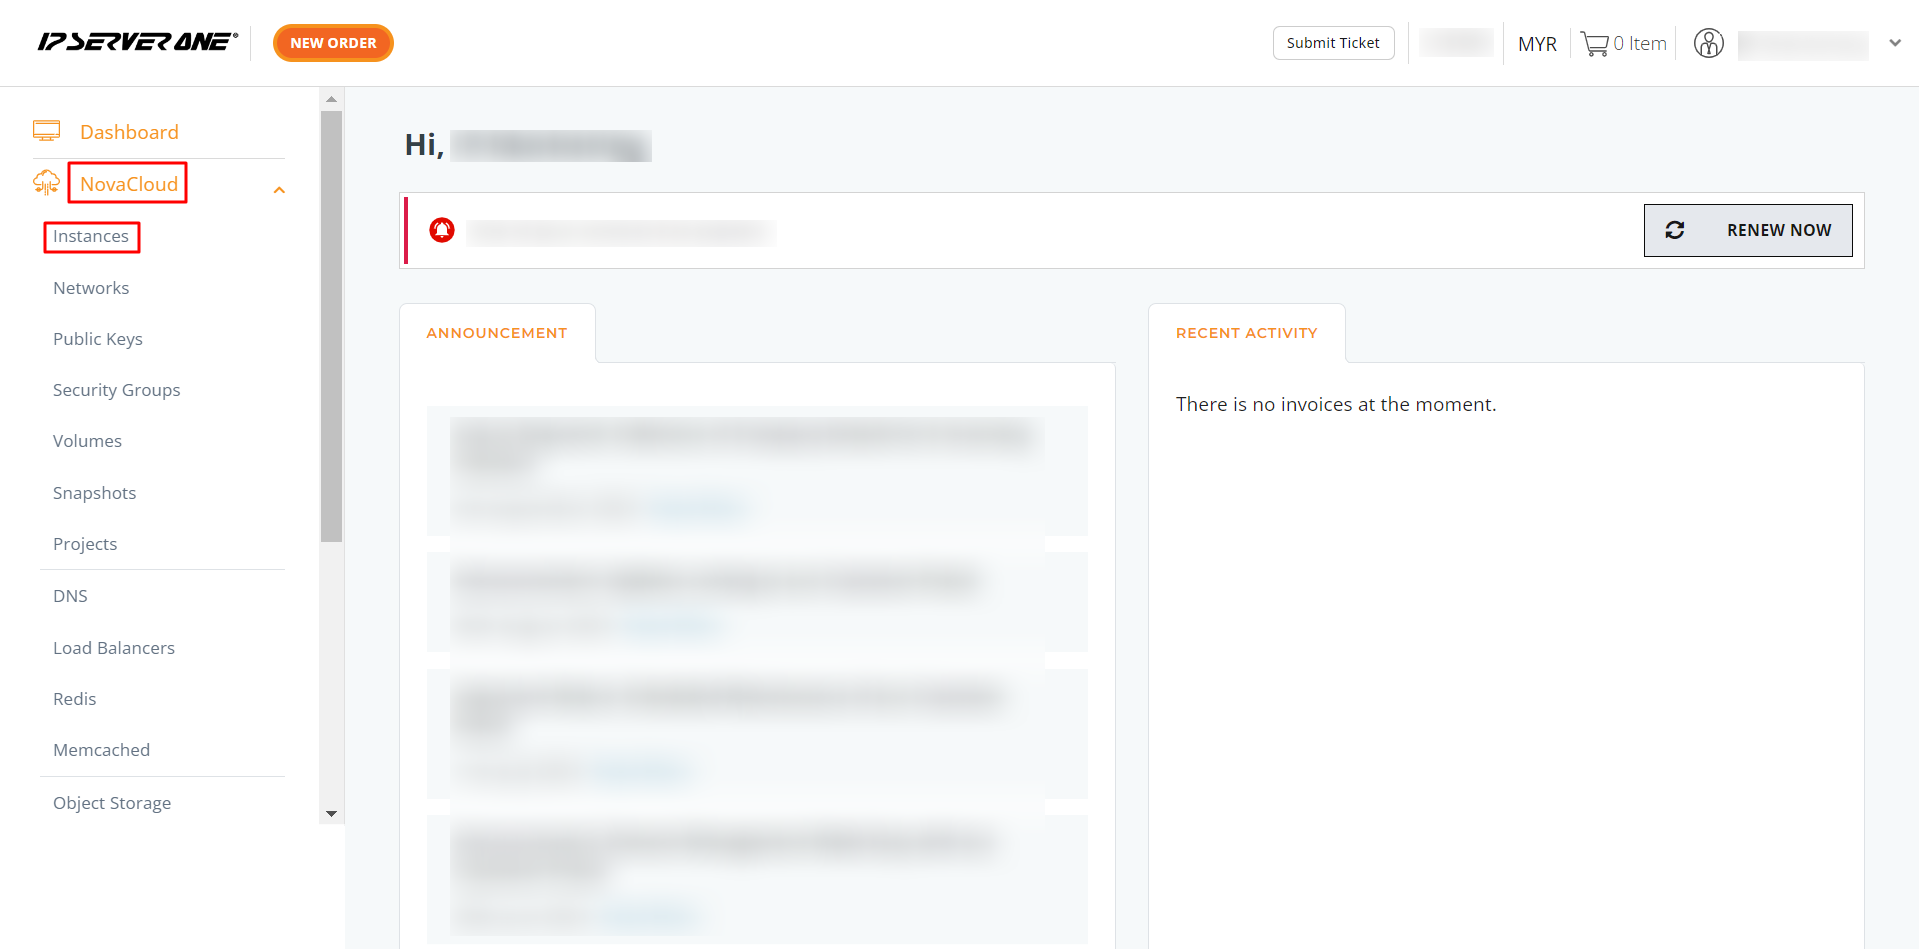
2. Navigate to NovaCloud
From the menu on the left, select NovaCloud, then click the dropdown and choose Instances.
3. Check available balance
On the Instances page, locate the Available Balance button and click it.

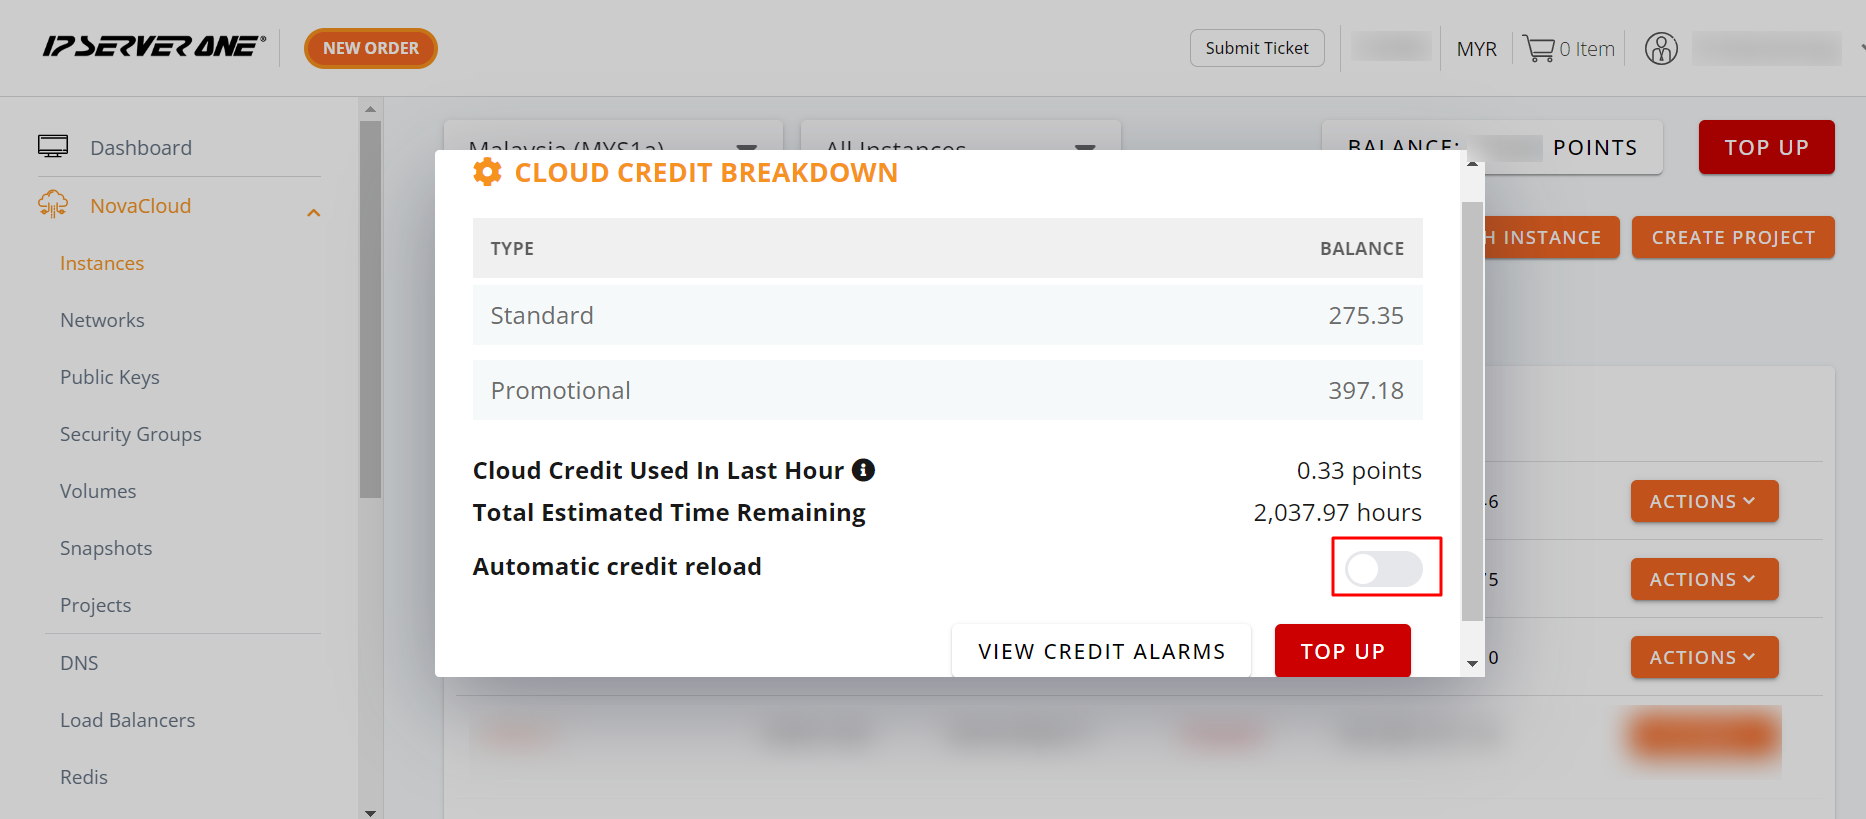
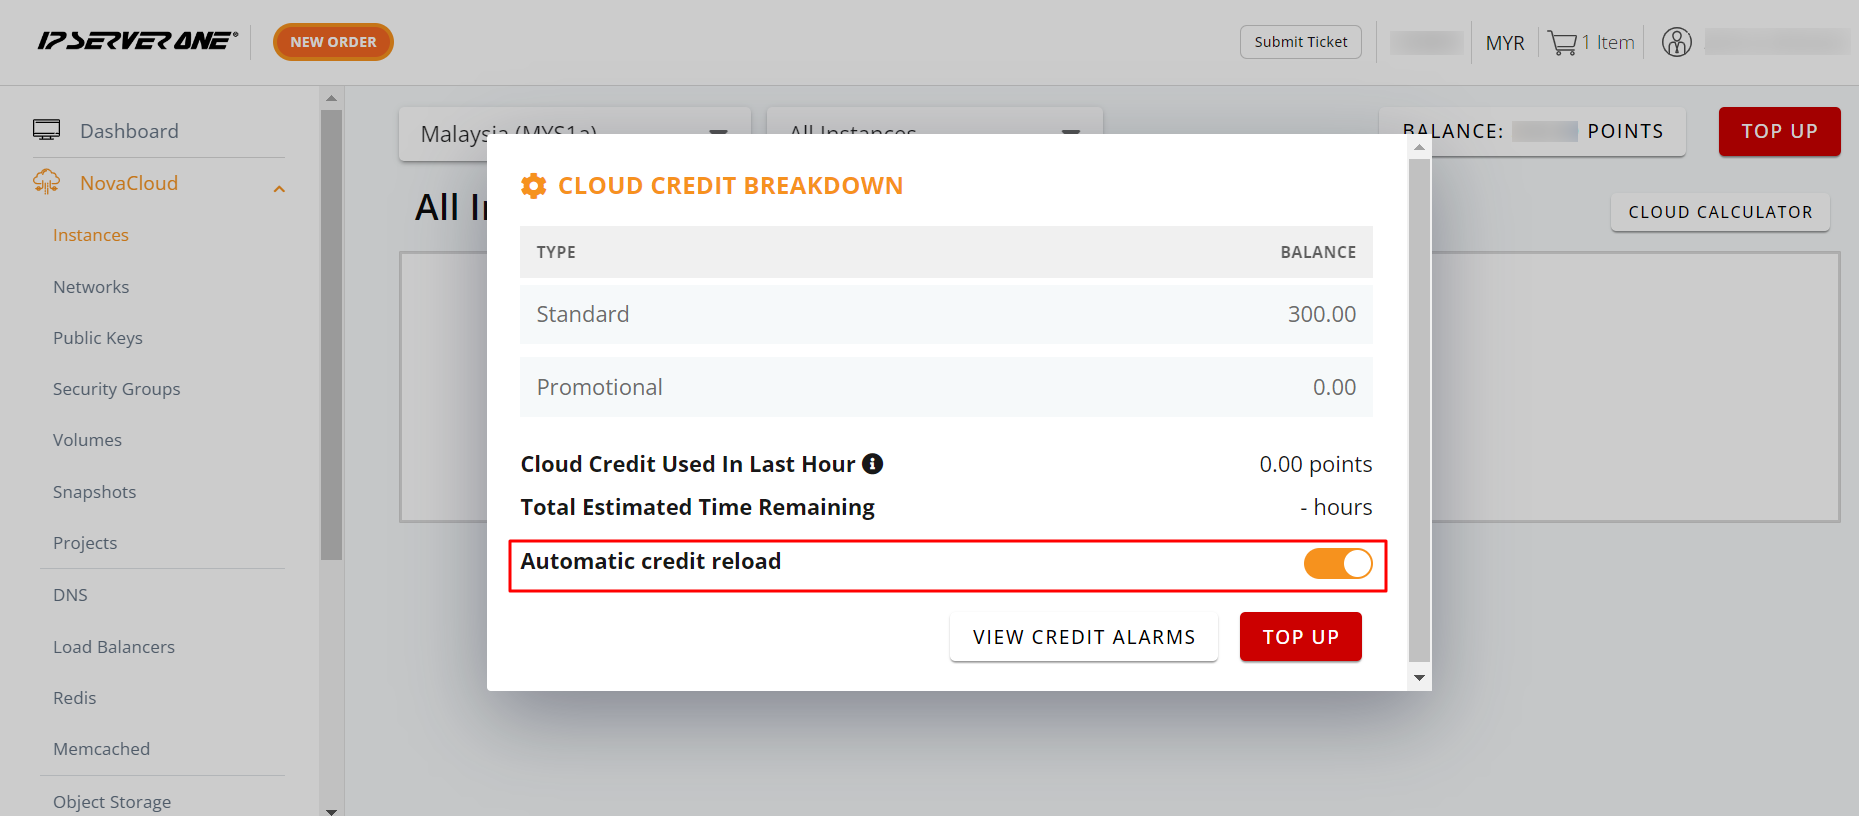
4. Enable automatic credit reload
A pop-up will display your Cloud Credit Breakdown. Toggle the Automatic Credit Reload slider to enable it.
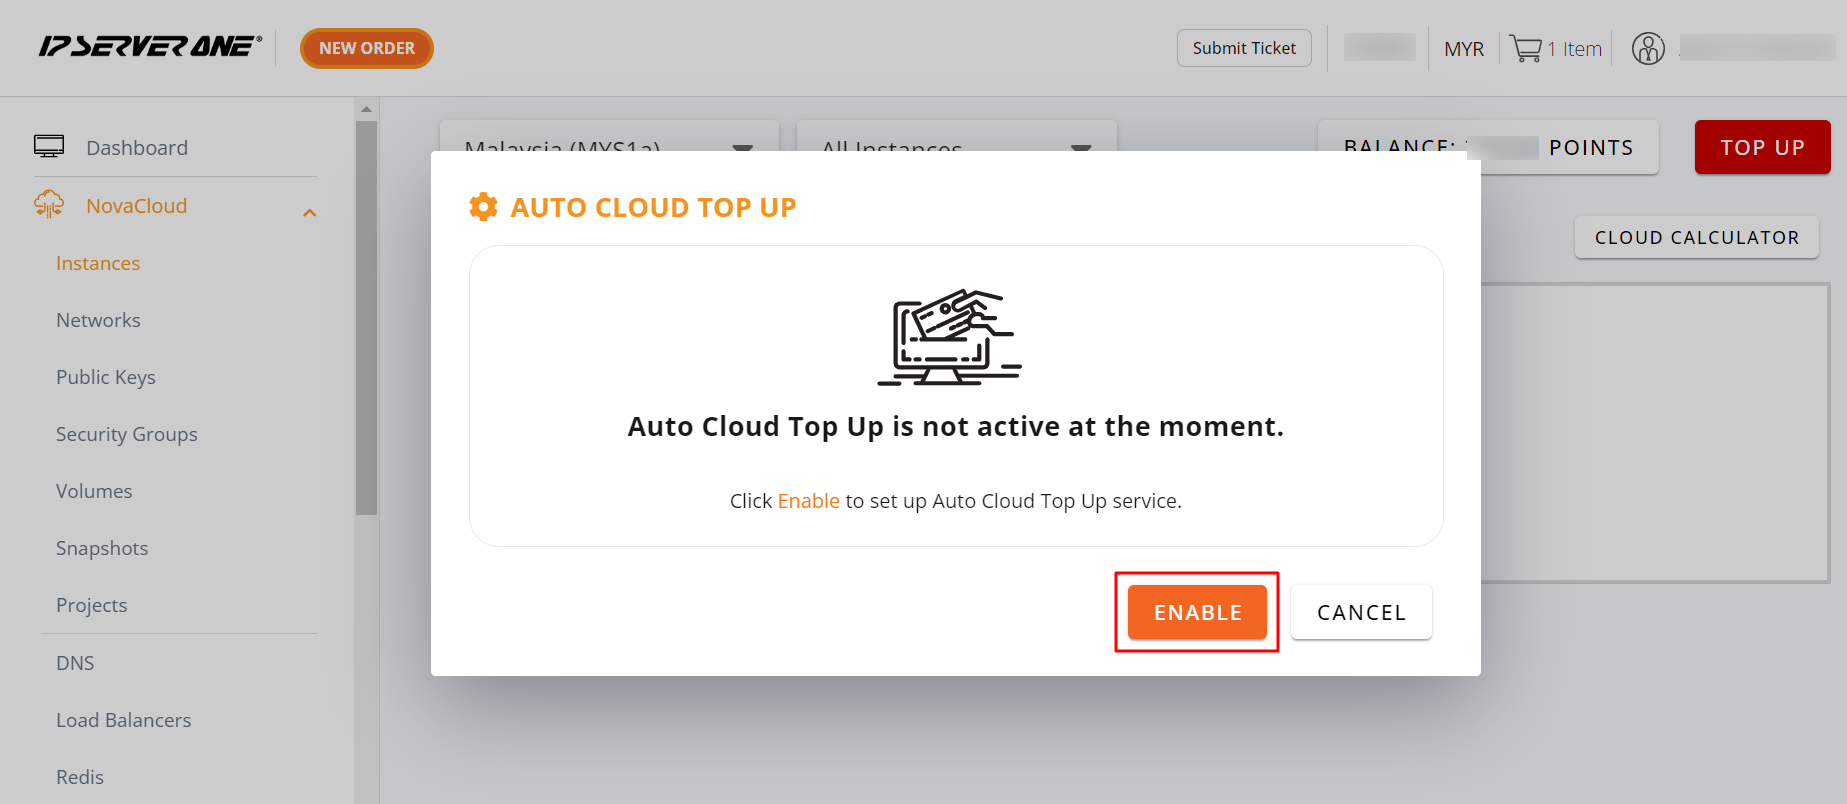
5. Confirm auto top-up
A second pop-up will prompt you to click Enable to confirm your selection.
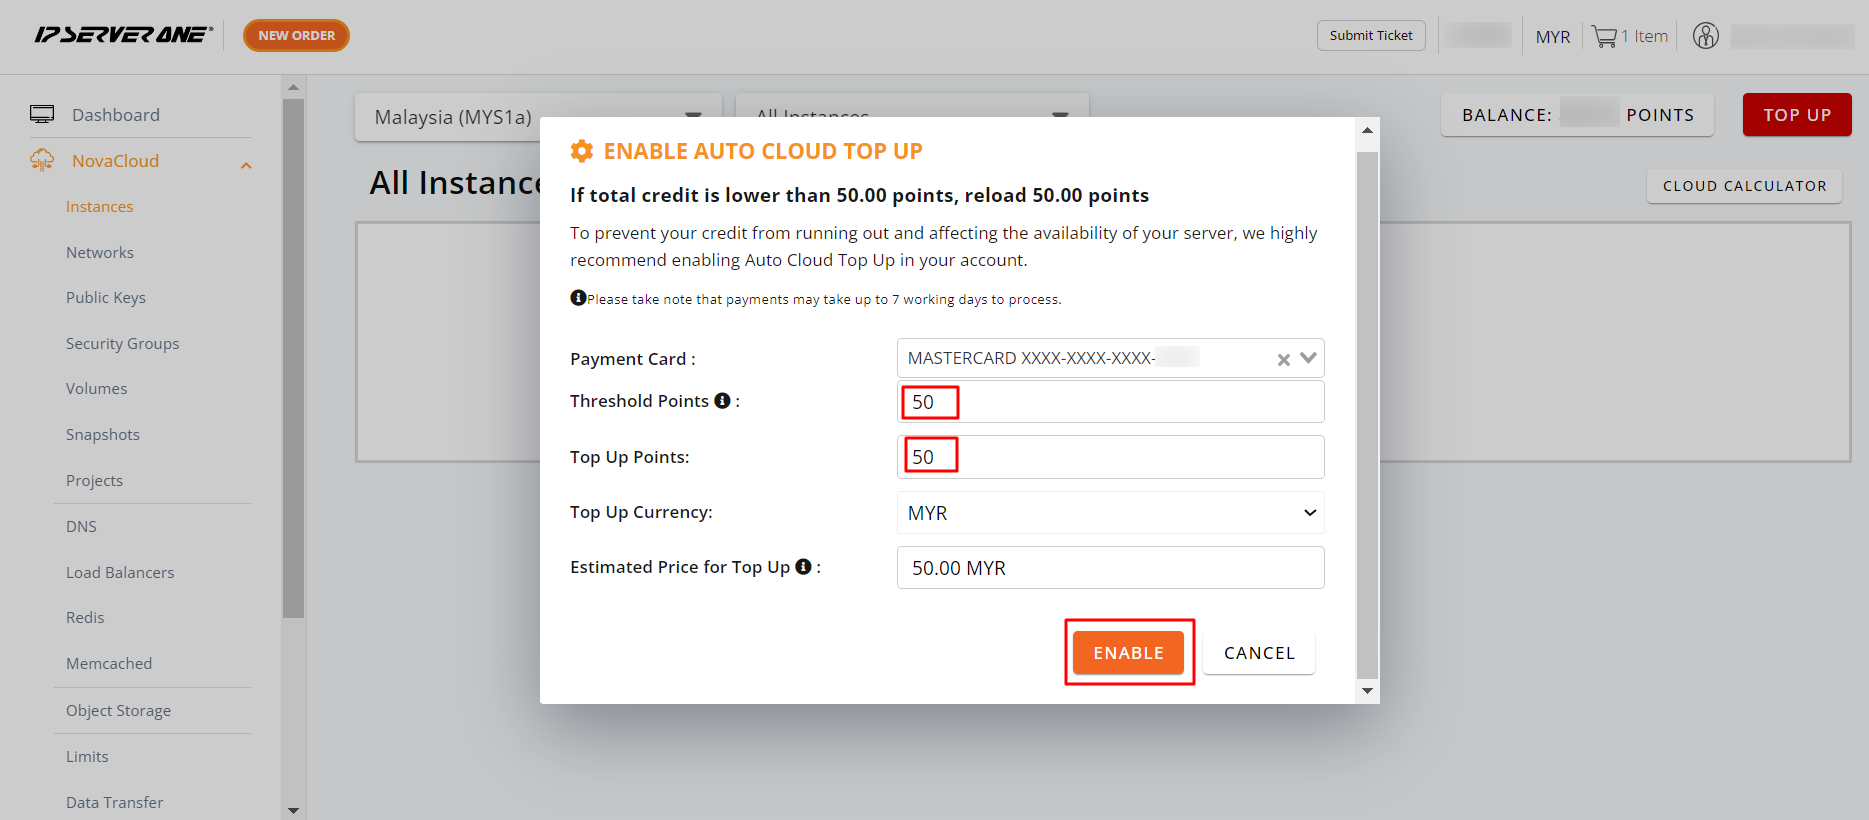
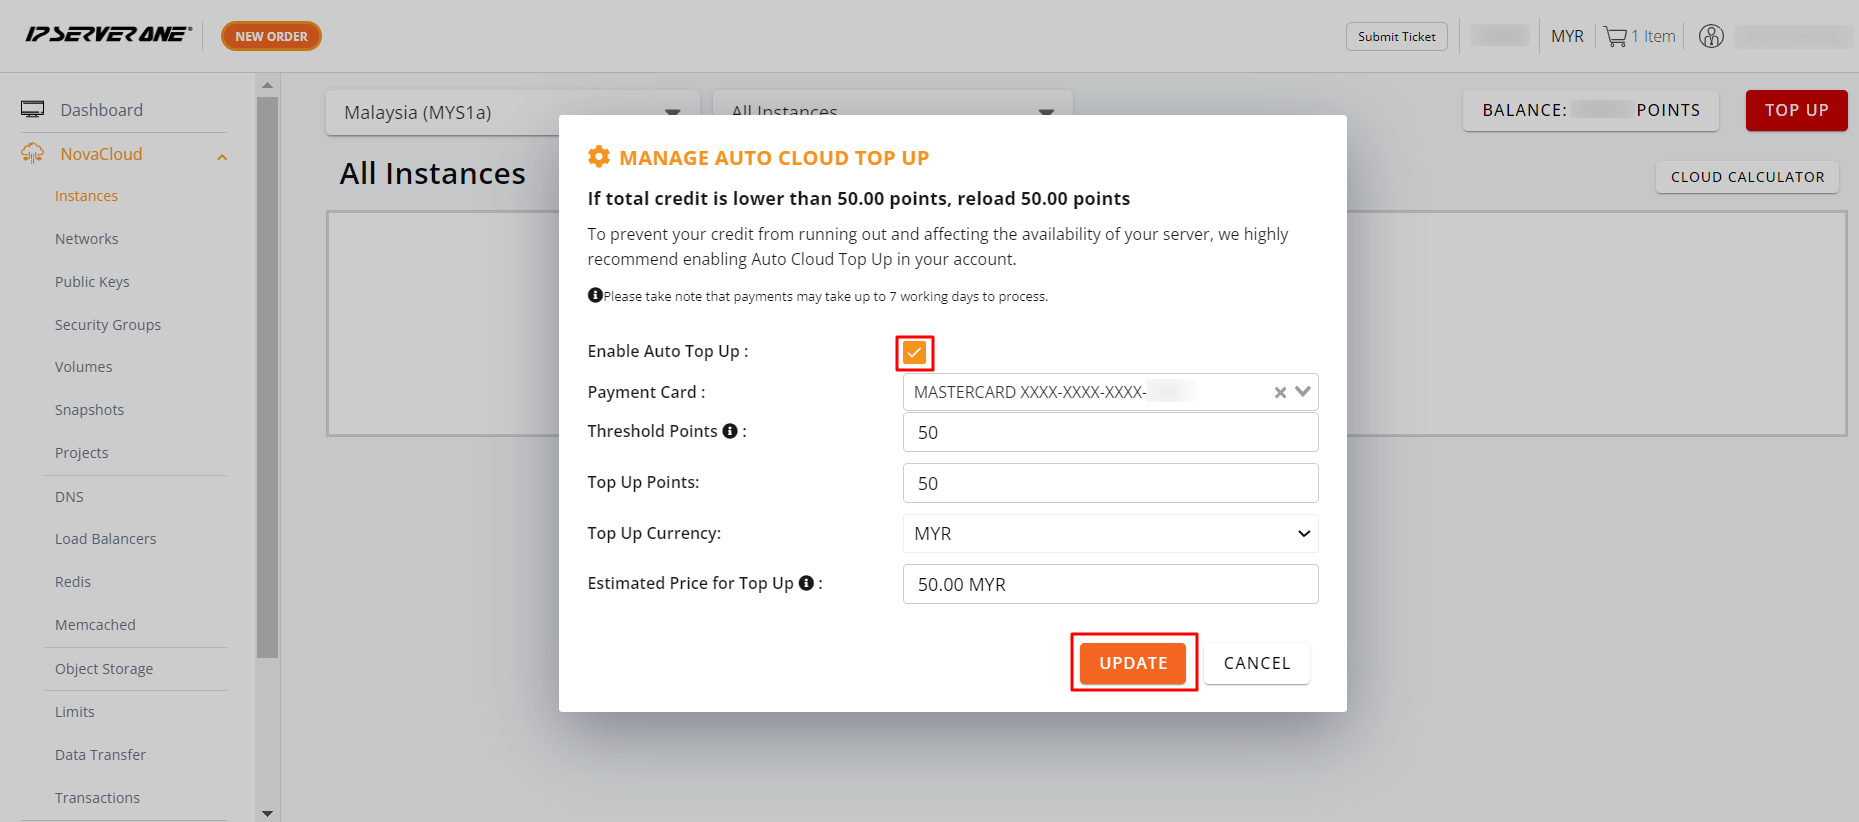
6. Set card, threshold, and top-up amount
Select your preferred credit card, set a threshold amount, and choose the auto top-up amount. Click Enable to proceed.
- Threshold amount: The minimum cloud credit balance that triggers the auto top-up.
- Top-up amount: The amount deducted from your credit card when the threshold is reached.
For optimal cloud performance, it is recommended to set your threshold based on seven days of average usage to prevent service interruptions.
Example: Daily cloud credit usage = RM21.00
Threshold Calculation: 21.00 x 7 days = RM147
Suggested threshold: RM160, with a top-up amount of RM50.
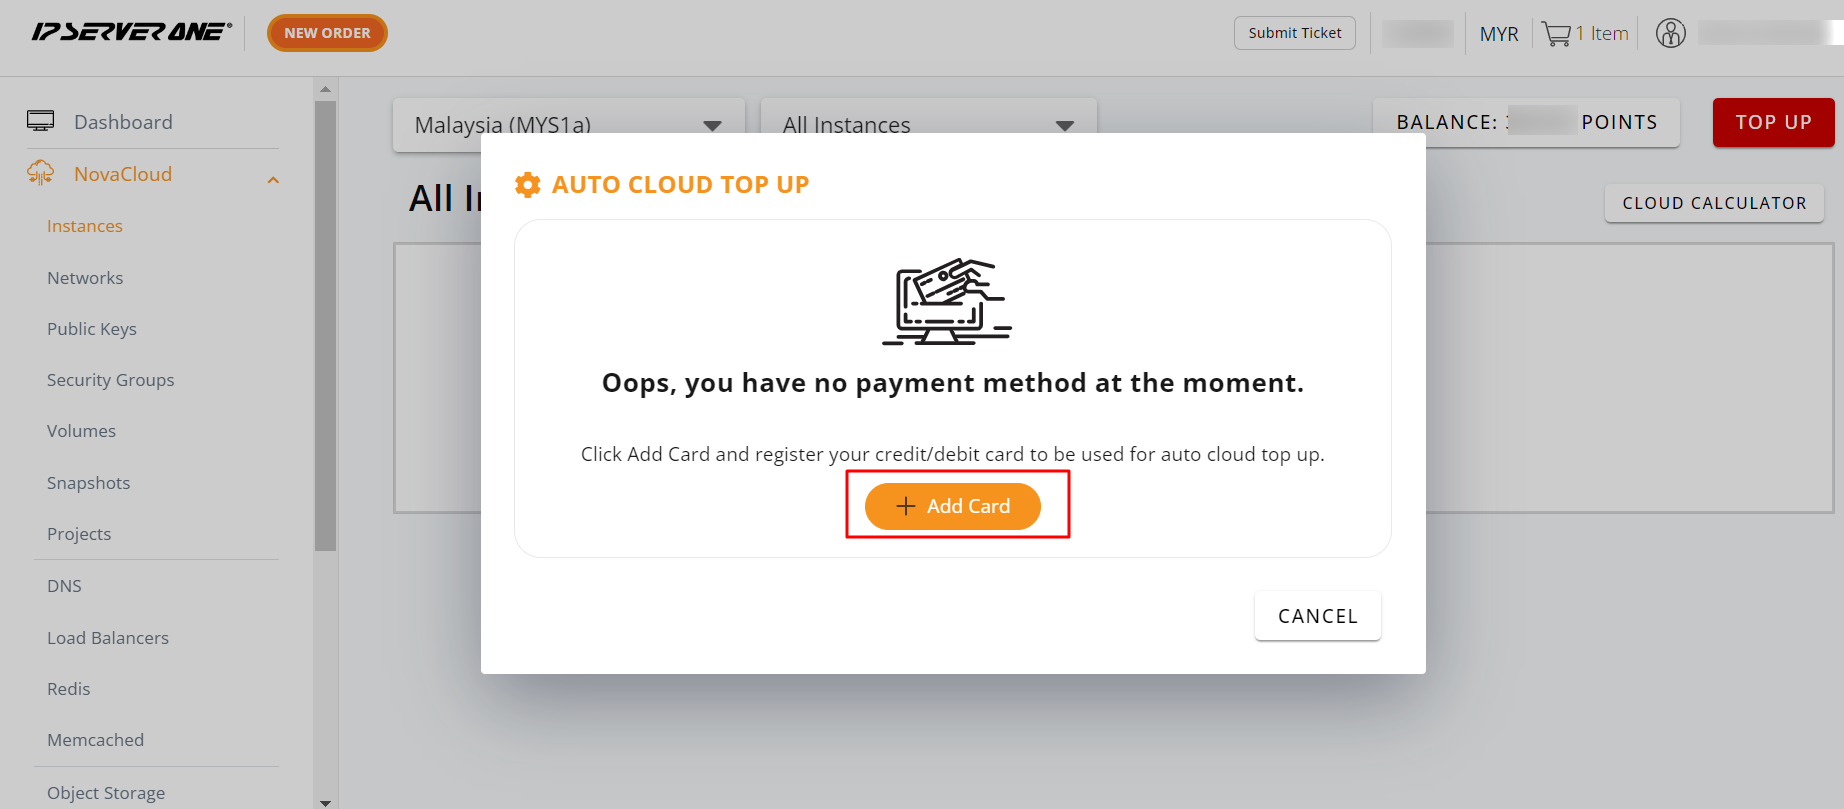
7. Add a new card (if no card saved)
If no debit or credit card is saved, you will be directed to a page where you can click Add Card.
8. Auto top-up successfully enabled
Once completed, a notification stating Auto cloud top-up successfully enabled will appear.

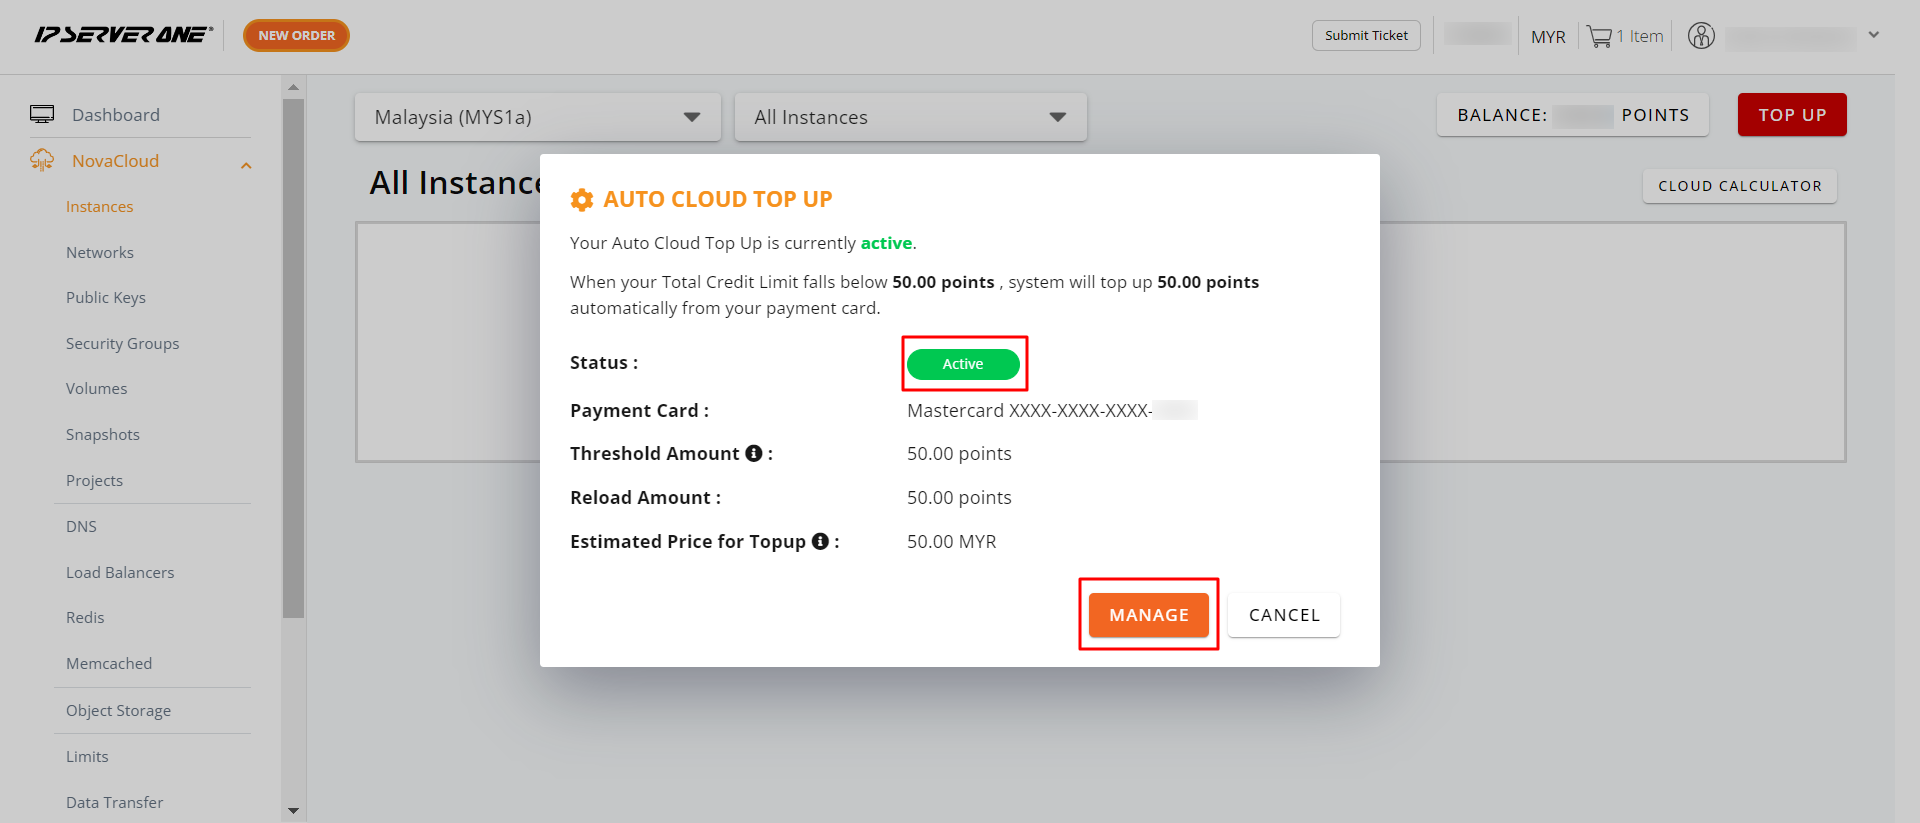
9. Check auto top-up status
To verify the status, click on Available Balance (refer to step 3) and confirm that the Automatic Credit Reload is enabled.
10. Disable auto top-up
If you wish to disable auto top-up, simply click Manage.
Then, uncheck the Tick Box and select Update.
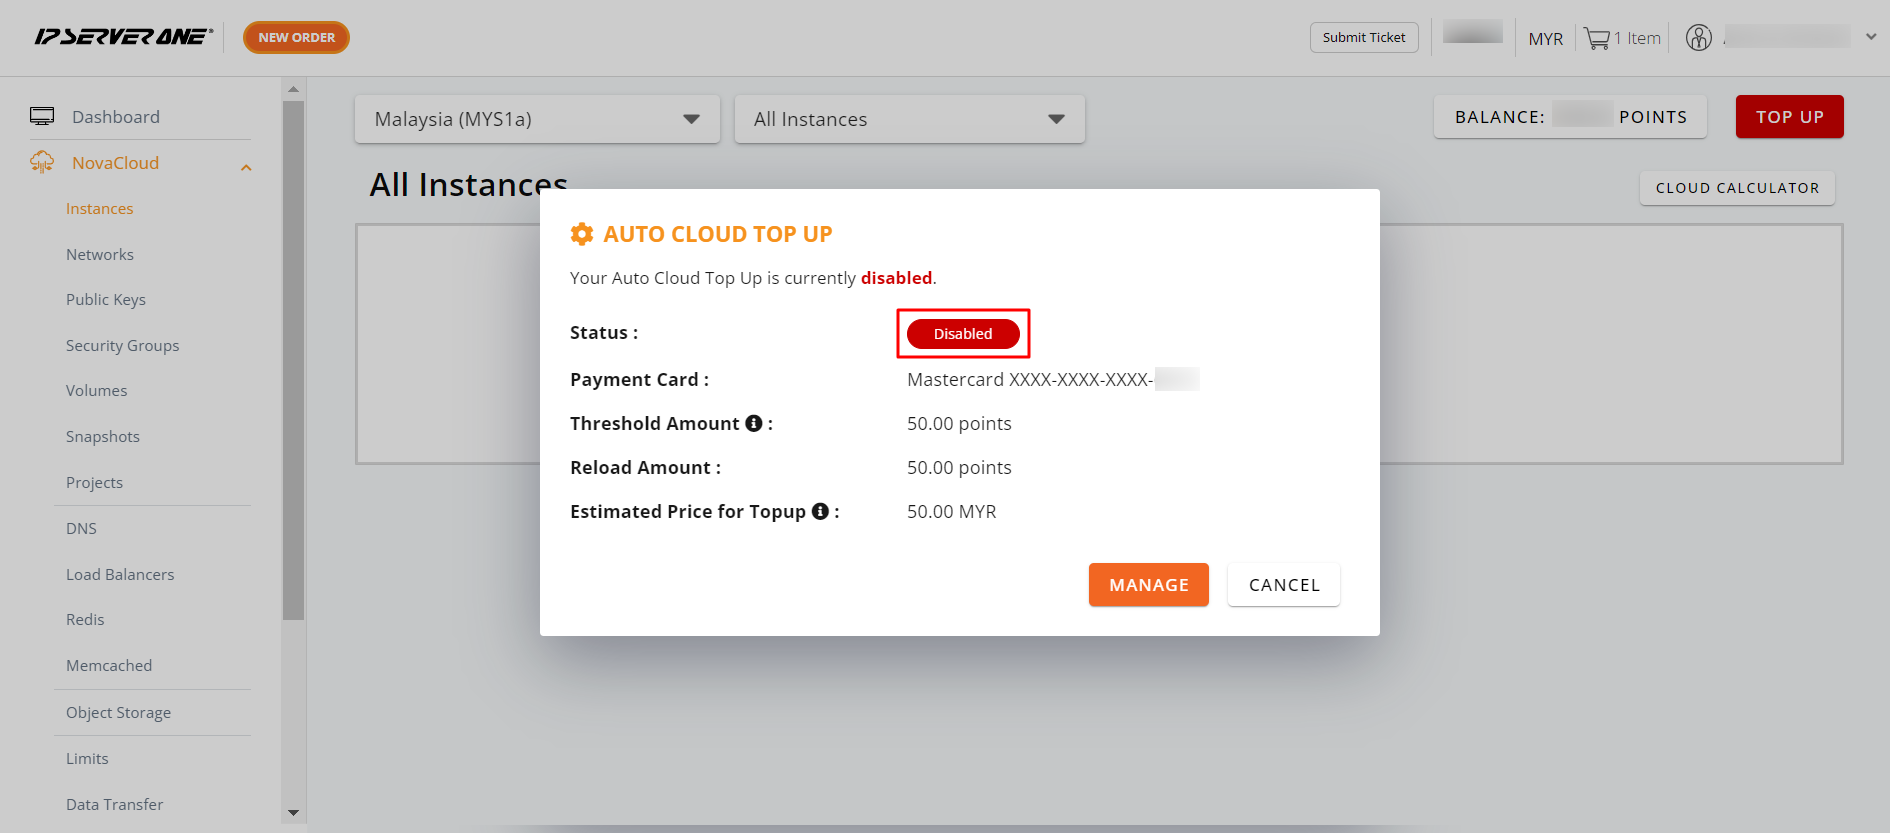
11. Confirm auto top-up disabled
Once disabled, your status will display as Disabled, indicating that the Auto Top-Up feature has been turned off.
Conclusion
Setting up auto top-up in the IP ServerOne portal ensures that your cloud services run smoothly without interruptions due to low credit. This feature saves time and eliminates the need for manual monitoring by automatically reloading your credits. Adjusting the threshold and top-up amounts to fit your usage helps manage costs efficiently. For any further assistance, feel free to reach out to cs@ipserverone.com .
Article posted on 23 March 2021 by Louis.