Search Our Database
Changing the Disk Space for a Domain in SmarterMail
Introduction
Managing disk space allocation in SmarterMail is essential to ensure efficient mail server performance. This guide explains how to modify the disk space assigned to a specific domain within SmarterMail.
Prerequisites
- Administrator access to the SmarterMail web interface.
- Ensure the domain you want to modify is already added to SmarterMail.
Step-by-Step Instructions
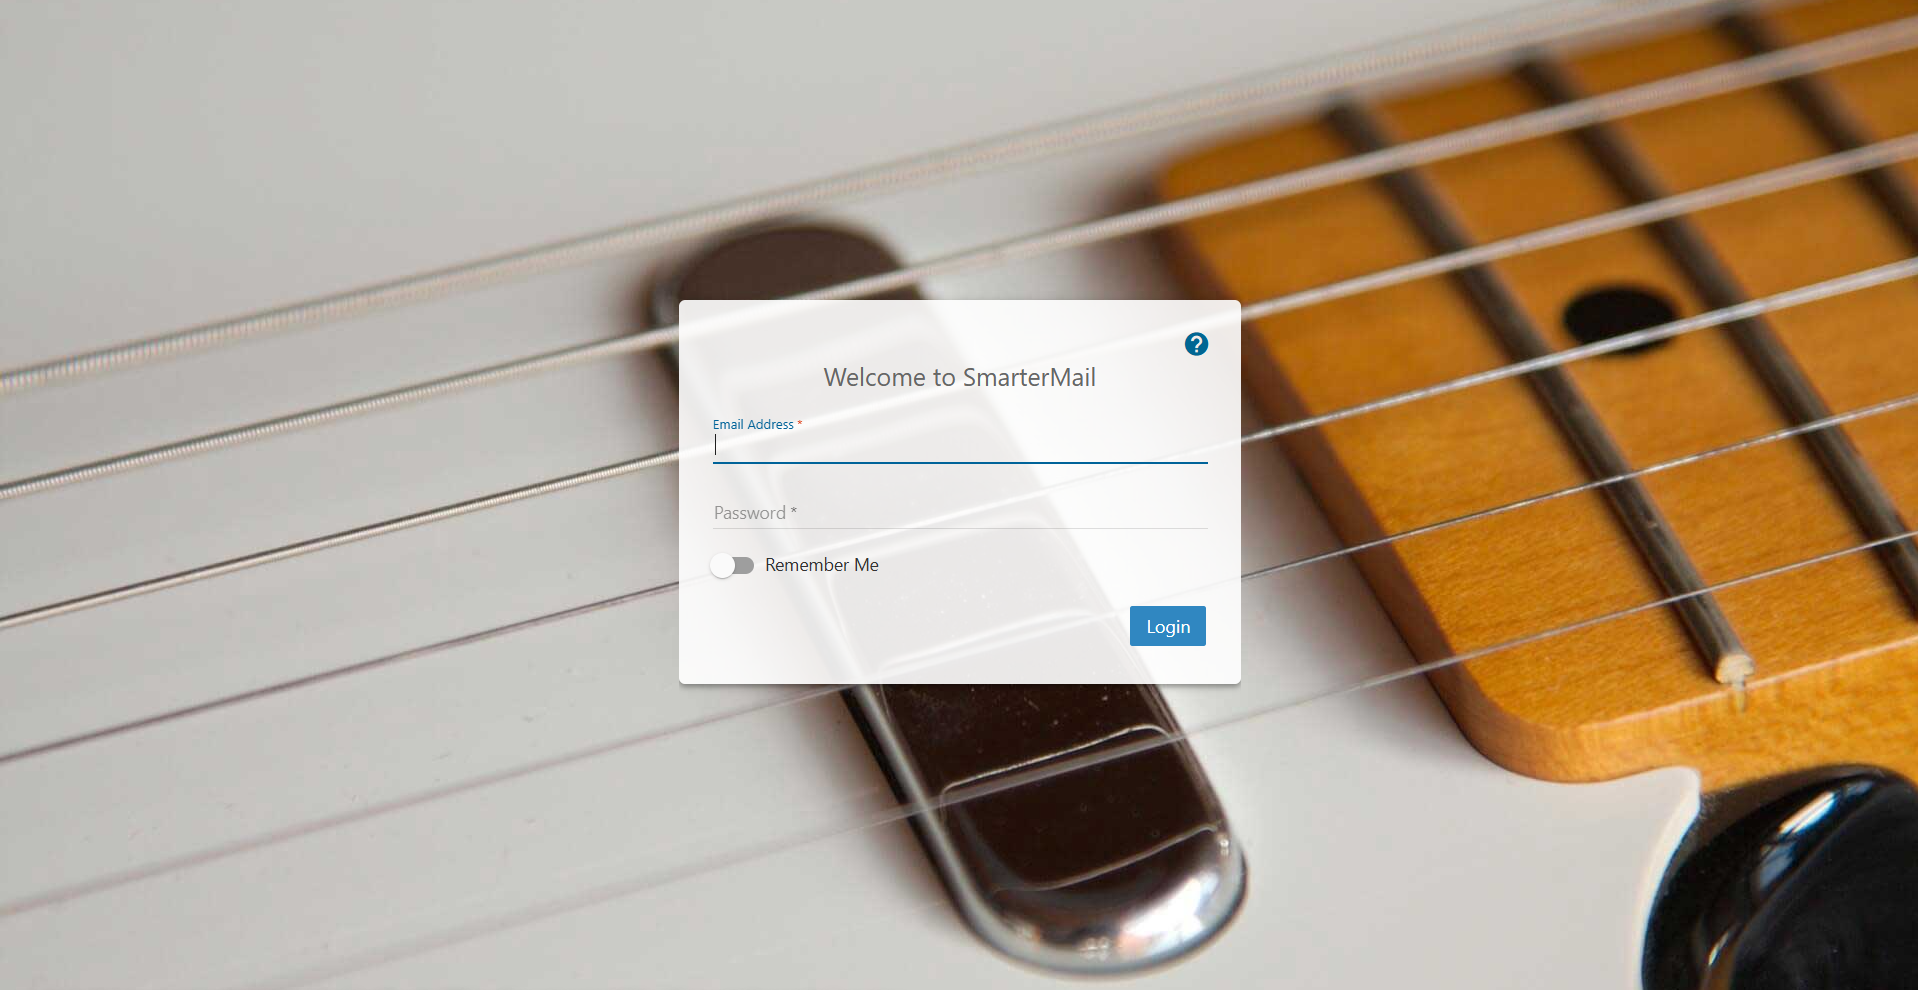
Step 1: Access the SmarterMail Admin Interface
- Log in to the SmarterMail web interface as an administrator.
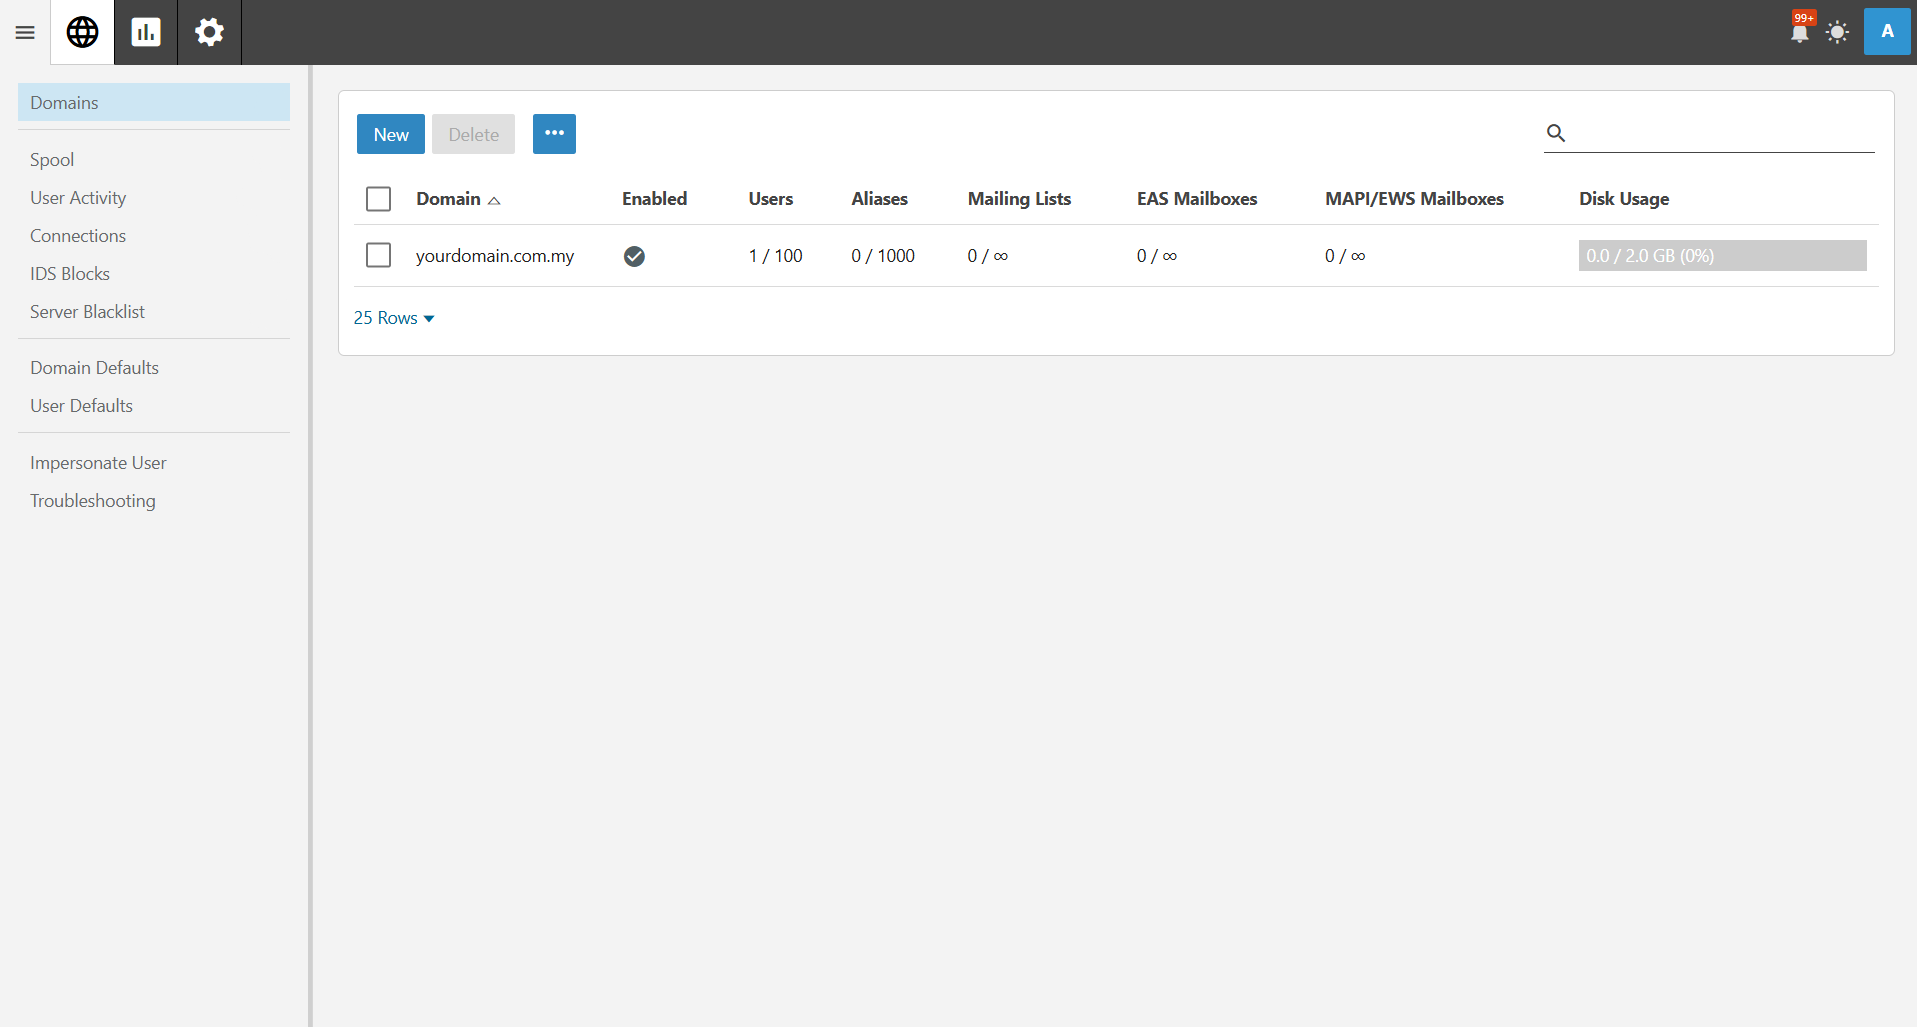
Step 2: Navigate to the related Domain
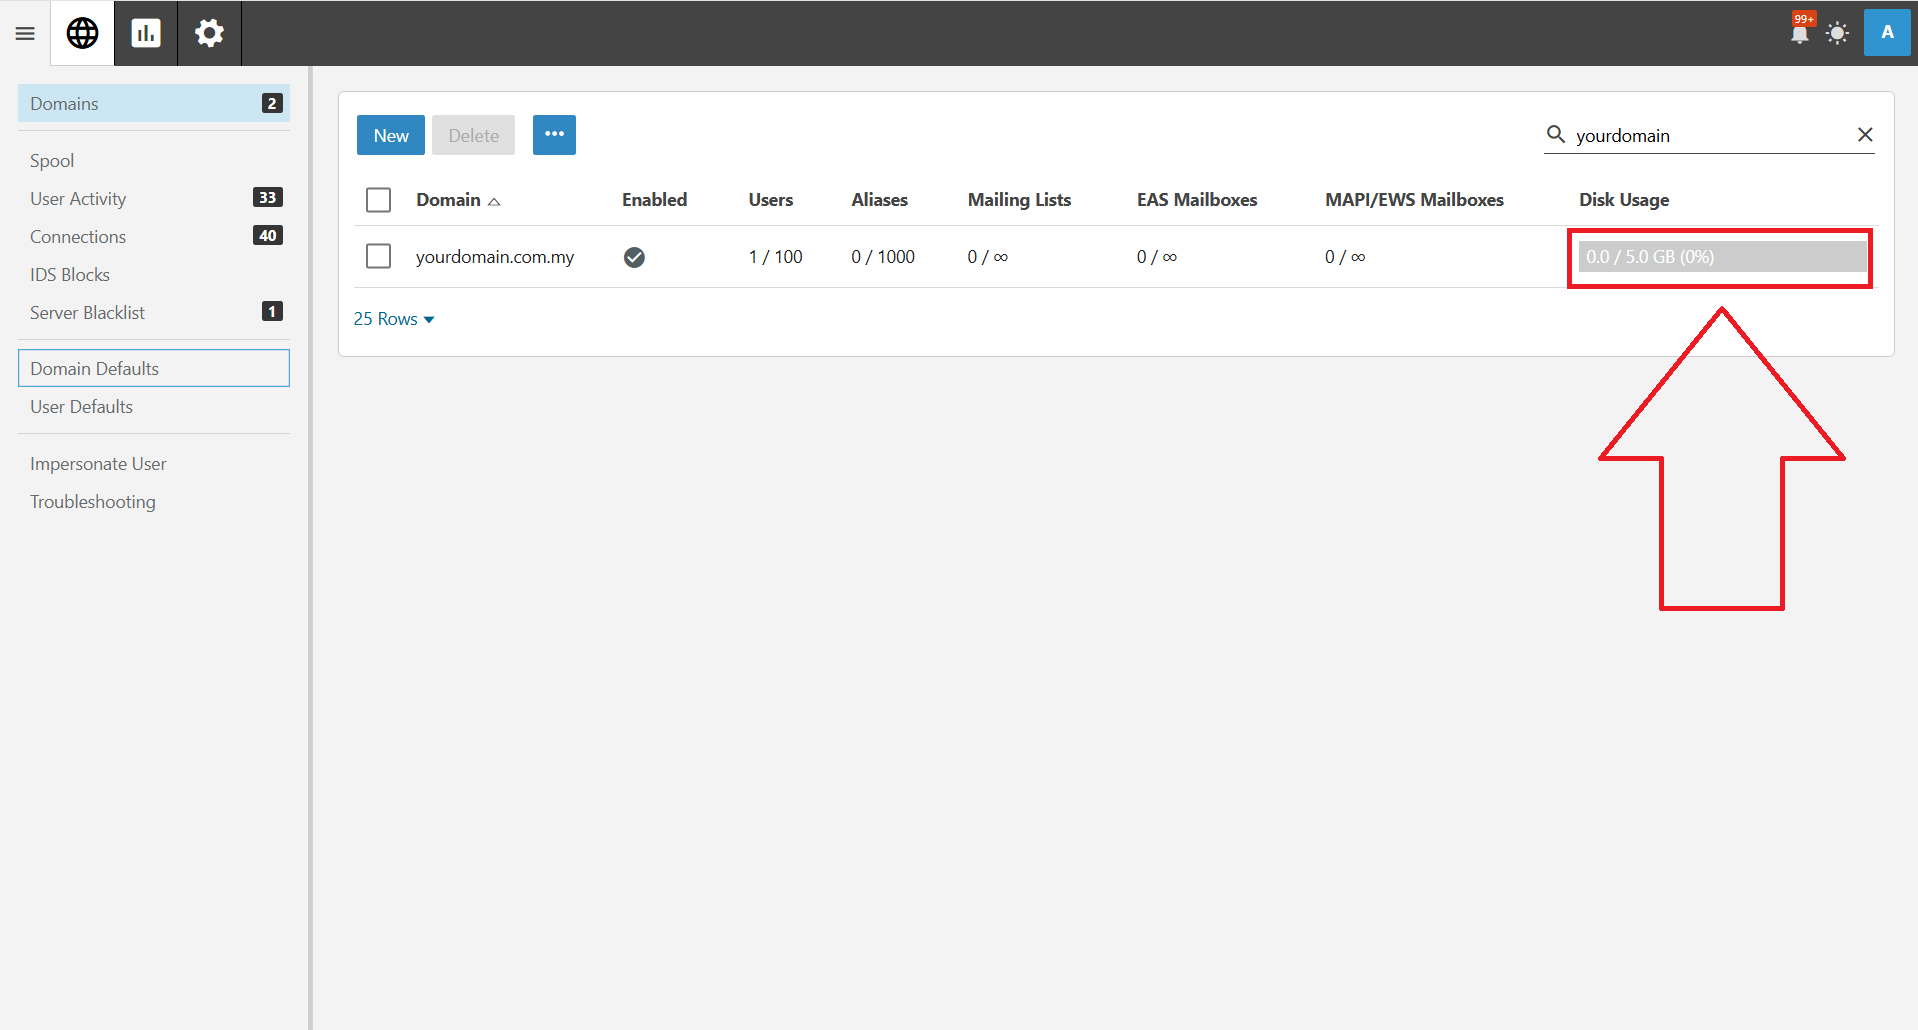
From the main dashboard, search for the domain that you want to change the Disk Space and click on the domain.
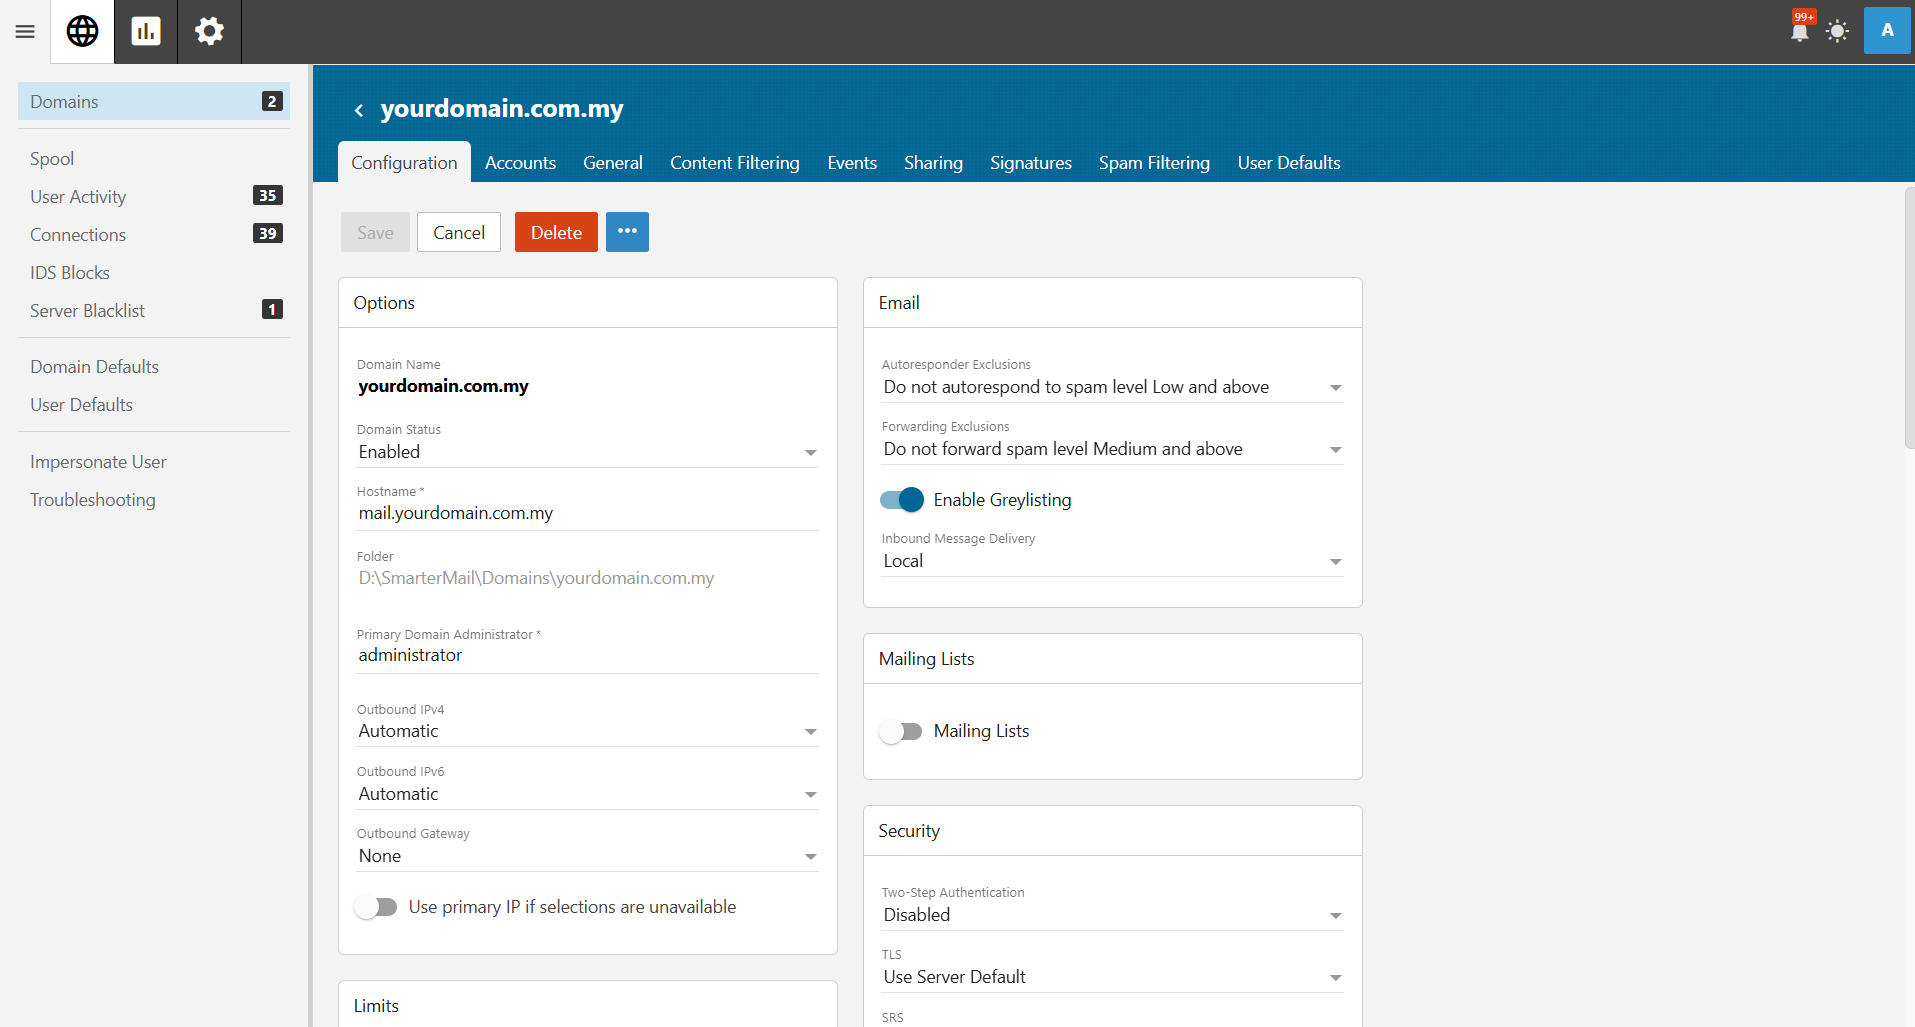
Step 3: Modify Disk Space Allocation
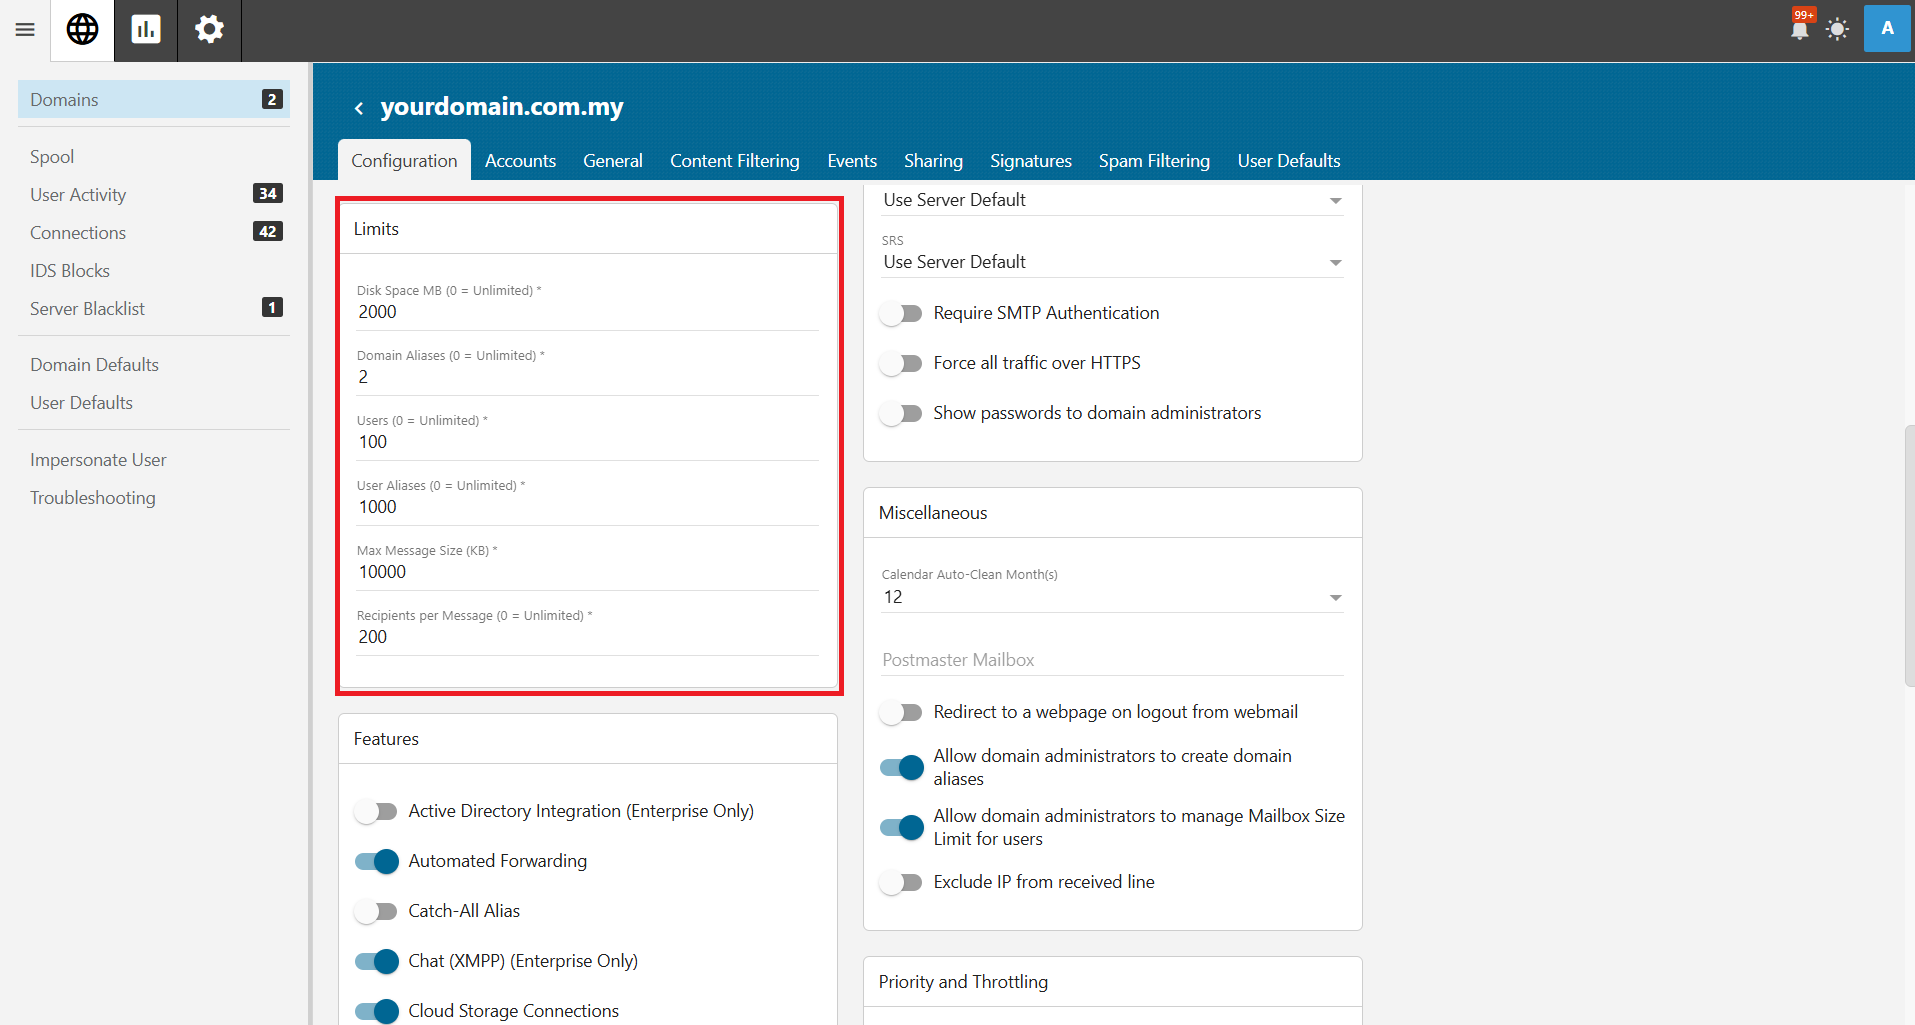
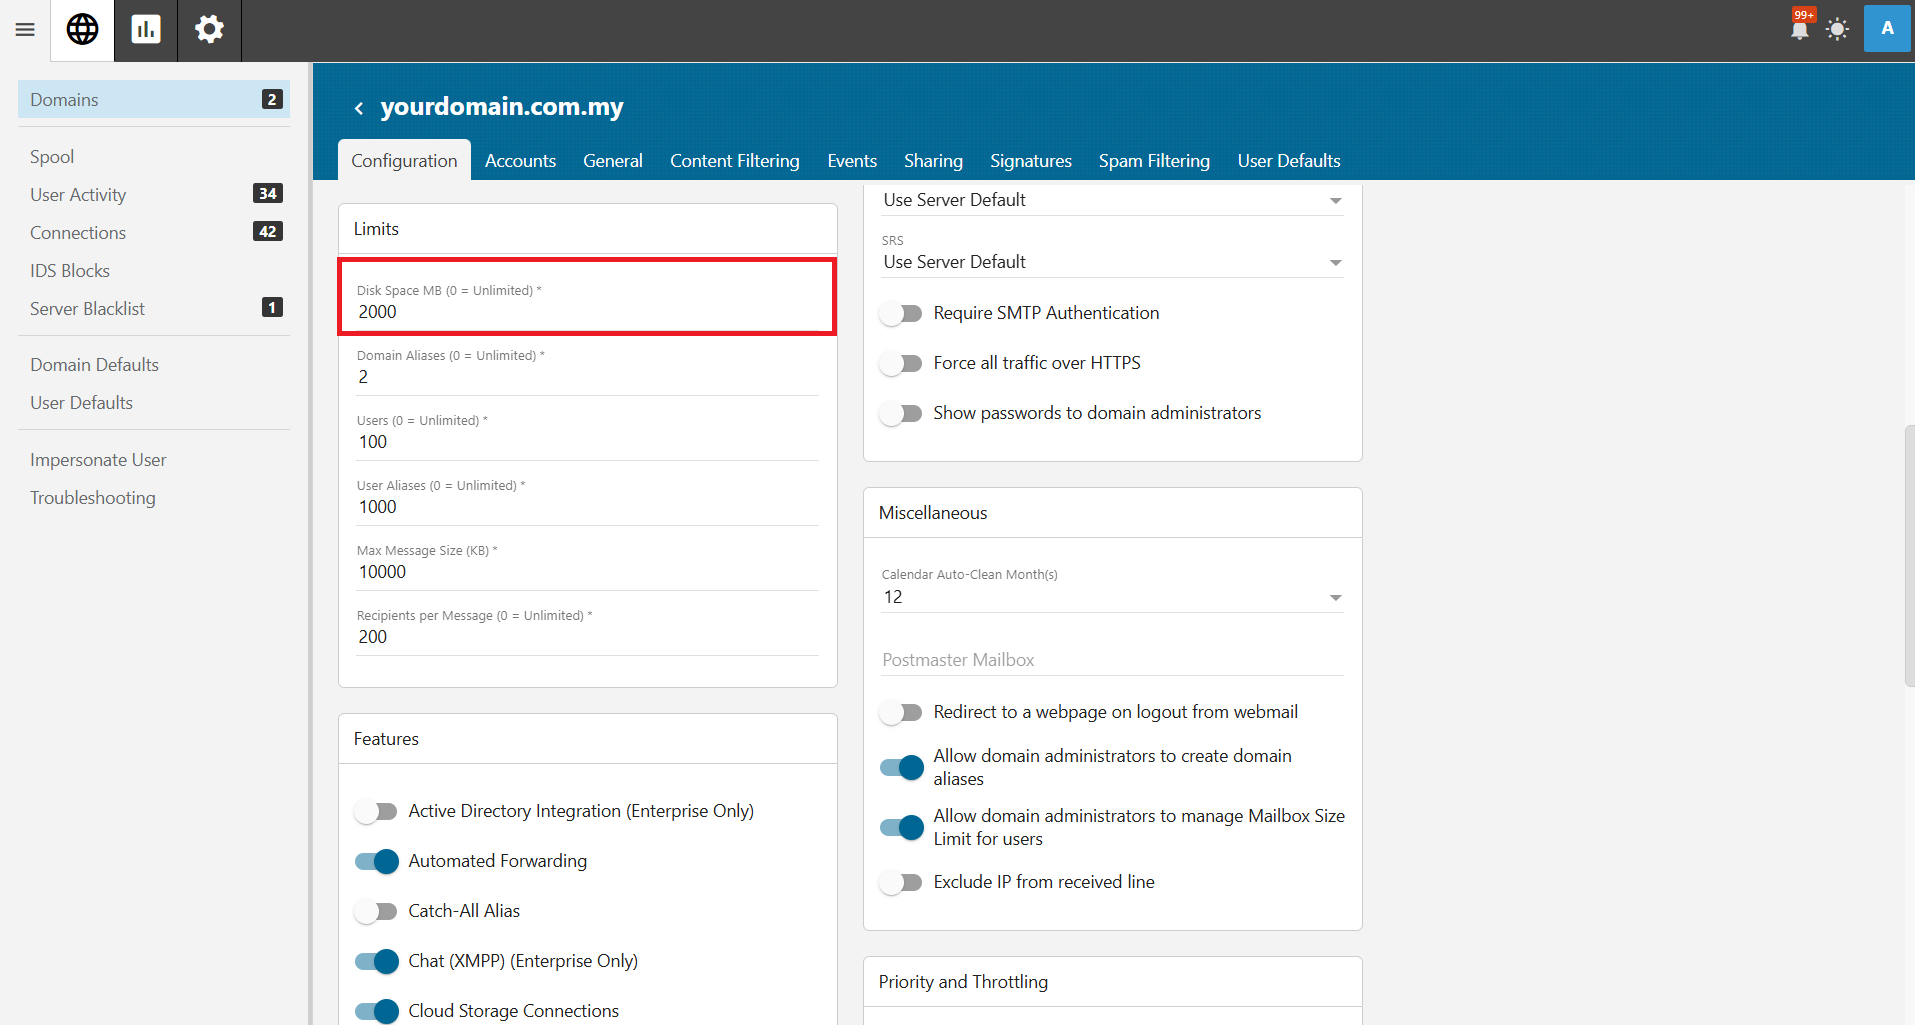
At the Configuration page, scroll down to the Limits tab .Locate the option for Disk Space MB. Enter the new disk space limit in MB as required (1 GB = 1024 MB).
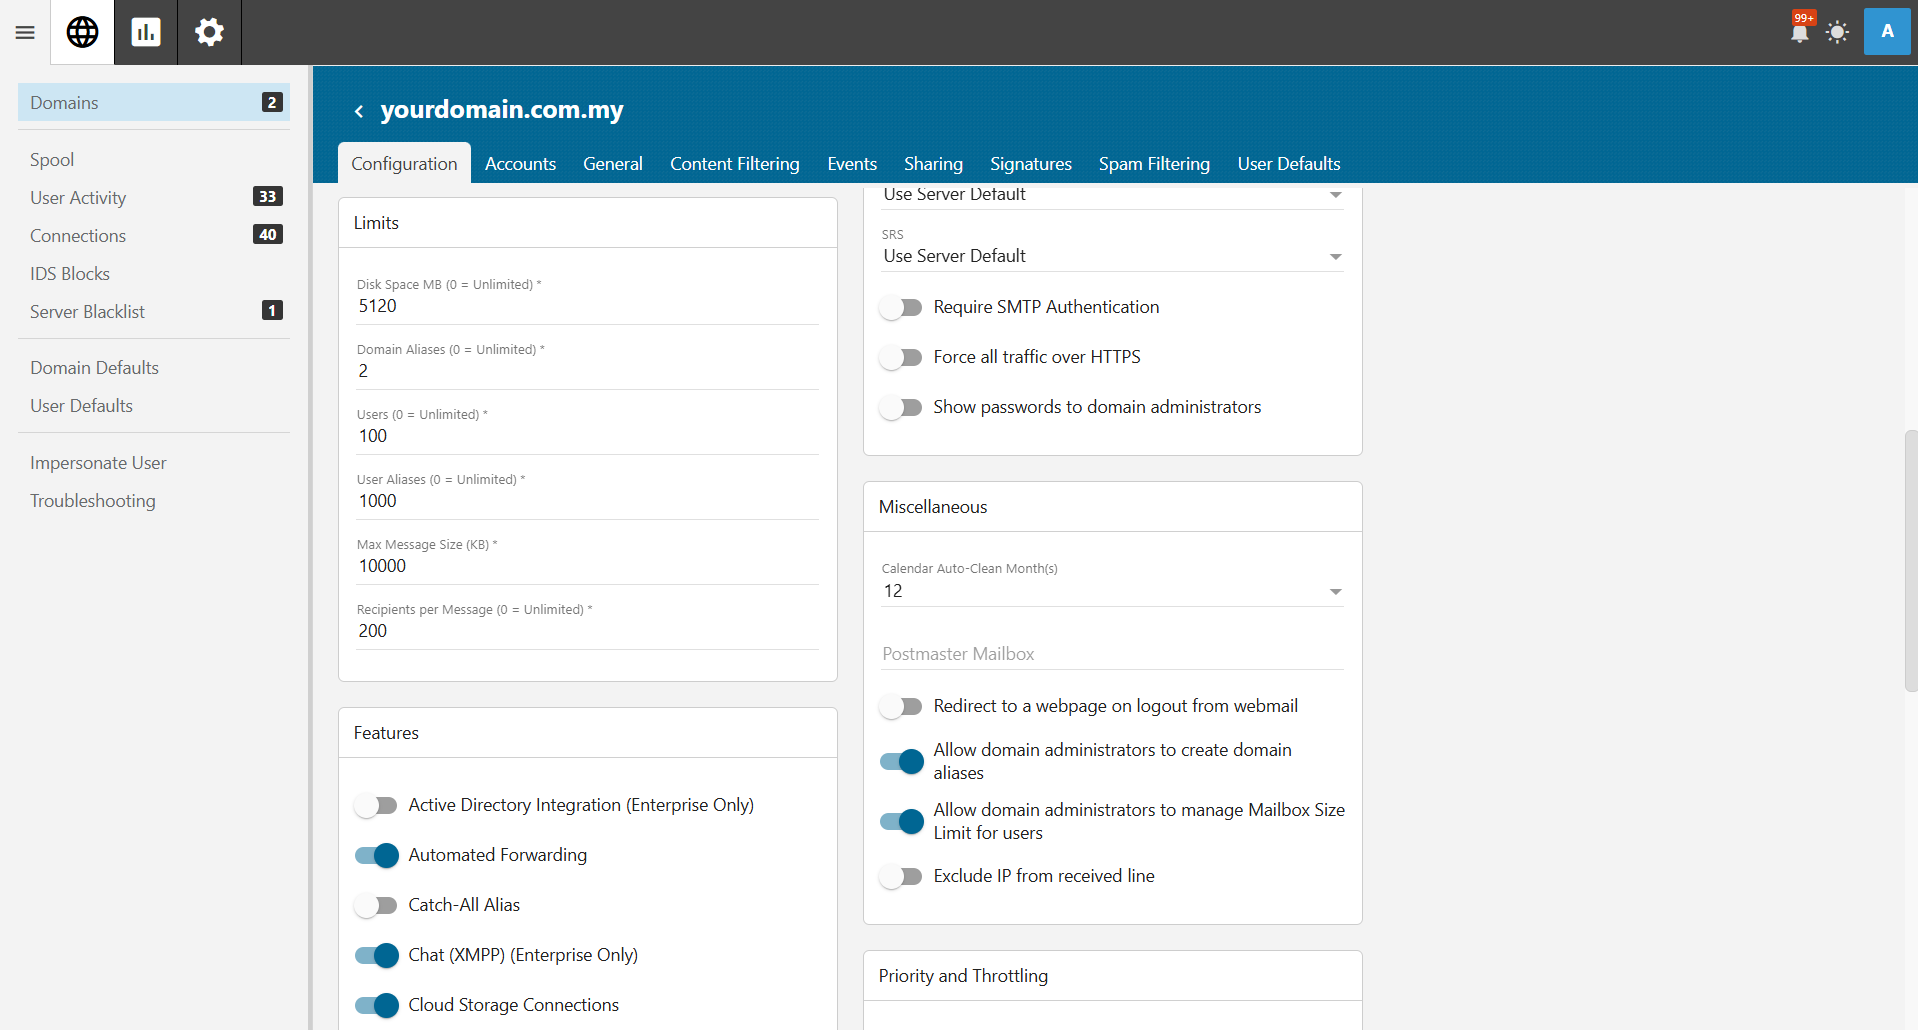
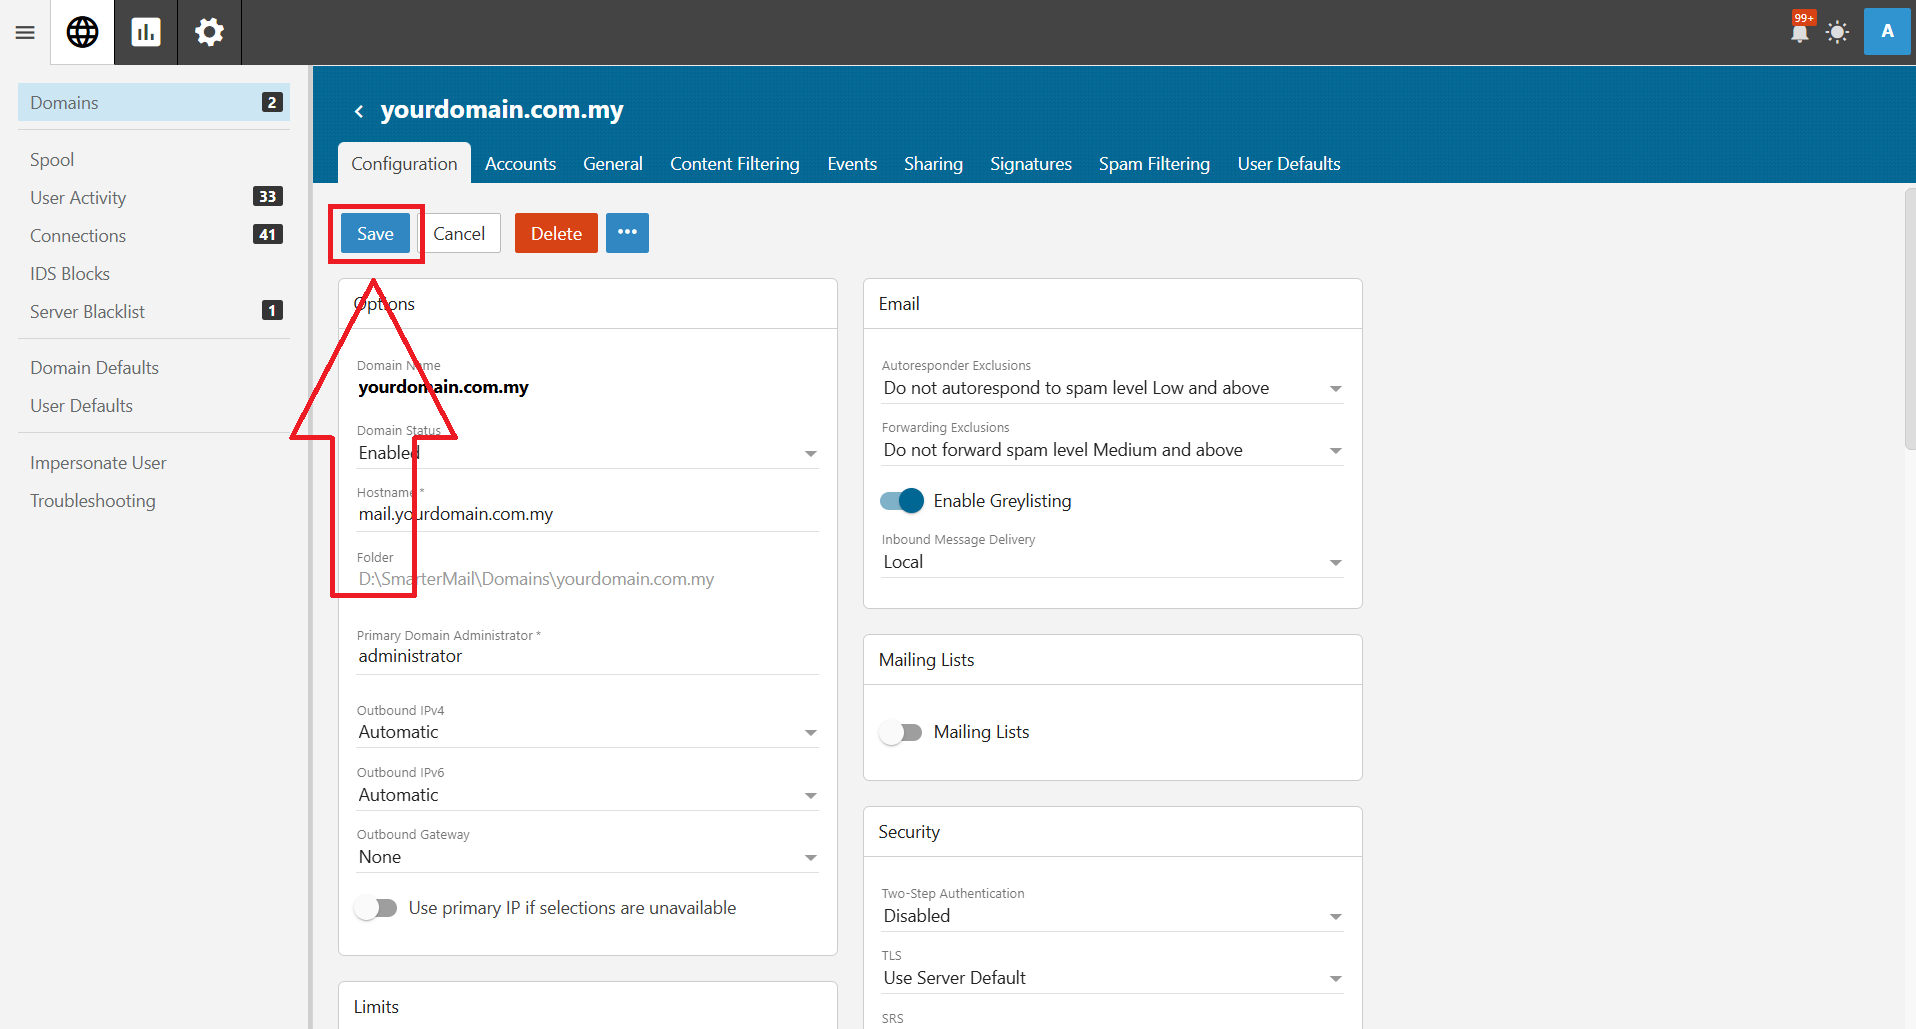
Afterward, click Save to apply the changes.
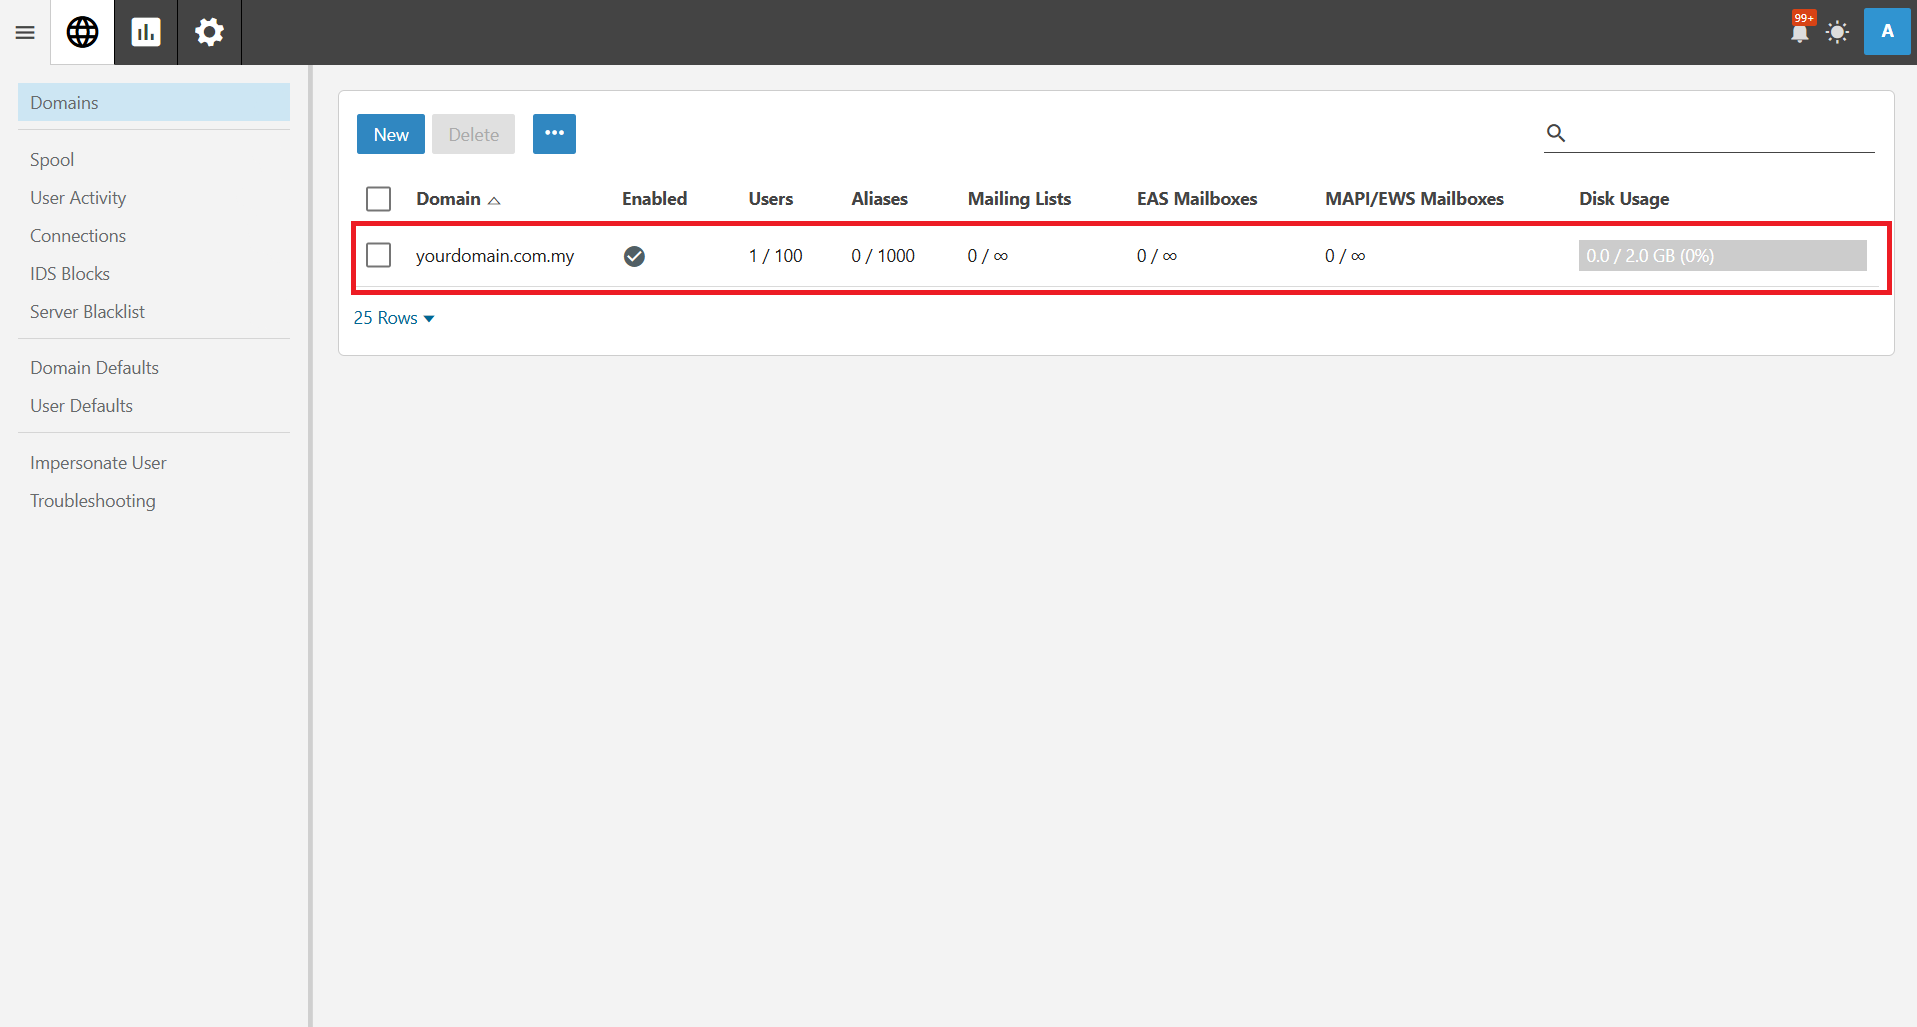
Step 4: Verify the Changes
To ensure the new disk space limit is applied, go back to the domain list and review the updated disk space allocation.
Conclusion
By following these steps, you can successfully adjust the disk space allocated to a domain in SmarterMail. This helps maintain server efficiency and manage storage resources effectively.
If you have any questions or require further assistance, feel free to open a support ticket through your portal account or contact us at +603-2026 1688. Our team is ready to assist you.