Search Our Database
Reconfigure Incoming and Outgoing Existing Email Account on Outlook 2019
Introduction
1. Open Outlook 2019, Click on “File”, then, you need to drop down the account list to select which account you wish to reconfigure.
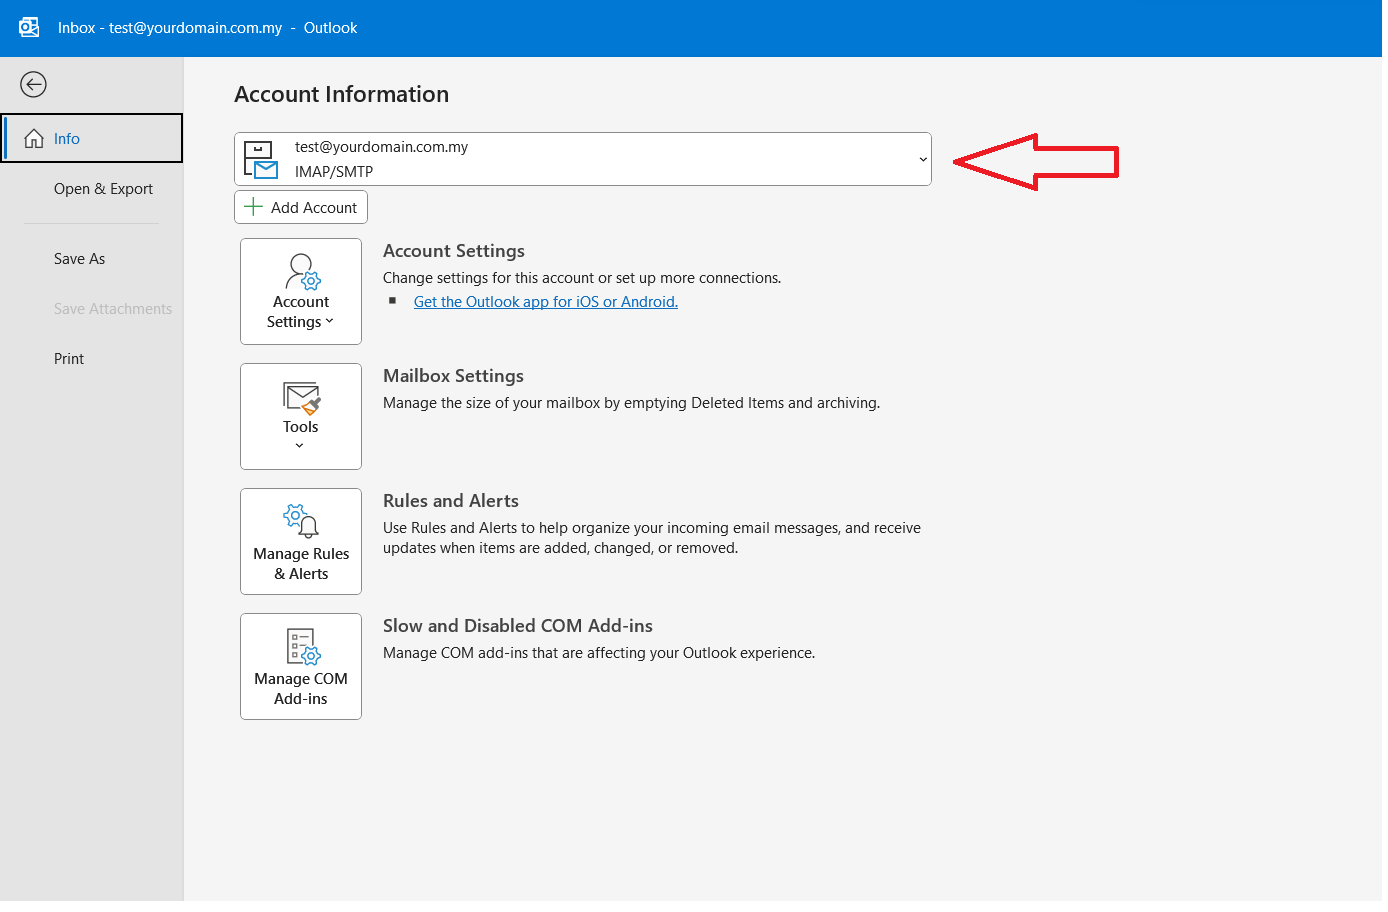
2. After you selected the account, click on Account Settings > Server Settings.
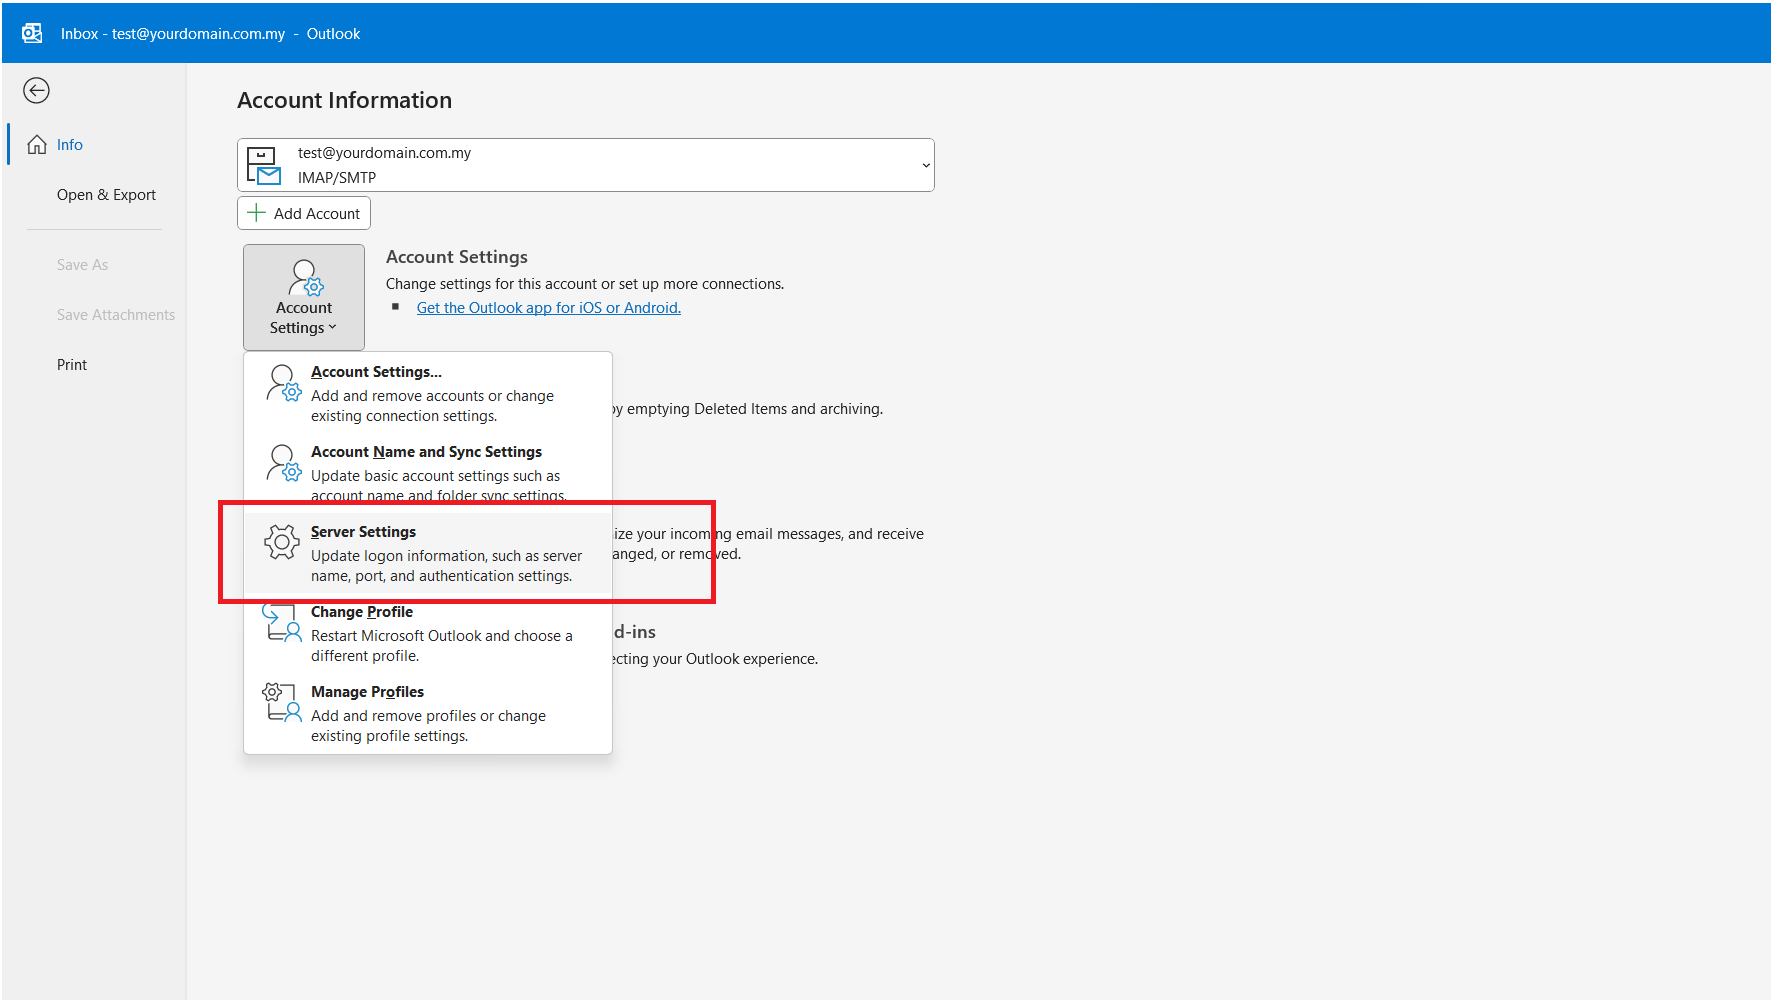
3. In the Server Settings, there is the incoming mail and outgoing mail tab.
4. Click the incoming mail, then, input your username (Email Account), password, server hostname, and port as below. Also, choose SSL/TLS for the encryption method.
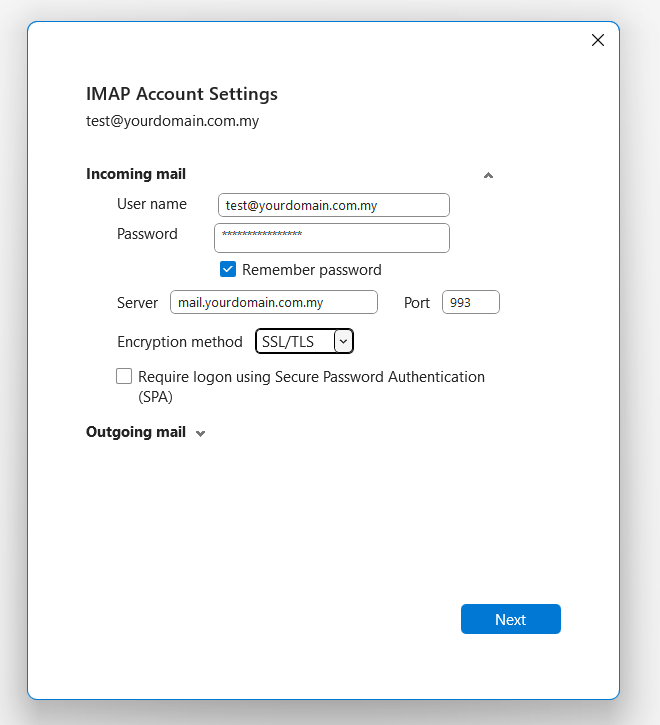
For POP Account Settings
Incoming mail server POP port: 995
Outgoing mail server (SMTP) port: 465
For IMAP Account Settings
Incoming mail server IMAP port: 993
Outgoing mail server (SMTP) port: 465
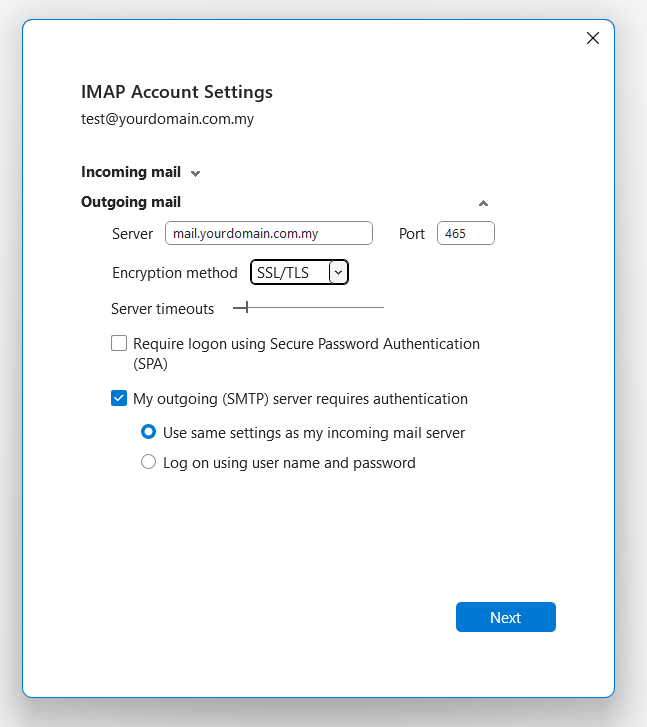
5. For the Outgoing mail, input your Server hostname and also the port as below. Also, choose SSL/TLS for the encryption method. Then, click the next button to complete the settings.
6. Finally, the email account is now successfully configured and it should show the account successfully updated as below.
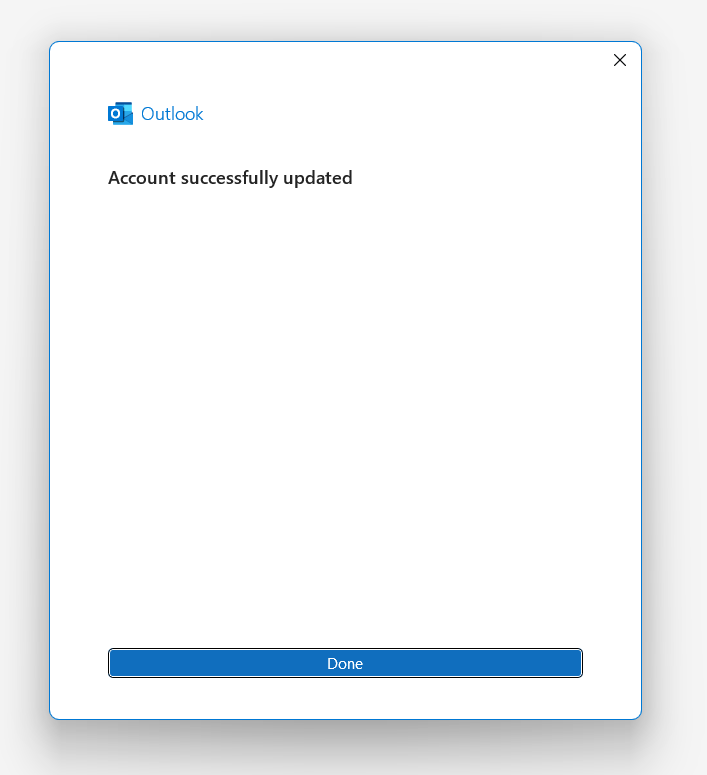
The email account is reconfigured successfully and you may start to send/receive the email in your Outlook 2019.
Conclusion
By correctly configuring your incoming and outgoing email settings in Outlook 2019, you can enjoy a smooth and hassle-free email experience. This setup ensures that you can send and receive emails without interruptions.
Should you have any inquiries about the guidelines, please feel free to open a ticket through your portal account or contact us at support@ipserverone.com. We’ll be happy to assist you further.
Article posted on 13 July 2023