Search Our Database
Enable caching for WordPress
Introduction
WordPress is a widely used CMS platform known for its ease of deployment and use. However, when handling high traffic volumes, WordPress may experience performance issues. To mitigate this, caching becomes a crucial component in optimizing WordPress for better performance and scalability.
This guide will walk you through the steps to install and enable a caching plugin in your WordPress site.
Prerequisites
- Access to the WordPress admin dashboard with administrative privileges.
Step-by-Step Guide
Step 1: Install the W3 Total Cache plugin
- Navigate to wp-admin and log in as the administrator.
- Once logged in, go to Plugins -> Add New, search for the W3 Total Cache plugin, and install it.
Step 2: Activate the plugin and configure settings
- After installation, activate the plugin.
- Navigate to wp-admin -> Performance -> General Settings.
- Configure the following settings:
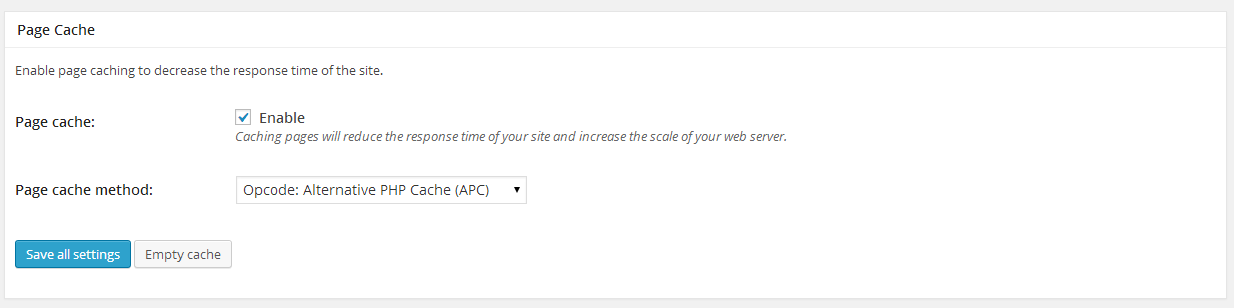
- Page Cache
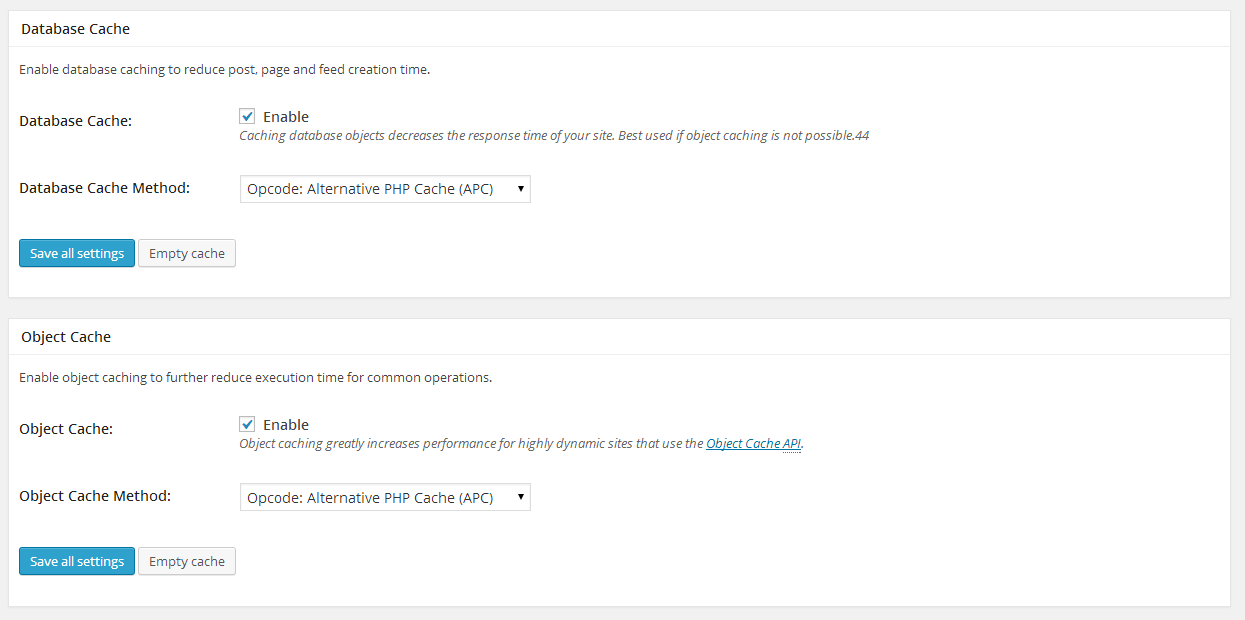
- Database Cache
- Object Cache
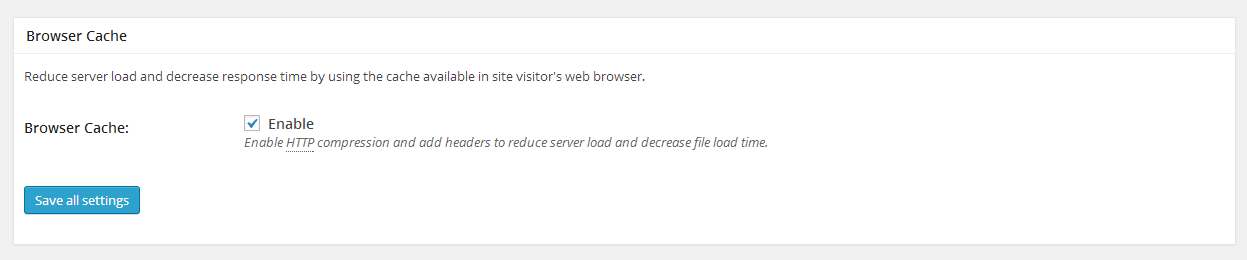
- Browser Cache
Step 3: Save your configuration
- Once the necessary cache options are enabled, click Save Settings to apply the configuration.
Conclusion
By following these steps, your WordPress site will be optimized with caching enabled, allowing it to handle higher traffic efficiently.
For additional assistance or if you encounter any issues, please contact our support team at support@ipserverone.com.
Article posted on 14 April 2020 by Louis