Search Our Database
FileZilla timeout settings
Introduction
FileZilla is a cross-platform FTP application that allows users to access server files without directly logging into the server interface. One of FileZilla’s key features is the Timeout function, which automatically disconnects the session after a specific period of inactivity (default is 20 seconds). Upon disconnection, users must re-enter their password to log in again. Depending on your needs, you may want to extend the timeout duration or set an instant disconnect.
This guide will walk you through the steps to change the timeout interval in FileZilla.
Prerequisite
- FileZilla was installed in your PC
Step-by-Step Guide
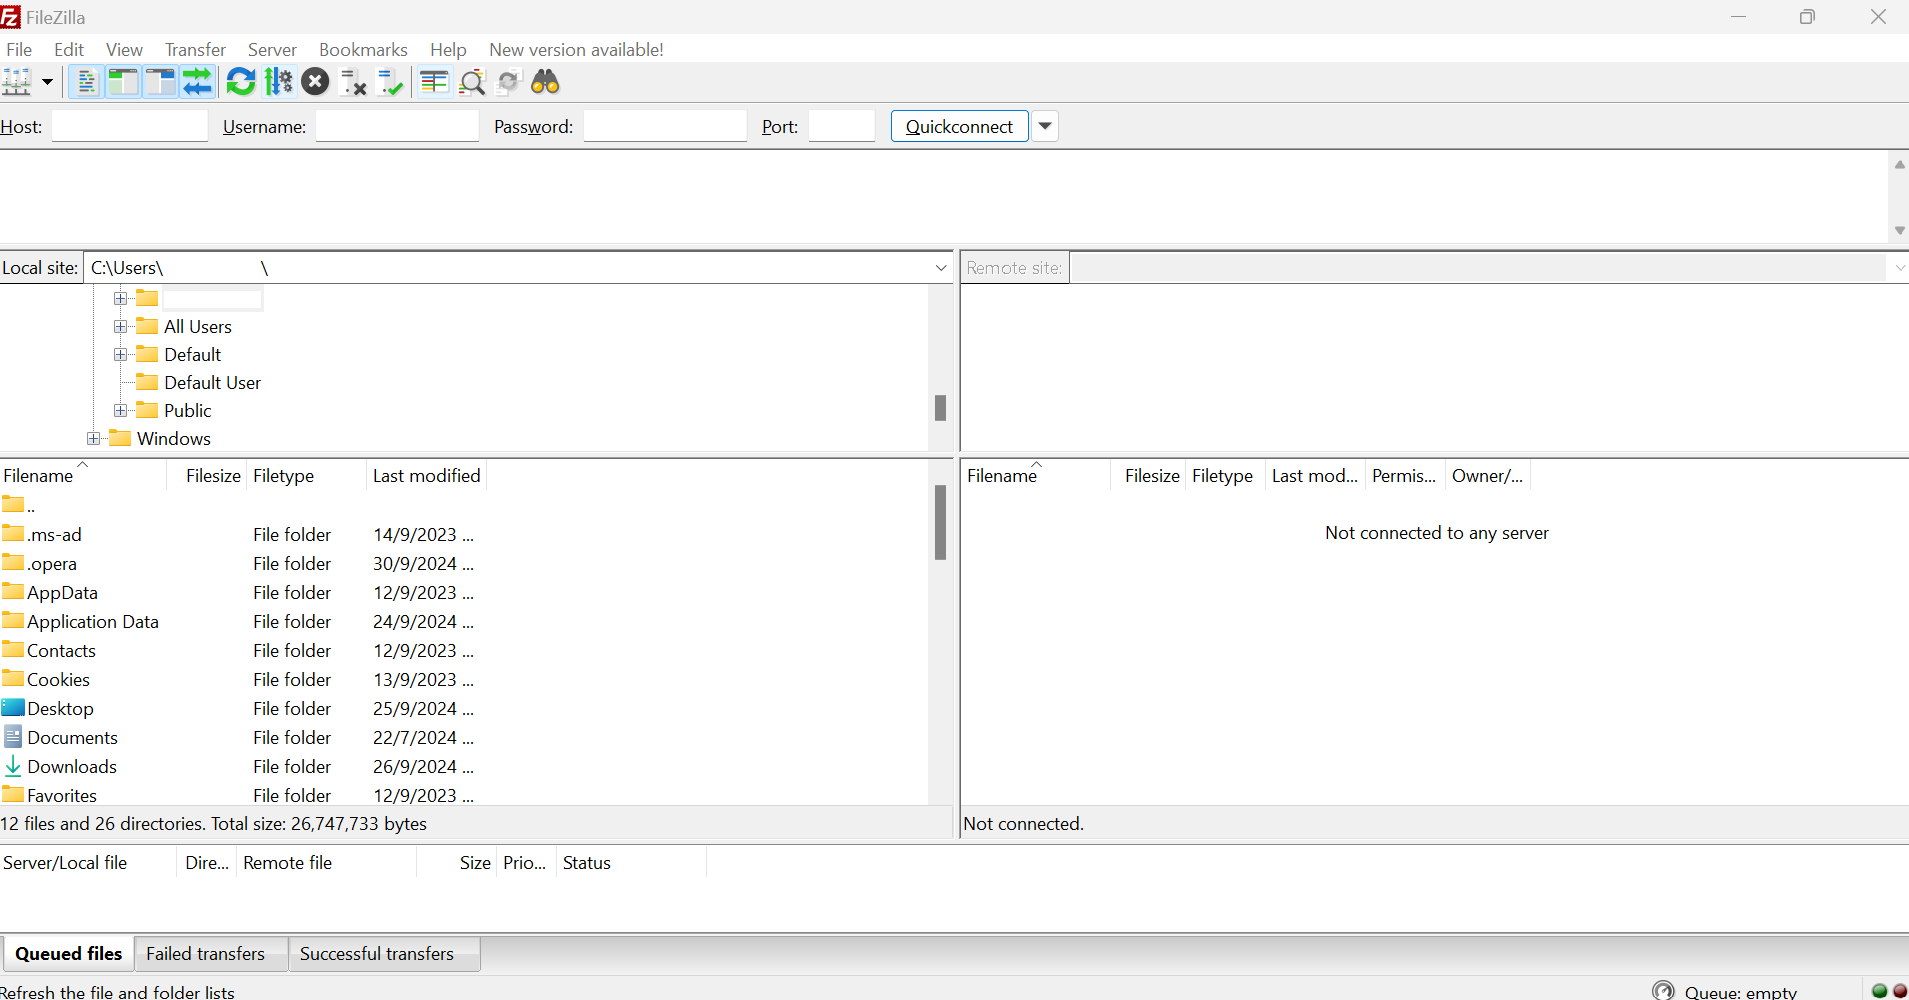
Step 1: Open FileZilla
- Launch the FileZilla FTP client on your computer.
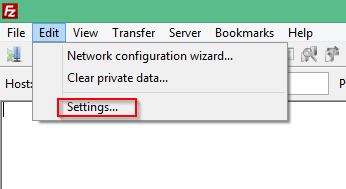
Step 2: Access the Settings menu
- In the menu bar, click on “Edit” and select “Settings…” from the dropdown menu.
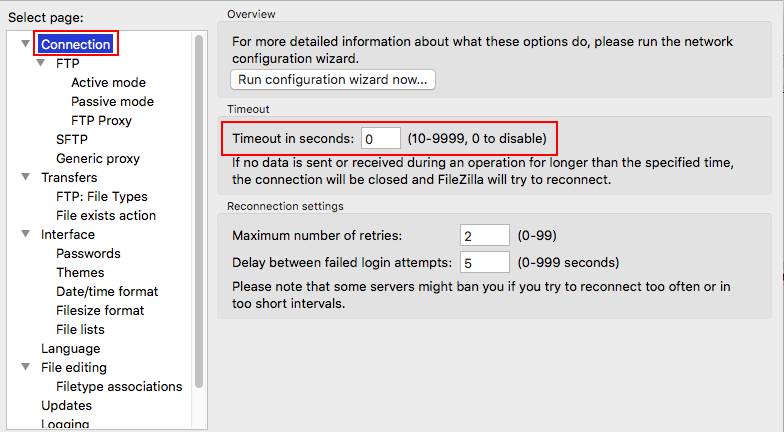
Step 3: Change the timeout interval
- In the Connection section, locate the field where you can adjust the timeout interval.
- The default value is set to 20 seconds.
- To disable the timeout, set the interval to 0 seconds.
Step 4: Save the changes
- Click “OK” to save your new timeout settings.
Conclusion
By following these steps, you can easily adjust the timeout interval in FileZilla according to your preferences.
For additional assistance or if you encounter any issues, please contact our support team at support@ipserverone.com.


