Search Our Database
Guidelines for assigning secondary users, configuring roles, and setting notifications in the Customer Portal
Introduction
This guide outlines how to assign secondary users (also known as delegate access), set the roles, and customize notification emails for each user. This functionality simplifies team management by ensuring that each member has the appropriate access for their responsibilities and receives relevant notifications. Follow these steps to efficiently grant access, set roles, and configure notifications.
1. Access My Account and Delegate Access
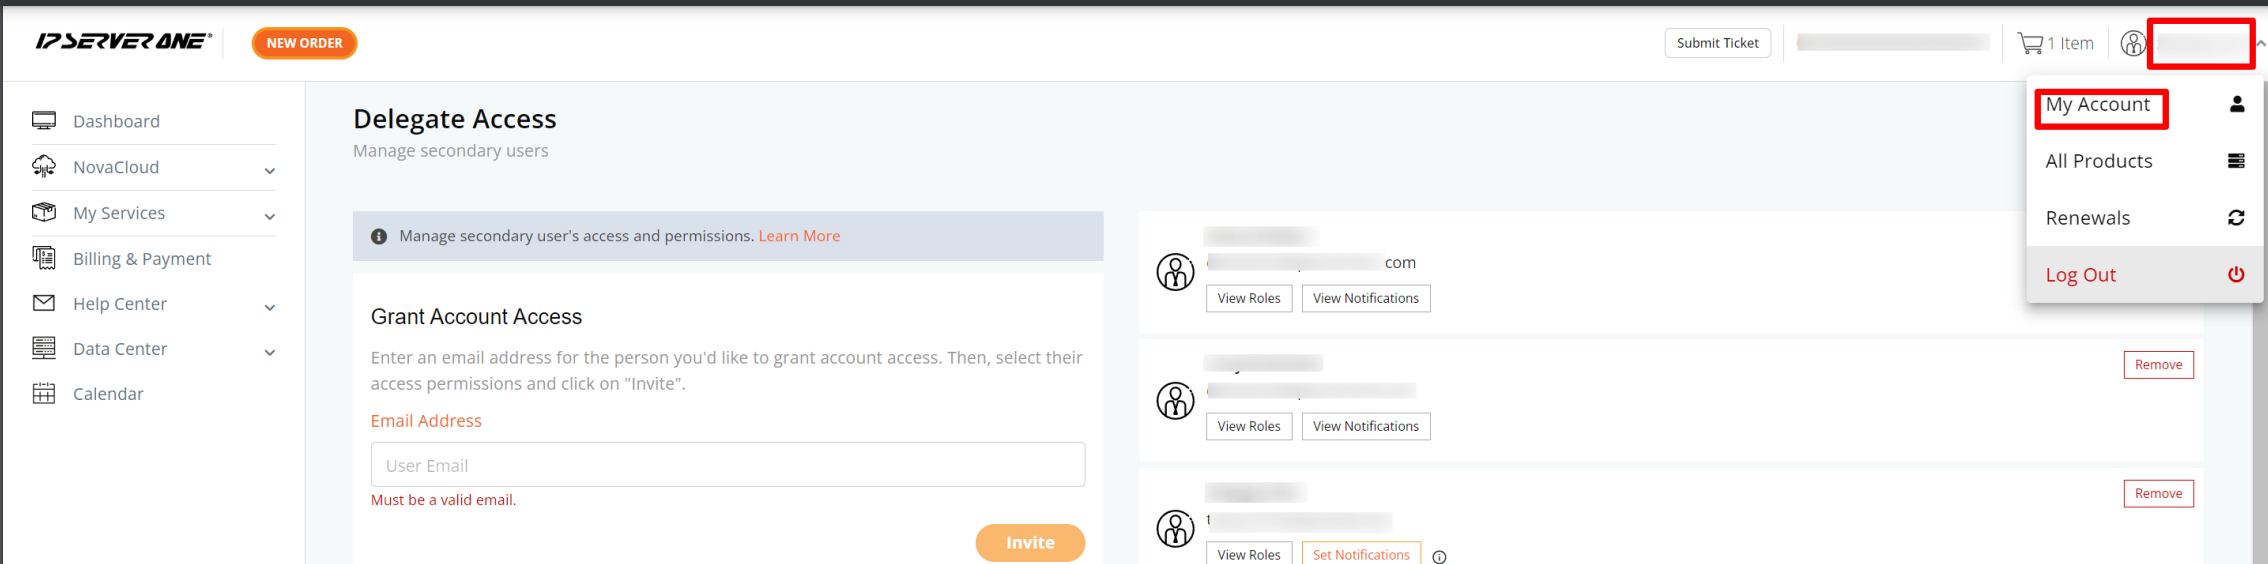
Once logged in, click on your username in the top-right corner and select My Account from the dropdown menu.
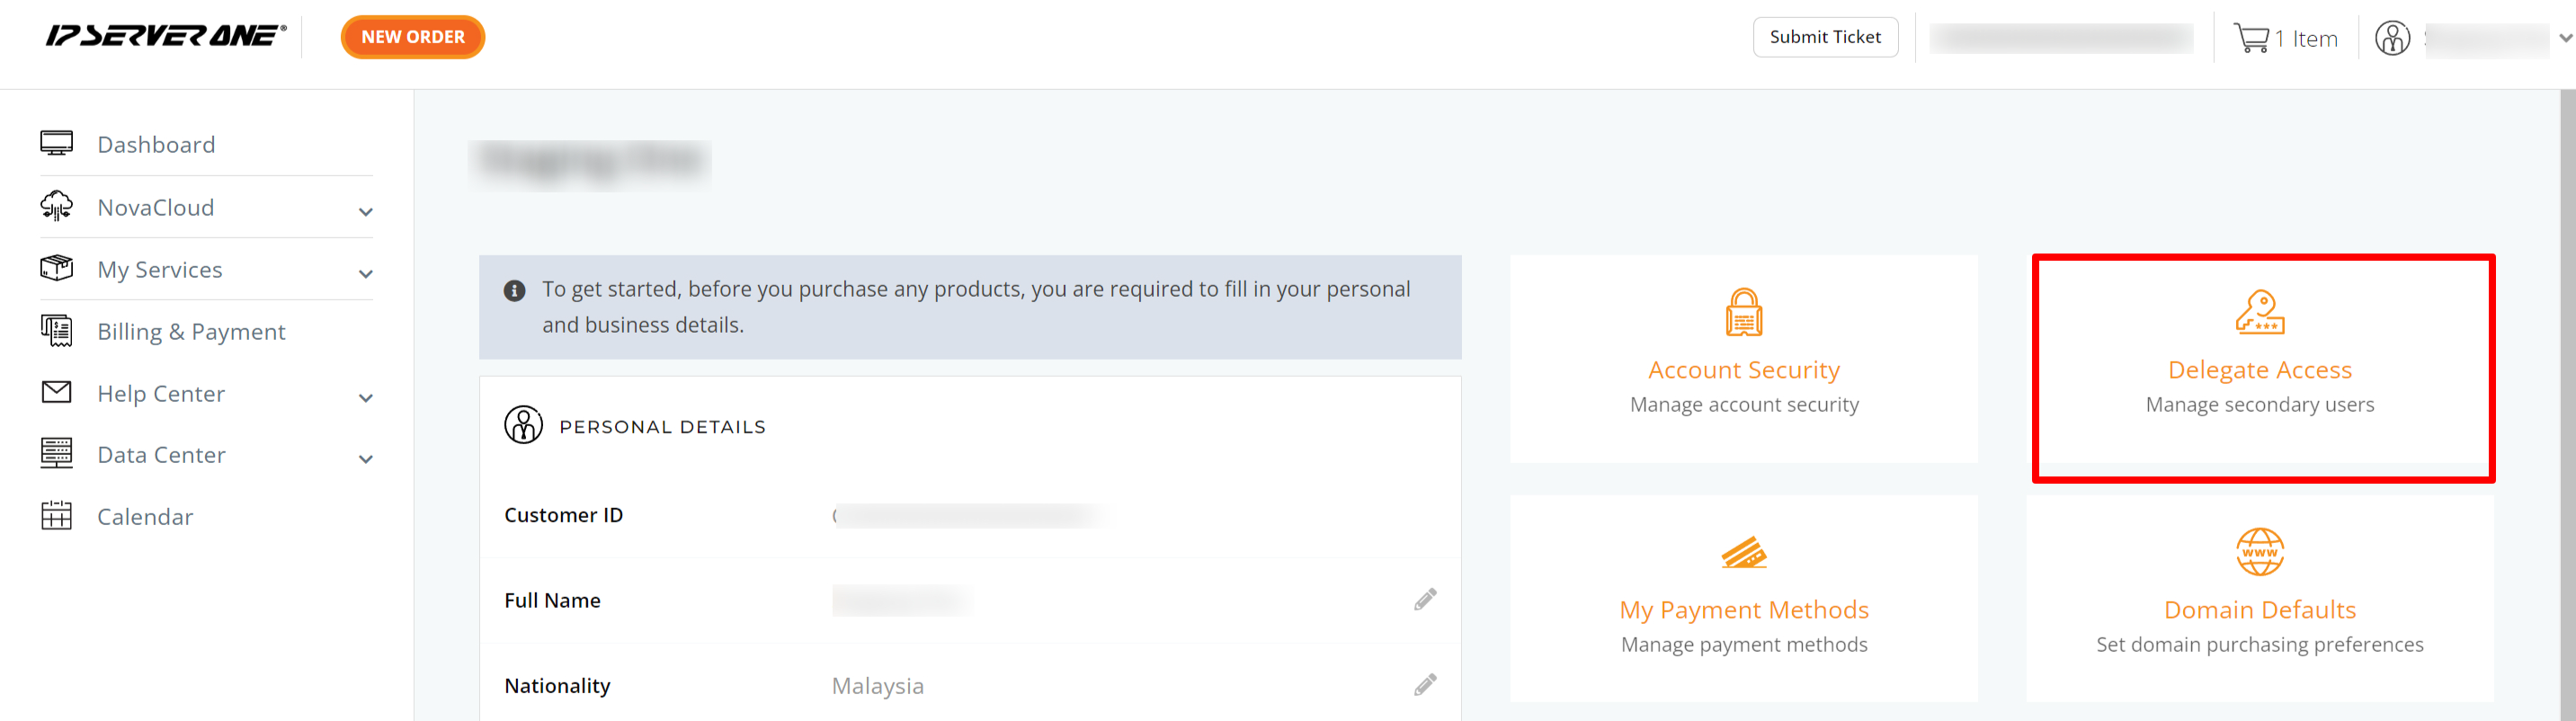
On the next page, select Delegate Access.
2. Enter Secondary User’s Email and Set Roles Permissions
Enter the secondary user’s email address, then choose the appropriate permissions. You can assign multiple roles and click Invite.
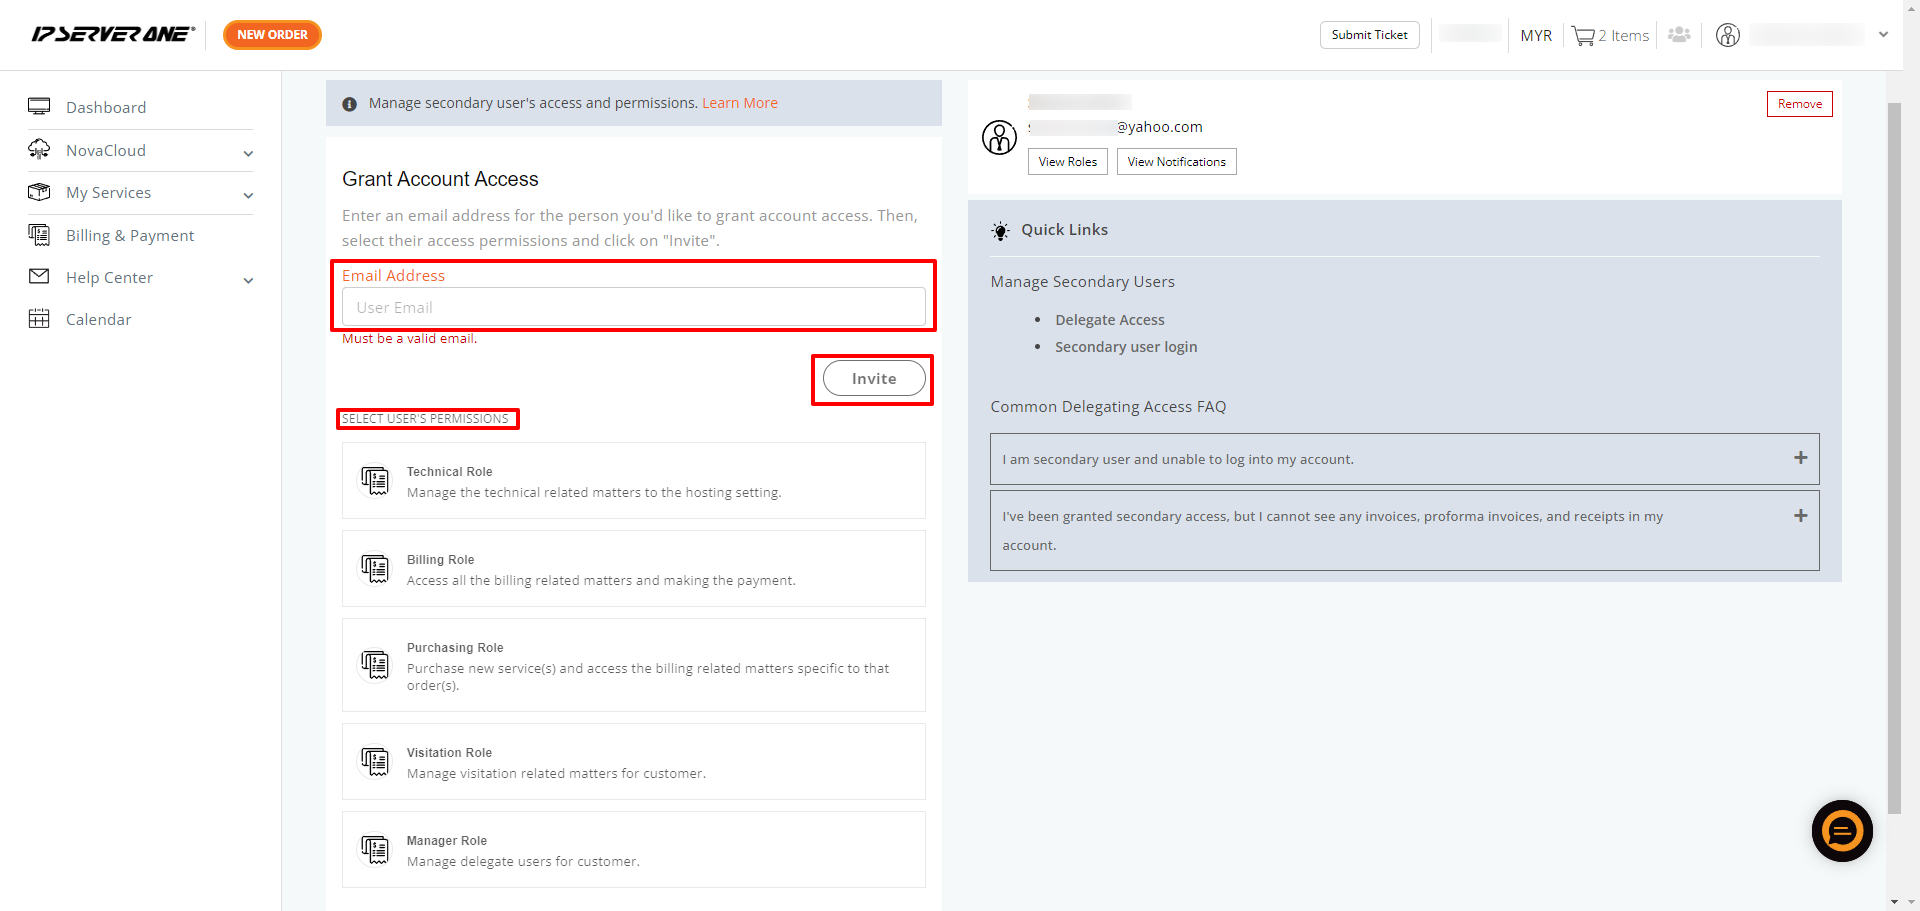
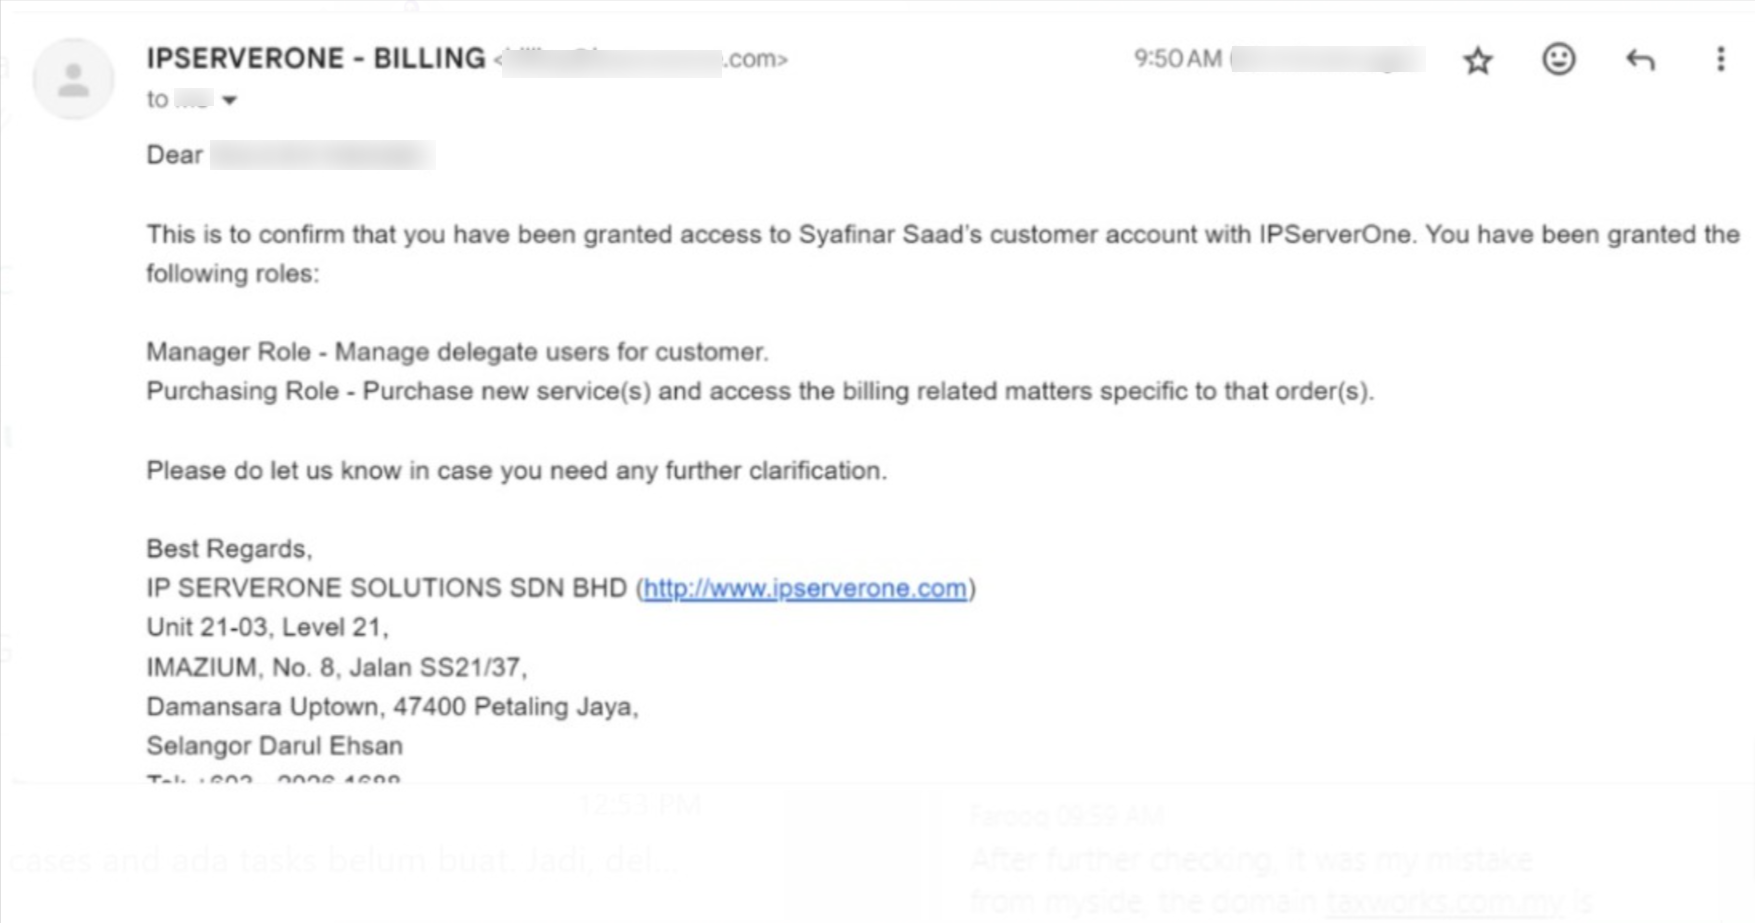
Registering the email address in the IP ServerOne Customer Portal can help prevent any delays. After the account is delegated, the assigned user will act as a secondary user and will receive the relevant notifications
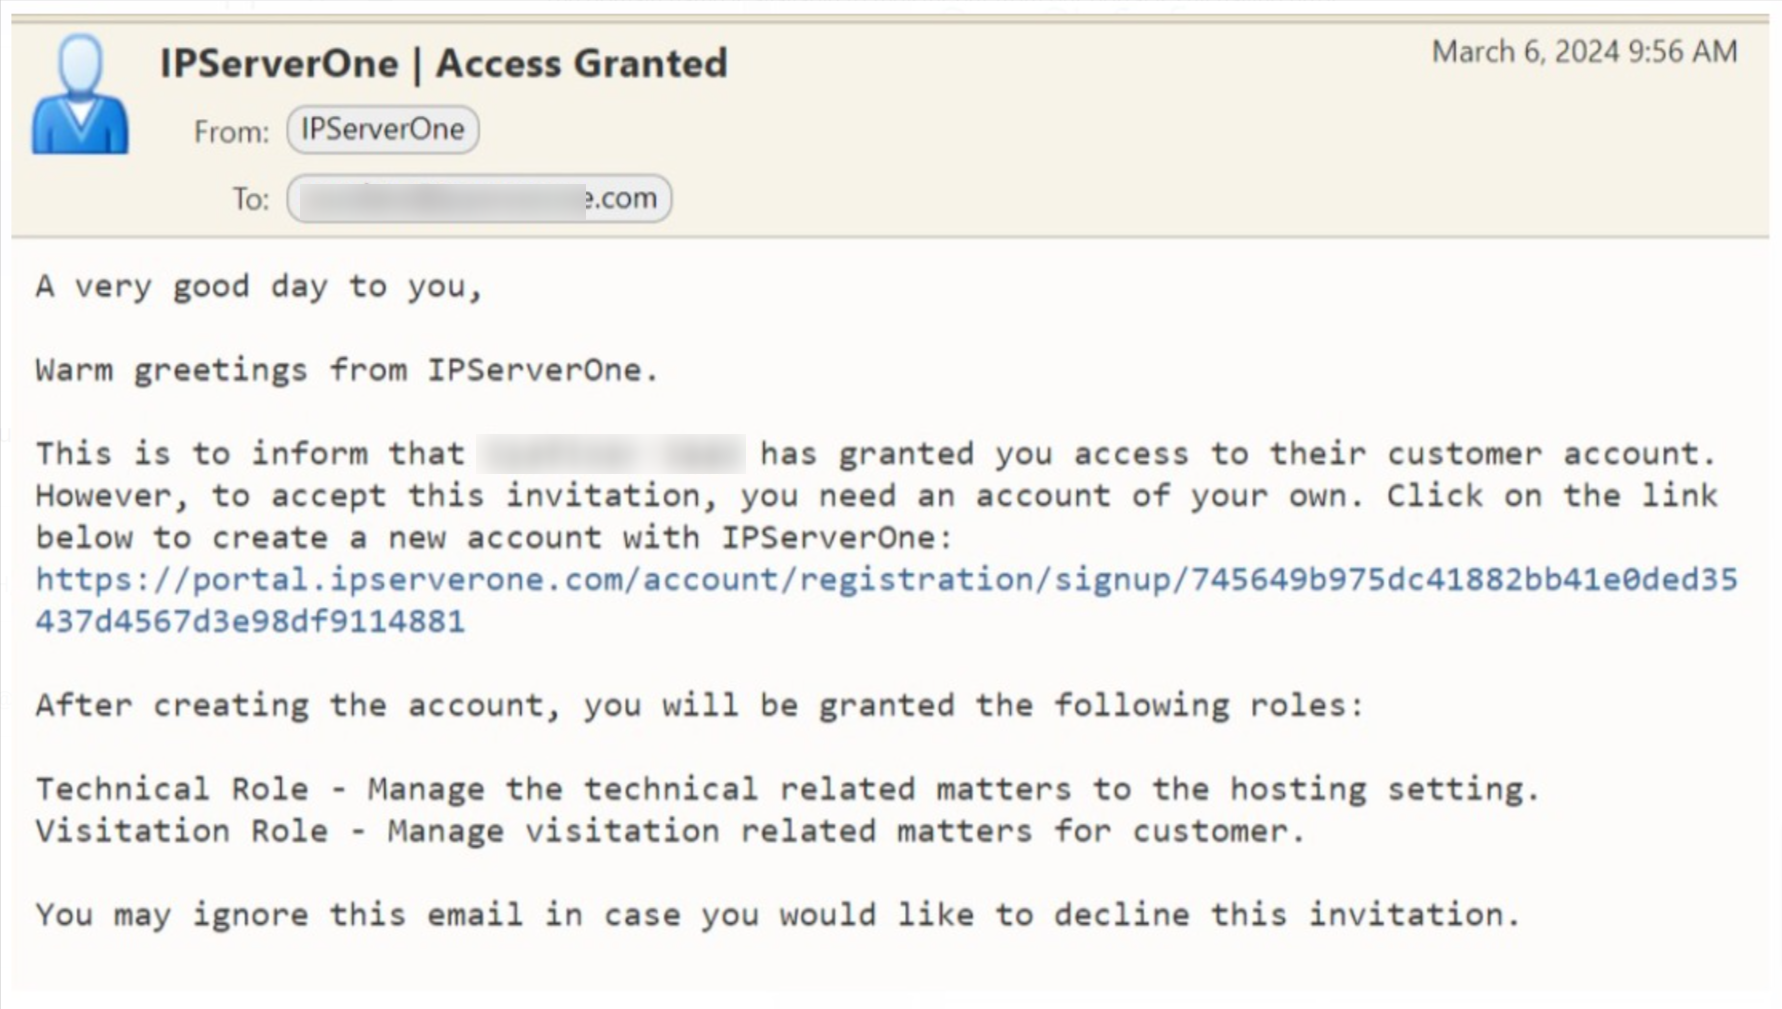
If the email is not registered, the status will display as “Request Pending.” The secondary user must click the link in the invitation email to accept and create their account.
Available Roles or Permissions for Secondary Users:
- Manager Roles – able to manage secondary users on behalf of the primary account
- Technical Roles – manage submit inquiries or tickets via customer portal
- Billing Roles – manage to access My Services and Billing & Payment sections.
- Purchasing Roles – can make purchases on behalf of the primary account
For detailed role information, refer to this guide: Secondary User Login in Portal and Role Details
3. Managing Secondary Users and Notifications
After access is granted, the secondary user’s name will appear on the right side of the My Account page, along with their roles and notifications. If notifications are not yet set up, you will see Setup Notification in red.
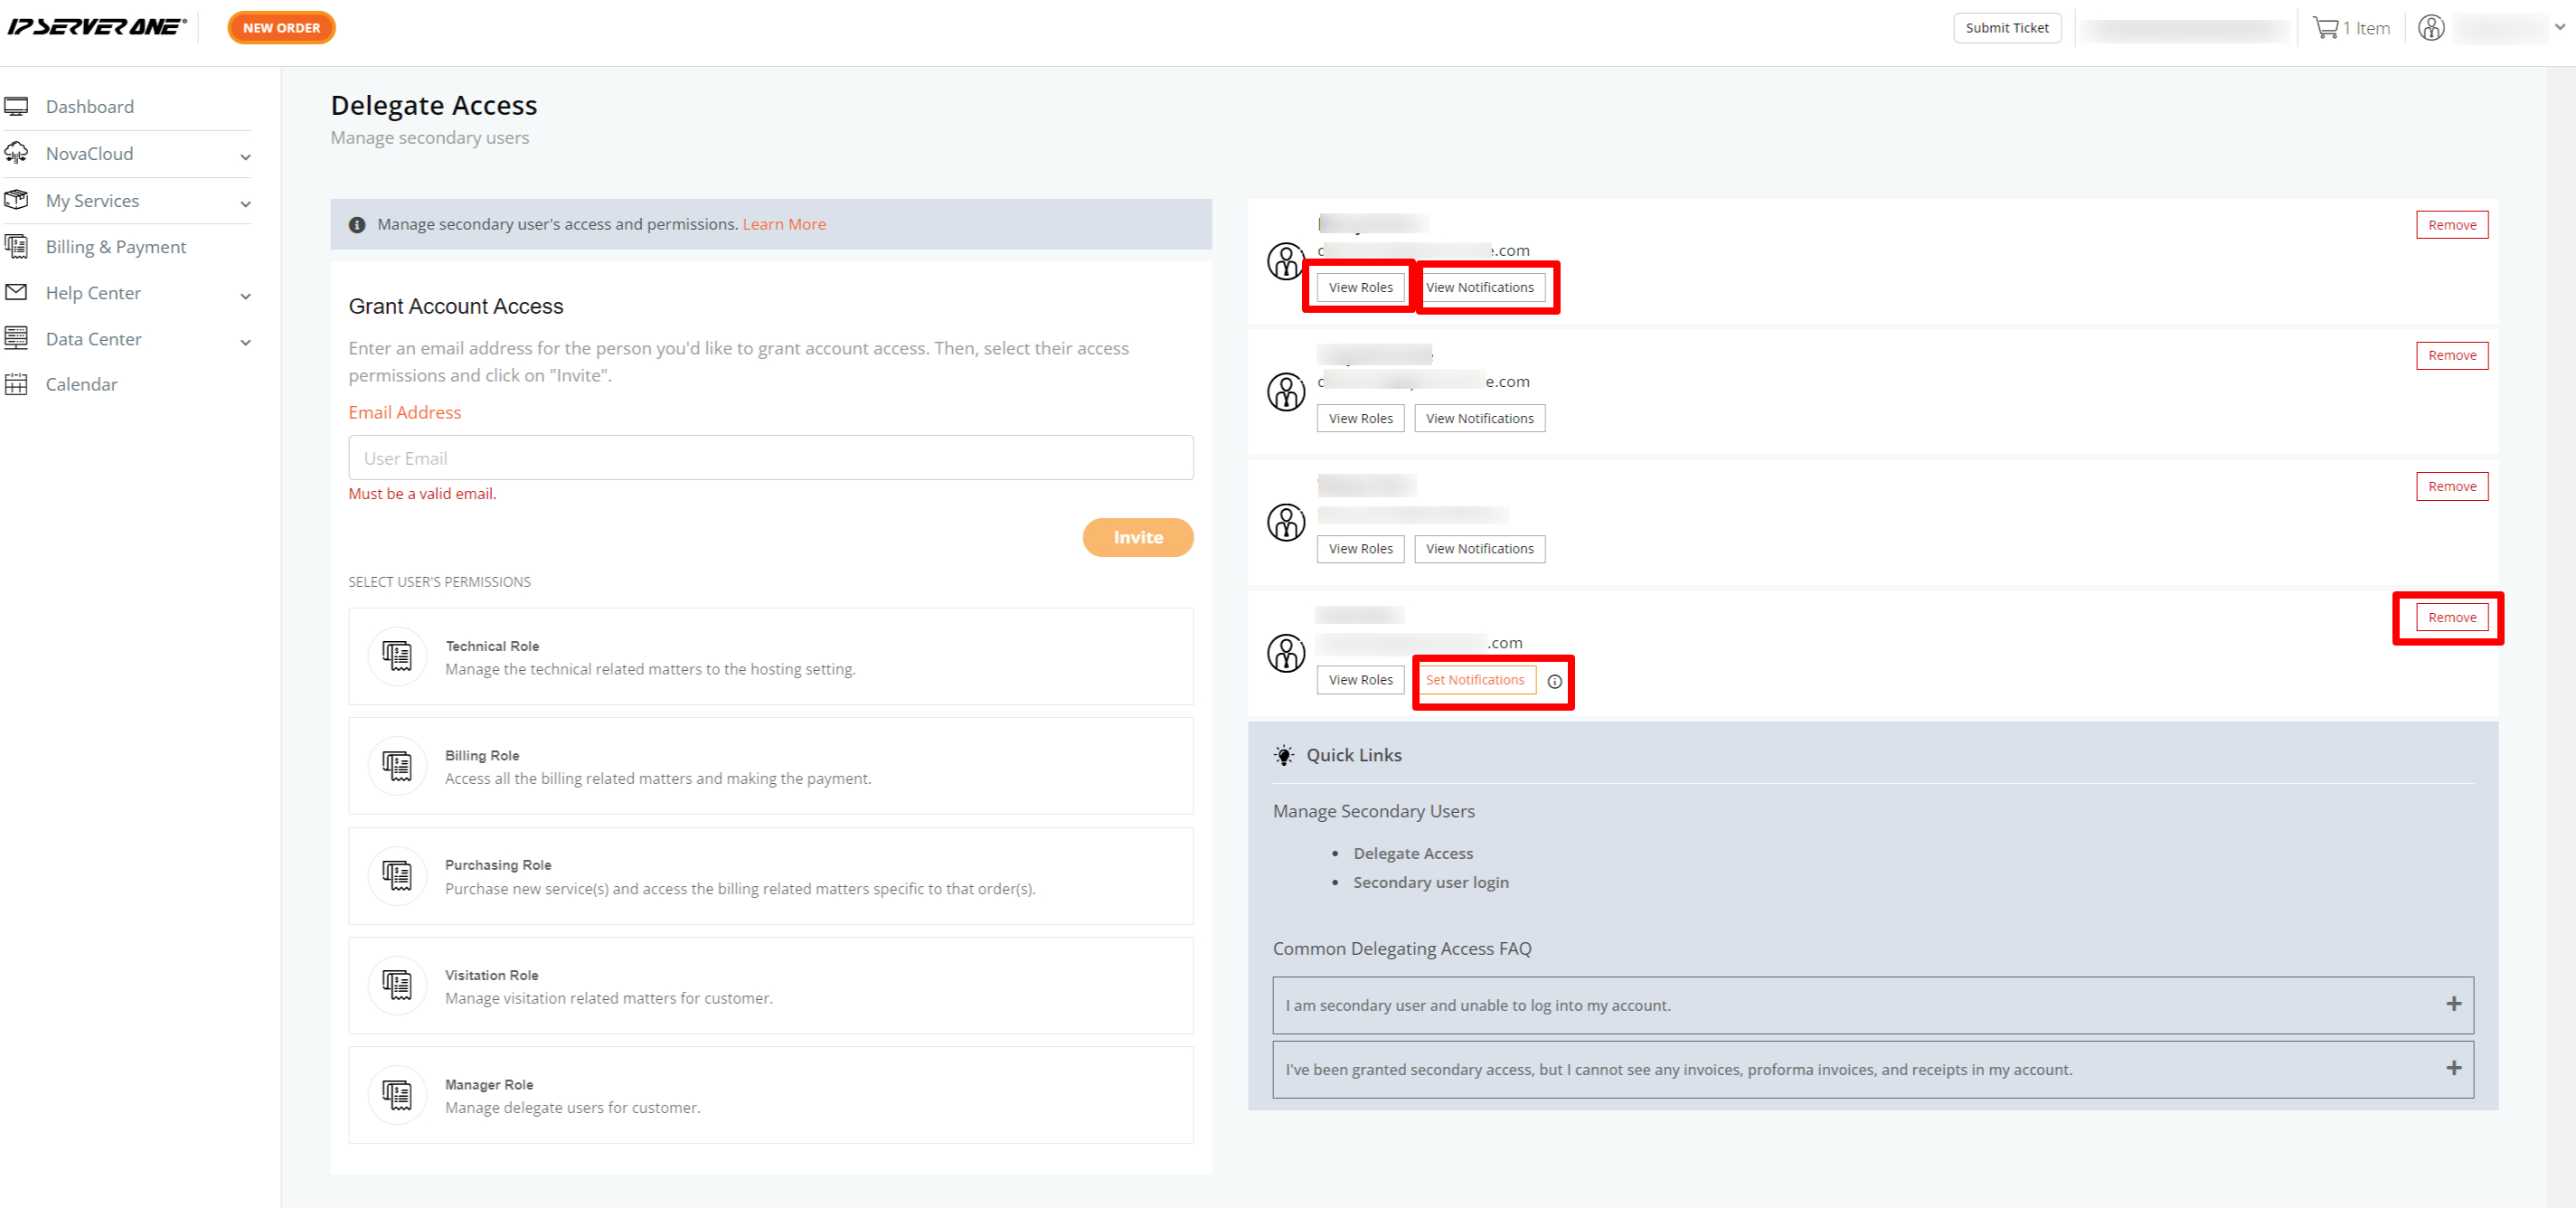
Note: As the primary account holder, you can revoke or remove access for any delegated secondary user at any time by clicking the “Remove” button.
4. Customize Notification Preferences
Click View Notifications to adjust or set up notifications for the secondary user. Below are the available notification options:
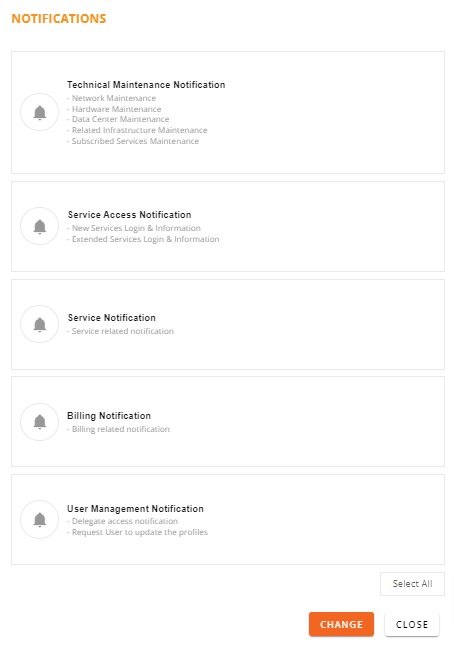
- Technical Maintenance Notifications: Receive cloud credit alarm notifications (for threshold alarms set), updates on maintenance for network, hardware, data center, infrastructure, and subscribed services.
- Service Access Notifications: Alerts for new and extended service logins and information.
- Service Notifications: Subscription (renewal, expiring/suspended notification), Domain (new access, renewal, expiring/suspended notification), Cloud Credit (low credit alarm, top-up, and expiring promotions), SmarterMail (new login, reset password), Nameserver (Update, Login Access), Transfer Ownership (Request, Accept, Cancel), Service upgrade, DNS (Update, Suspended, Terminated, Urgent Action), Order (Confirmation, Failed).
- Billing Notifications: Reminders for unpaid invoices, renewal proforma invoices, invoice requests, and automatic invoice issuance.
- User Management Notifications: Delegate access updates, amendments, and profile update requests.
Conclusion
Delegating access, assigning roles, and setting up notifications within the portal is a straightforward process that enhances team productivity by providing necessary permissions. If you encounter any issues or have questions, please contact our customer support team for assistance.
Article posted on February, 2024.