Search Our Database
How to add a new user with folder access in FileZilla Server
Introduction
FileZilla Server allows users to create new users with specific access privileges for managing files over FTP. This guide will walk you through the steps to add a new user in FileZilla Server, configure their settings, and set directory permissions.
Prerequisites
- FileZilla Server is already installed and running on your system
- You have administrator access to the FileZilla Server
- You know the user account details you want to add, including username, password, and access directories
Step-by-Step Guide
Step 1: Create a new user in FileZilla Server
1. Launch the FileZilla Server client on your computer.
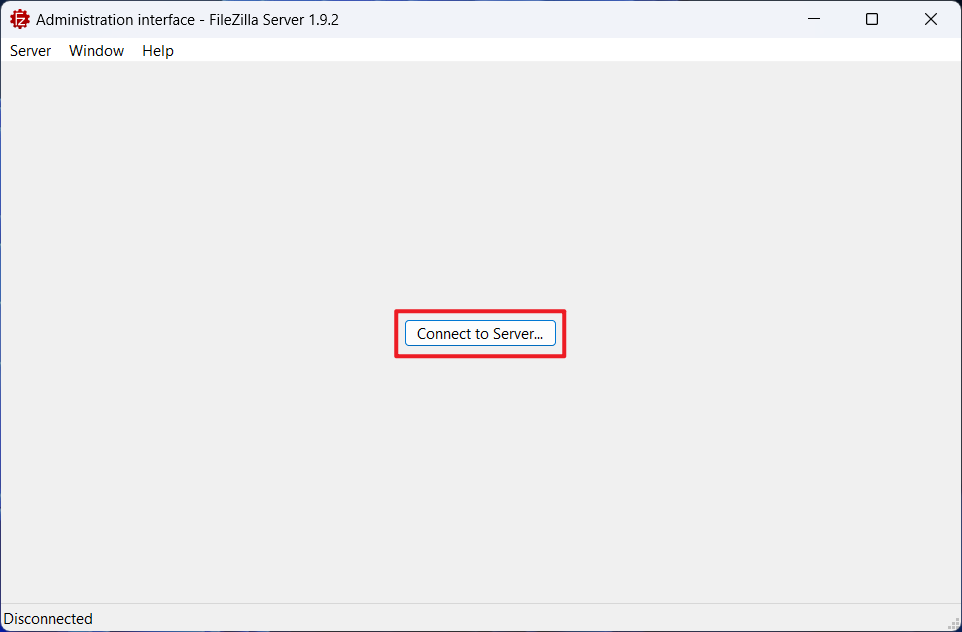
2. Click the ‘Connect to Server…’ button.
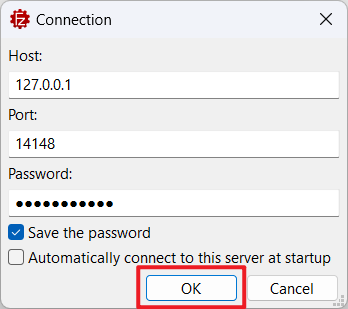
3. A Connection windows will pop up, fill in the login details and click on ‘OK’ button.
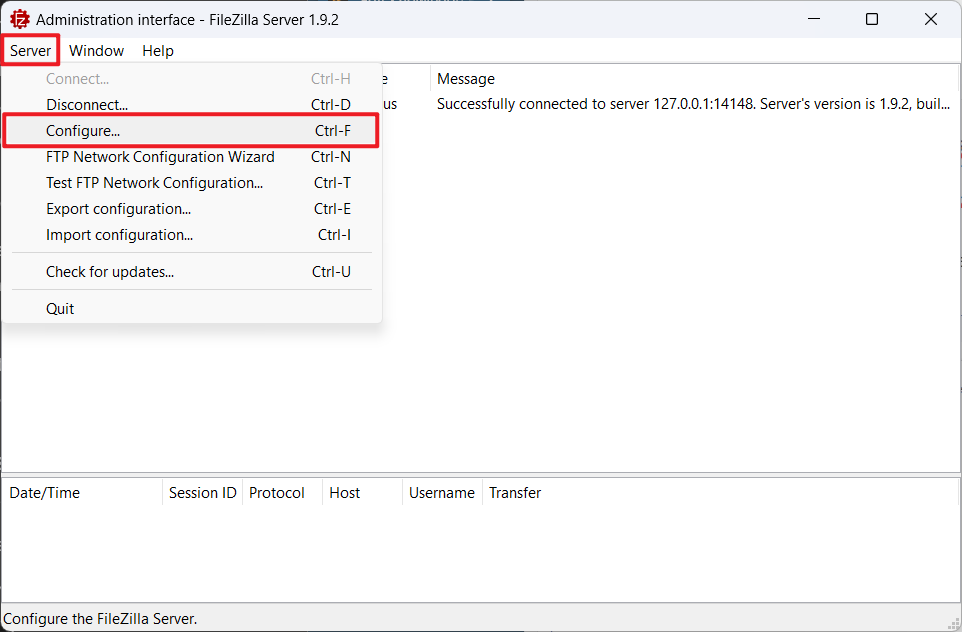
4. After clicked on ‘OK’ button, you will see below interface which means that you have successfully connected to the FileZilla server.

5. At the top menu bar, click on ‘Server’, then click on ‘Configure’ to open the settings. You can also do this by pressing CTRL + F.
6. Next, you will see the Settings page as below screenshot.
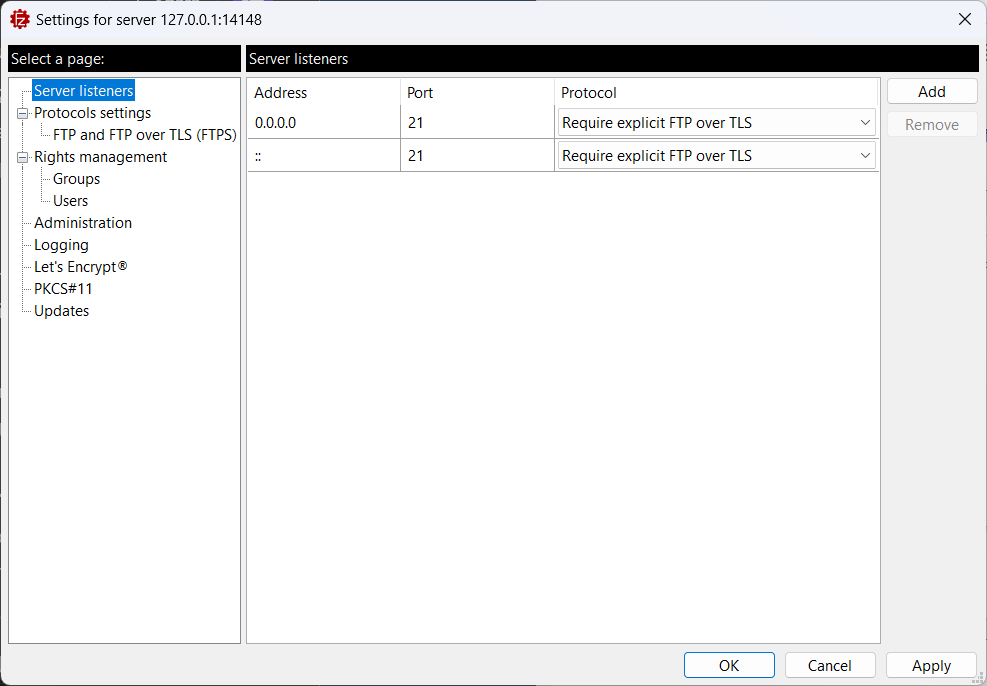
7. Click on ‘Users’ at the left panel.
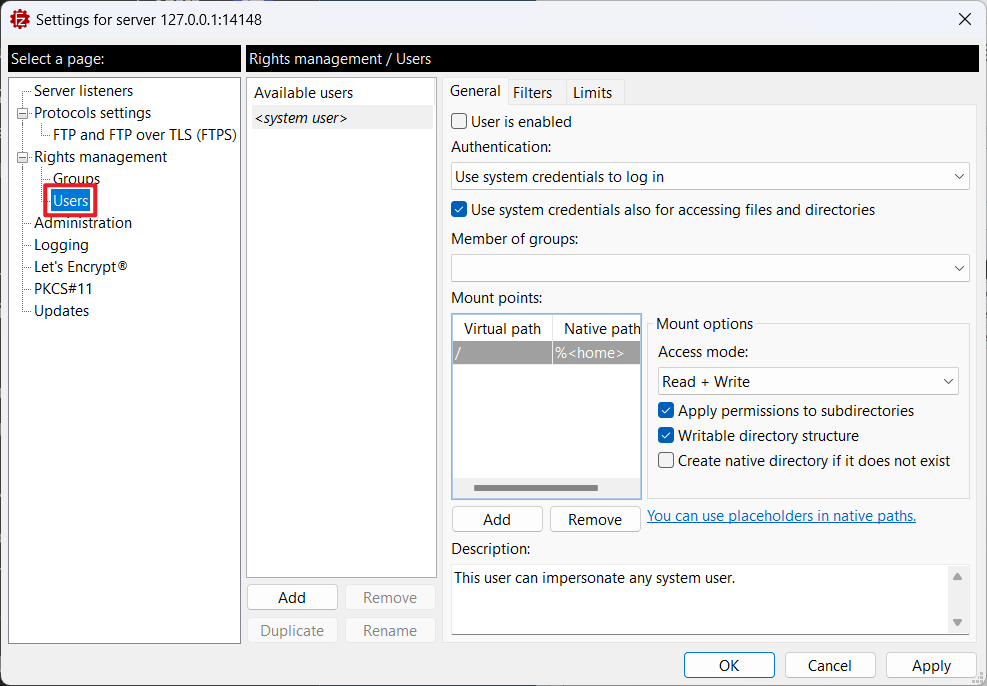
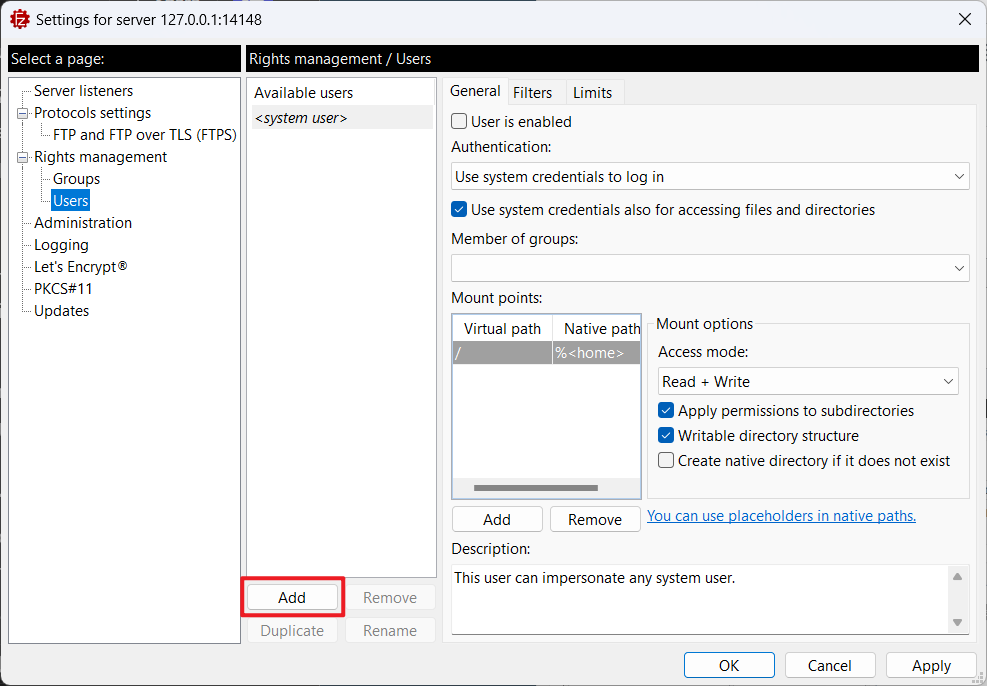
8. Then click on the ‘Add’ button to add a new user.
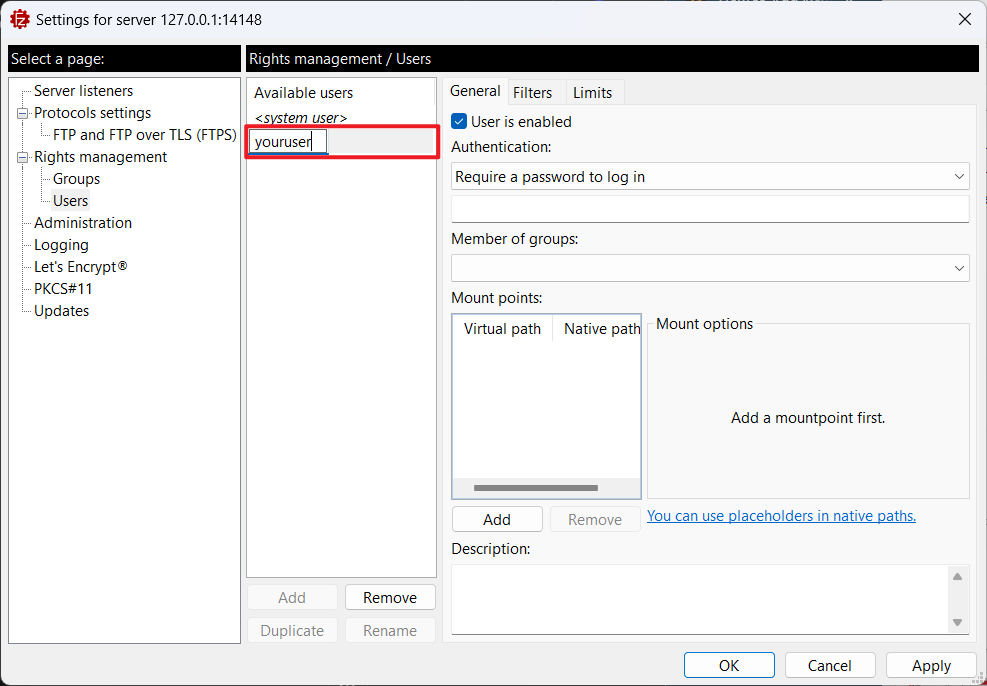
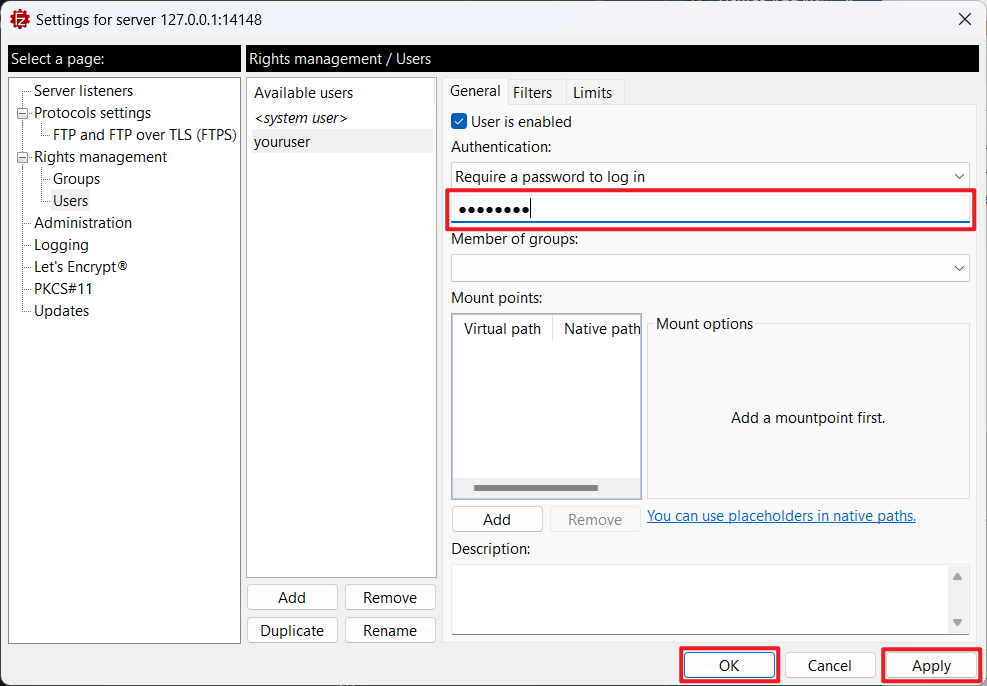
9. Rename the username for the new user. Make sure the ‘User is enabled’ option is ticked.
10. From the Authentication, select your desired option. There is three options available: Do not require authentication, Require a password to log in, Use system credentials to log in. We will refer you to select ‘Require a password to log in’ for security purposes.
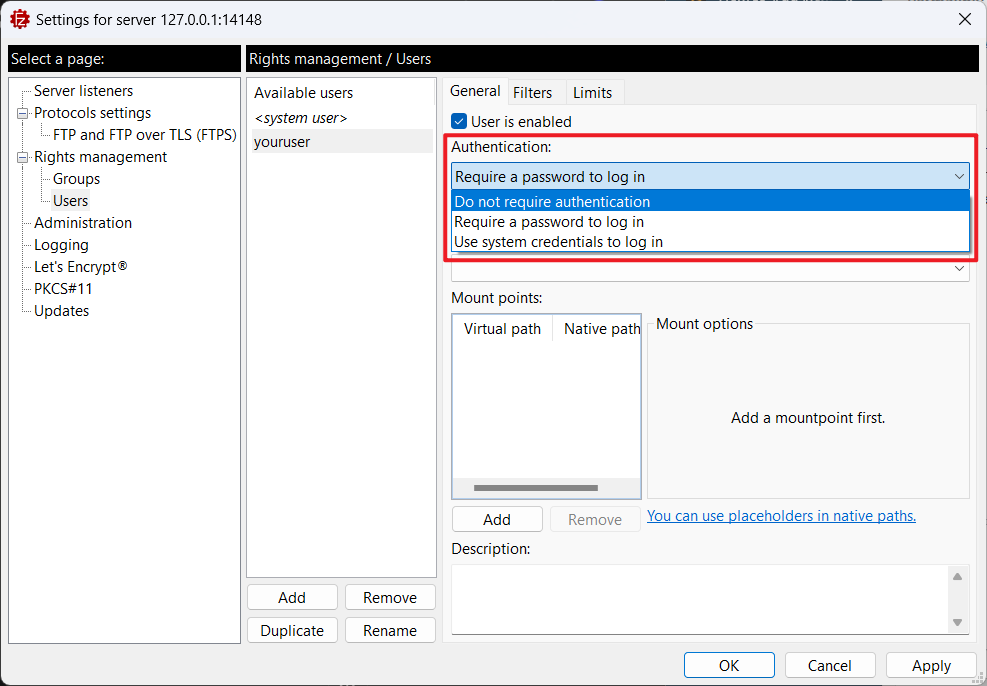
11. Type your password at the input field. Click on ‘Apply’, then ‘OK’ button to save your changes.
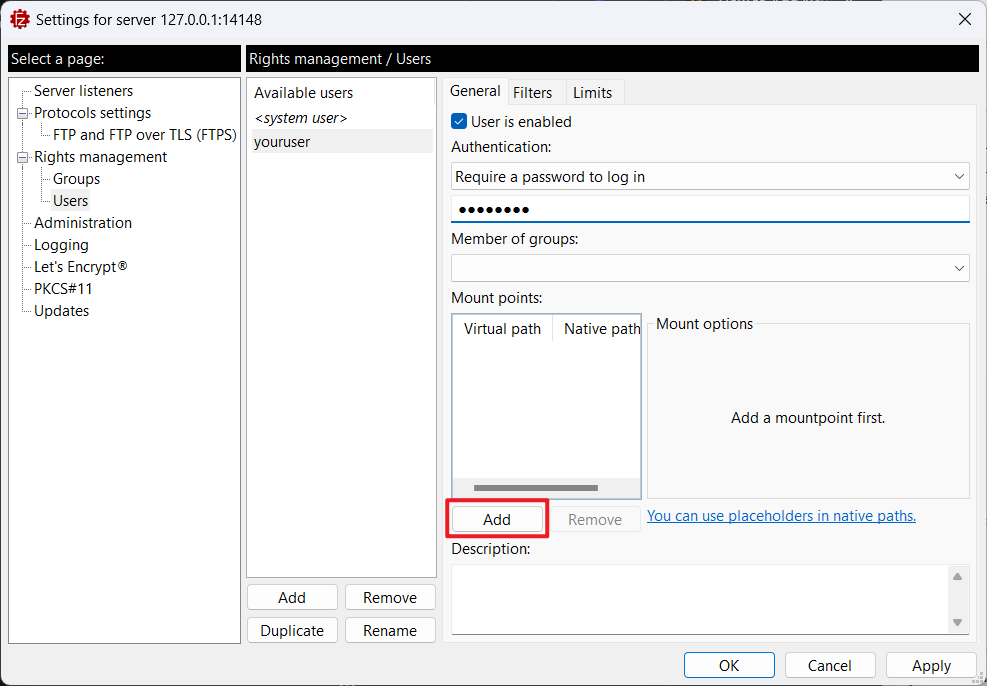
Step 2: Add folder access to the user
1. From Mount points option, click on the ‘Add’ button.
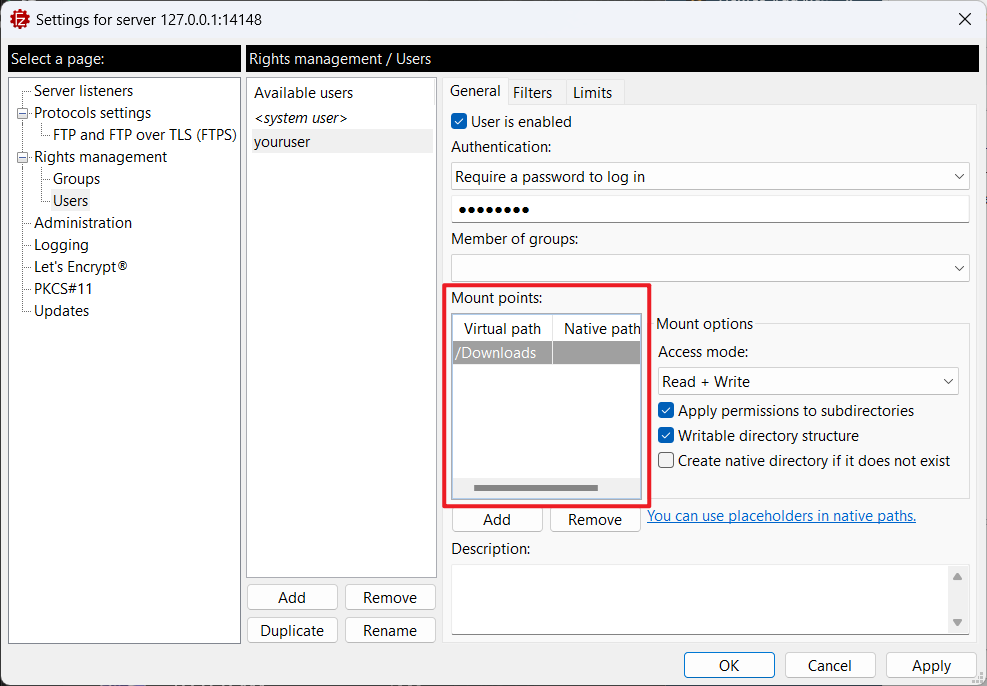
2. In the Mount points, there are two options available. One is Virtual path and the other one is Native path.
• In the Virtual path, you need to give a pathname that will show you when you connect to your server like ‘/Downloads’.
• Native path is absolute path, so paste here your desired folder path.
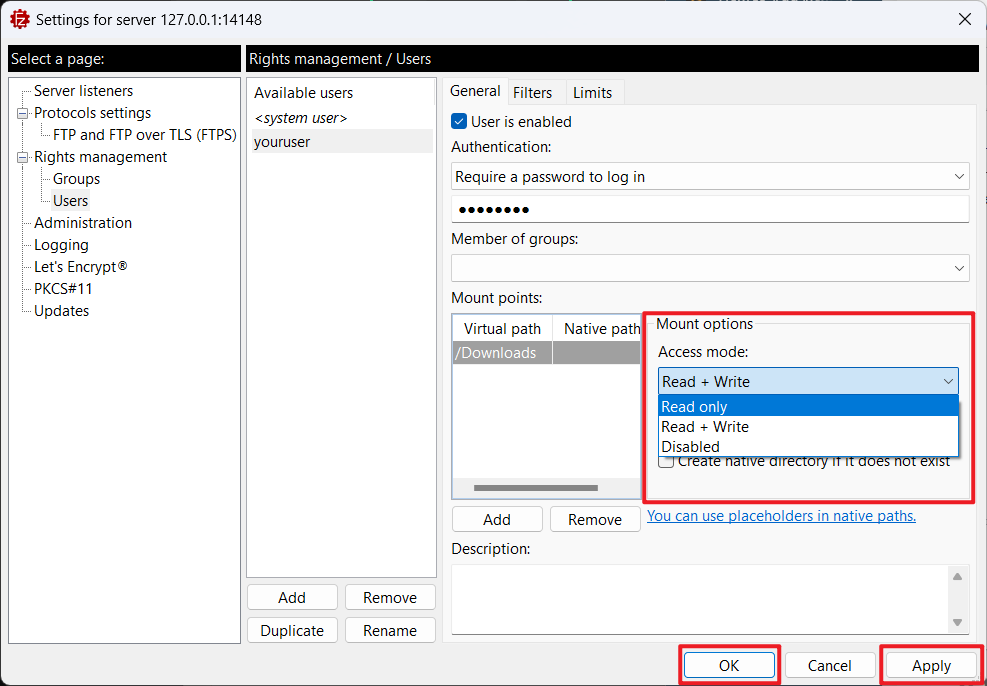
3. From the Access mode, select a permission. There are three options available: Read Only, Read + Write, and Disabled. Choose your desired option. Click on ‘Apply’, then ‘OK’ button to save your changes.
Conclusion
Adding a new user to FileZilla Server is a straightforward process that involves configuring access and permissions based on the user’s needs. Make sure to review and adjust access periodically to avoid unauthorized access or potential security risks. For additional assistance or if you encounter any issues, please contact our support team at support@ipserverone.com.
Article posted on 19 April 2020.