Search Our Database
How to add DNS record in Plesk
Introduction
This guide provides step-by-step instructions for adding a DNS record in Plesk. It is intended for Plesk users who need to manage their domain’s DNS settings. You can use this guide to add A, AAAA, CNAME, or MX records to ensure your domain points correctly to the appropriate server or service. This solution applies when you need to configure domain-related DNS settings through the Plesk control panel.
Prerequisites
Before proceeding, ensure you have the following:
- Access to the Plesk control panel.
- The domain for which you need to add the DNS record.
- Information about the DNS record you wish to add (e.g., IP address for A records).
Steps to add a DNS record in Plesk
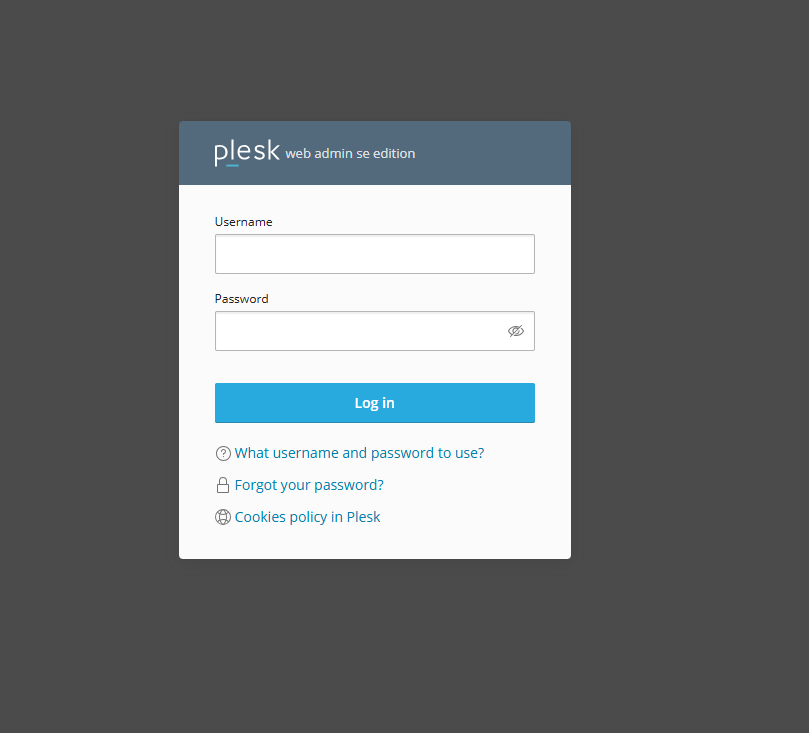
1. Log into Plesk.
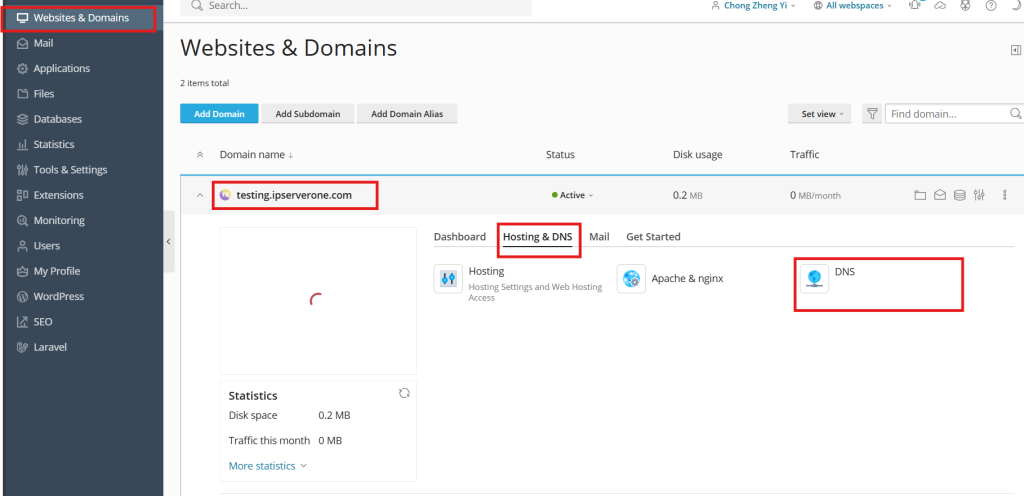
2. From the Website & Domain pages, Expand the desired domain tab and click on DNS under Hosting & DNS to enter the DNS control management page.
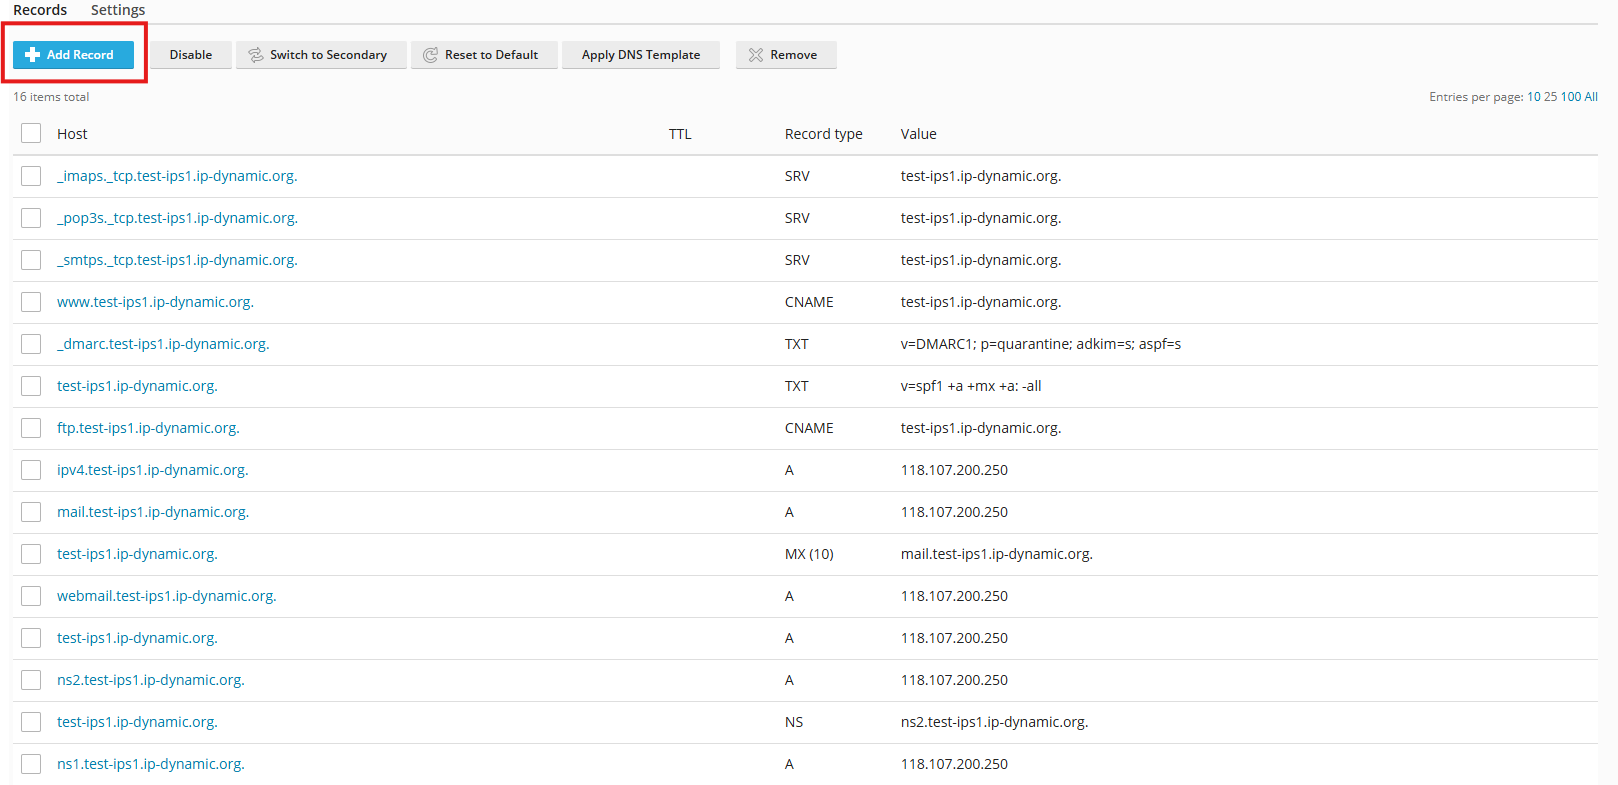
3. In the DNS Settings page, click on Add Record.
4. On the Add Record page, click on the drop box to select the DNS record type, then enter the domain and the IP address and click OK.
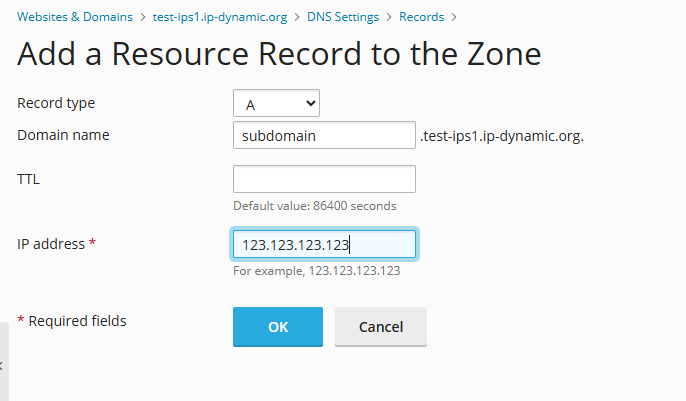
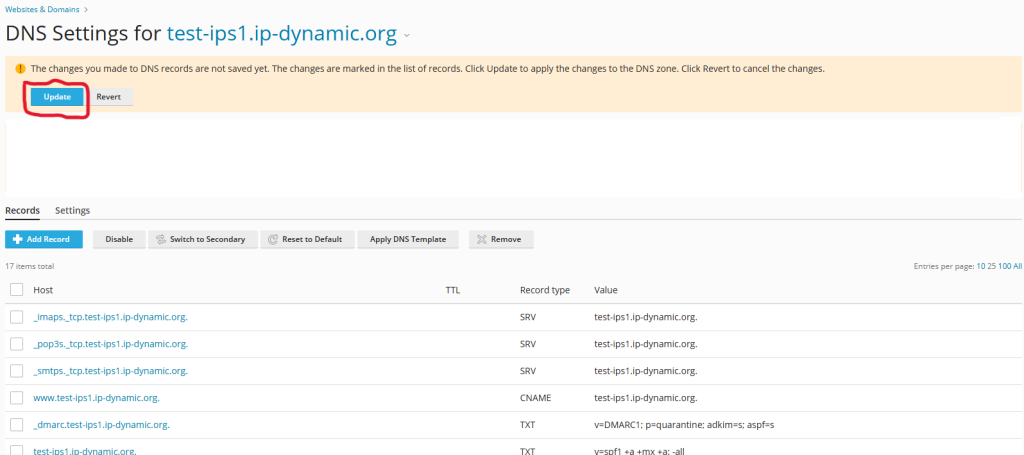
5. After adding the record, click on Update to finalize your DNS settings.
6. A note will appear at the top of the page stating that the record has been saved. This means the DNS records have been added successfully.

Conclusion
By following these steps, you can successfully add or manage DNS records in Plesk. If you encounter any issues or need further assistance, don’t hesitate to contact our support team at support@ipserverone.com.
Article posted on 24 February 2020 by Louis
