Search Our Database
How to add Favicon to your website
Introduction
A favicon is a small icon that represents a website, usually displayed in the browser’s tab or bookmarks. Adding a favicon helps create a more professional appearance and brand identity for your website. This guide walks through the steps to upload a favicon to your website, ensuring it appears correctly in users’ browsers.
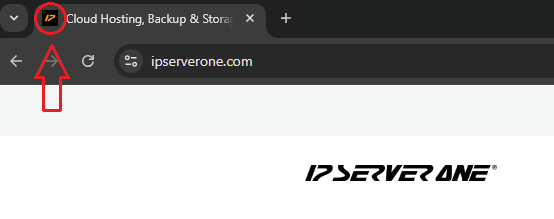
The instructions are applicable for most web hosting platforms that allow access to your website’s root directory and the ability to edit the HTML files. To better understand how a favicon looks and where it appears, check the following image examples that illustrate its placement in different browsers.
Prerequisites
- A favicon image, typically in .ico, .png, or .jpg format.
- Access to your website’s hosting root directory (e.g., public_html, wwwroot, httpdocs).
- Permission to edit your website’s HTML files (such as index.html or index.php).
Step-by-step Guide
Step 1: Upload Your Favicon Image
Upload your favicon image file to the root directory of your website’s hosting. This is typically the folder named public_html, wwwroot, or httpdocs. Ensure that the image is accessible via a web browser by visiting the URL, for example:
http://www.domain.com/icon.jpeg
This will verify that the favicon file has been uploaded correctly and is available on the server.
Step 2: Add the Favicon Code to the HTML File
Open your website’s index.html (or equivalent) file and insert the following code inside the <head> section of the HTML document:
<link rel="icon" href="http://example.com/favicon.ico" type="image/x-icon" />
<link rel="shortcut icon" href="http://example.com/favicon.ico" type="image/x-icon" />
Make sure to replace http://example.com/favicon.ico with the actual path to your uploaded favicon image. This ensures the browser can locate and display the icon properly.
Step 3: Reload Your Website
After making these changes, reload your website in the browser. The favicon should now appear in the browser tab, next to your website’s name.
Conclusion
Following these steps will successfully add a favicon to your website, improving its branding and appearance in web browsers. If the favicon is still not visible, consider checking the image format and file path, as well as ensuring the code has been properly added to the HTML file.
Should you have any inquiries about the guidelines, please feel free to open a ticket through your portal account or contact us at support@ipserverone.com. We’ll be happy to assist you further.
Article posted on 20 March 2020 by Louis