Search Our Database
How to change timezone in Roundcube webmail
Introduction
This guide is for users who want to change the timezone settings in their Roundcube webmail client. Roundcube is a widely used open-source webmail client that allows users to manage their emails via a web interface. Correcting the timezone setting ensures that your emails display the correct timestamps, which is crucial for maintaining accurate communication records. This tutorial is useful when your webmail displays the wrong time, likely due to an incorrect timezone setting. Follow the steps below to make the necessary changes.
Prerequisites
- Access to Roundcube webmail.
- A registered email account.
Step-by-step guide
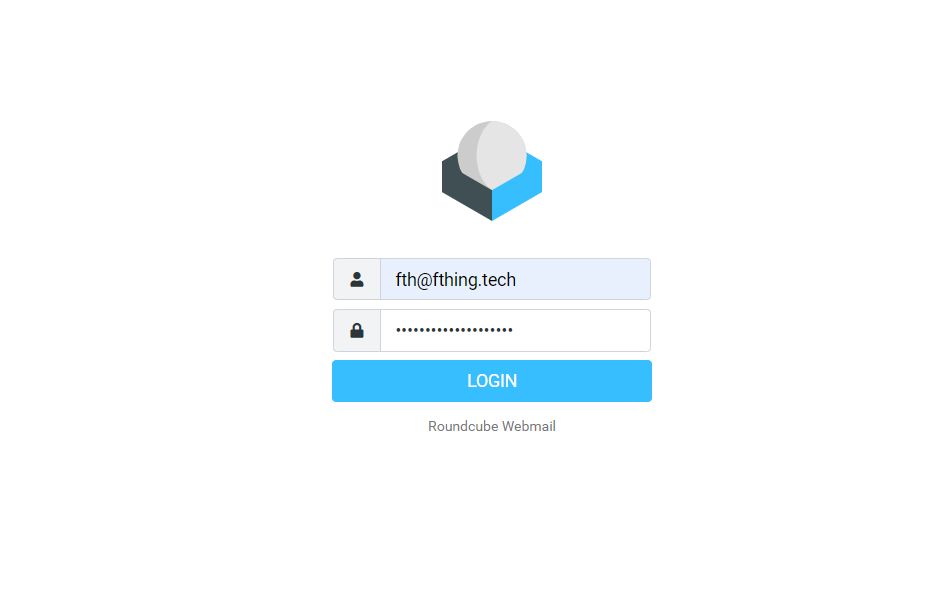
1. Log in to your Roundcube webmail account.
- Enter your credentials and press Login.
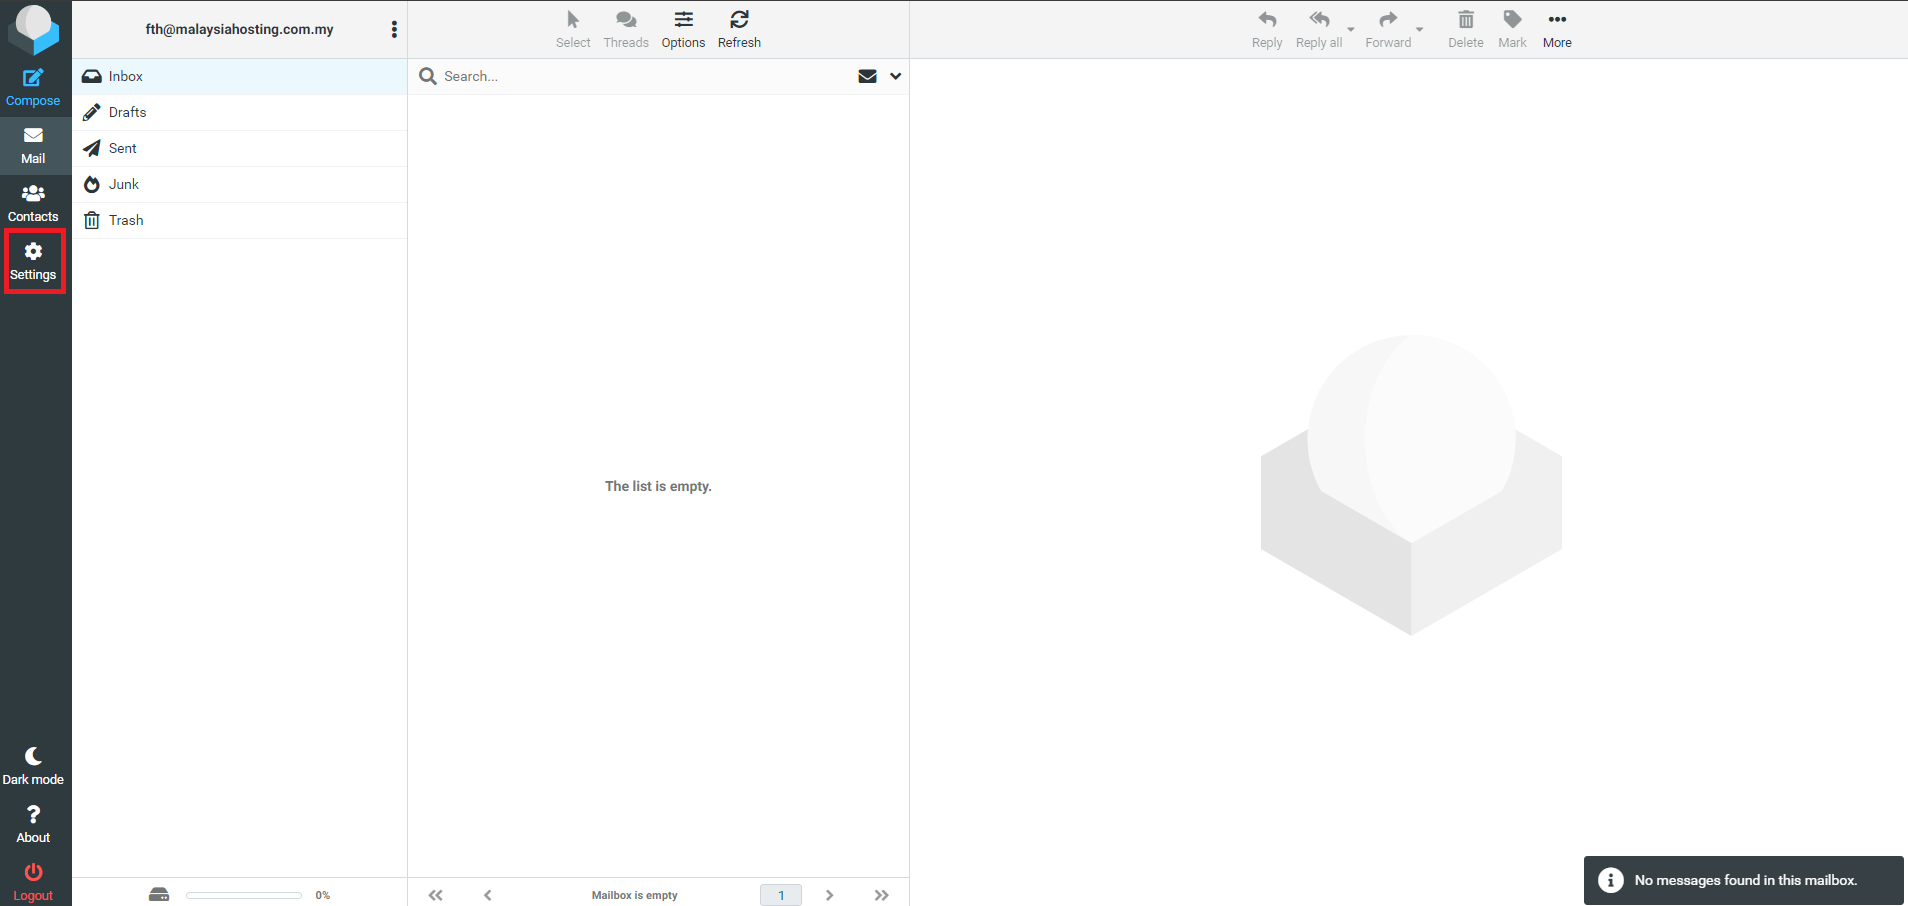
2. Navigate to the settings.
- In the top-right corner, click on the Settings icon, usually represented by a gear or cogwheel.
3. Go to the ‘User Interface’ tab.
- You can find the Time zone options here: Settings > Preferences > User Interface > Main Options > Time zone
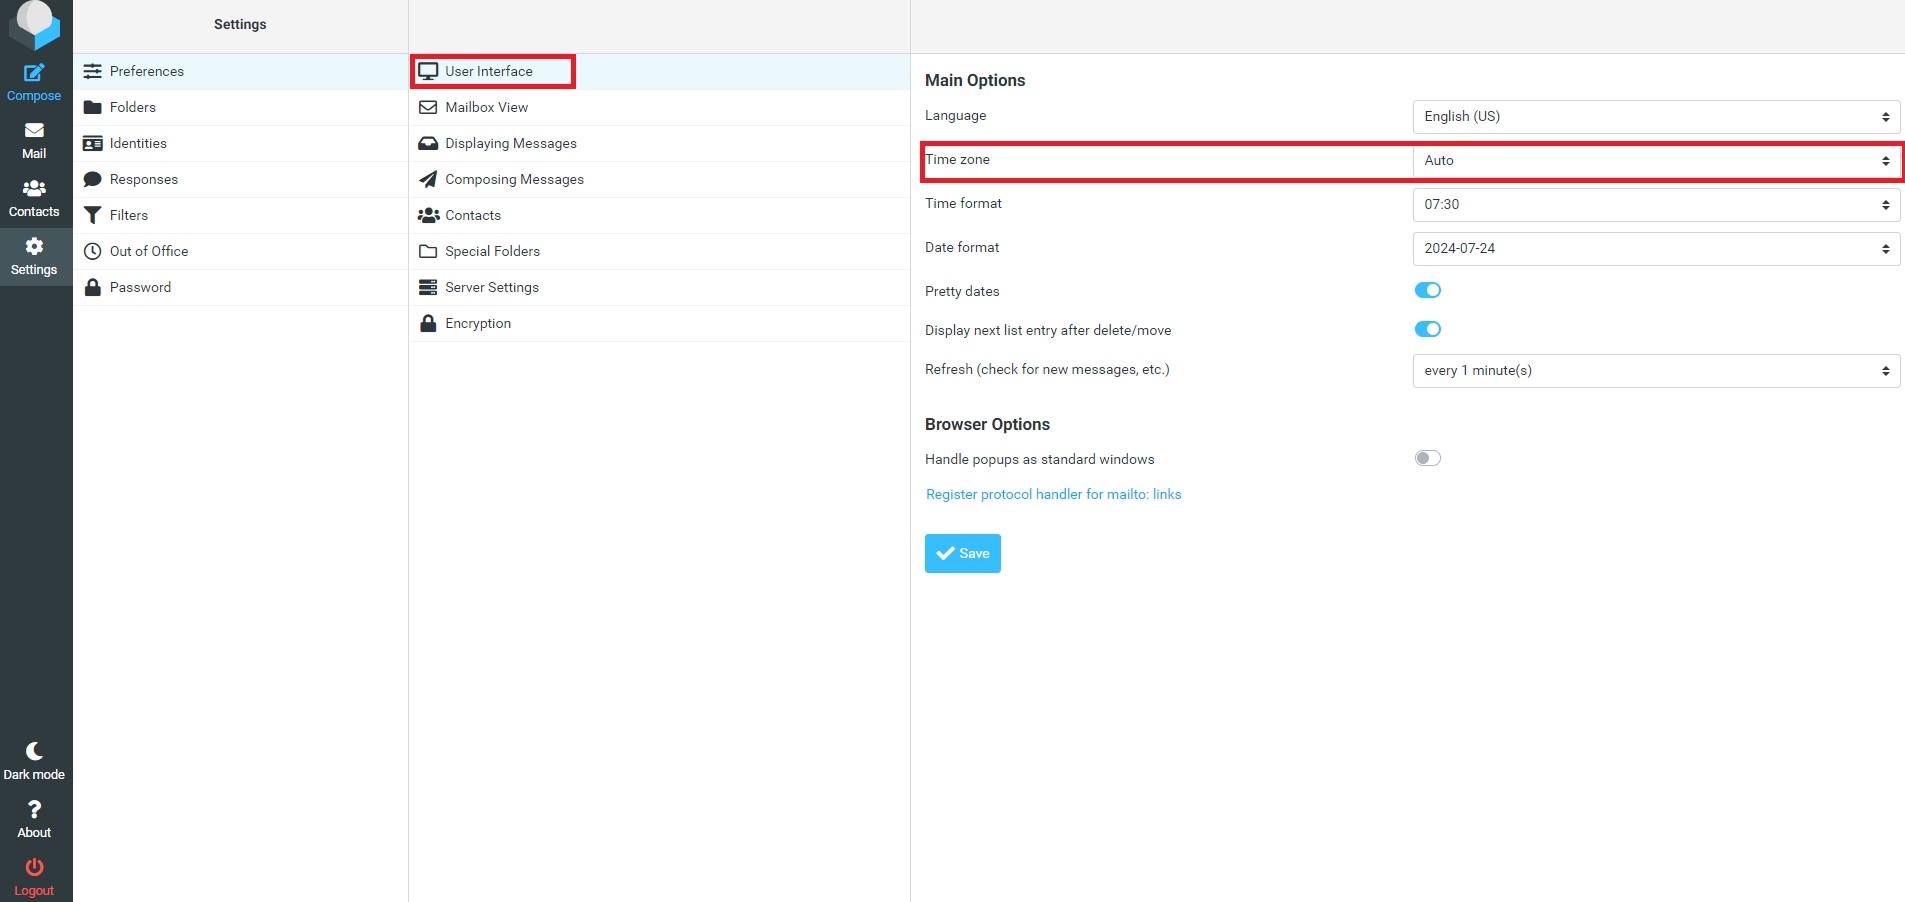
4. Change the timezone.
- Scroll down to the Timezone section.
- From the dropdown menu, select your correct timezone.
- Ensure you select the appropriate region to reflect accurate daylight saving adjustments if necessary.
5. Save your changes.
- Scroll to the bottom of the page and click on Save.
Conclusion
Changing the timezone in Roundcube is a simple but important step to ensure your emails are timestamped correctly. If the steps above don’t work or if you experience issues, consider contacting your system administrator for further assistance.
For additional assistance or if you encounter any issues, please contact our support team at support@ipserverone.com.
Article posted on 21 March 2020 by Louis