Search Our Database
How to Check Website Uptime and Performance
Introduction
This article will guide you through the steps to check your website’s uptime and performance, essential for ensuring a reliable user experience. This guide is intended for website administrators or users responsible for monitoring the health of their websites. The article explains how to utilize free and paid tools to monitor your site’s uptime, track its performance, and receive alerts for downtime or performance degradation. This process should be applied whenever you suspect issues with your site’s availability or speed. The methods covered here are widely applicable and easy to implement for most website setups.
Prerequisite
Before starting, ensure you have:
- Access to the site’s domain and server.
- A monitoring tool (free or paid) available for implementation.
Step-by-Step Guide
Step 1: Choose a Website Monitoring Tool
Several tools are available to monitor website uptime and performance. Some of the most popular include:
- UptimeRobot: Offers both free and premium plans, ideal for monitoring site uptime with notifications for downtime events.
- Pingdom: A paid tool that provides detailed performance reports alongside uptime monitoring.
Choose one that best suits your needs.
Step 2: Sign Up for the Tool
Once you’ve selected a tool, proceed with the following steps:
- UptimeRobot: Go to the link above and click on Sign Up Free or select a paid plan if needed.
- Pingdom: Visit the link above and sign up for a free trial or purchase a plan.
Step 3: Add Your Website for Monitoring
After registration, follow these steps:
For UptimeRobot:
- Log into your UptimeRobot account.
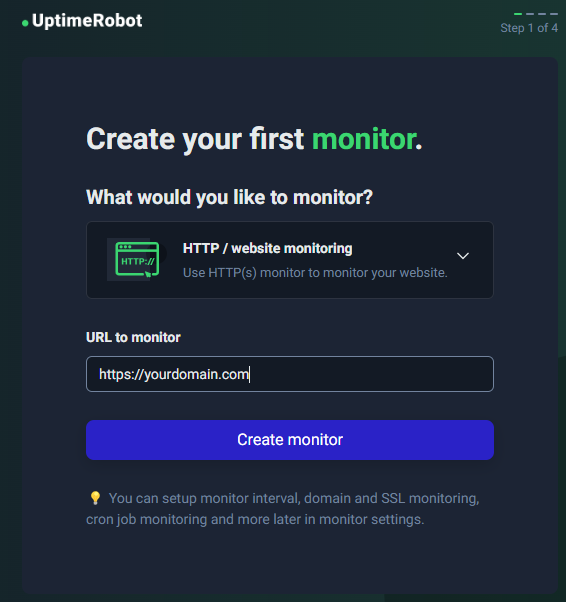
- Click on Add New Monitor.
- Select HTTP(s) and enter your website’s URL.
- Set up the monitoring frequency and choose notification settings.
- Save the settings to start monitoring your website.
For Pingdom:
- Log into your Pingdom account.
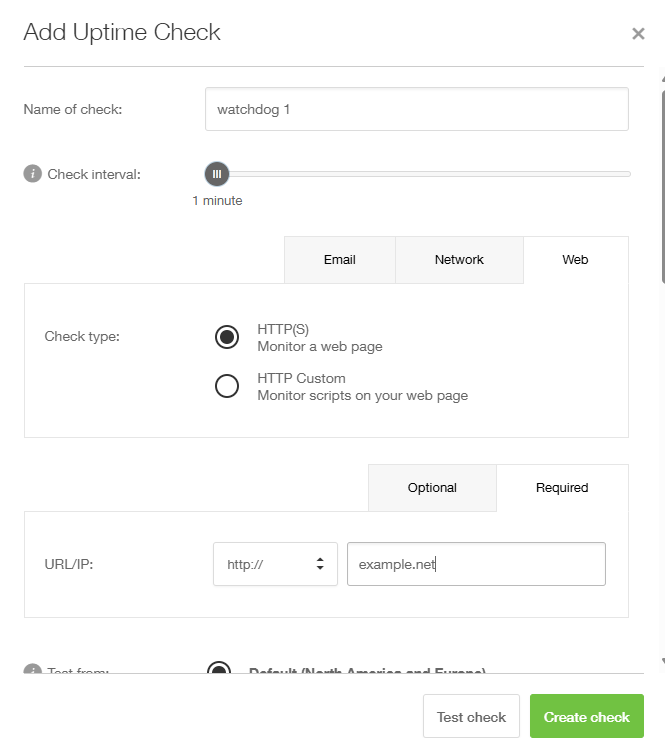
- Select Add Check from the dashboard.
- Enter your website’s URL and configure the settings (monitoring interval, regions, etc.).
- Choose how you would like to be notified in case of downtime (email, SMS, etc.).
Step 4: Review Performance Reports and Alerts
Each monitoring tool will provide detailed reports on your website’s uptime and performance. Here’s how you can view these:
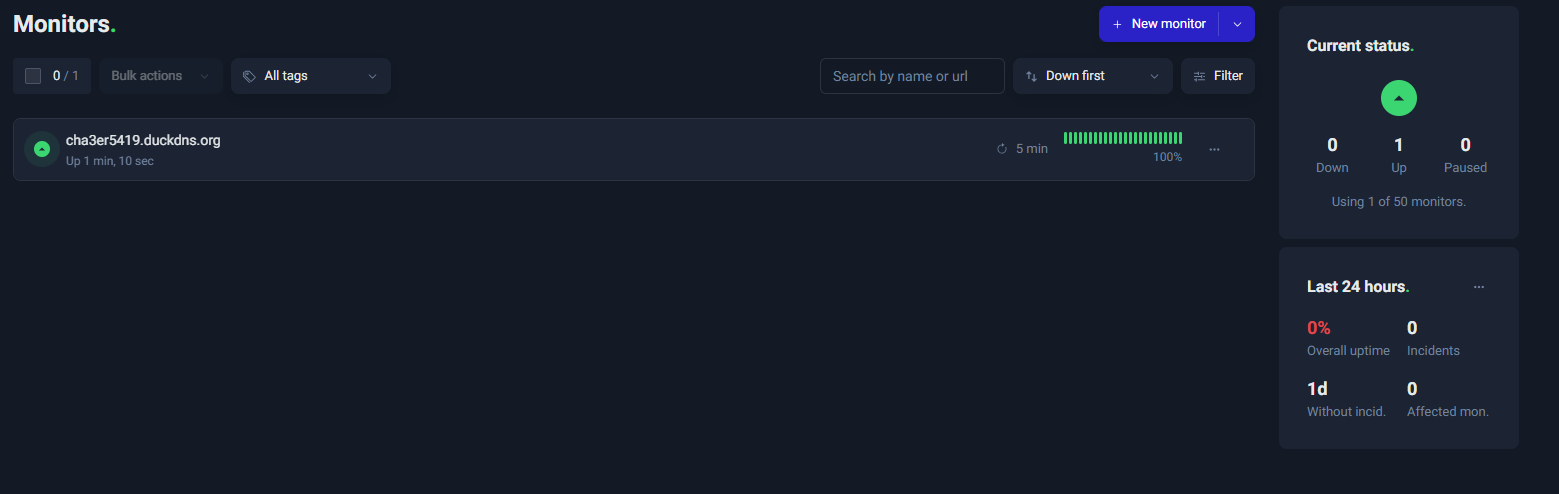
- UptimeRobot: Check the dashboard for uptime percentages and review the alerts section for downtime notifications.

- Pingdom: Access detailed performance reports, response times, and uptime/downtime history under the Reports tab.
Conclusion
Monitoring your website’s uptime and performance is crucial for maintaining user trust and ensuring the reliability of your services. By following these steps, you can efficiently track your website’s performance and receive timely alerts for any issues. This proactive approach helps address potential problems before they escalate, ensuring smooth user experiences.
For additional assistance or if you encounter any issues, please contact our support team at support@ipserverone.com.
Article posted on 22 April 2020 by Louis