Search Our Database
How to Configure DNS Records via WHM
Introduction
Domain Name System (DNS) records control how domain names are translated into IP addresses. Managing DNS records through WHM (Web Host Manager) allows server administrators to configure and modify these records efficiently. This guide will walk you through the steps required to configure DNS records in WHM.
Prerequisites
- Access to WHM with root privileges.
- A registered domain name.
- Basic understanding of DNS record types (A, CNAME, MX, TXT, etc.).
Step-by-Step Instructions
Step 1: Log into WHM
To begin, access your WHM control panel by navigating to https://yourserver.hostname:2087 and logging in with your root credentials.
Step 2: Navigate to DNS Functions
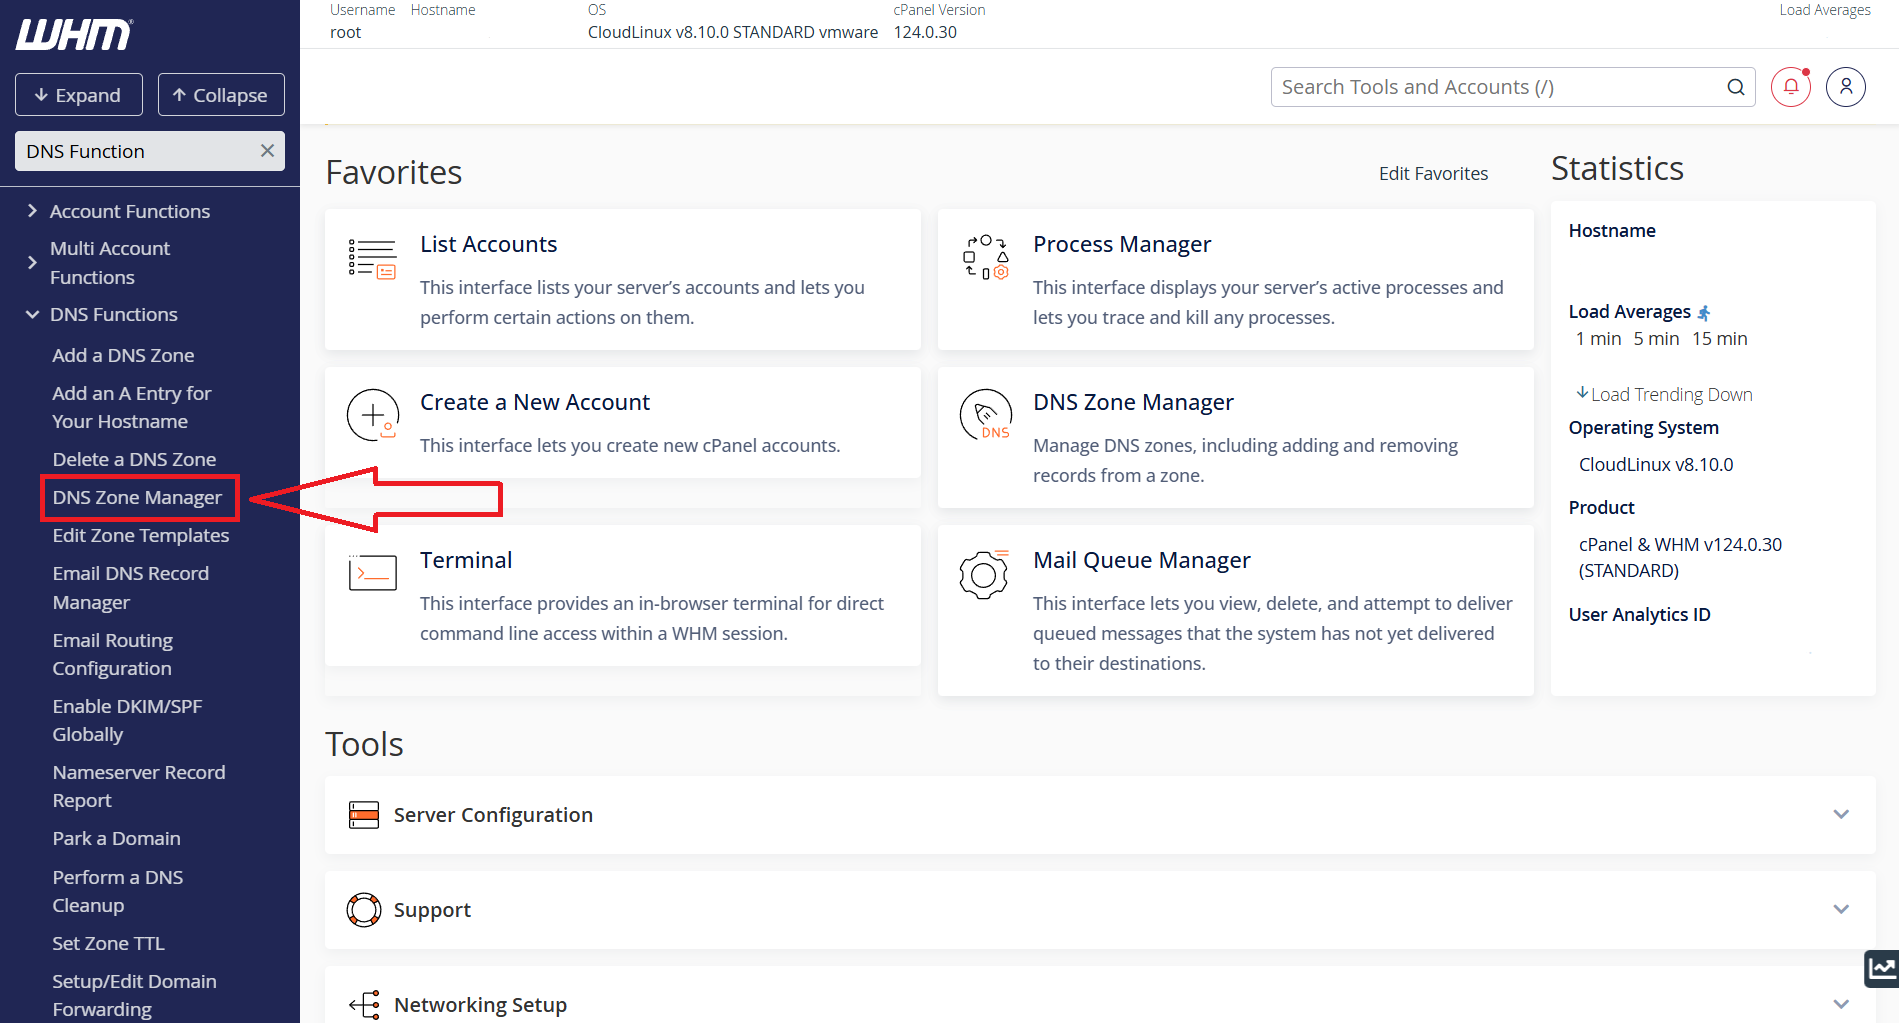
Once logged in, locate and click on DNS Functions in the WHM dashboard.
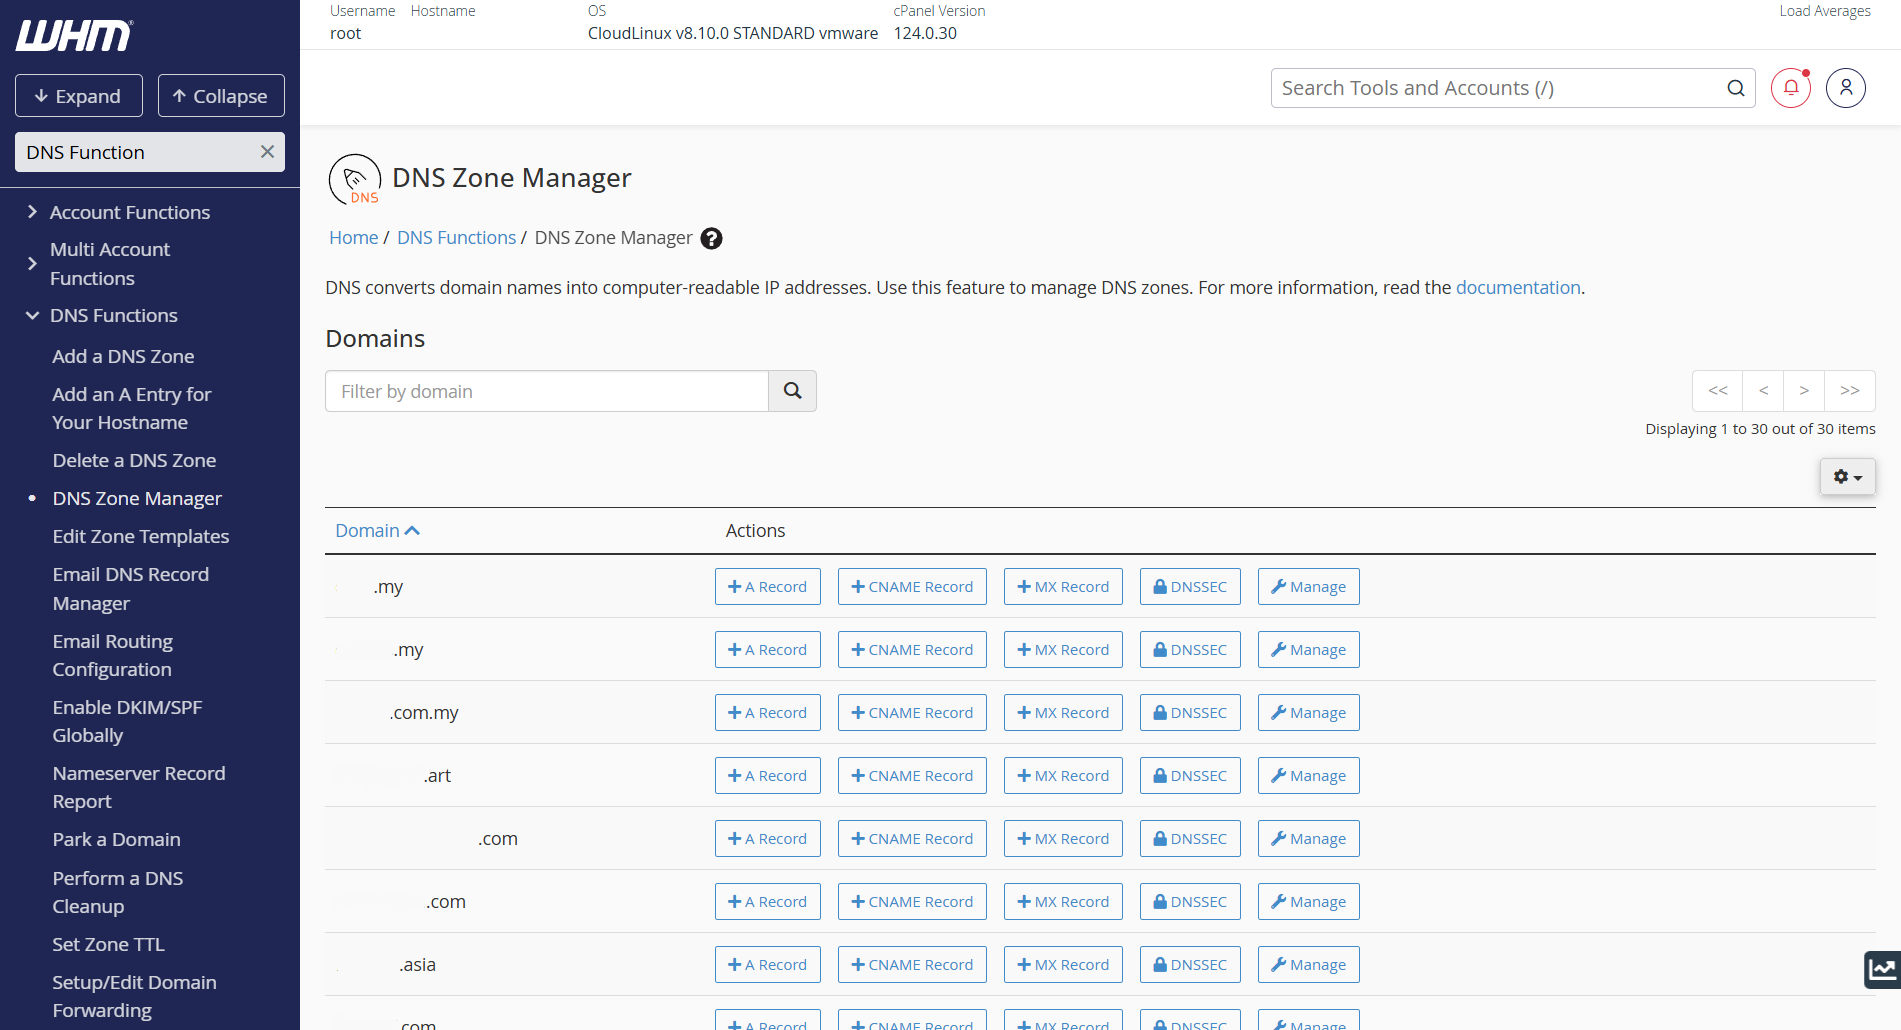
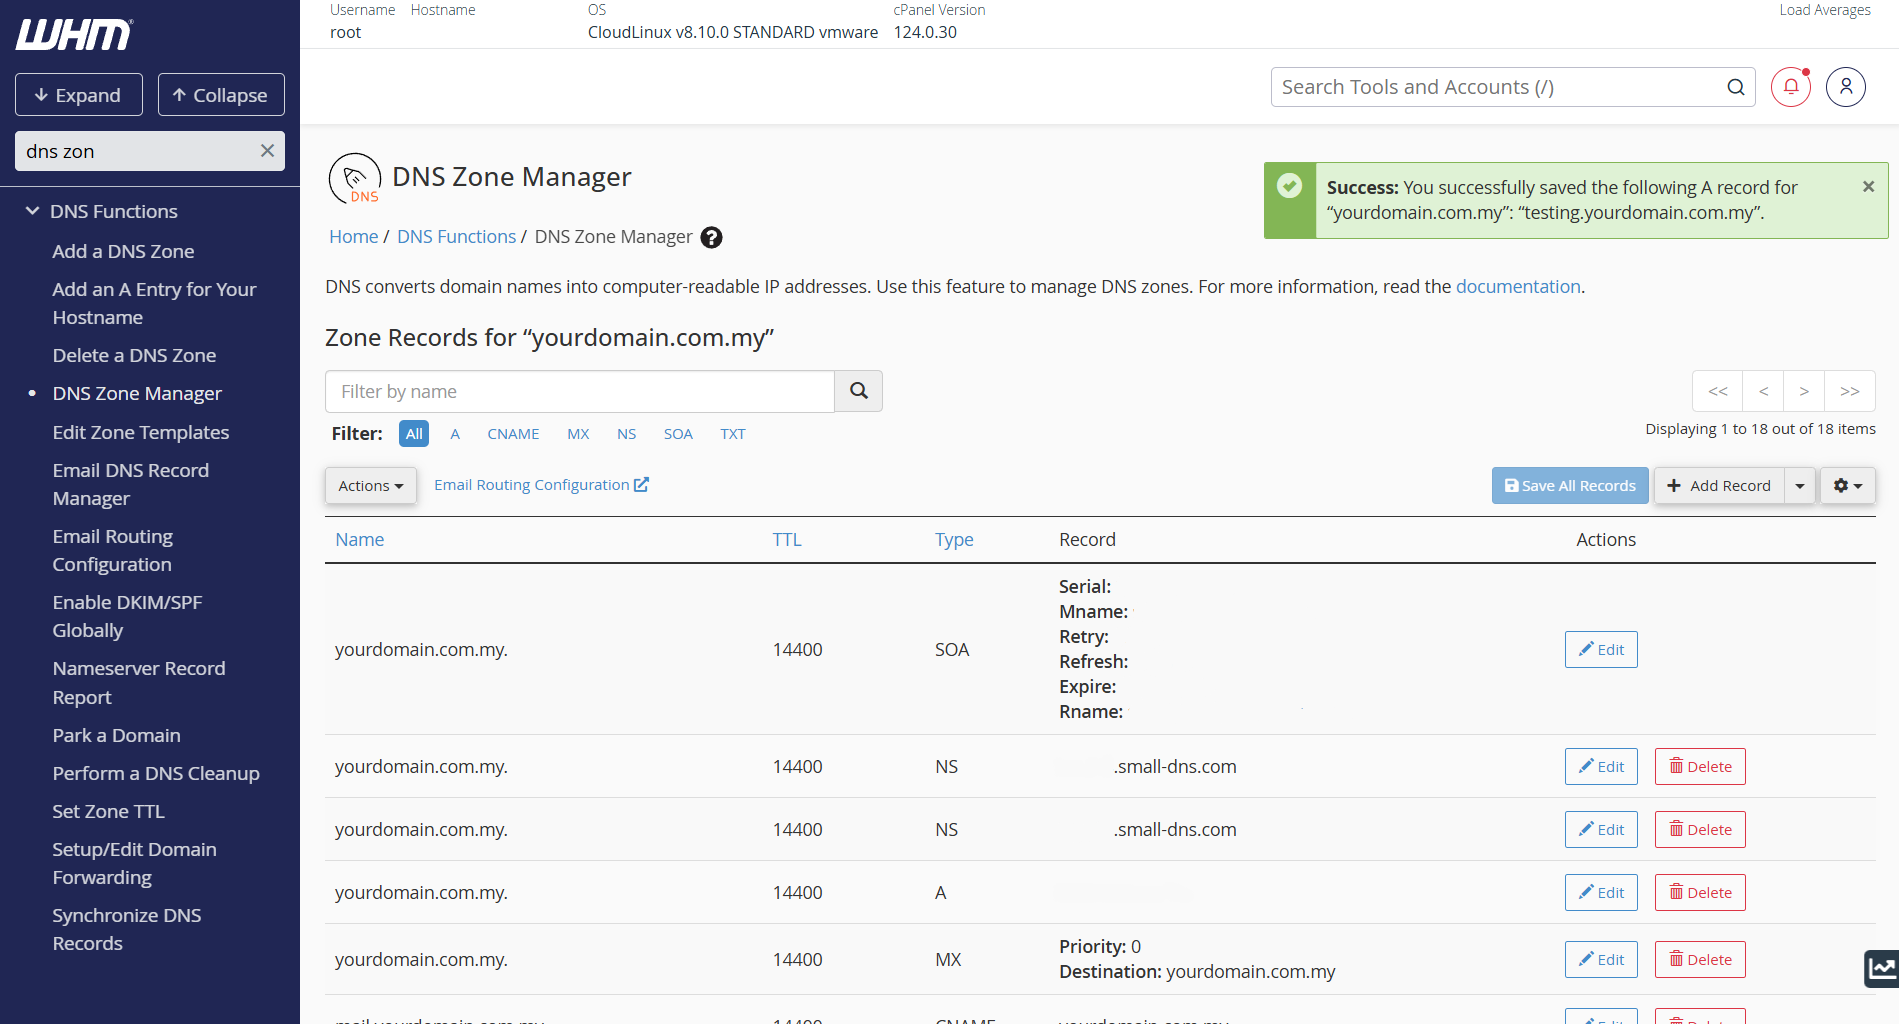
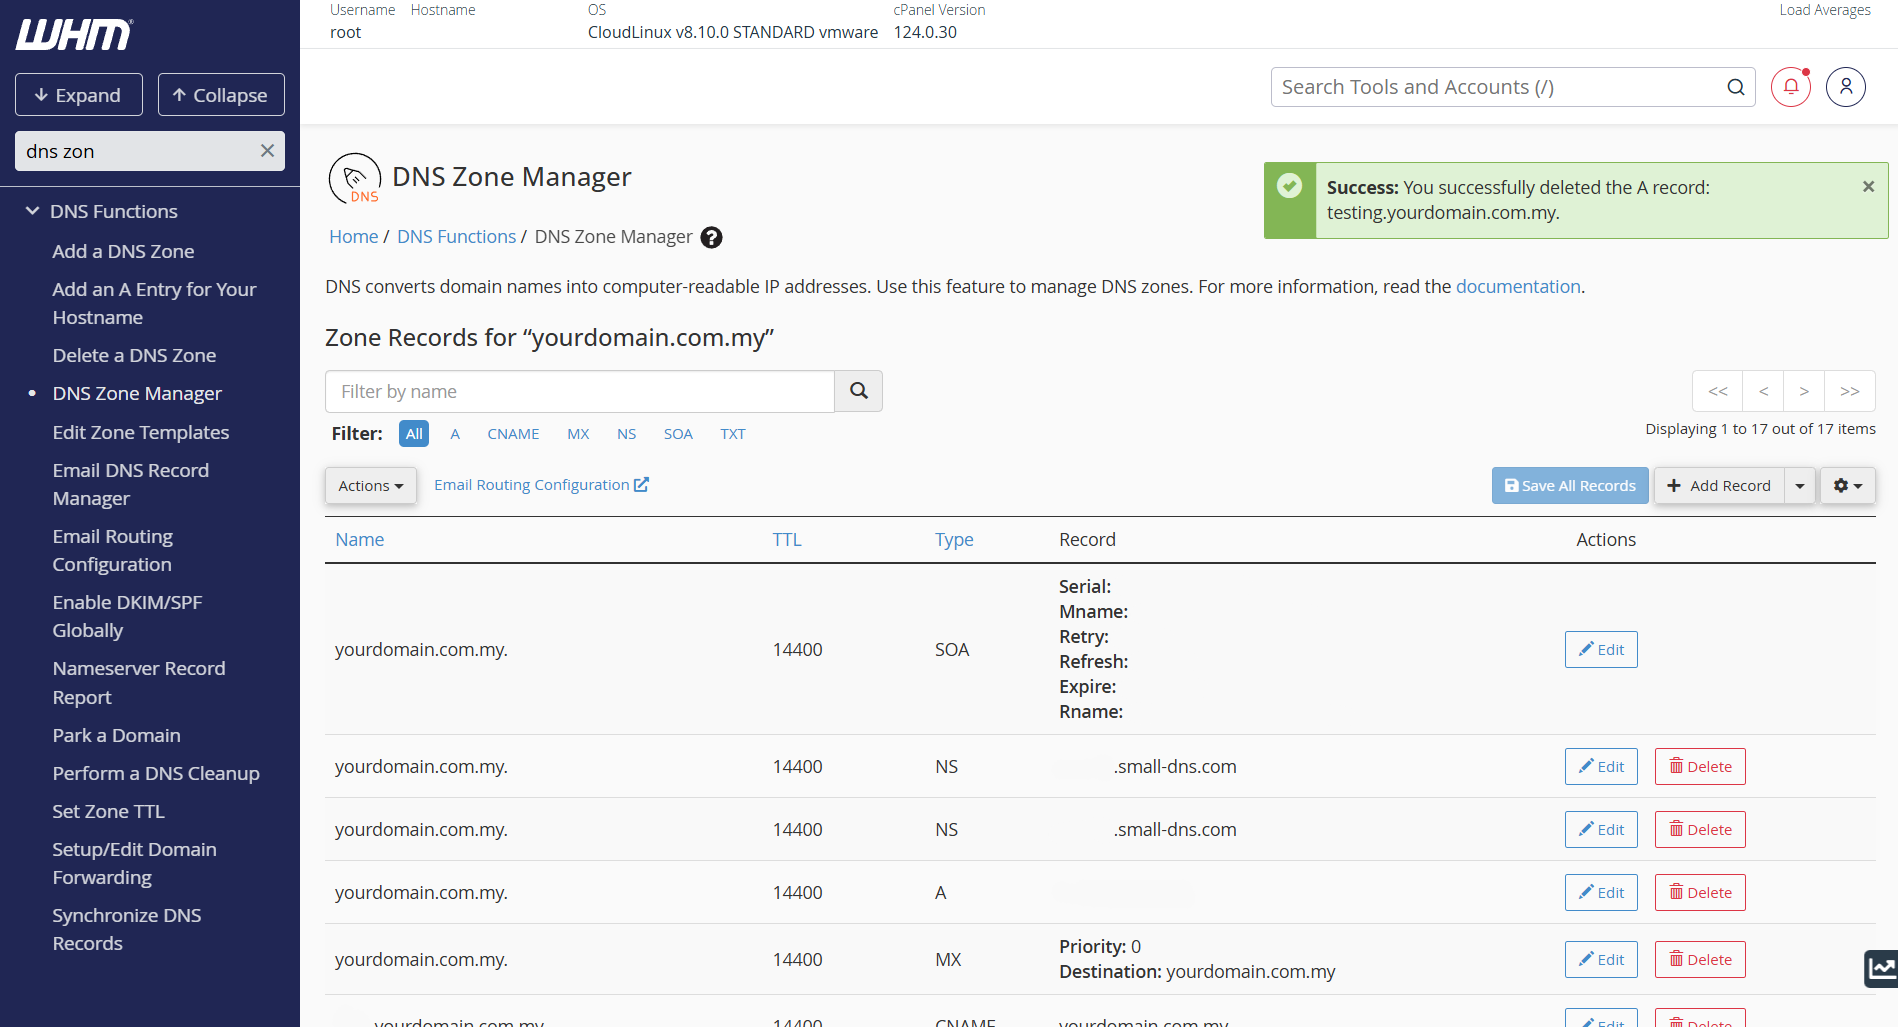
Under the DNS Functions menu, select DNS Zone Manager. A list of domains will appear.
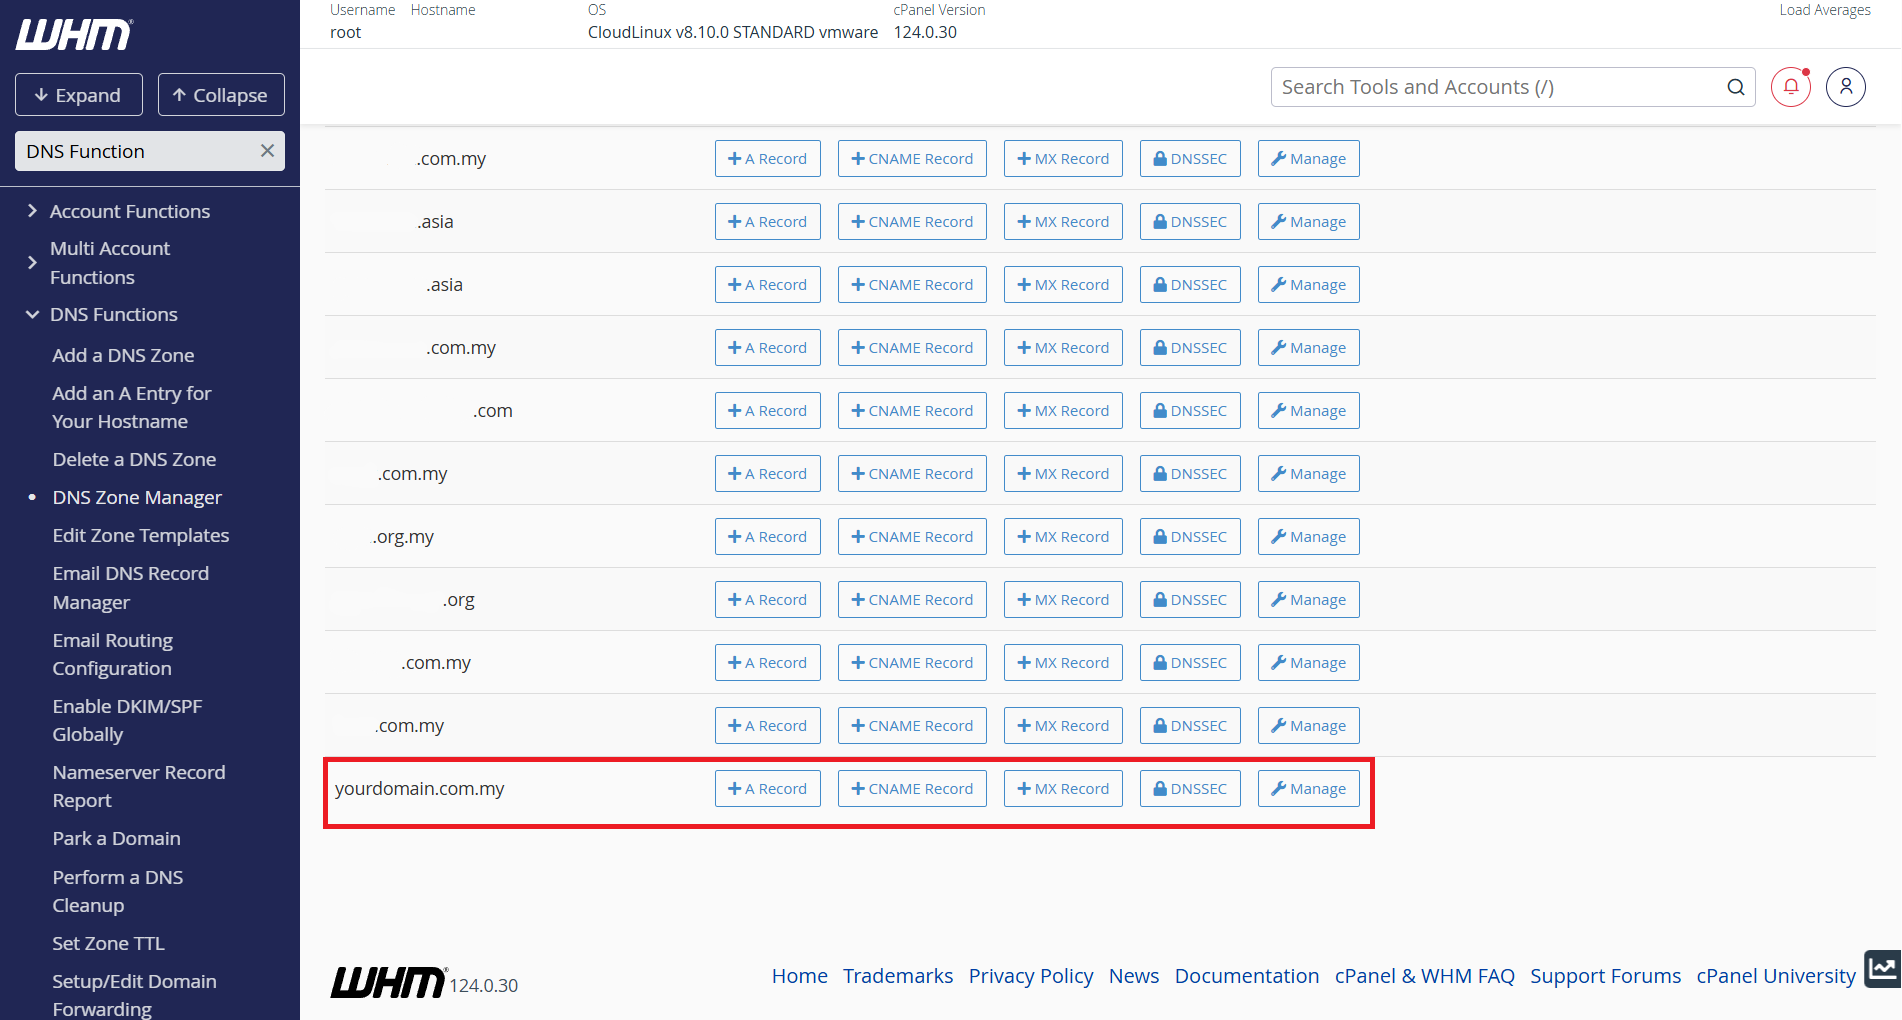
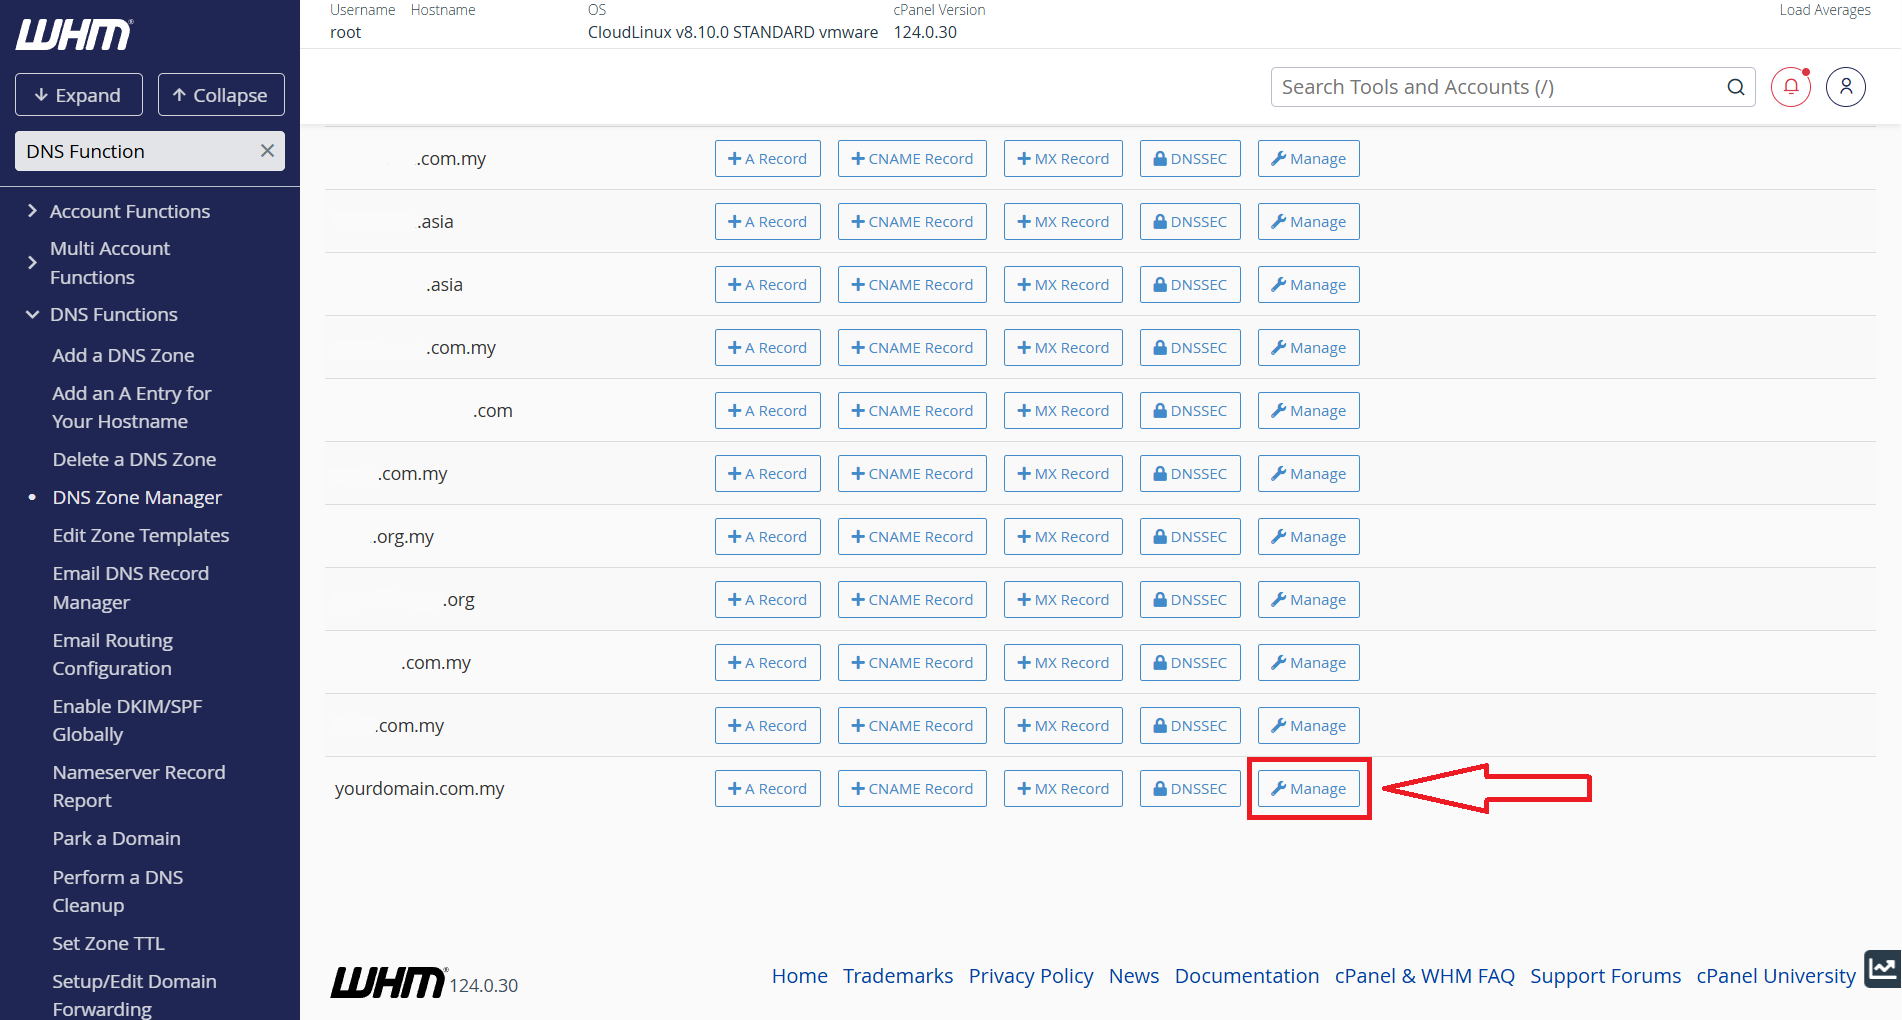
Then, choose the domain from the list for which you need to modify the DNS records and click Manage.
Step 3: Configuring DNS Record
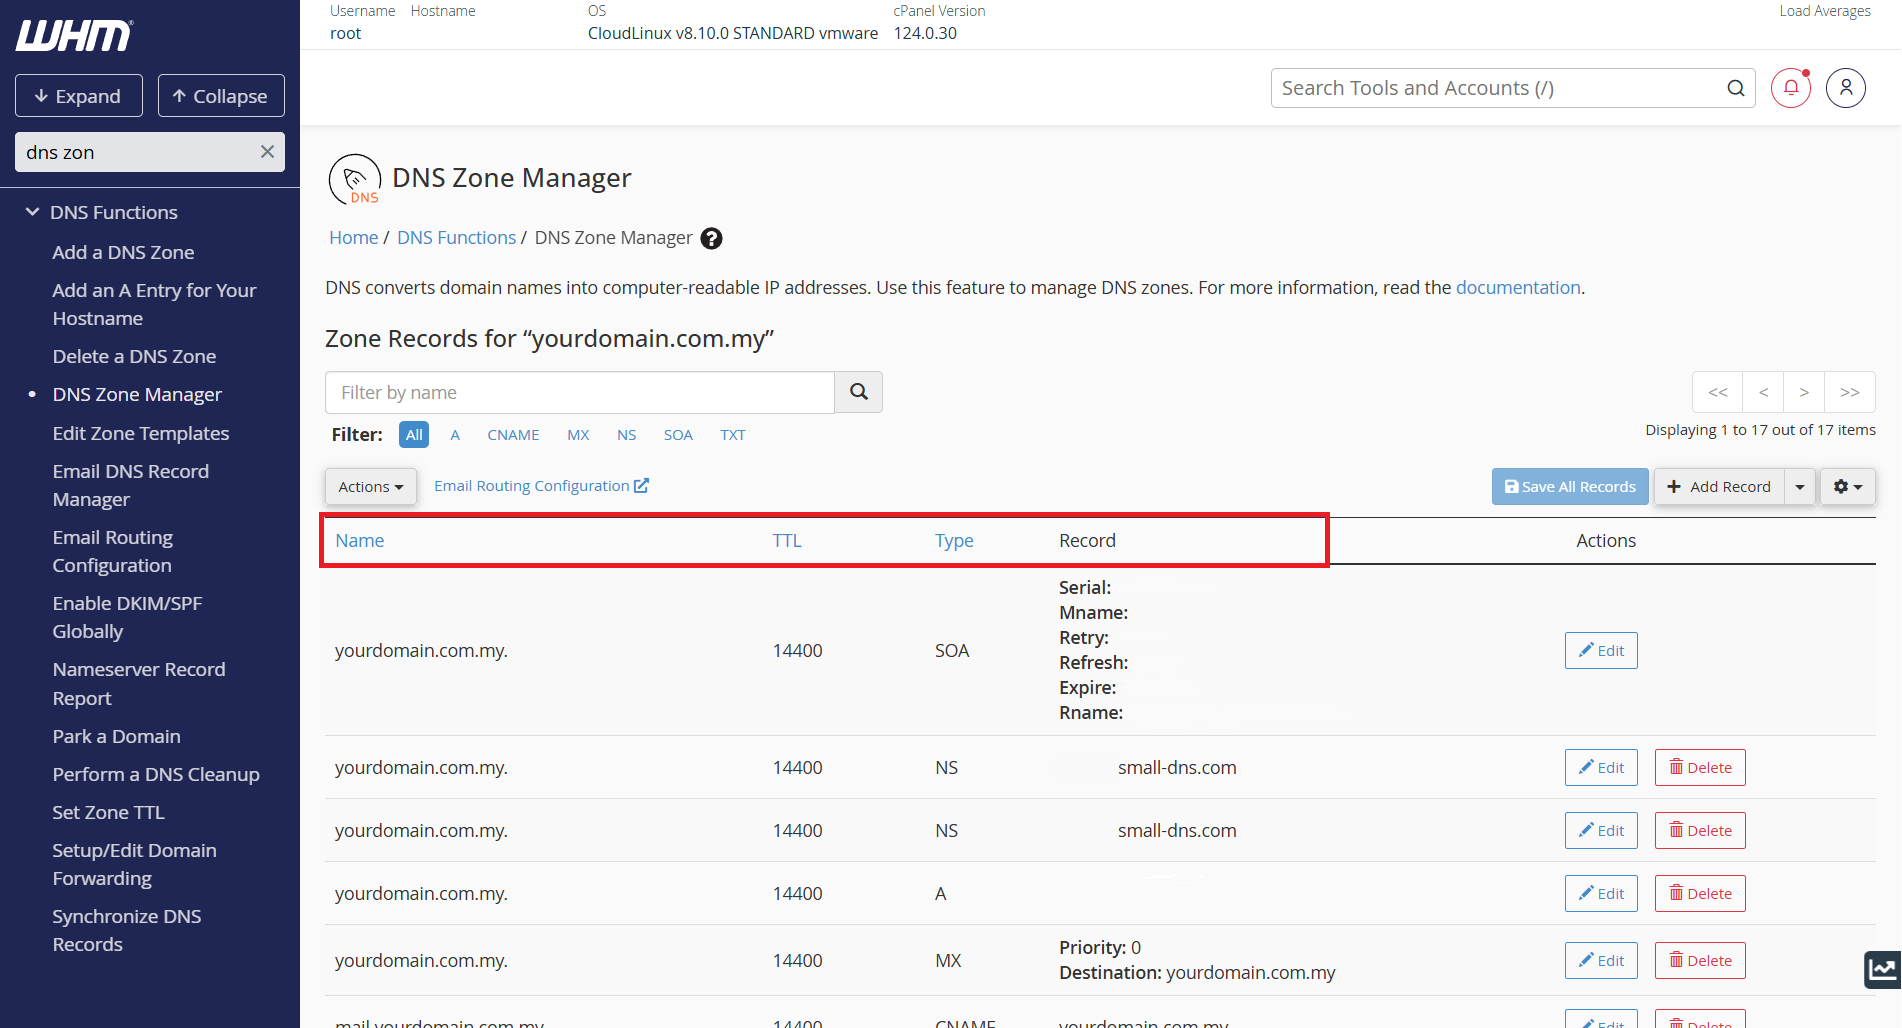
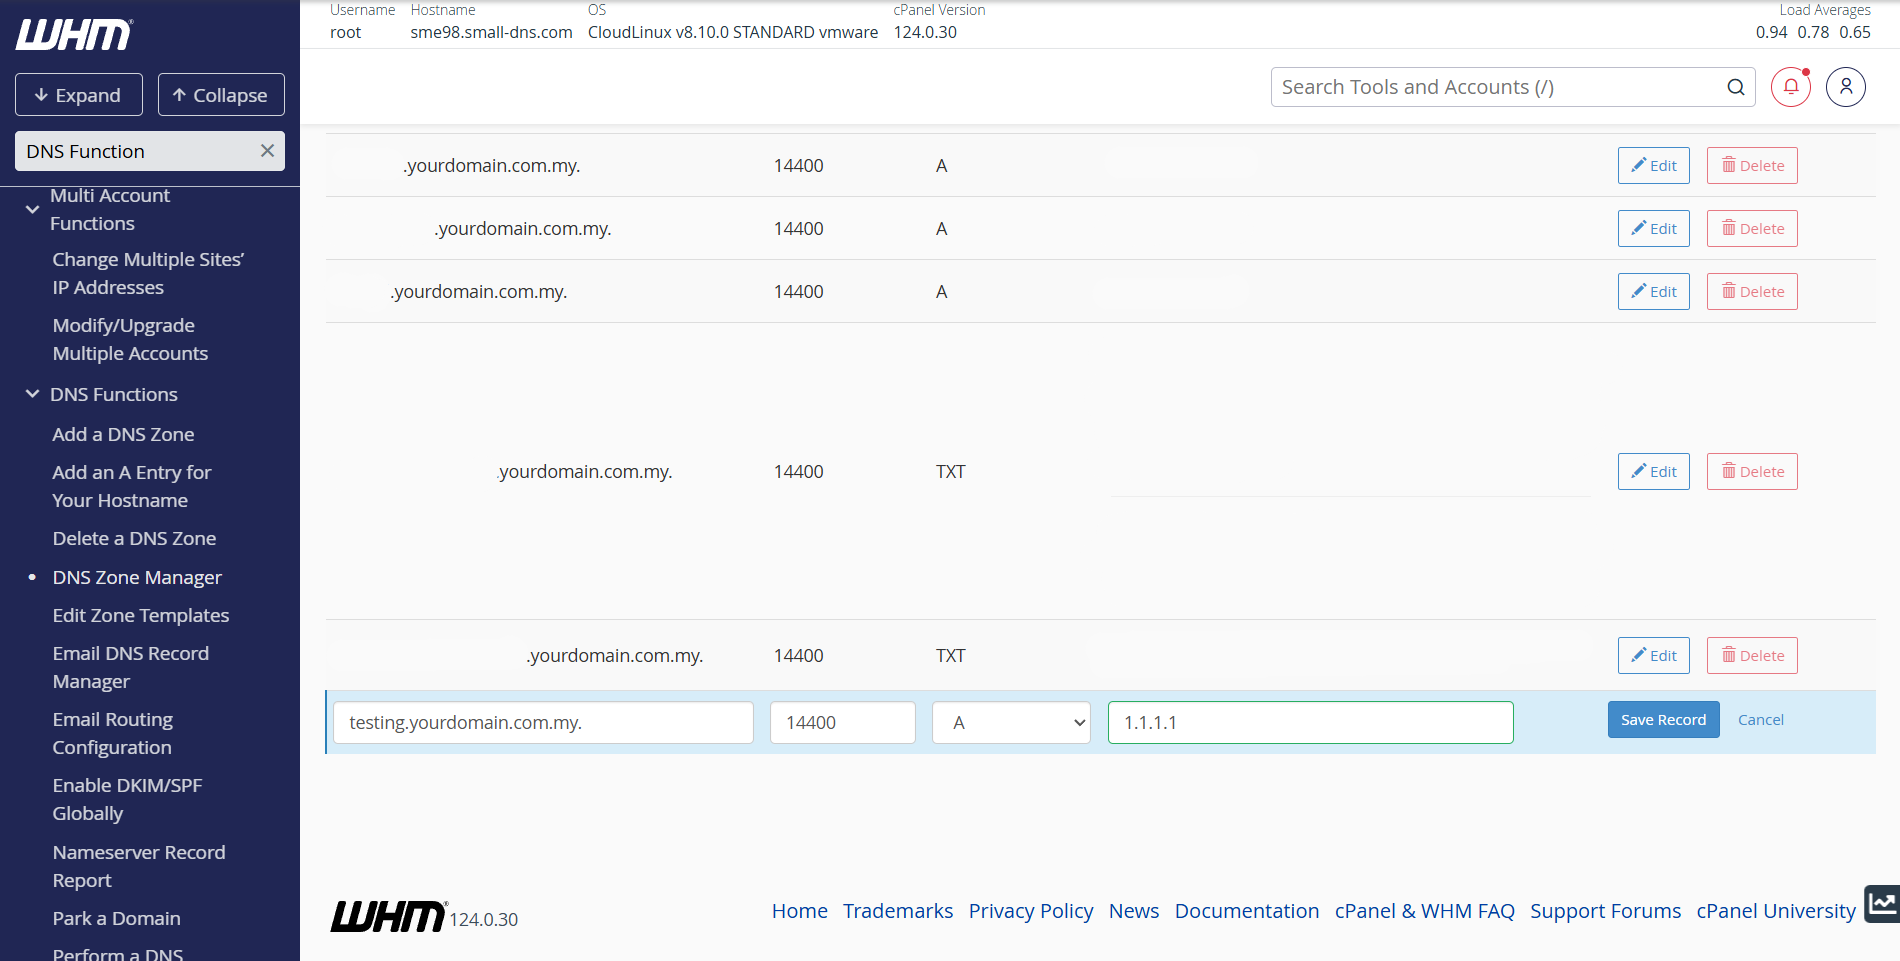
a) At the next page, you will see the columns as stated below:
- Name: Valid zone name
- TTL: Time to live
- Type: The type of DNS record
- Record: The data associated with the zone name
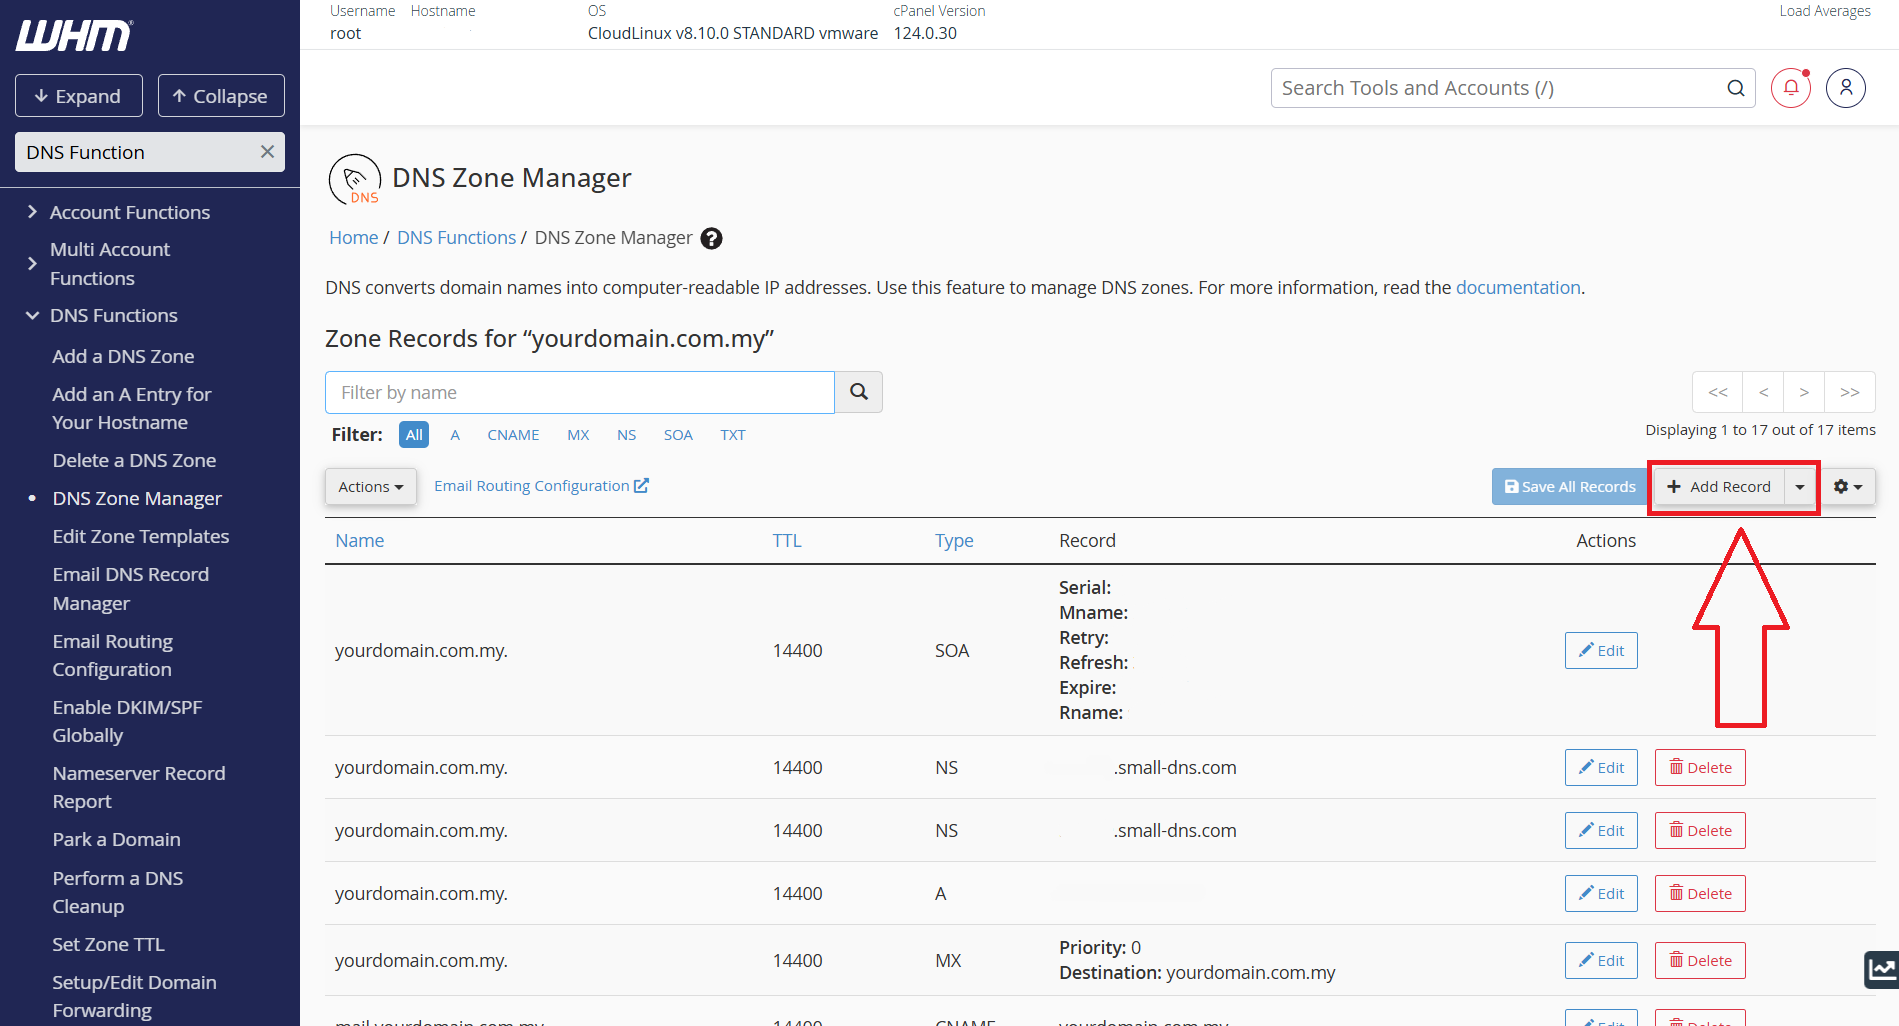
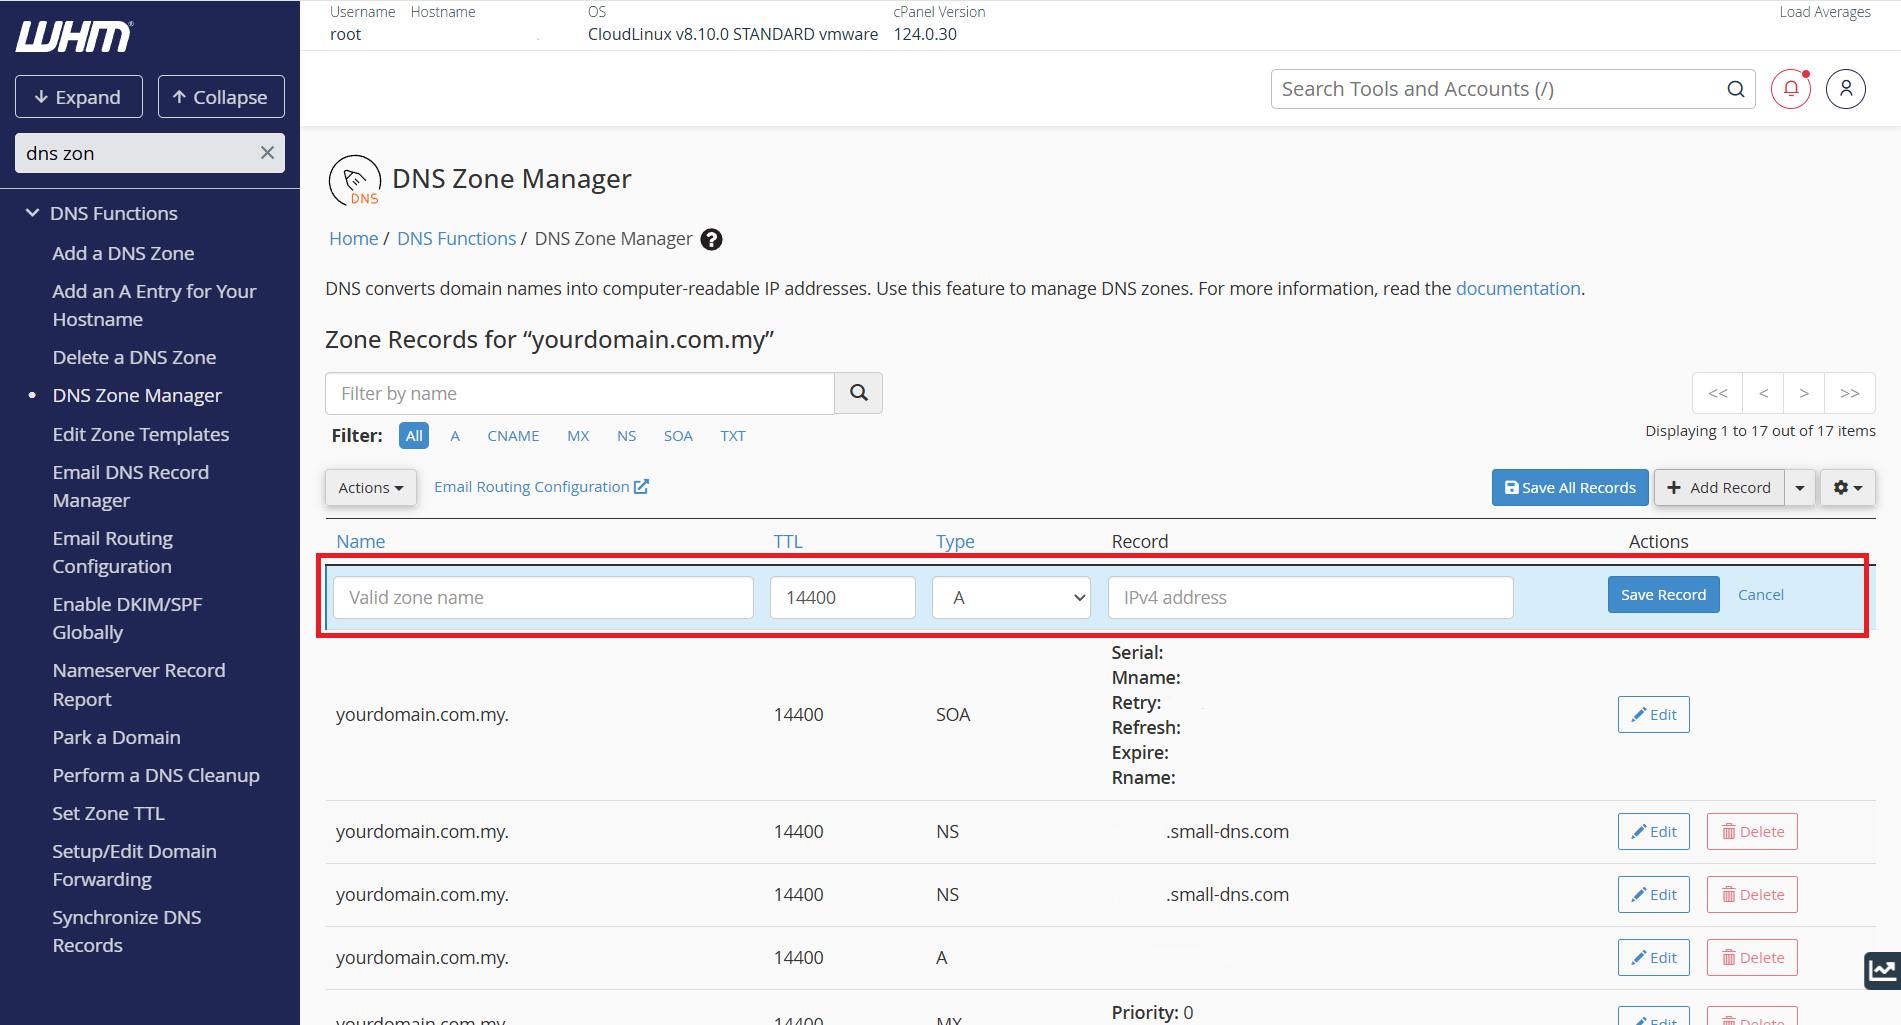
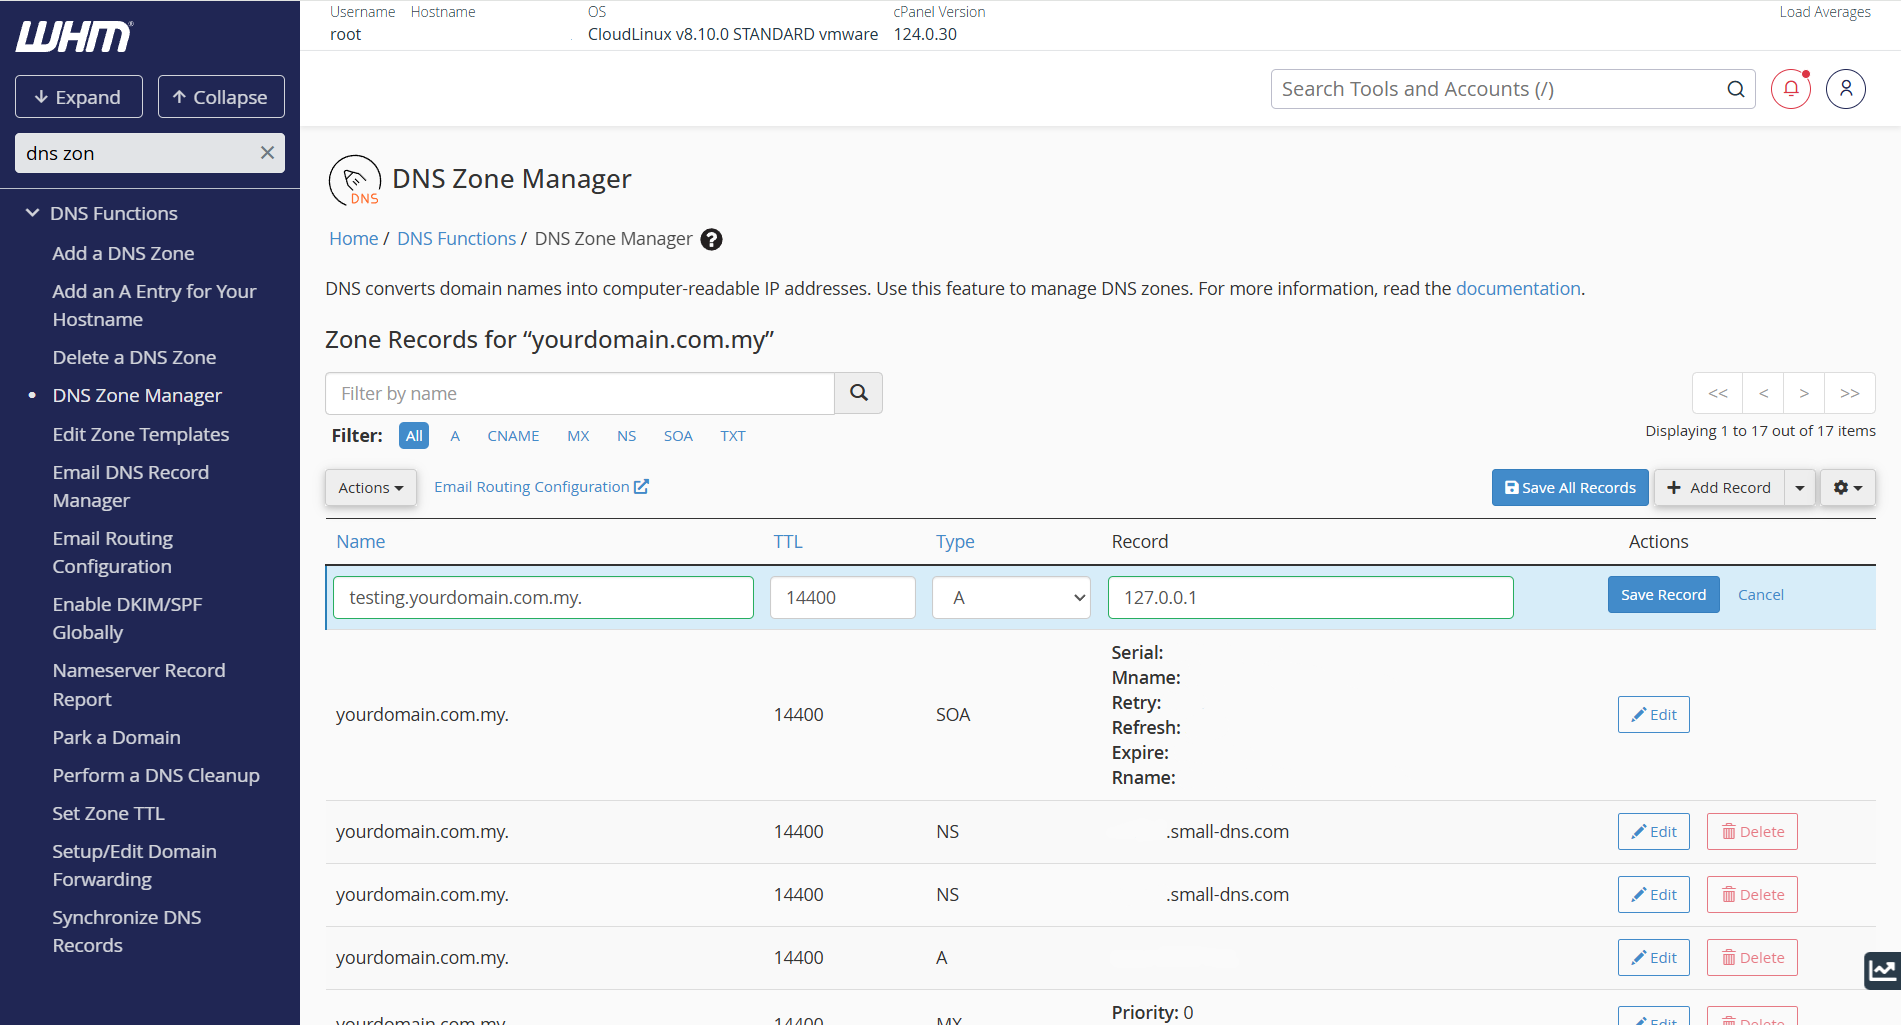
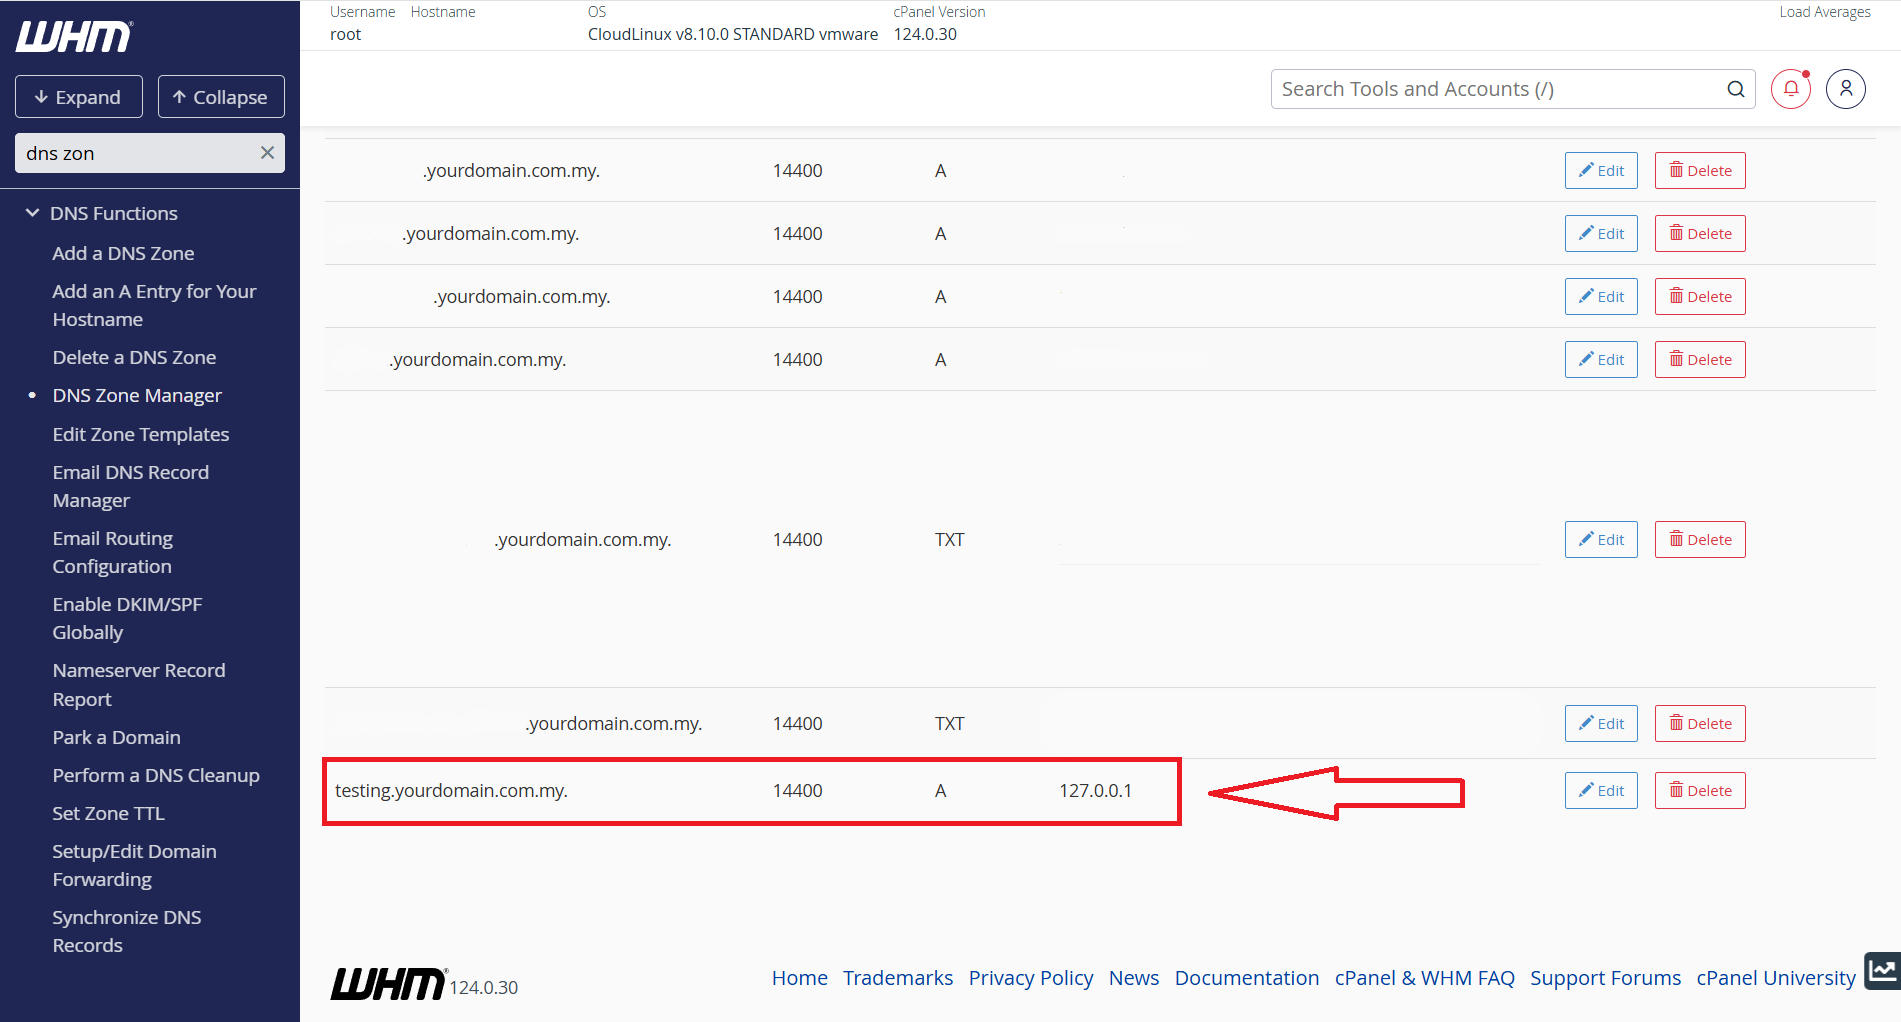
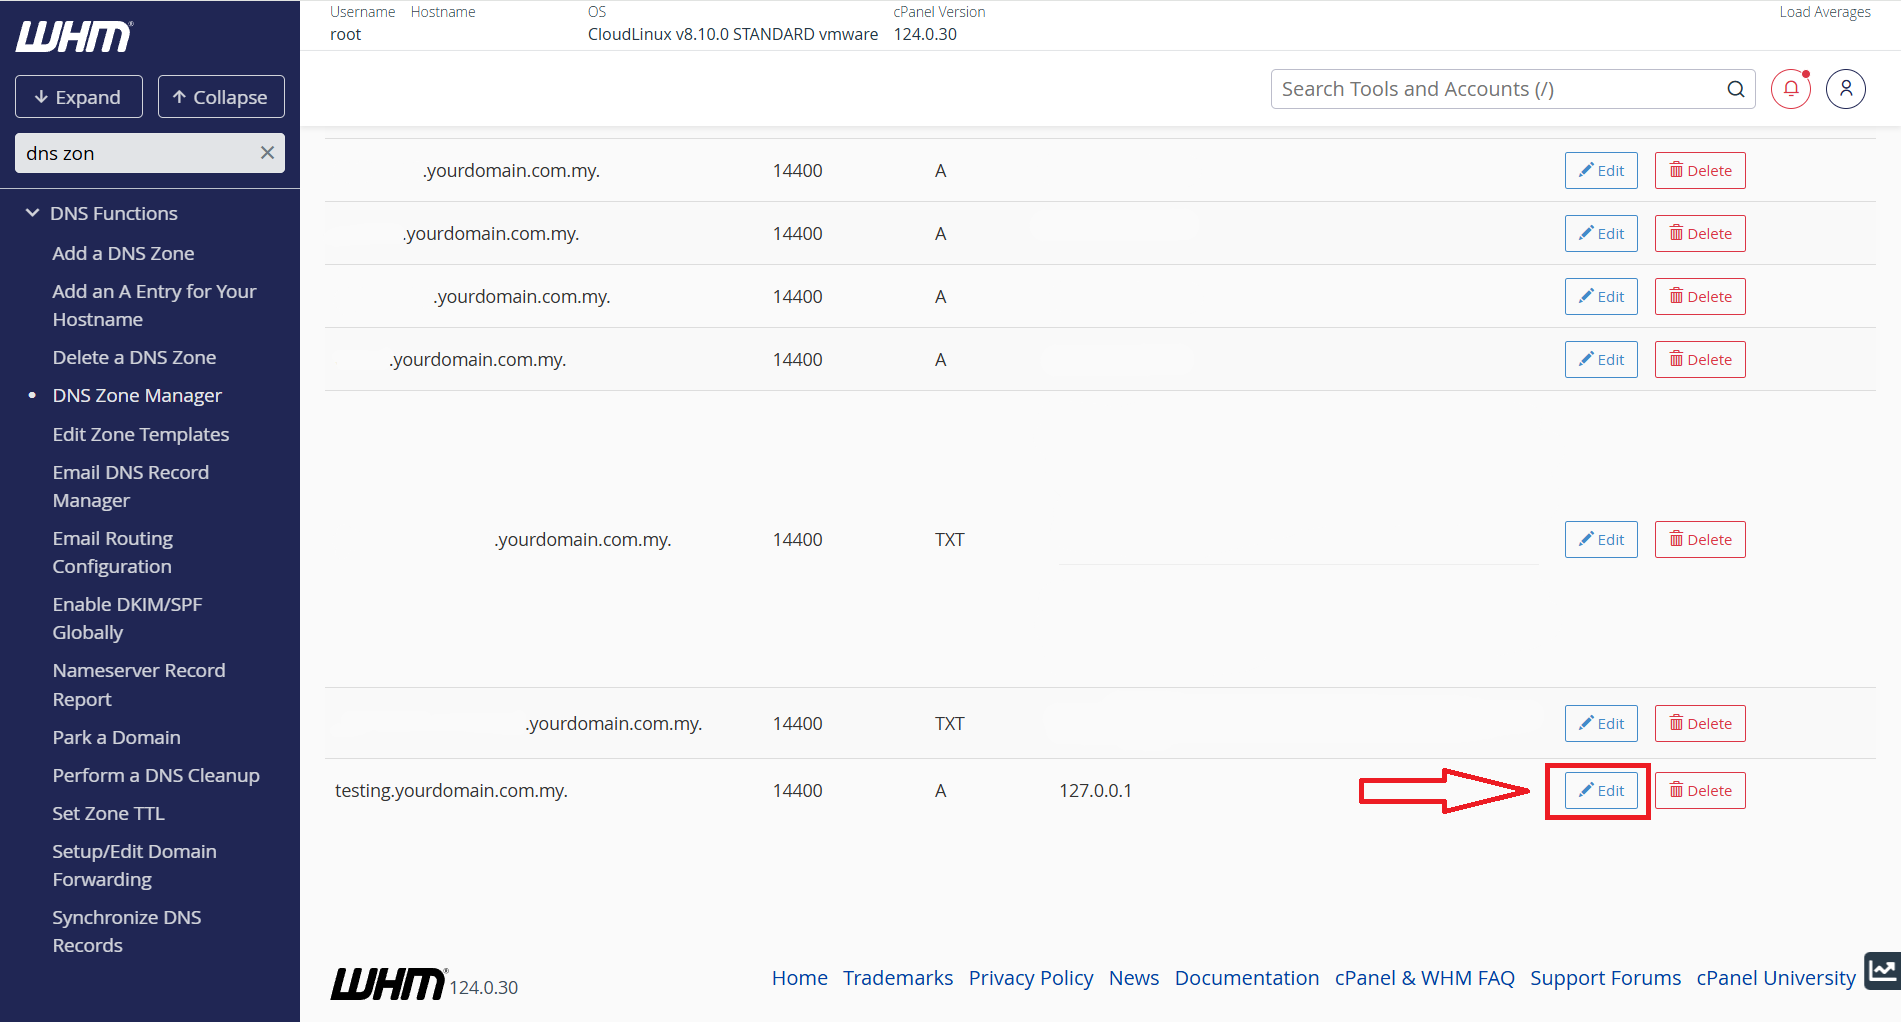
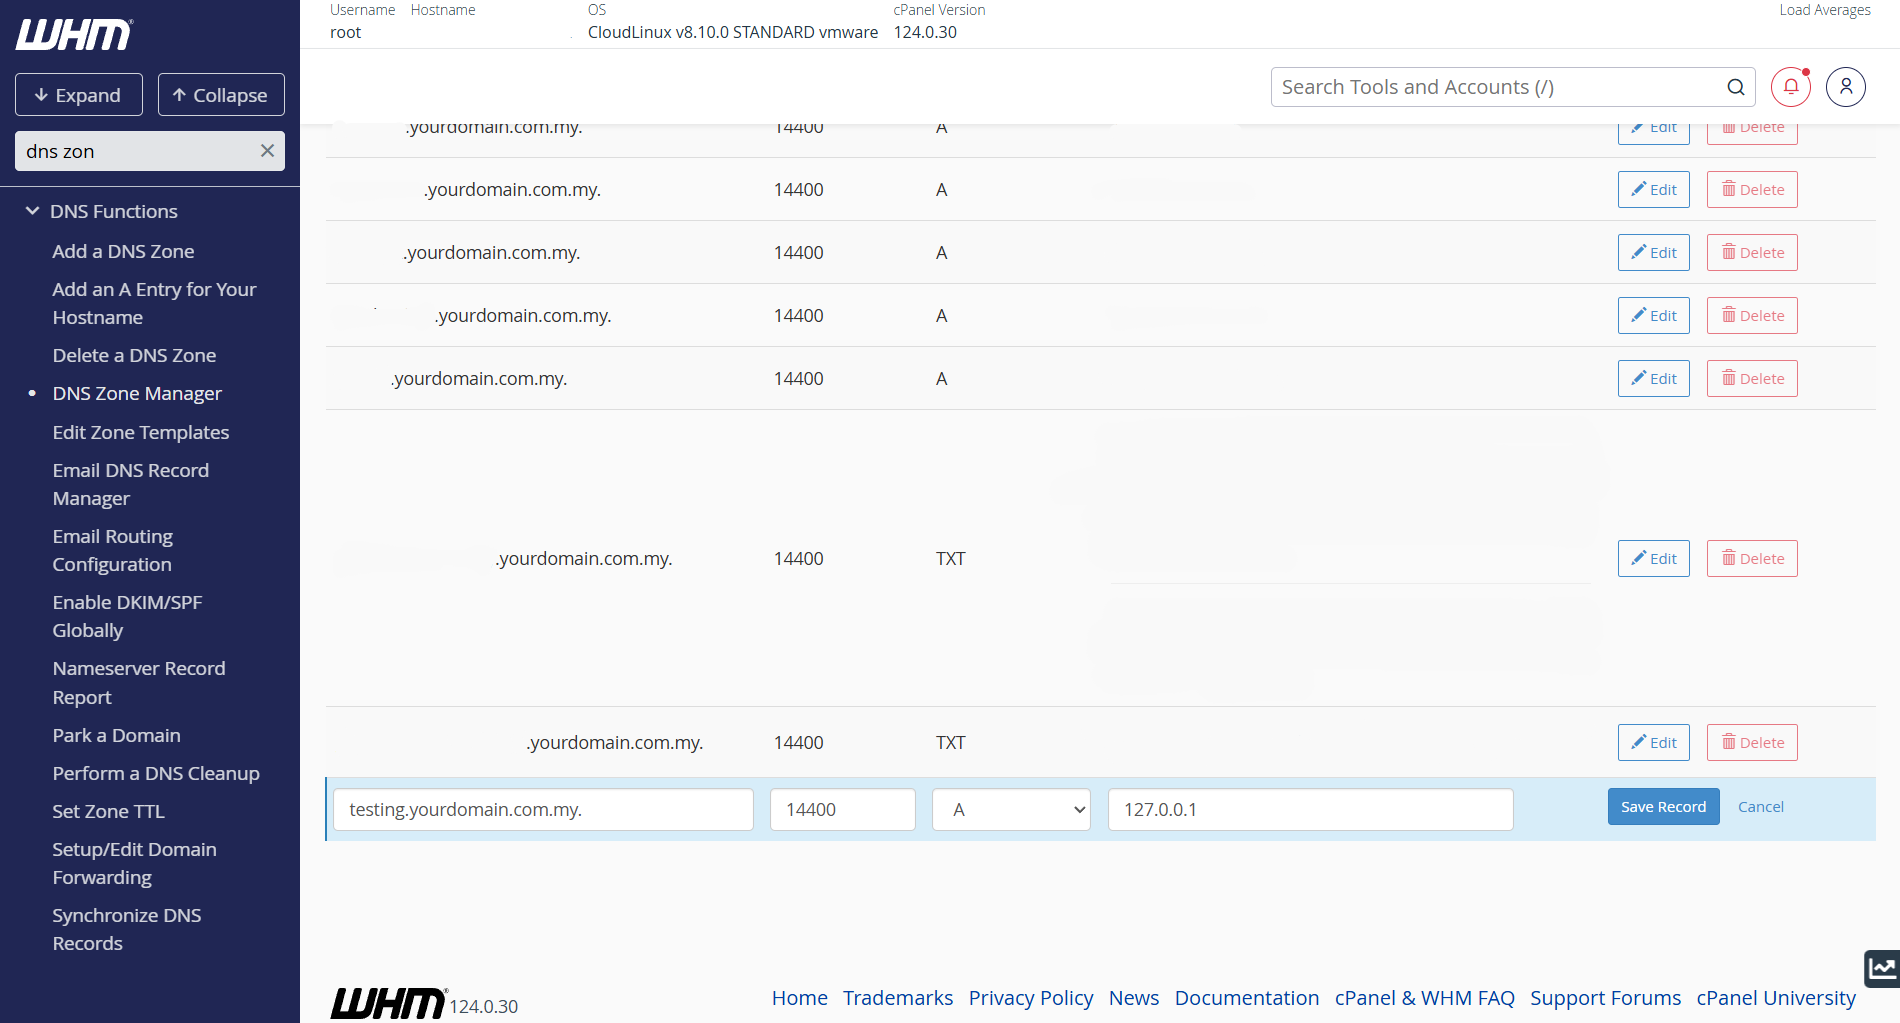
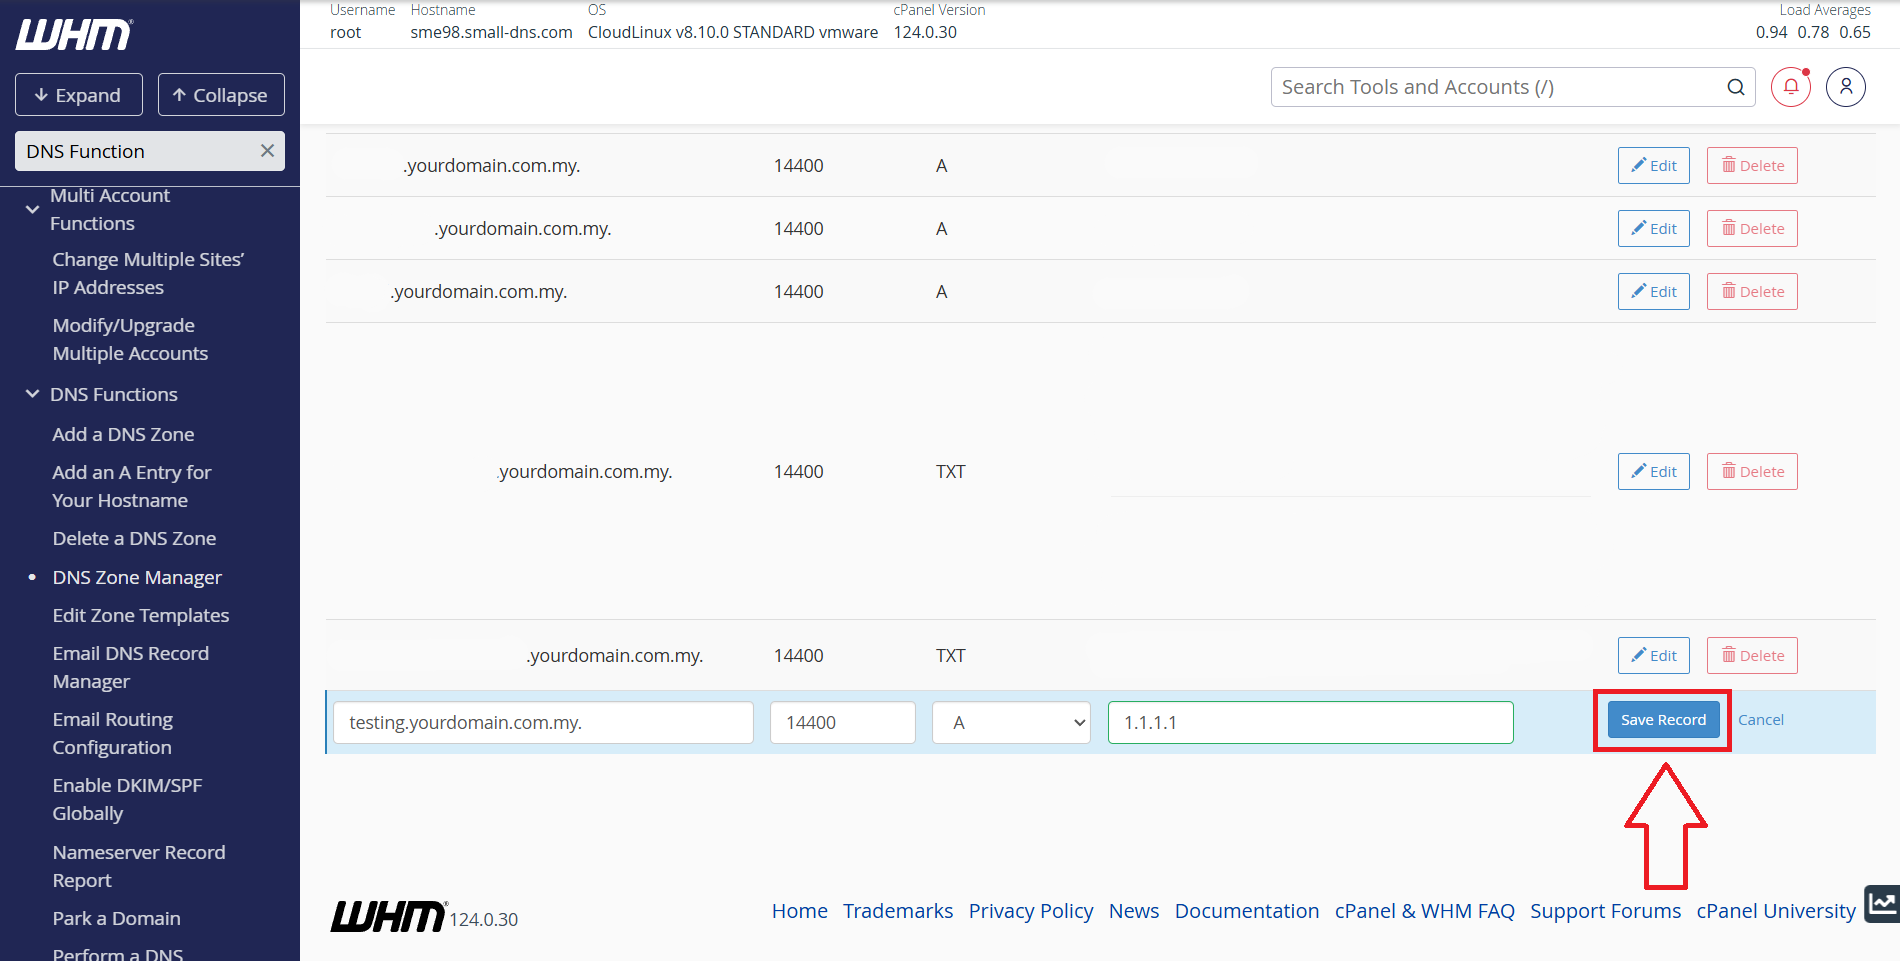
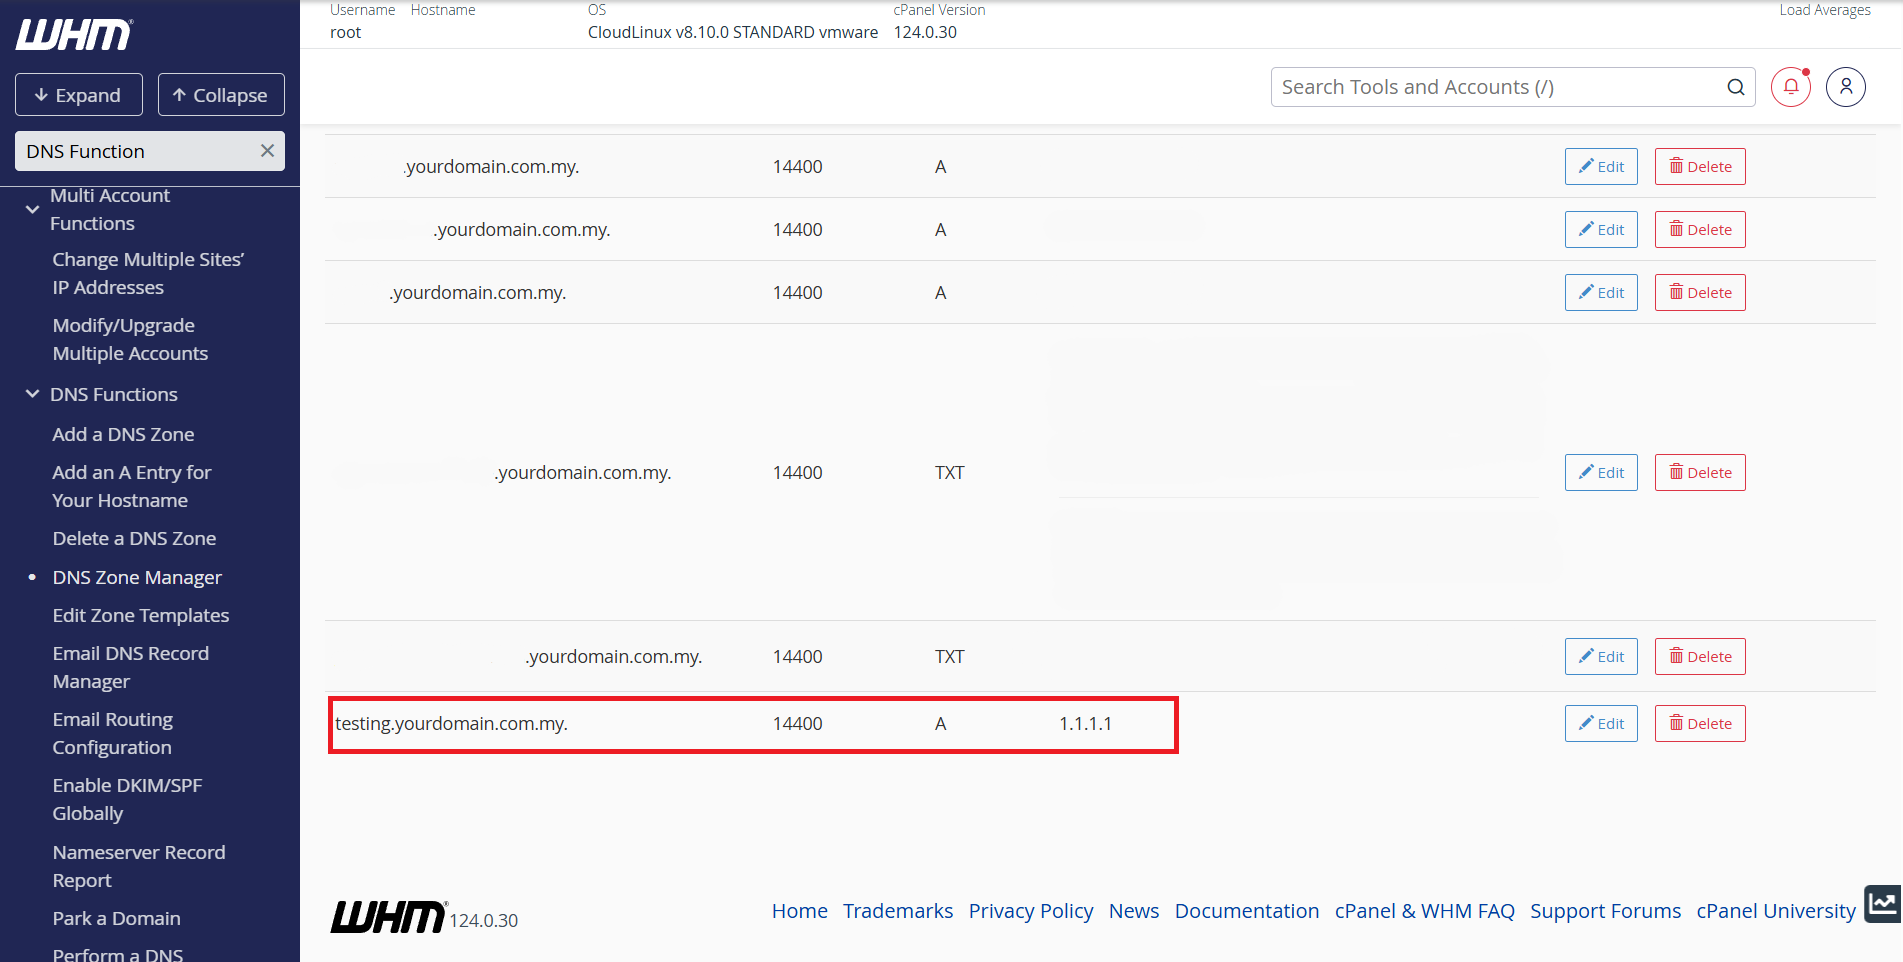
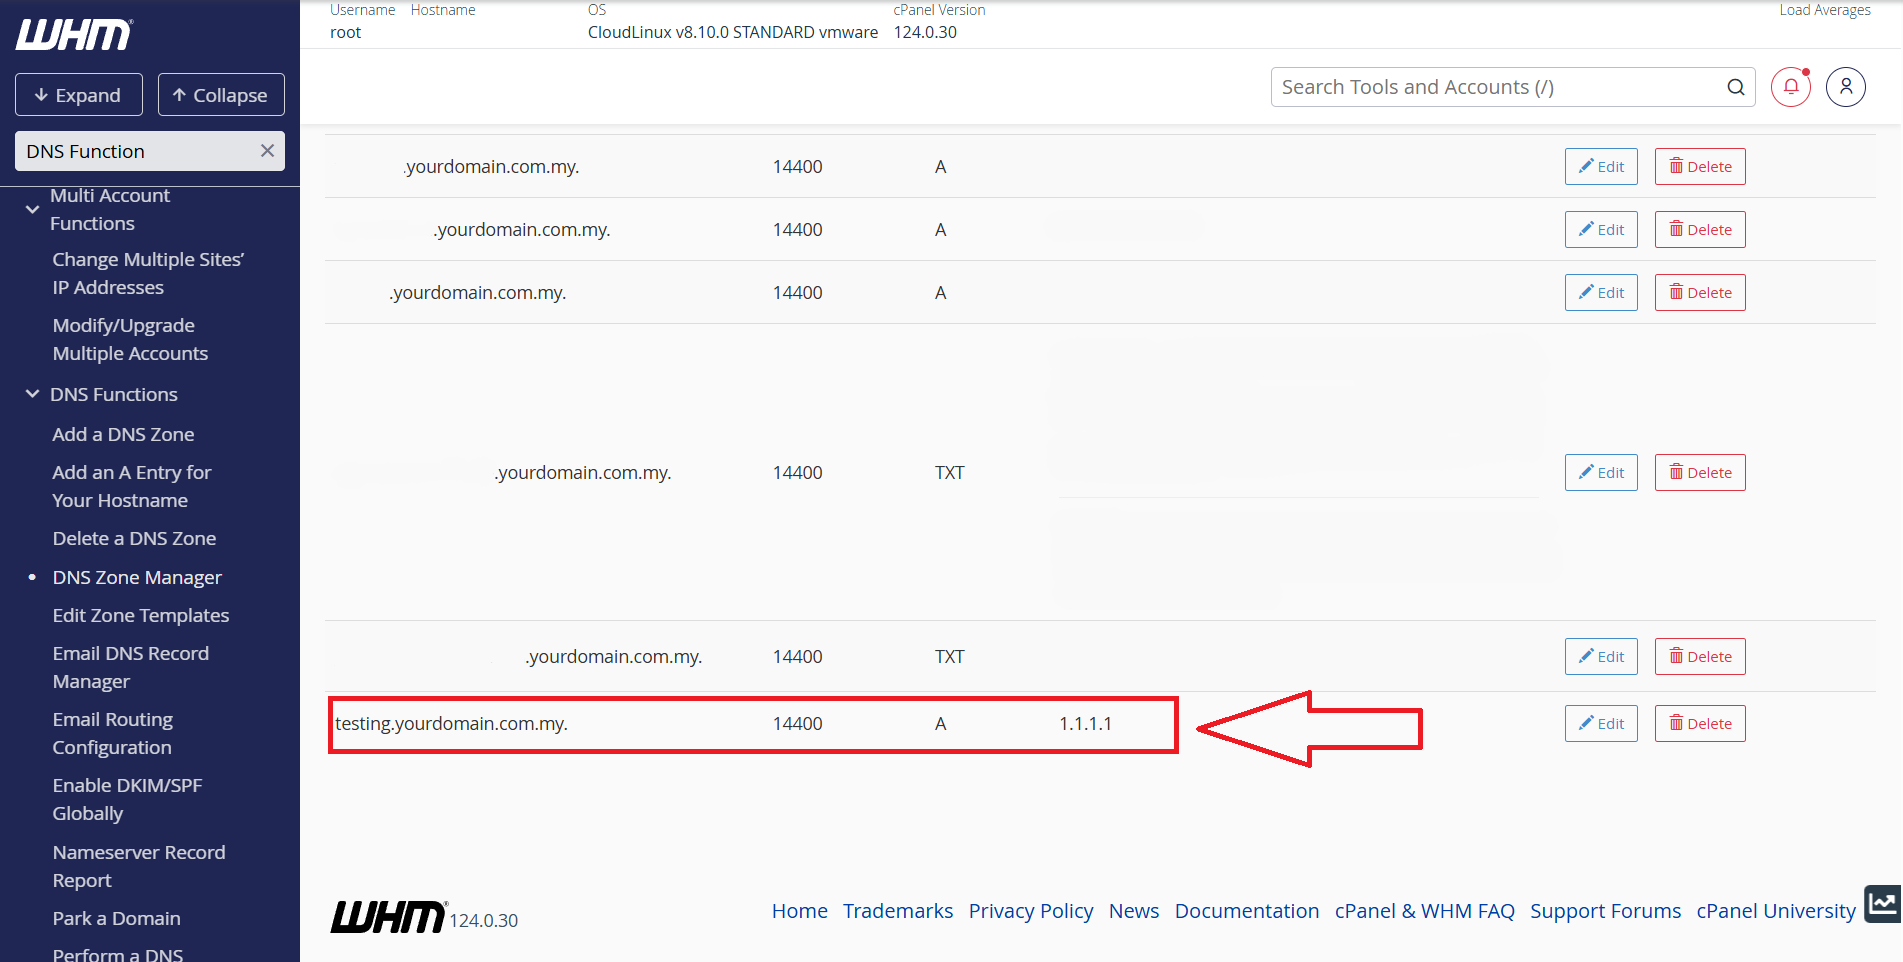
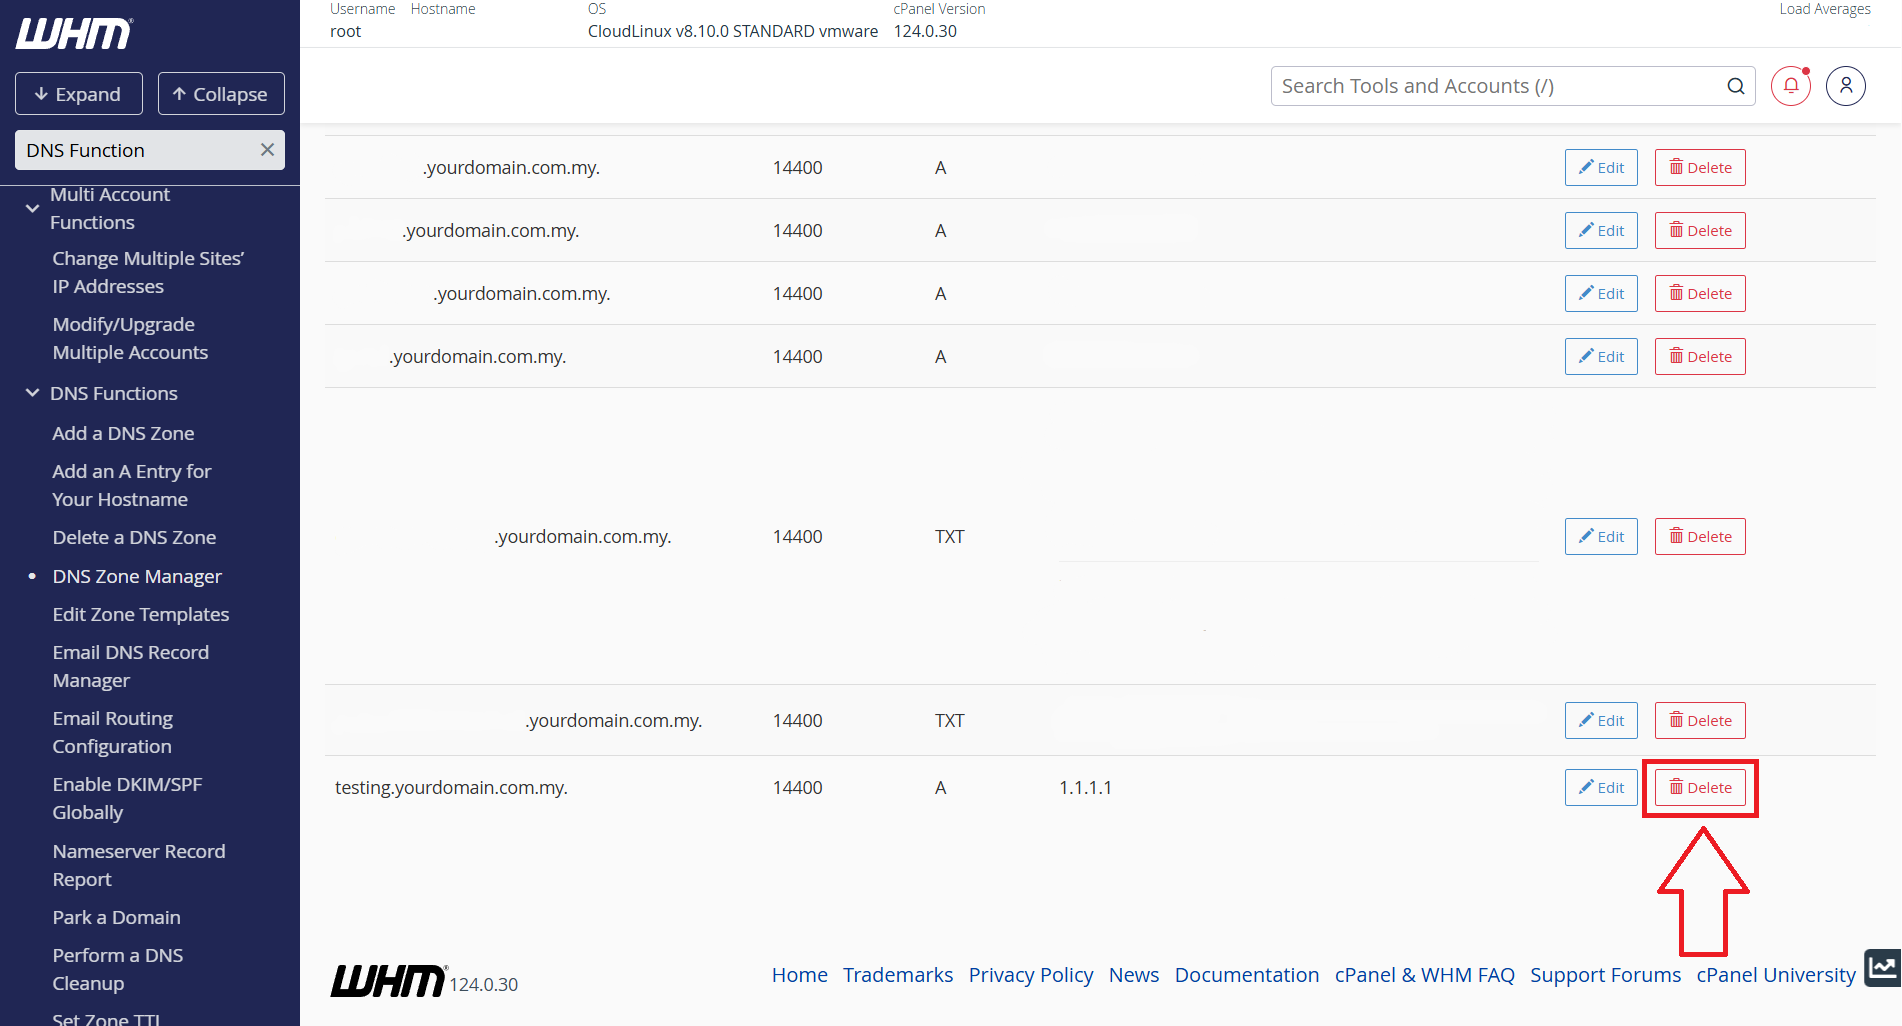
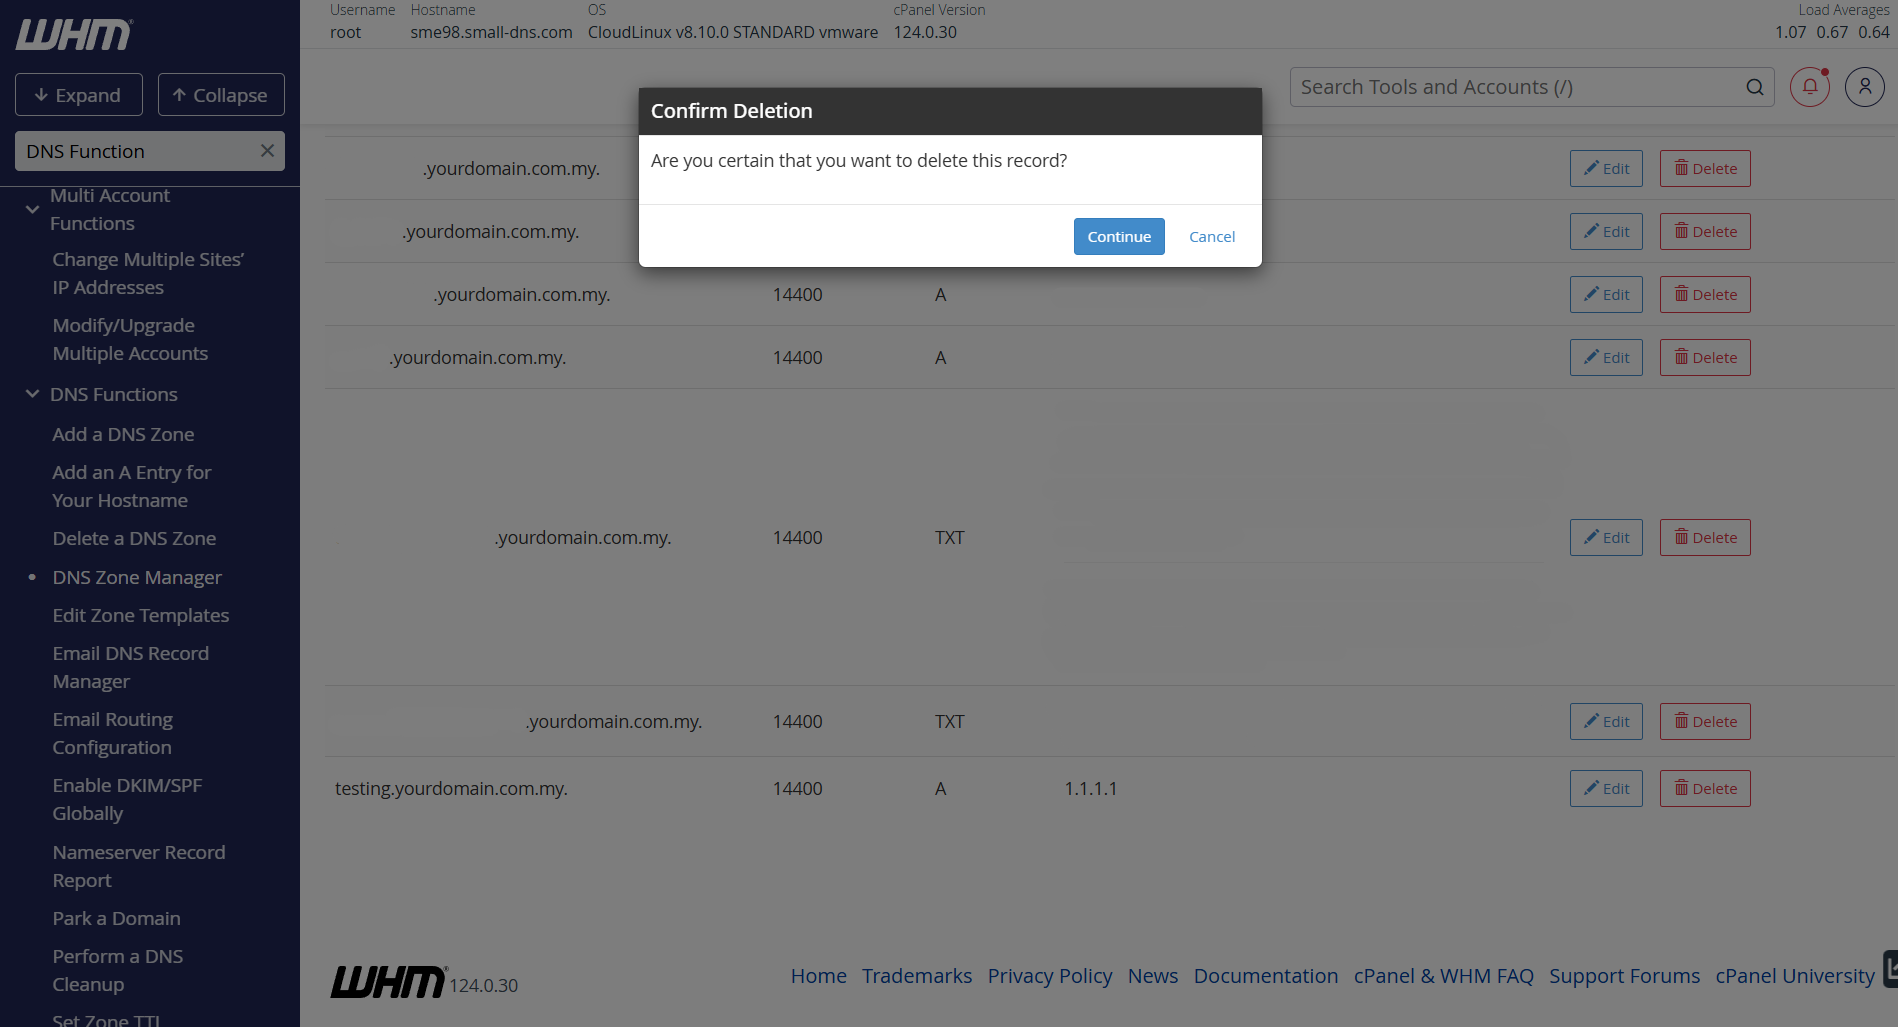
b) You can refer to one of the following if you want to add/edit/remove DNS record:
Step 4: Verify DNS Propagation
Once you’ve add/edit/delete any DNS record, you would need to verify the changes. But please take note that DNS changes may take some time to propagate, which usually take within 2 – 48 hours. You can check the status of the DNS propagation using online DNS lookup tools like https://dnschecker.org.
Conclusion
Configuring DNS records in WHM is a straightforward process that allows administrators to manage domain settings efficiently. By following the steps outlined above, you can ensure proper domain resolution and optimize DNS management for your server.

