Search Our Database
How to convert a PEM file to PPK Using PuTTYgen
Introduction
PuTTYgen is part of the open-source network client, PuTTY, and is essential for generating public and private SSH keys for servers. The native file format for PuTTY is ppk.
In addition to key generation, PuTTY is commonly used for SSH connectivity, allowing secure data transfers between a local machine and a remote server.
Privacy-Enhanced Mail (PEM) is a file format primarily used to transmit data securely, including certificates, emails, and cryptographic keys. The PEM format ensures data integrity and security during storage and transfer.
Important: You may follow this tutorial if you are using PuTTY as your SSH client. There are other clients that support the private key format, so you can skip this tutorial and proceed to access your Linux instance via SSH.
Prerequisite:
-
- If you do not have PuTTY installed, download and install PuTTY from here. PuTTYgen is included in the PuTTY installation.
- A valid PEM file (commonly generated for secure connections to servers).
Steps to Convert PEM to PPK Using PuTTYgen
1. Launch PuTTYgen (for example, from the Start menu, choose All Programs > PuTTY > PuTTYgen).
2. Choose Load to the .pem private key file into PuTTYgen.
3. Browse the location where you store the .pem key file.
Note: To view your
file, set the file filter to display “All Files (.)”.
4. Select your .pem key file for the key pair that you specified when you launch your instance, and then choose Open.
5. Choose OK to dismiss the confirmation dialog box.
6. Under Type of key to generate, choose RSA. You can leave number of bits in its default value.
Note: If you’re using an older version of PuTTYgen, choose SSH-2 RSA.
7. Choose Save private key to save the key in the format that PuTTY can use.
8. PuTTYgen displays a warning about saving the key without a passphrase. Choose Yes.
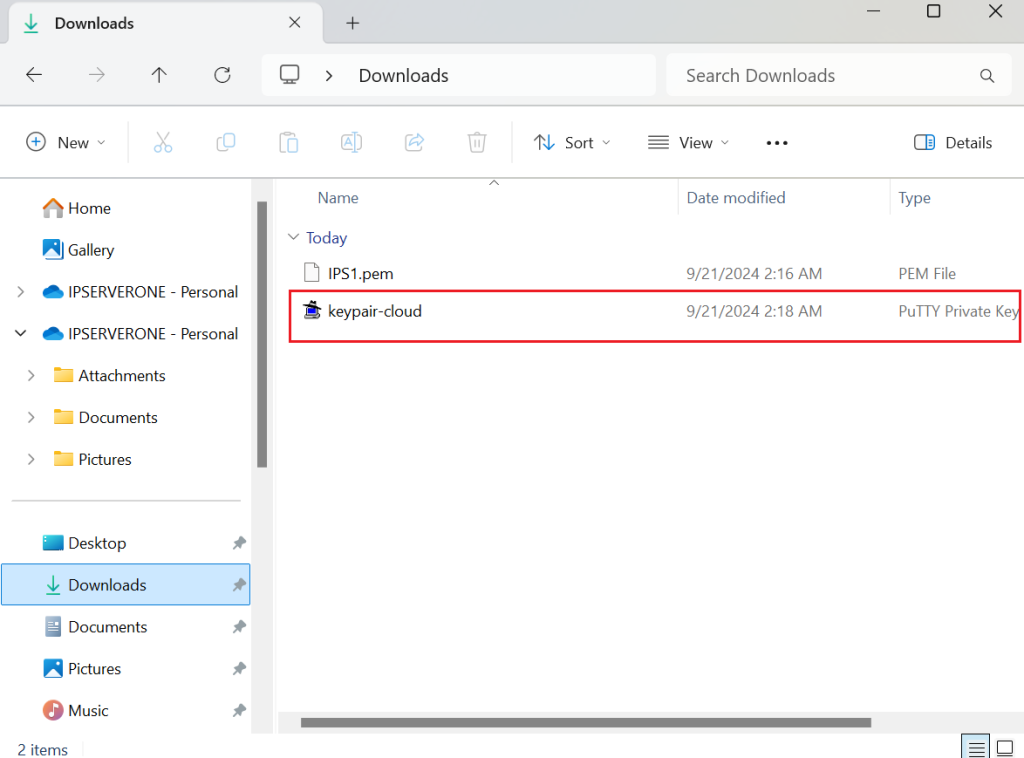
9. Specify the same name for the key that you used for the key pair (for example, keypair-cloud), then Save.

Your private key is now in the correct format for use with PuTTY.
You can now connect to your instance using PuTTY’s SSH client. You can find the tutorial here.
Conclusion
By following these steps, you have successfully converted your PEM file to a PPK file using PuTTYgen. The new PPK file is now ready for use with PuTTY to securely connect to your remote server via SSH. You can verify the conversion by checking the file extension, size, and contents, ensuring that everything is in the correct format for use.


