Search Our Database
How to create and set up domain profile?
Introduction
Creating a domain registration profile streamlines the management of contact information. By having predefined profiles, you can quickly and accurately apply the correct details when registering new domains.
How to create domain profile
- Log in to the IP Serverone Customer Portal.
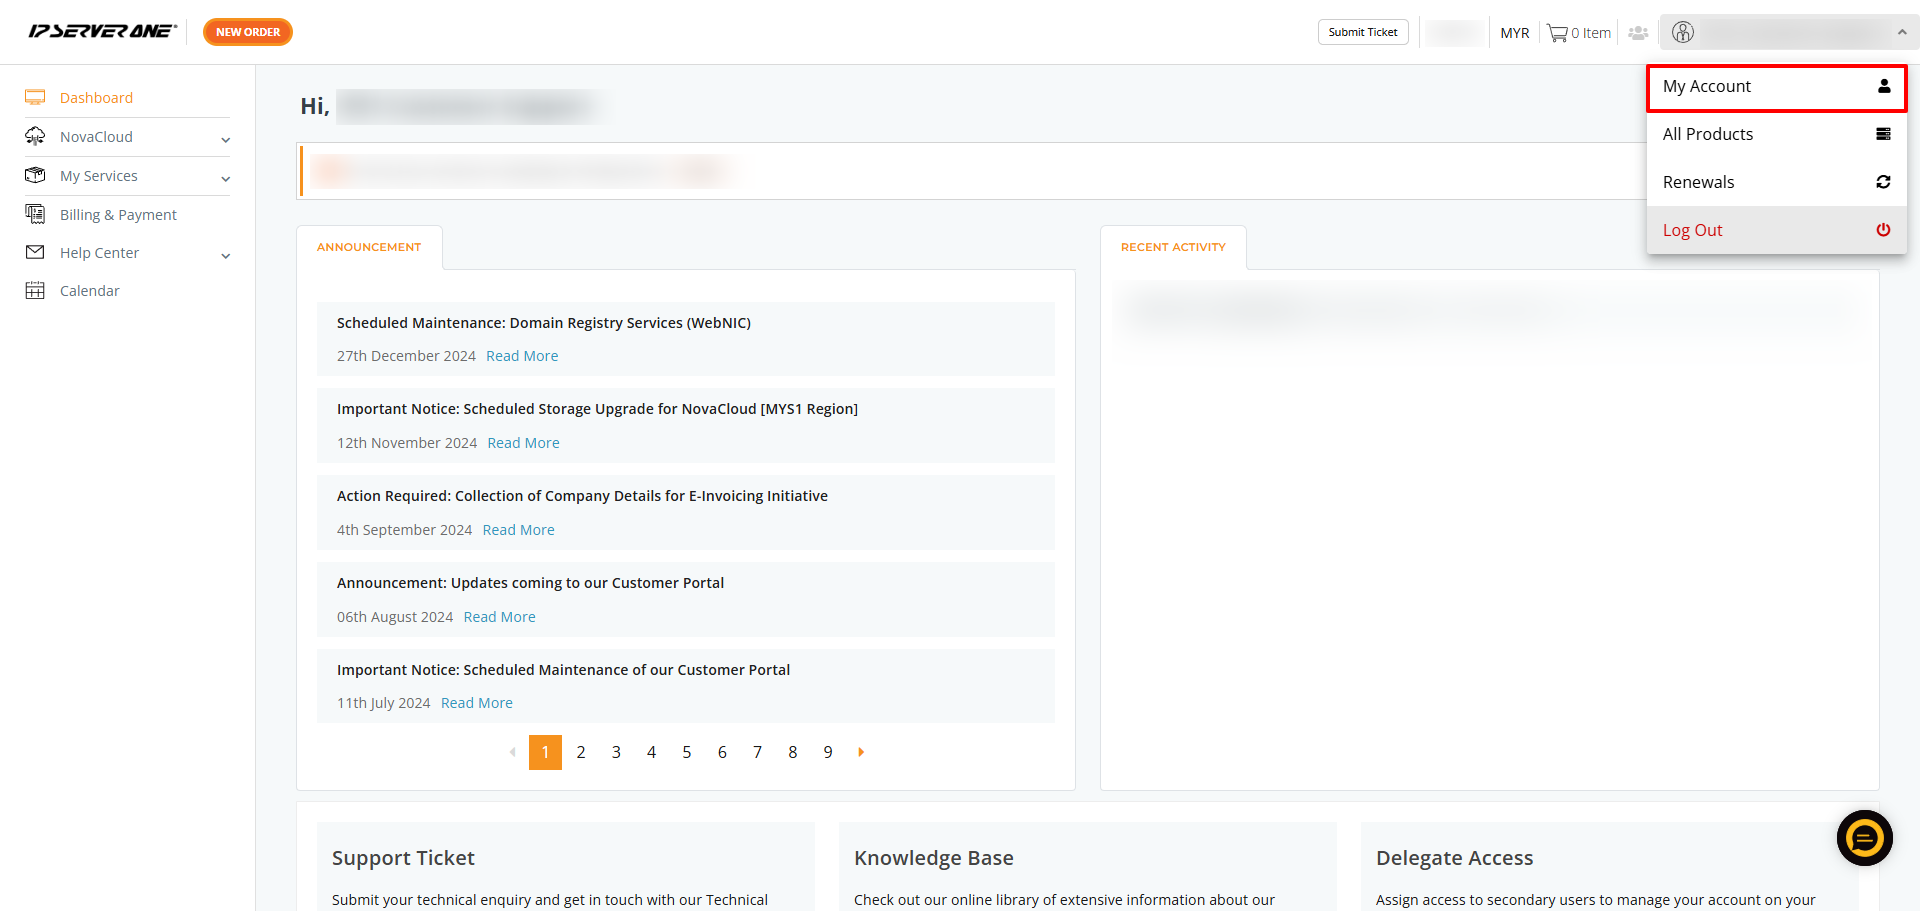
- Click on your username to expand the menu, then select My Account.
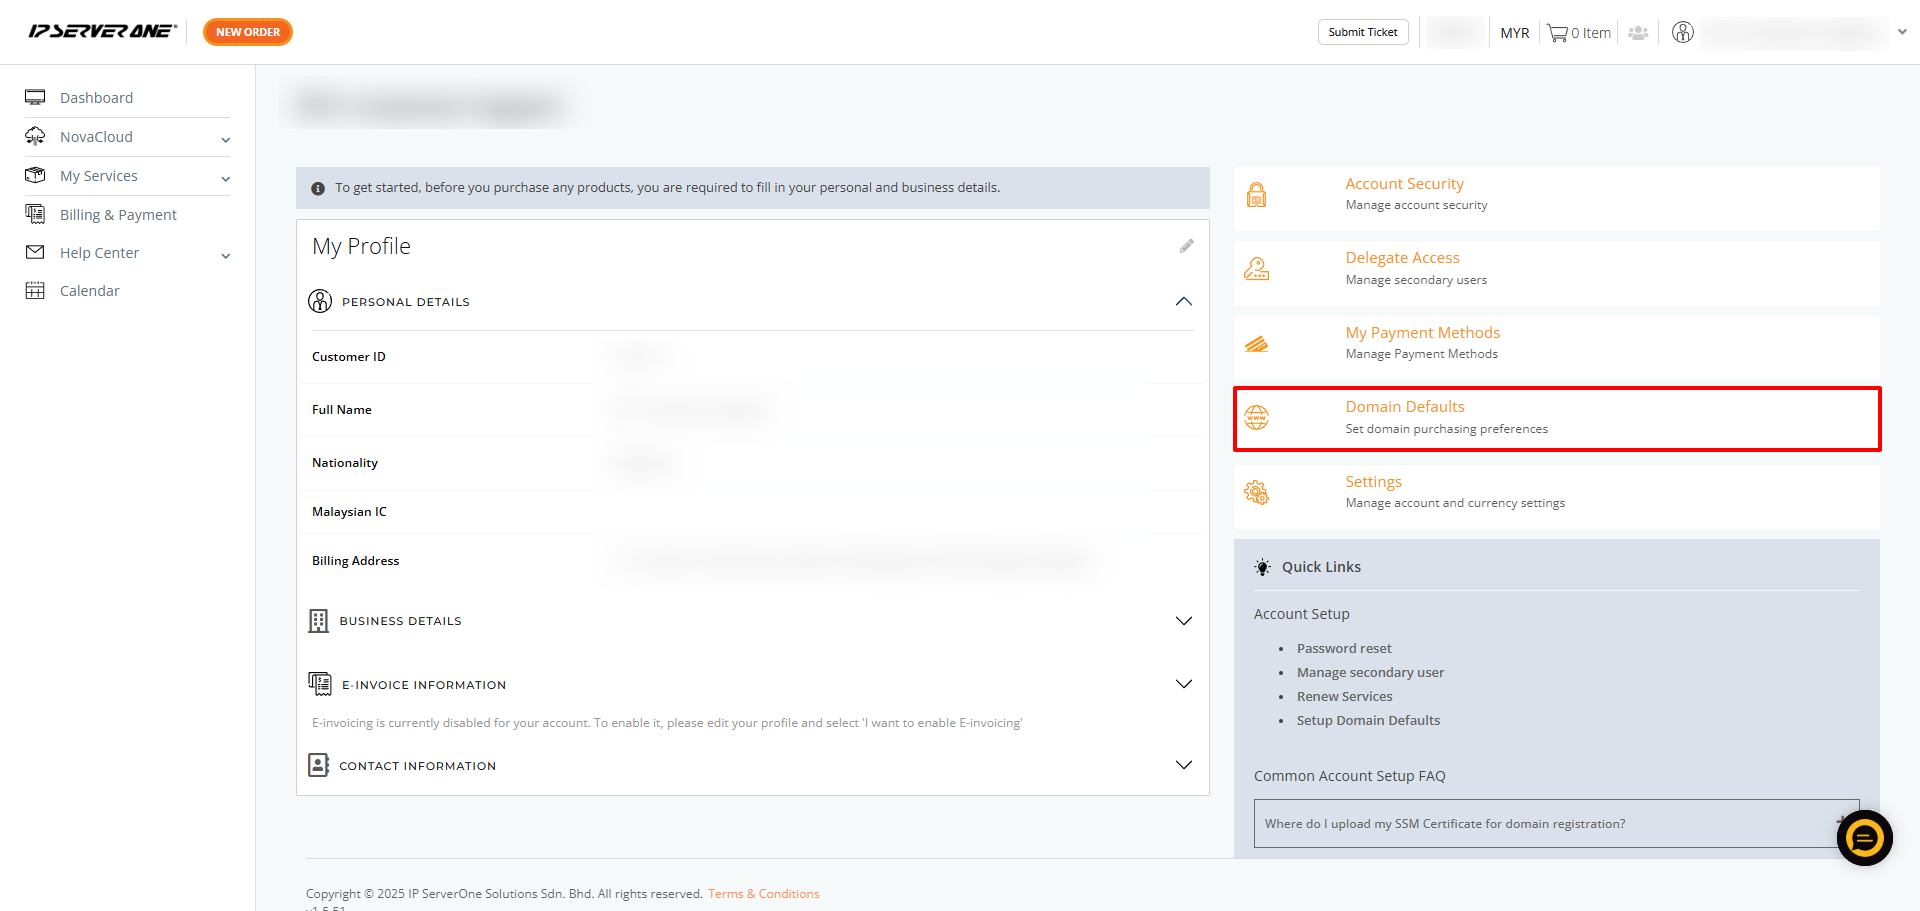
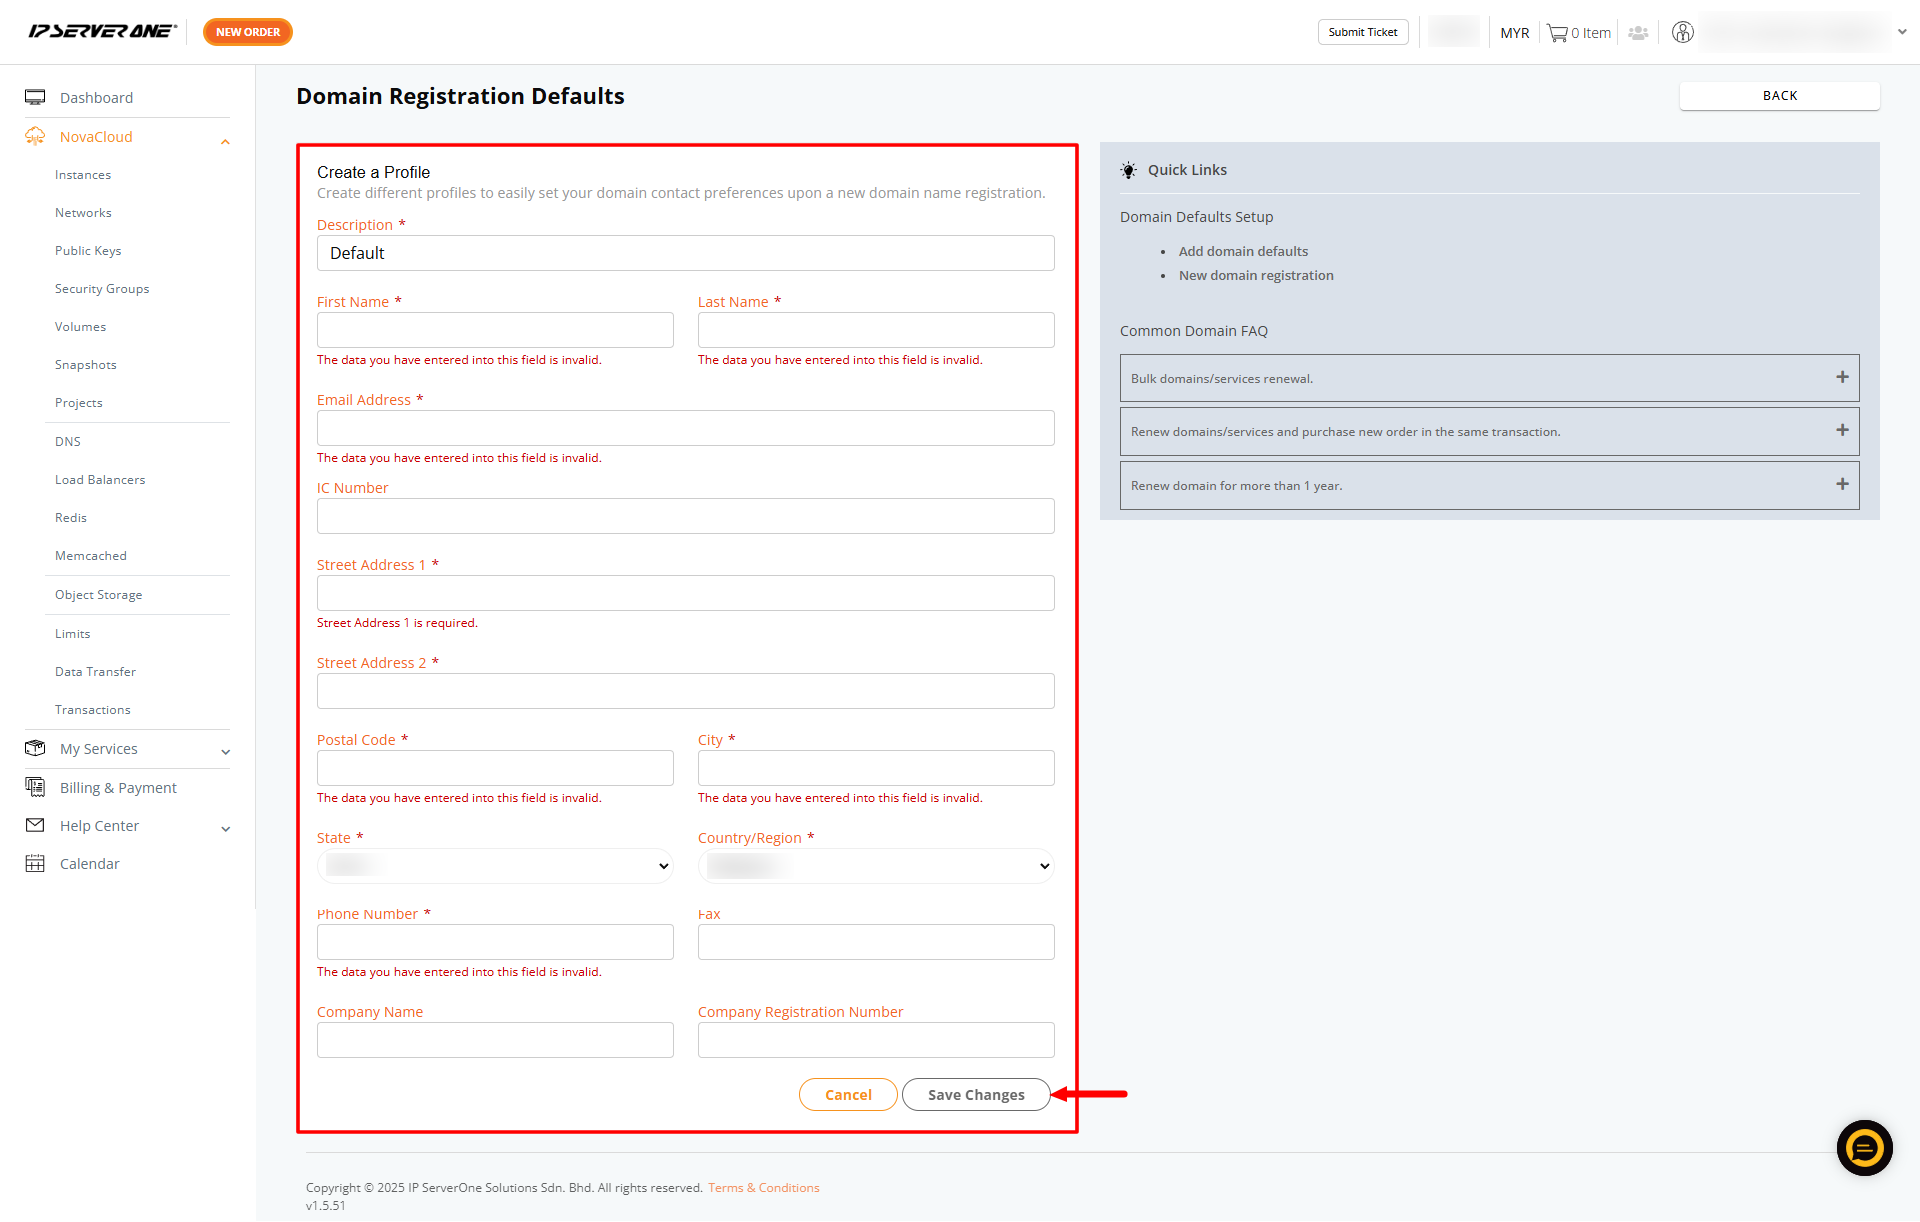
- Click on Domain Default.
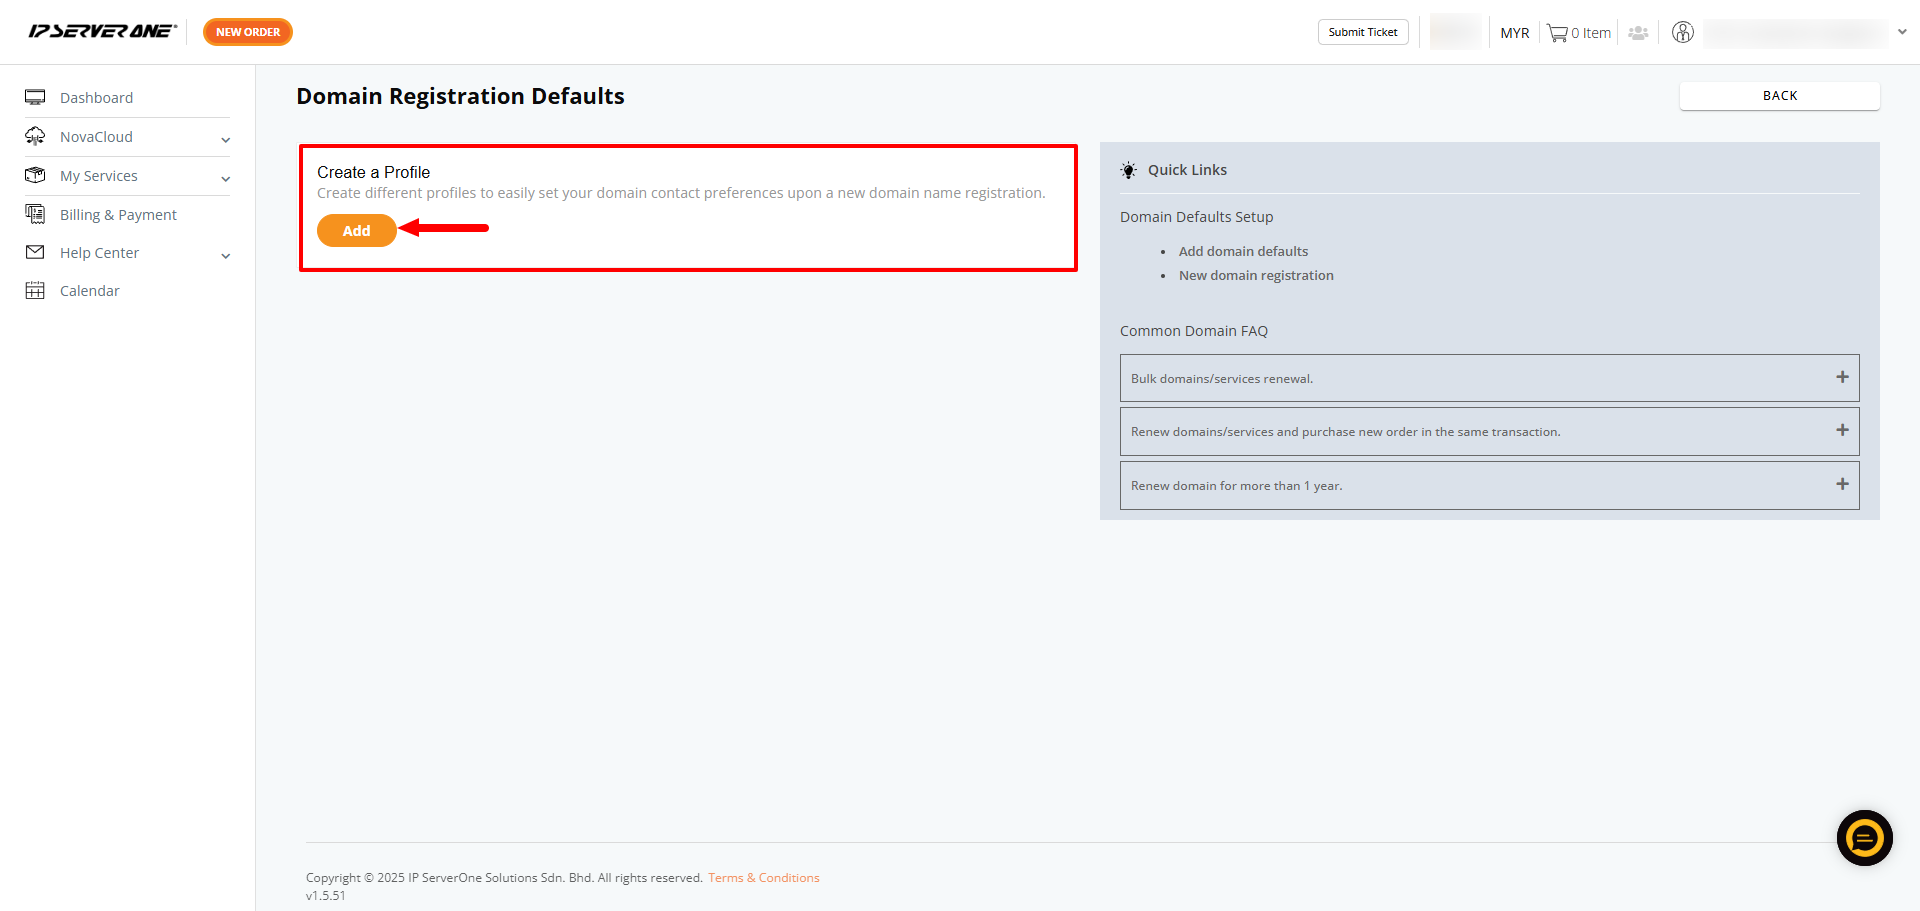
- Click Add.
- Fill in the domain registration form, then click Save Changes.Note: Ensure all required [*] fields are filled in. For domains under .com.my, .net.my, .gov.my, .name.my, .edu.my, .mil.my, and .org.my, you will need a valid Company Name and Company Registration Number.
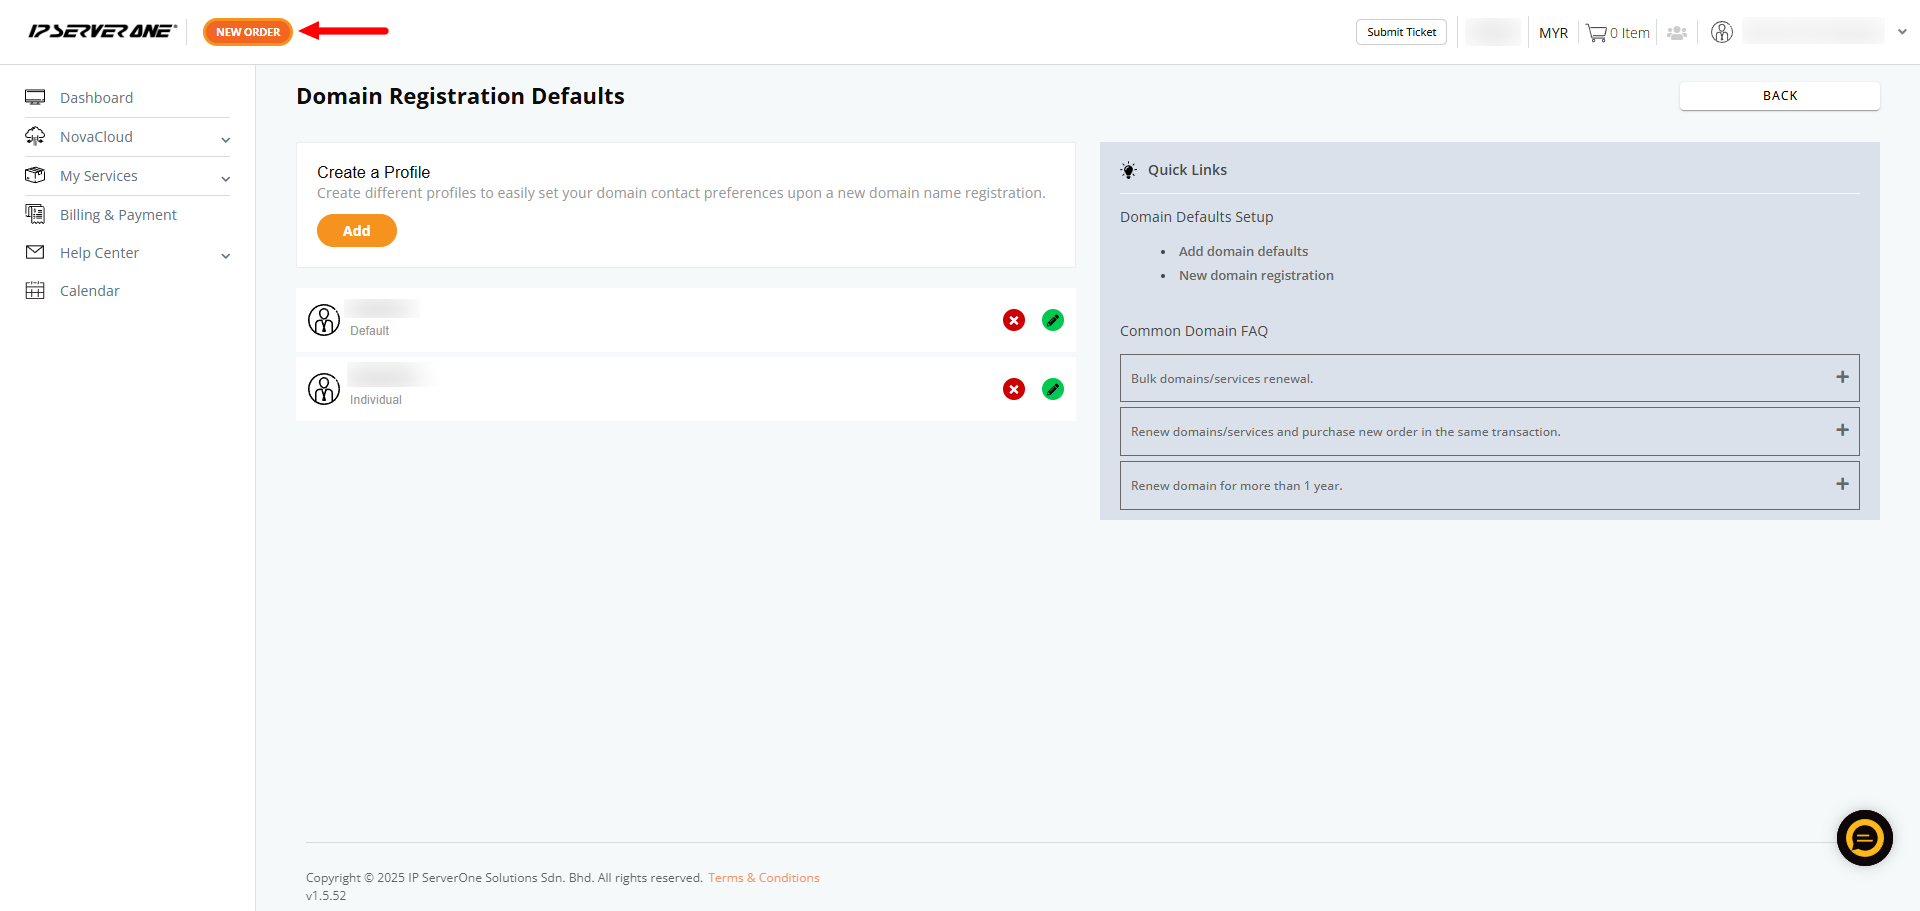
- Your new domain profile will then appear in the list:
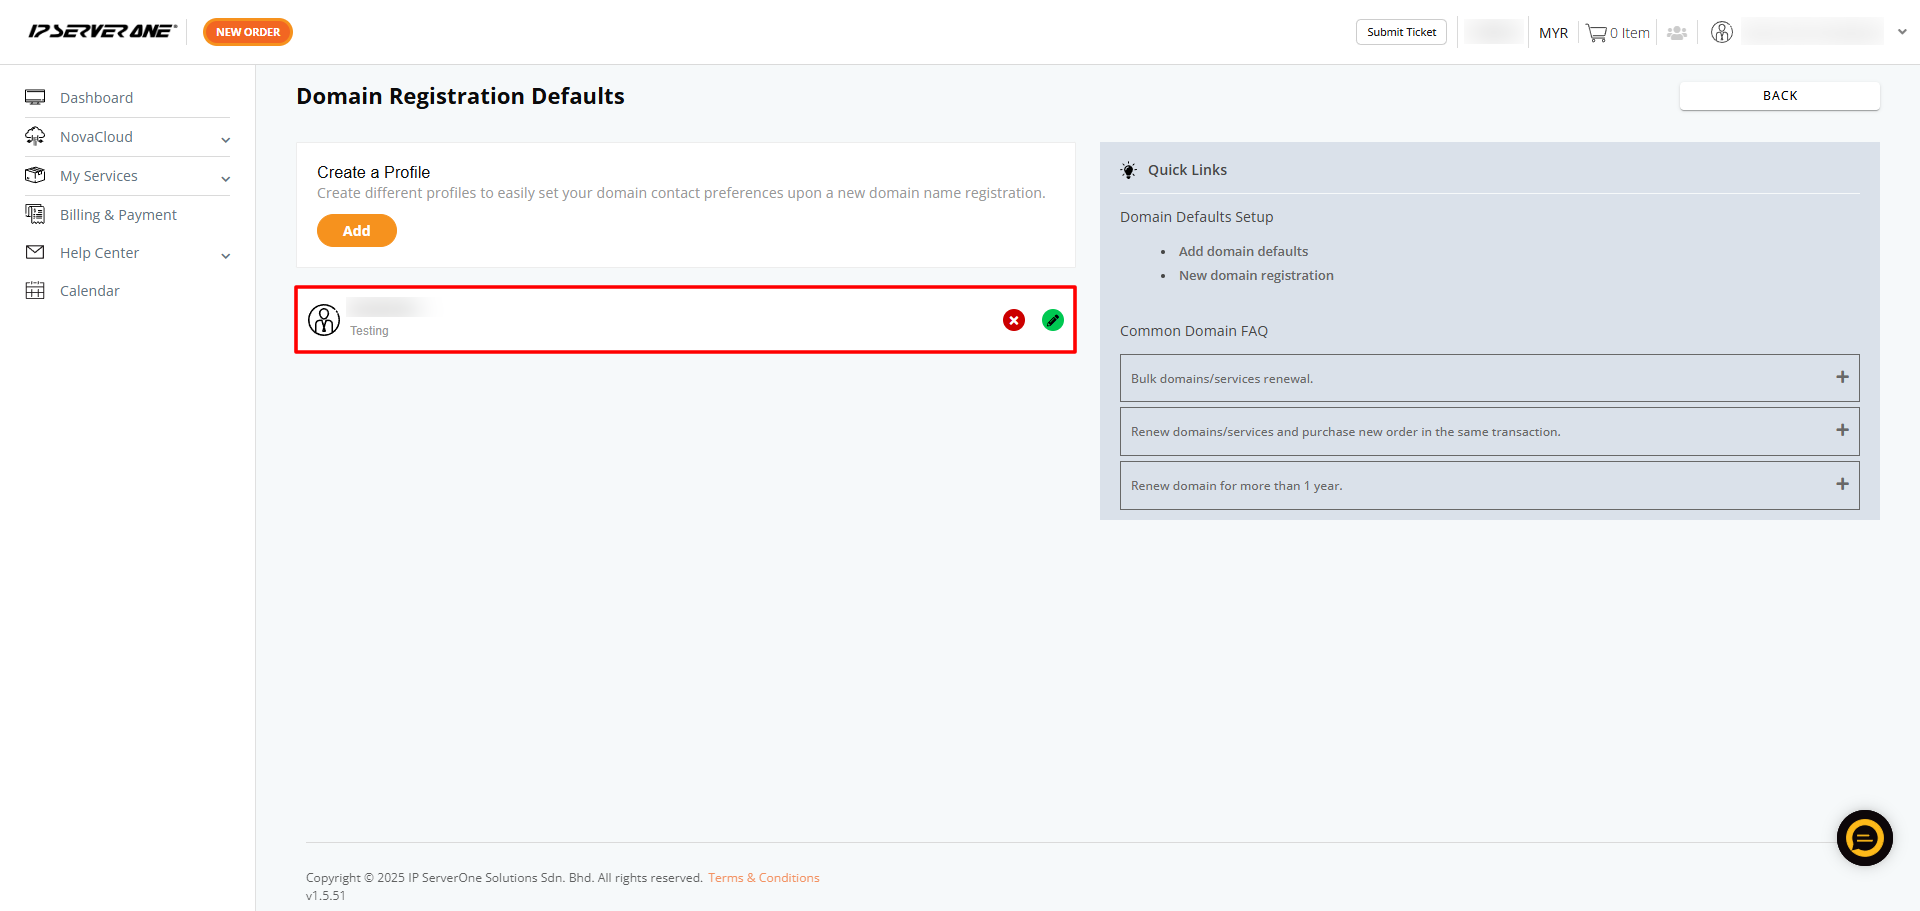
- To modify or remove a domain profile, look for these icons:
Red Icon (Remove Domain Profile)
- Removes the selected domain profile permanently.
- Only click this if you no longer need that profile.
Green Icon (Edit Domain Profile)
- Allows you to update or modify existing details.
- Useful for changing the domain’s name, address, or any other information.
How to use domain profile during domain registration
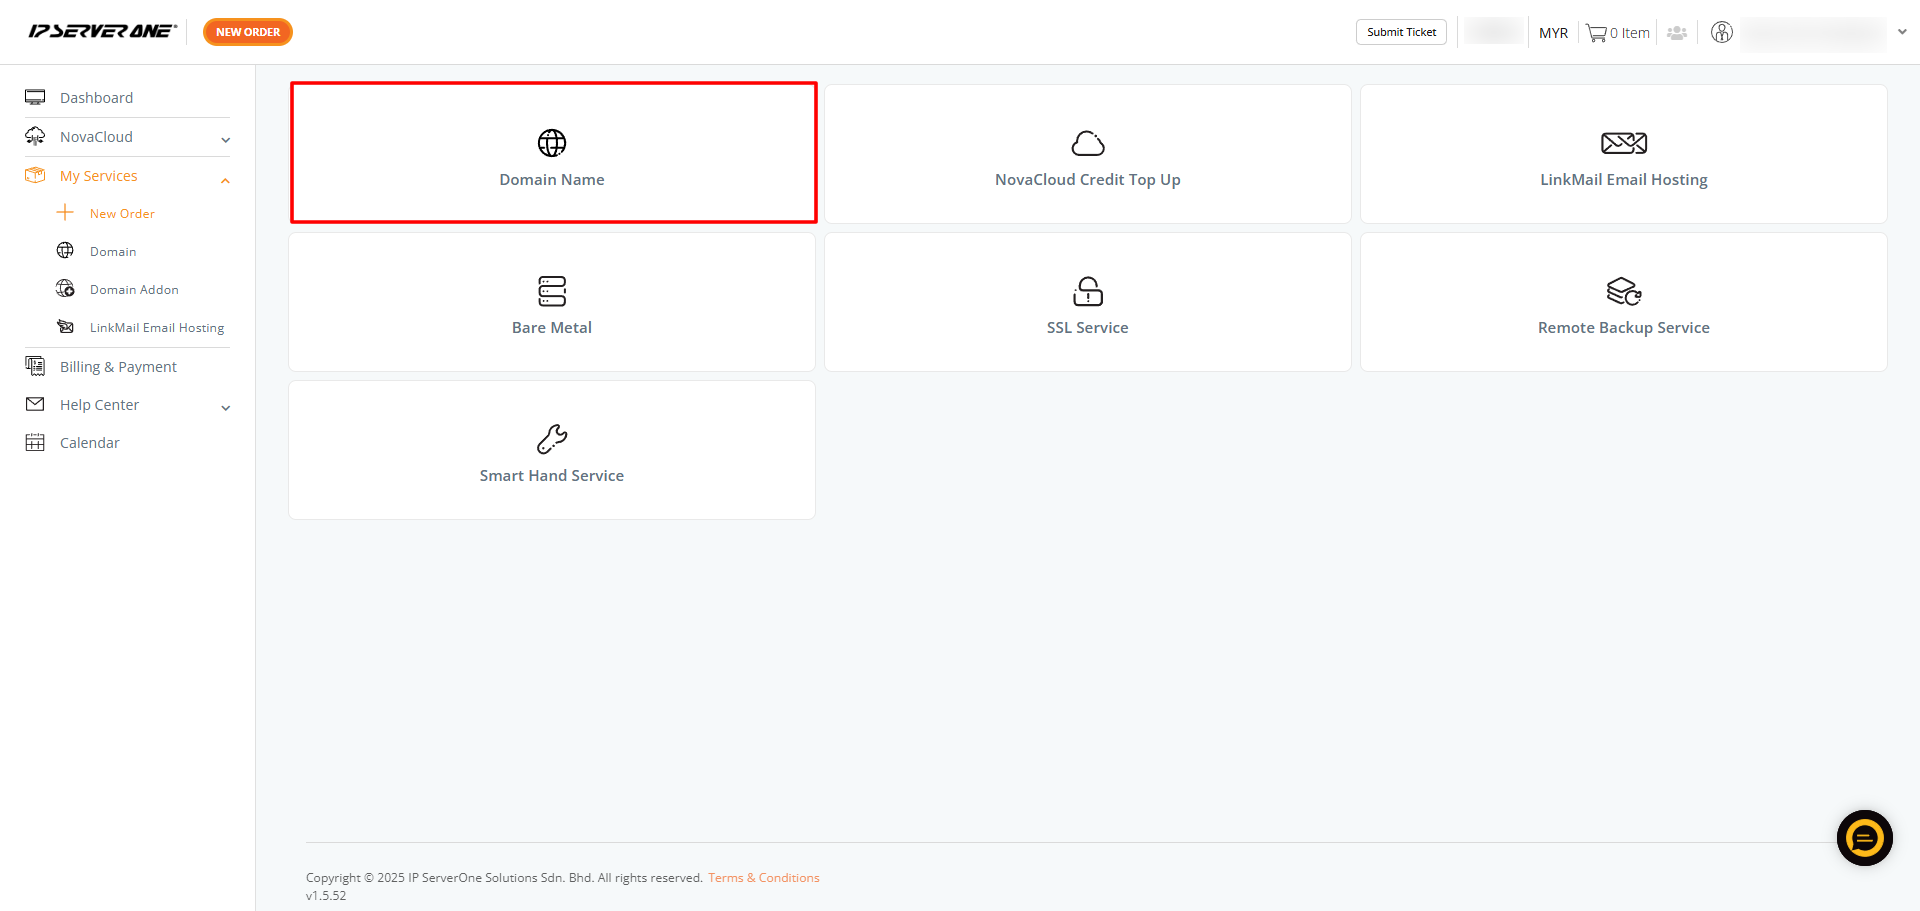
- Once your domain profile is created, you can click on New Order.
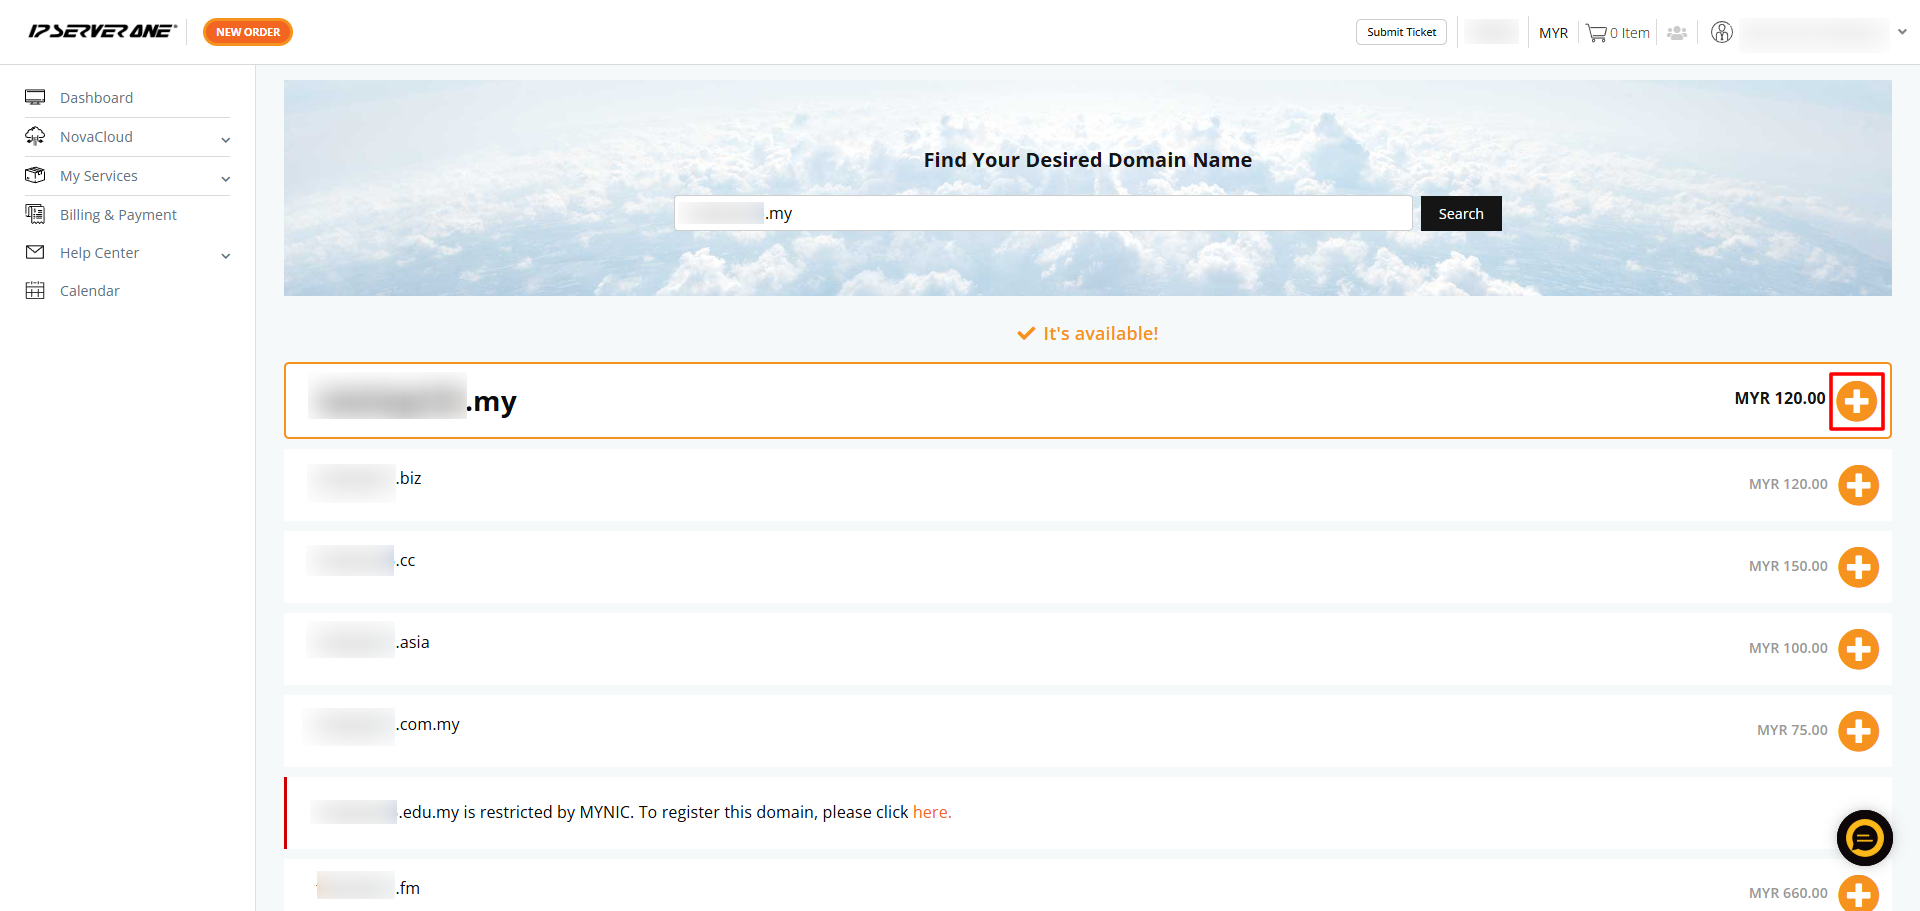
- Click on Domain Name
- Enter your desired domain name and click on Search to show on the result. Click on + sign to proceed.
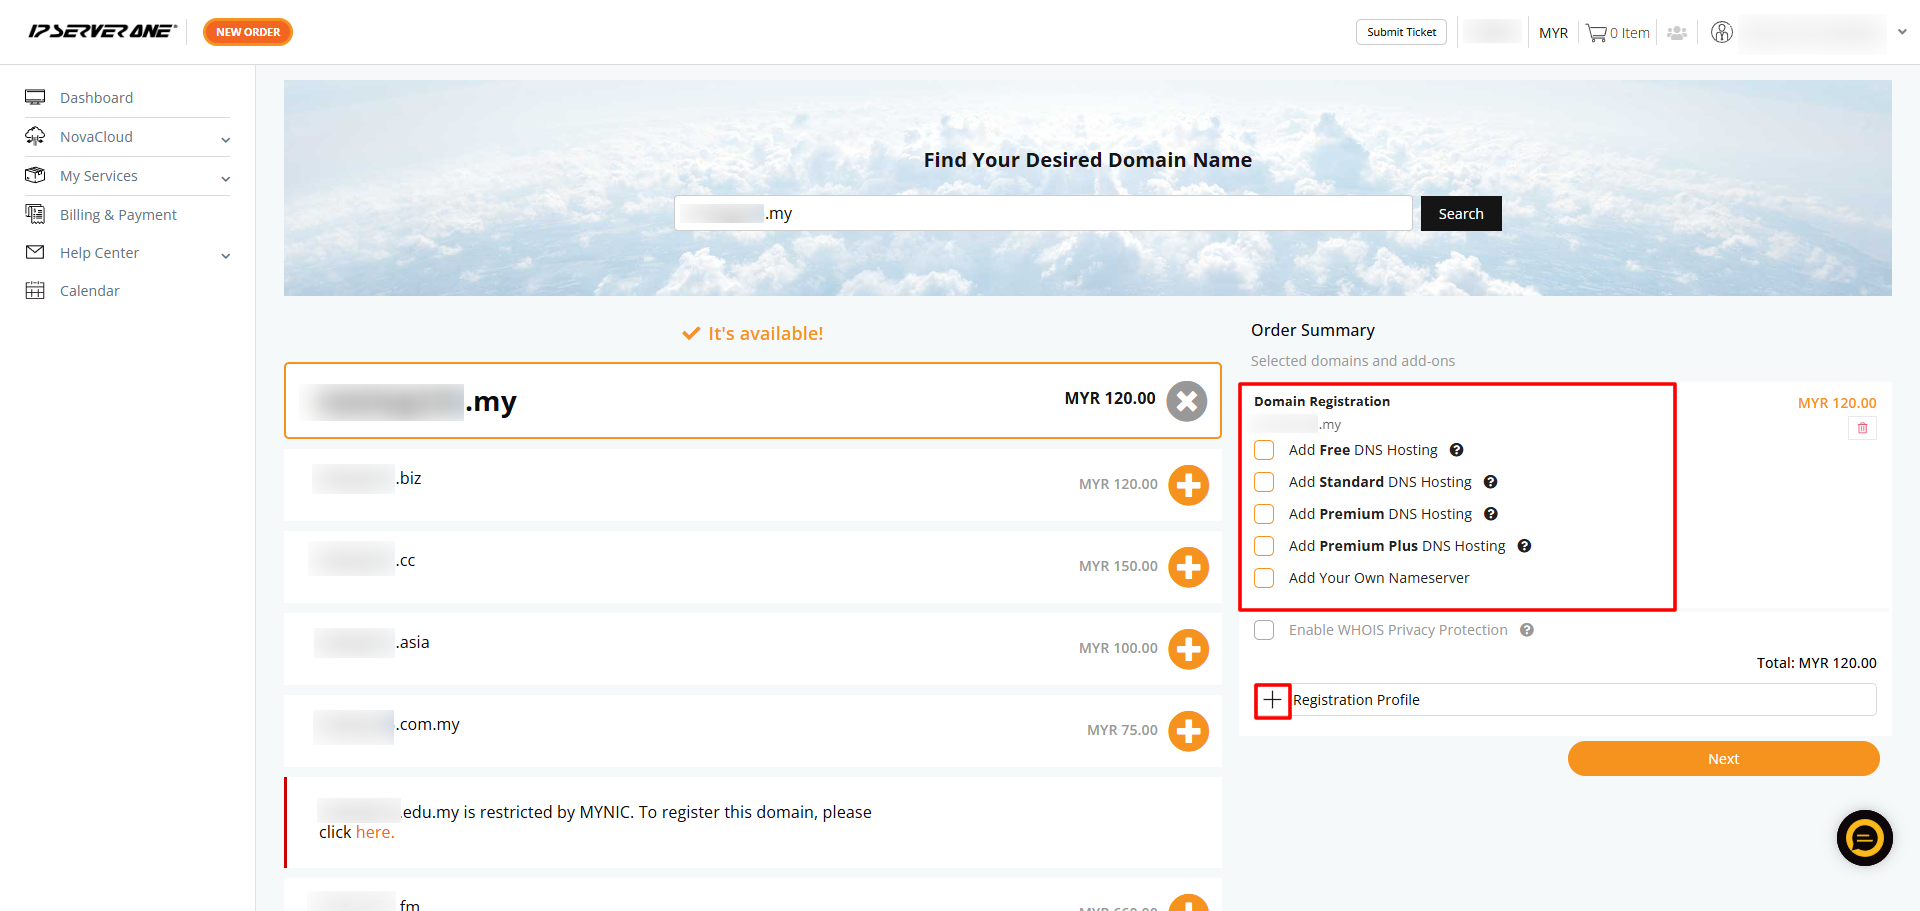
- A small ‘Order Summary’ pop-up will appear on the right. Choose your preferred DNS hosting option, or if you use another provider, click Add Your Own Nameserver and enter the details. Finally, click the + icon to expand your Registration Profile
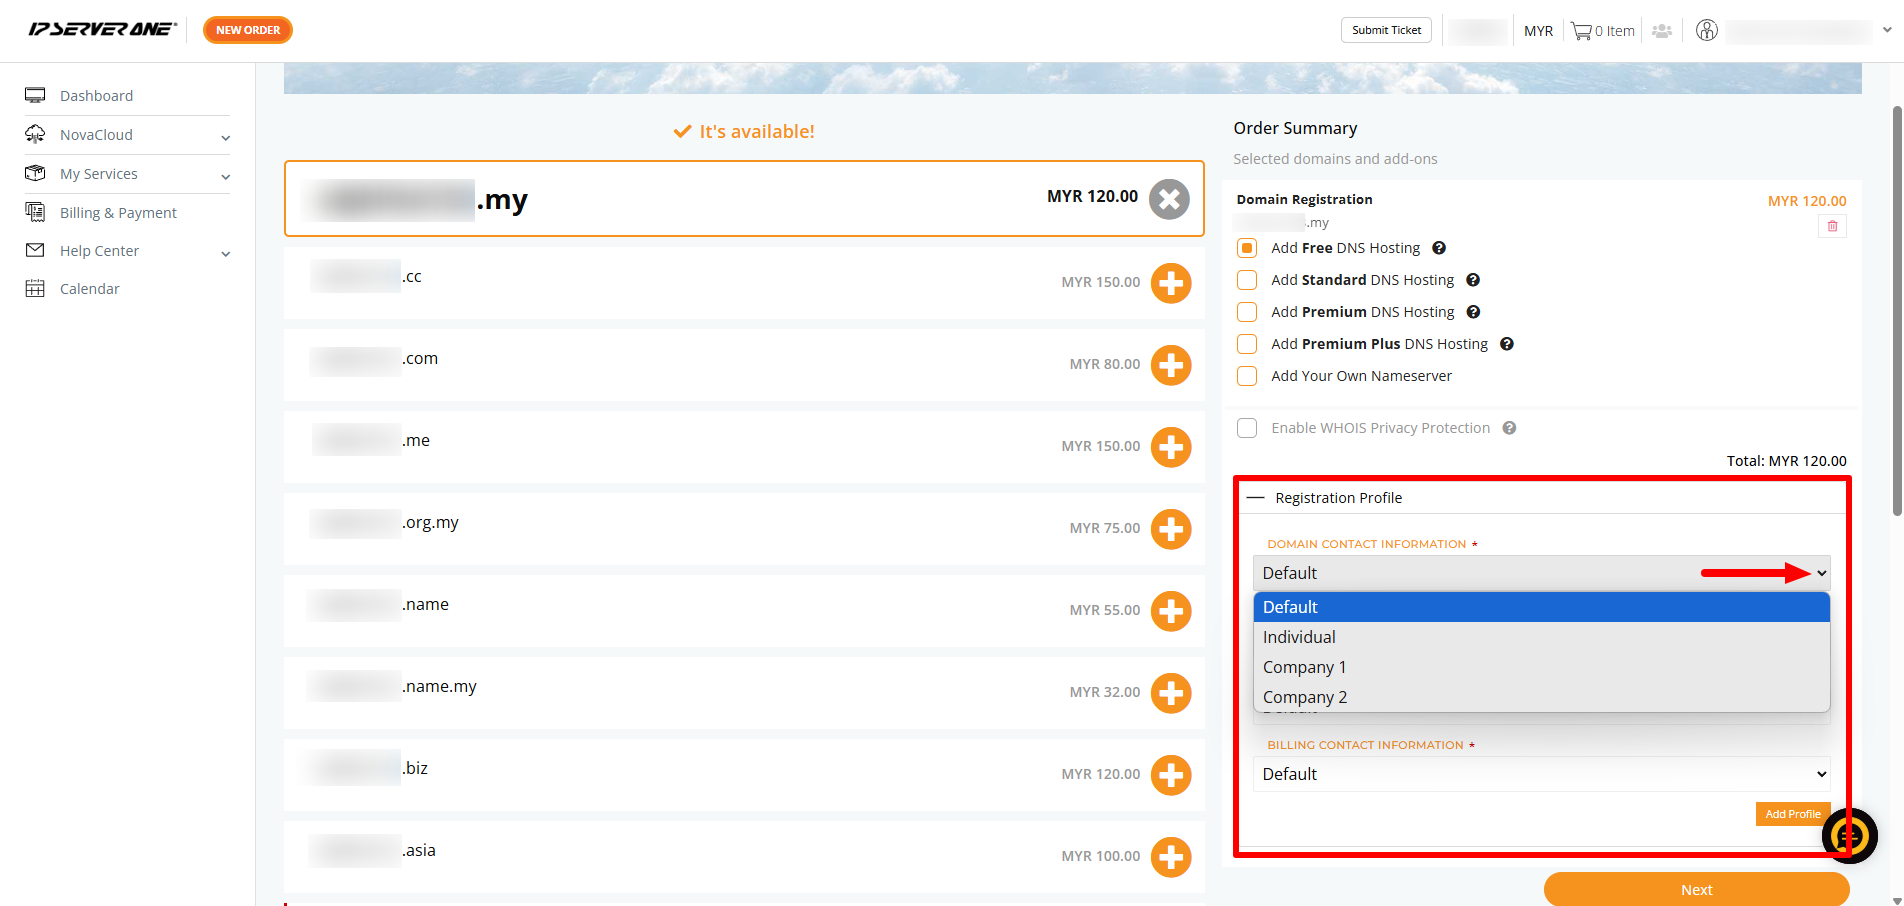
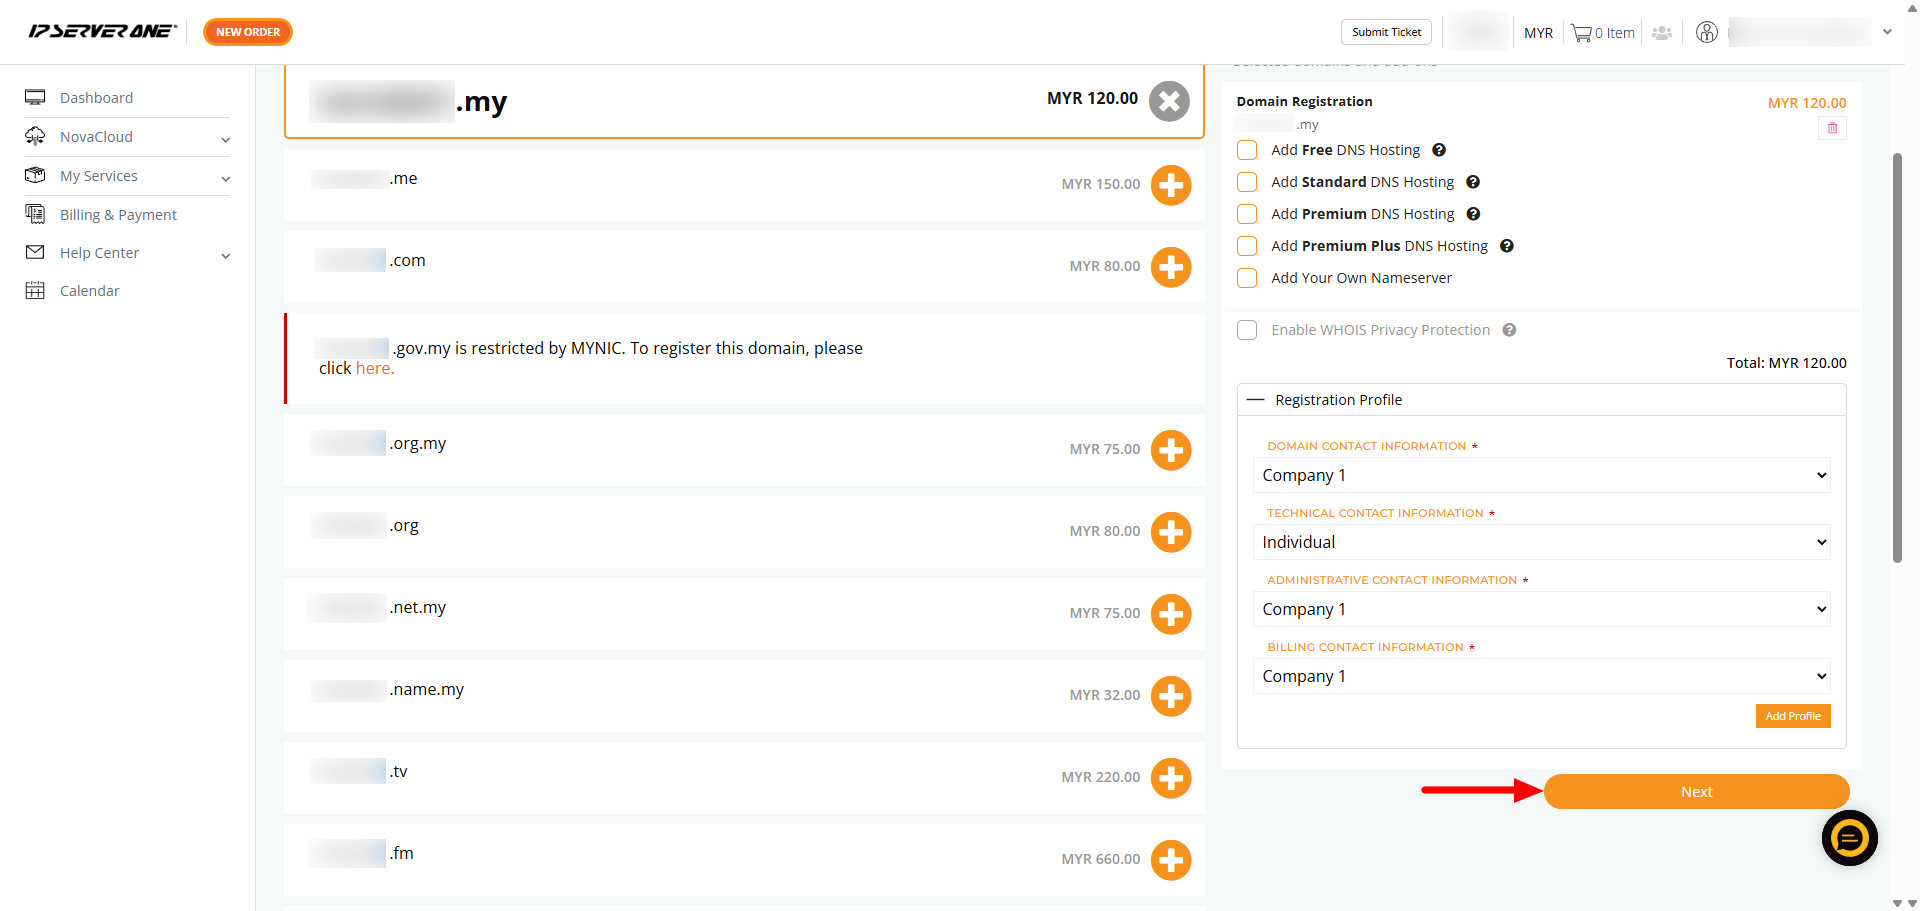
- Simply click the arrow to view and choose from the available profiles in your account. You can use the same domain profile or choose different ones for the Domain Contact (Registrant), Technical Contact, Admin Contact, and Billing Contact.
- Once you are satisfied with the choices, click Next to proceed.
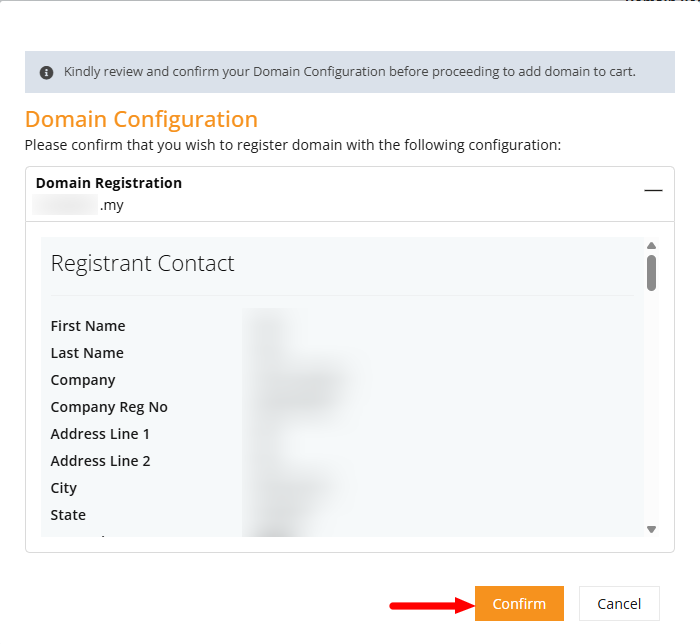
- A small pop-up will appear to confirm on the domain profile chosen. It is advisable to double check on the information key-in to avoid any error during registration. You may click on Confirm to proceed with the registration.
- This pop-up below indicated that your domain name has been added to cart however, do note that domain name availability is first come, first serve basis.
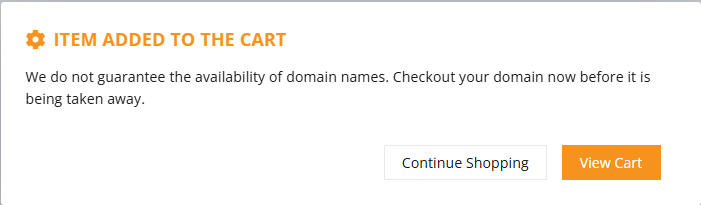
- You may either click View Cart to proceed with checkout or click Continue Shopping to explore more of our services.
Conclusion
Setting up a domain registration profile helps you manage your domain details efficiently and ensures accuracy when registering new domains. If you need any assistance, you may contact us or send an email to cs@ipserverone.com for further assistance.