Search Our Database
How to create note in SmarterMail
Introduction
SmarterMail is not just an email platform—it also provides useful productivity tools such as the Notes feature. This feature allows users to create, organize, and manage notes efficiently, ensuring important information is easily accessible. Whether you need to jot down meeting notes, to-do lists, or reminders, SmarterMail’s Notes feature offers a simple and effective way to keep track of important details. This guide will walk you through the steps to create and manage notes in SmarterMail.
Prerequisites
- A SmarterMail account with login credentials.
- Access to the SmarterMail web interface.
Step-by-Step Guide
Step 1: Log in to SmarterMail Account
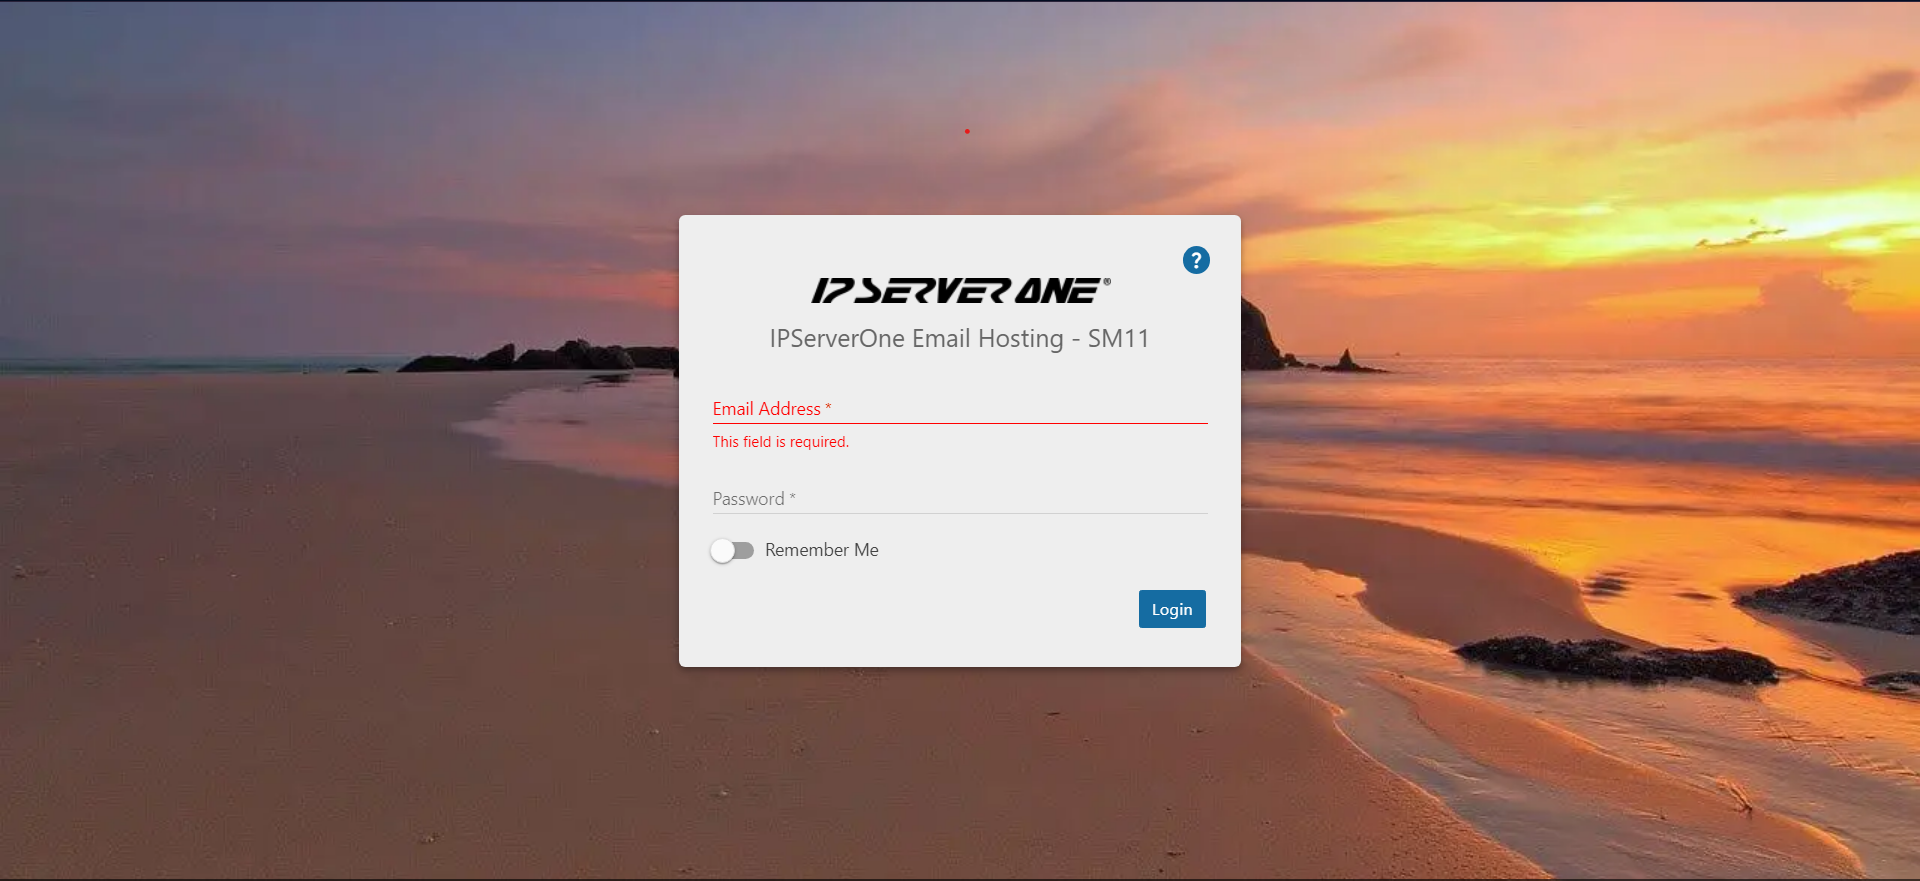
- Navigate to your SmarterMail login page (e.g., http://mail.yourdomain.com).
- Enter your full email address and password, then click the Login button.
Step 2: Create New Note
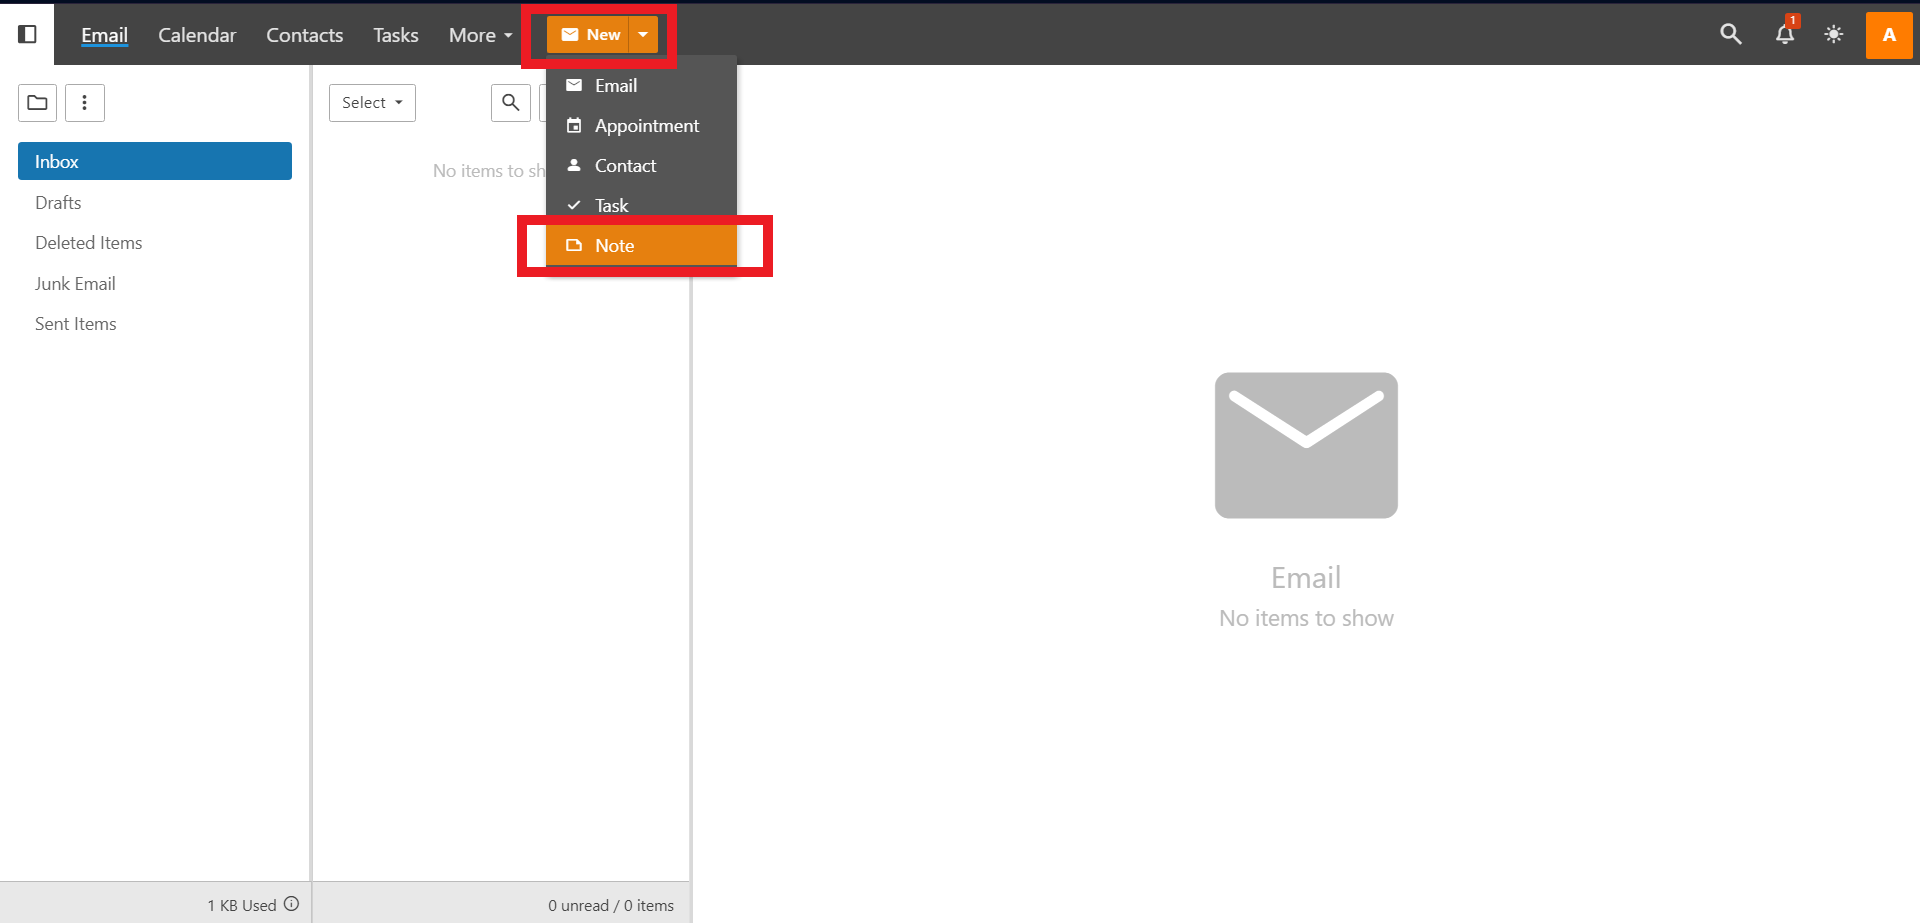
- Once logged in, click on New, then click Notes .
Step 3: Add relevant detail for the note
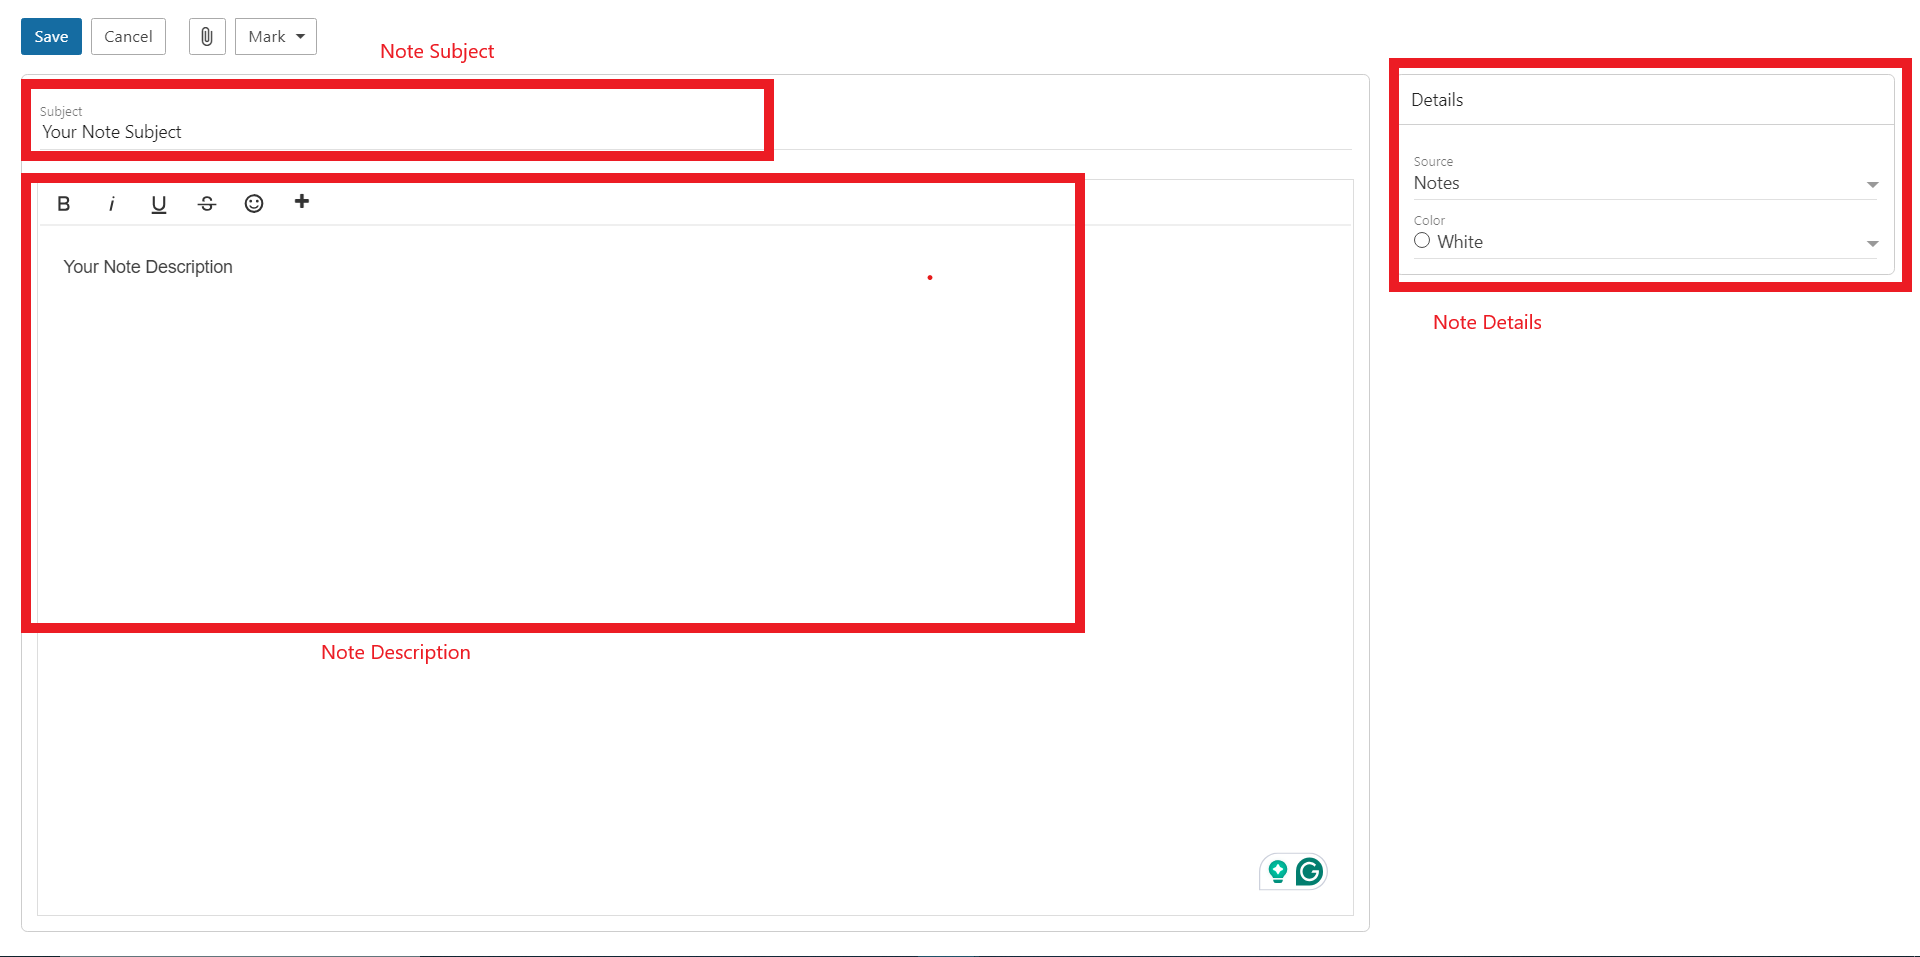
- You’ll be able to start entering your note details. These include:
- Subject – This is the simple name for the note, like “Shopping List” or “Meeting Notes”.
- Description – This is where you enter the actual note contents. The note description area is fully HTML compliant with a rich editor so it’s possible to stylize your note contents with different fonts and colors, links to outside resources, embedded videos, etc.
-
- Source – Either the default Notes folder, any new or custom folders you’ve created, or, if other users have shared their Notes with you, you can select one of those as the Source for your new Note.
- Color – Note colors are a great way to keep notes of a specific type neatly organized. As a side note, the colors available match the colors of traditional paper sticky notes.
Step 4: Manage Created Task
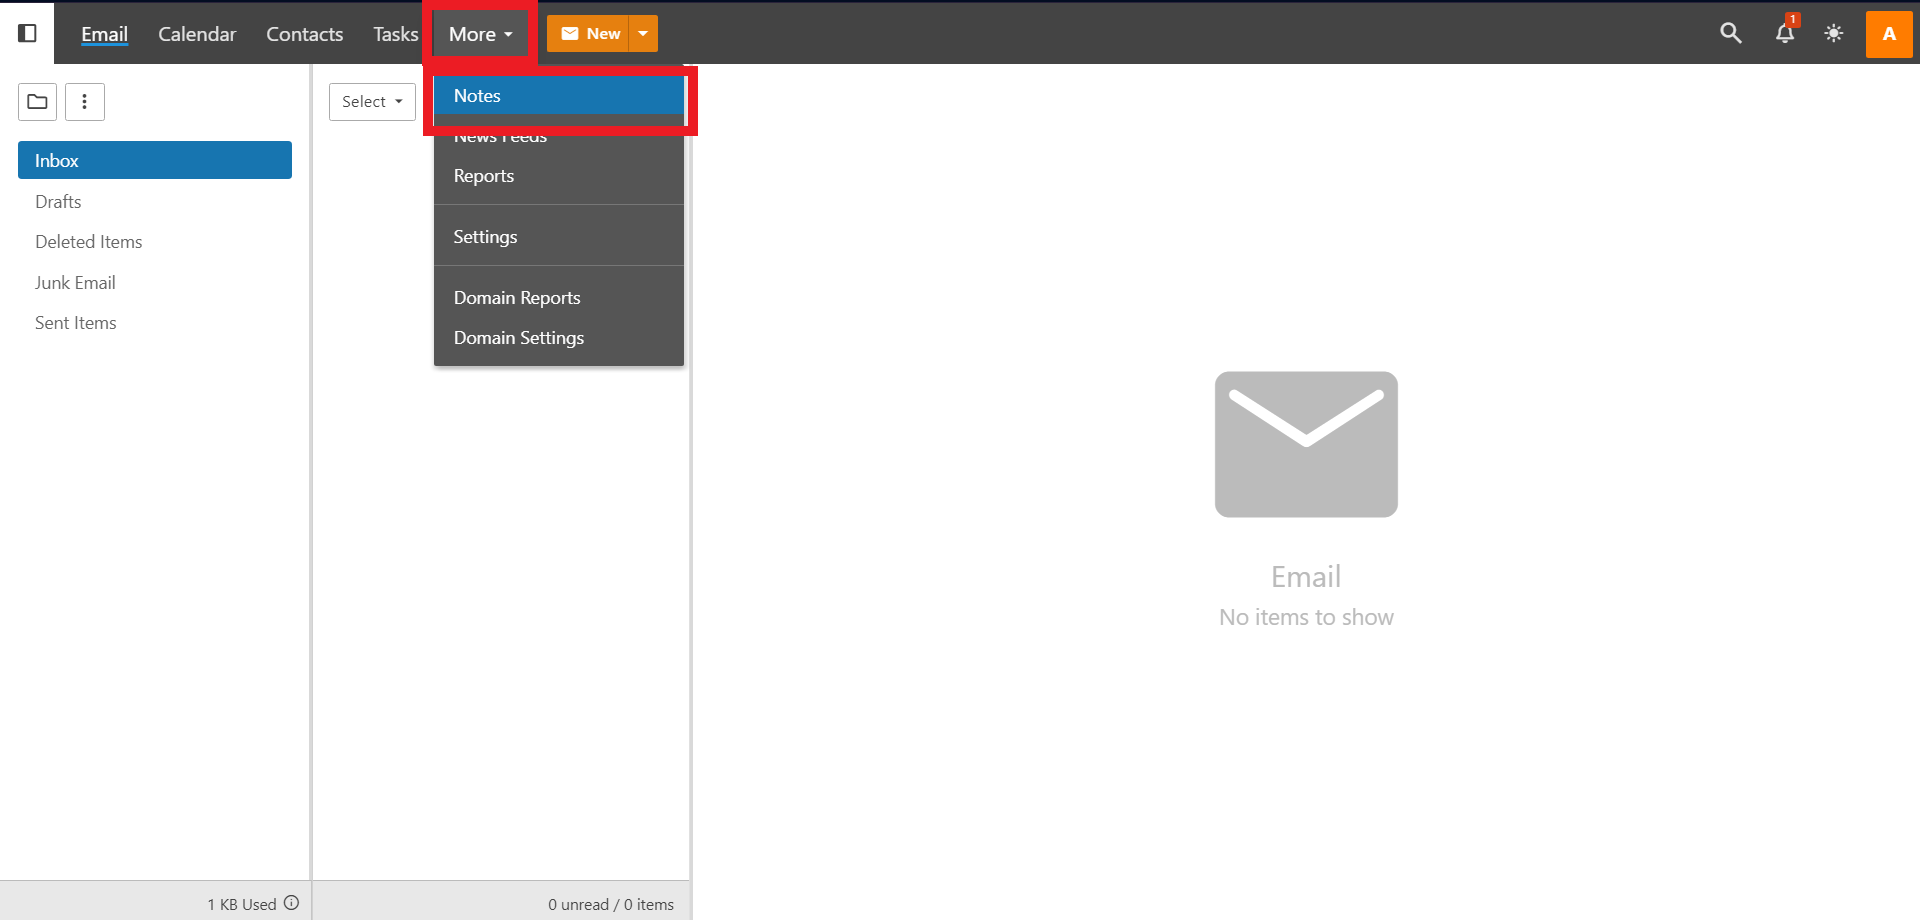
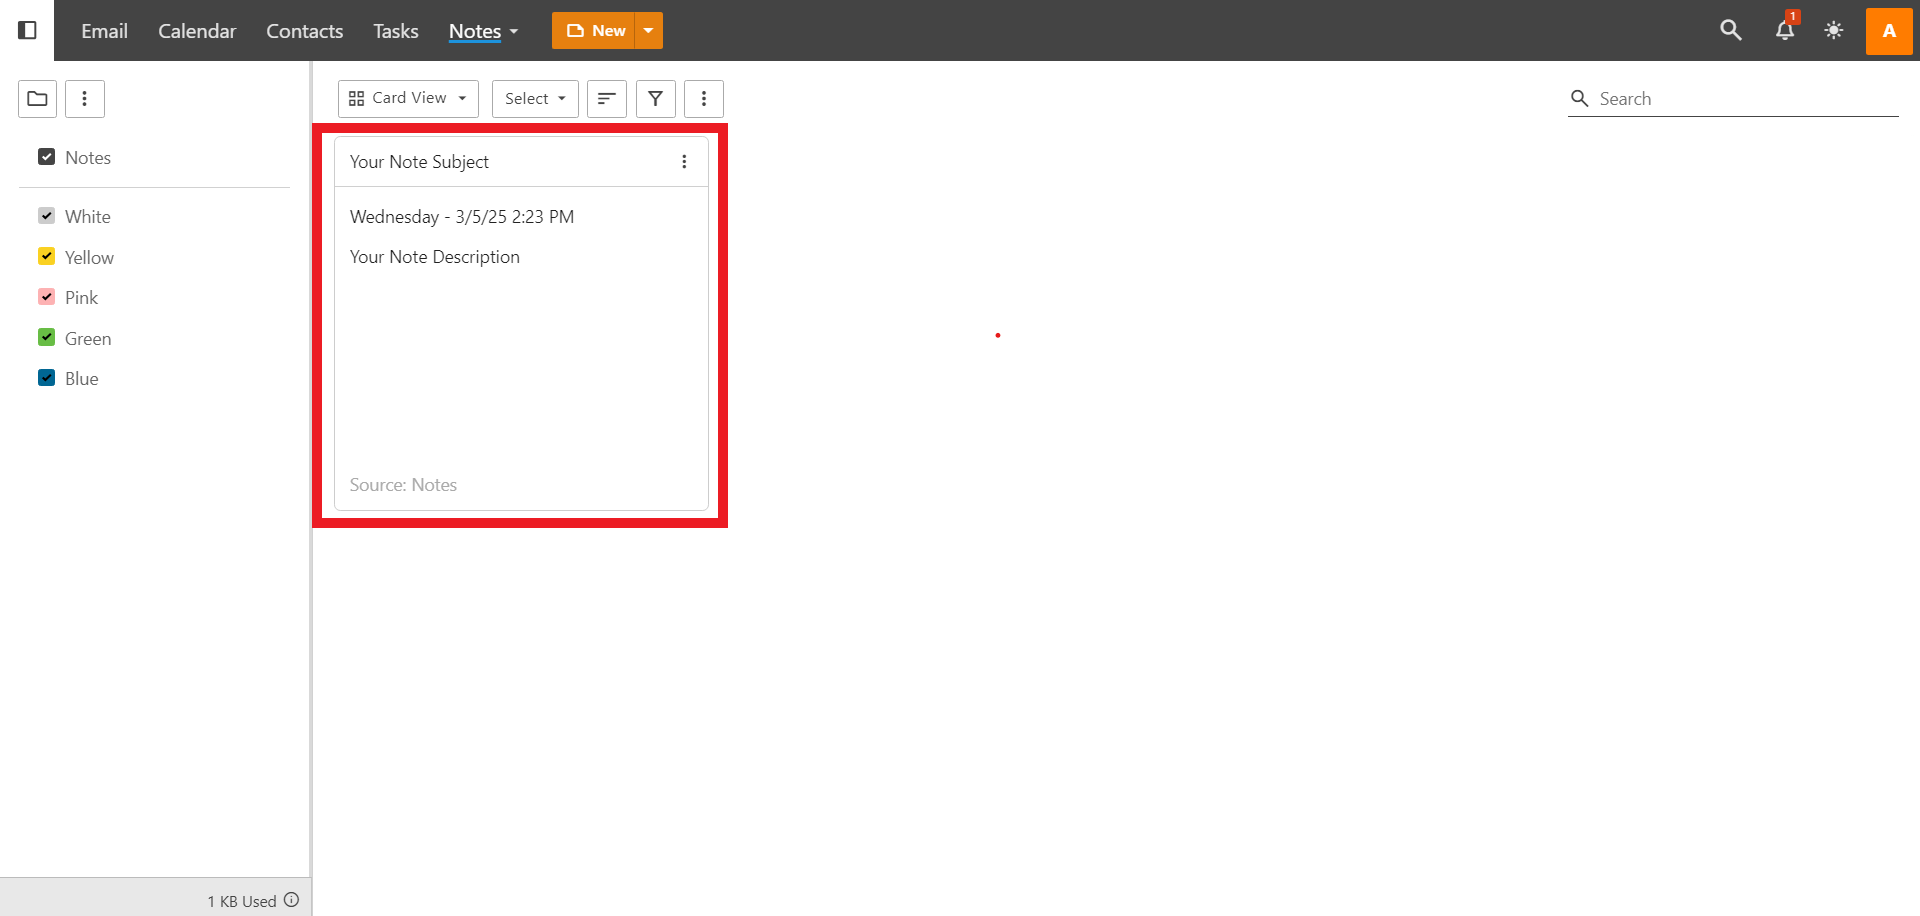
- Once you save it, the task that just have been created will be show up in Notes section.
- To edit a task, simply click on the card of the task you want to modify. Once opened, you’ll be able to edit any area of the task
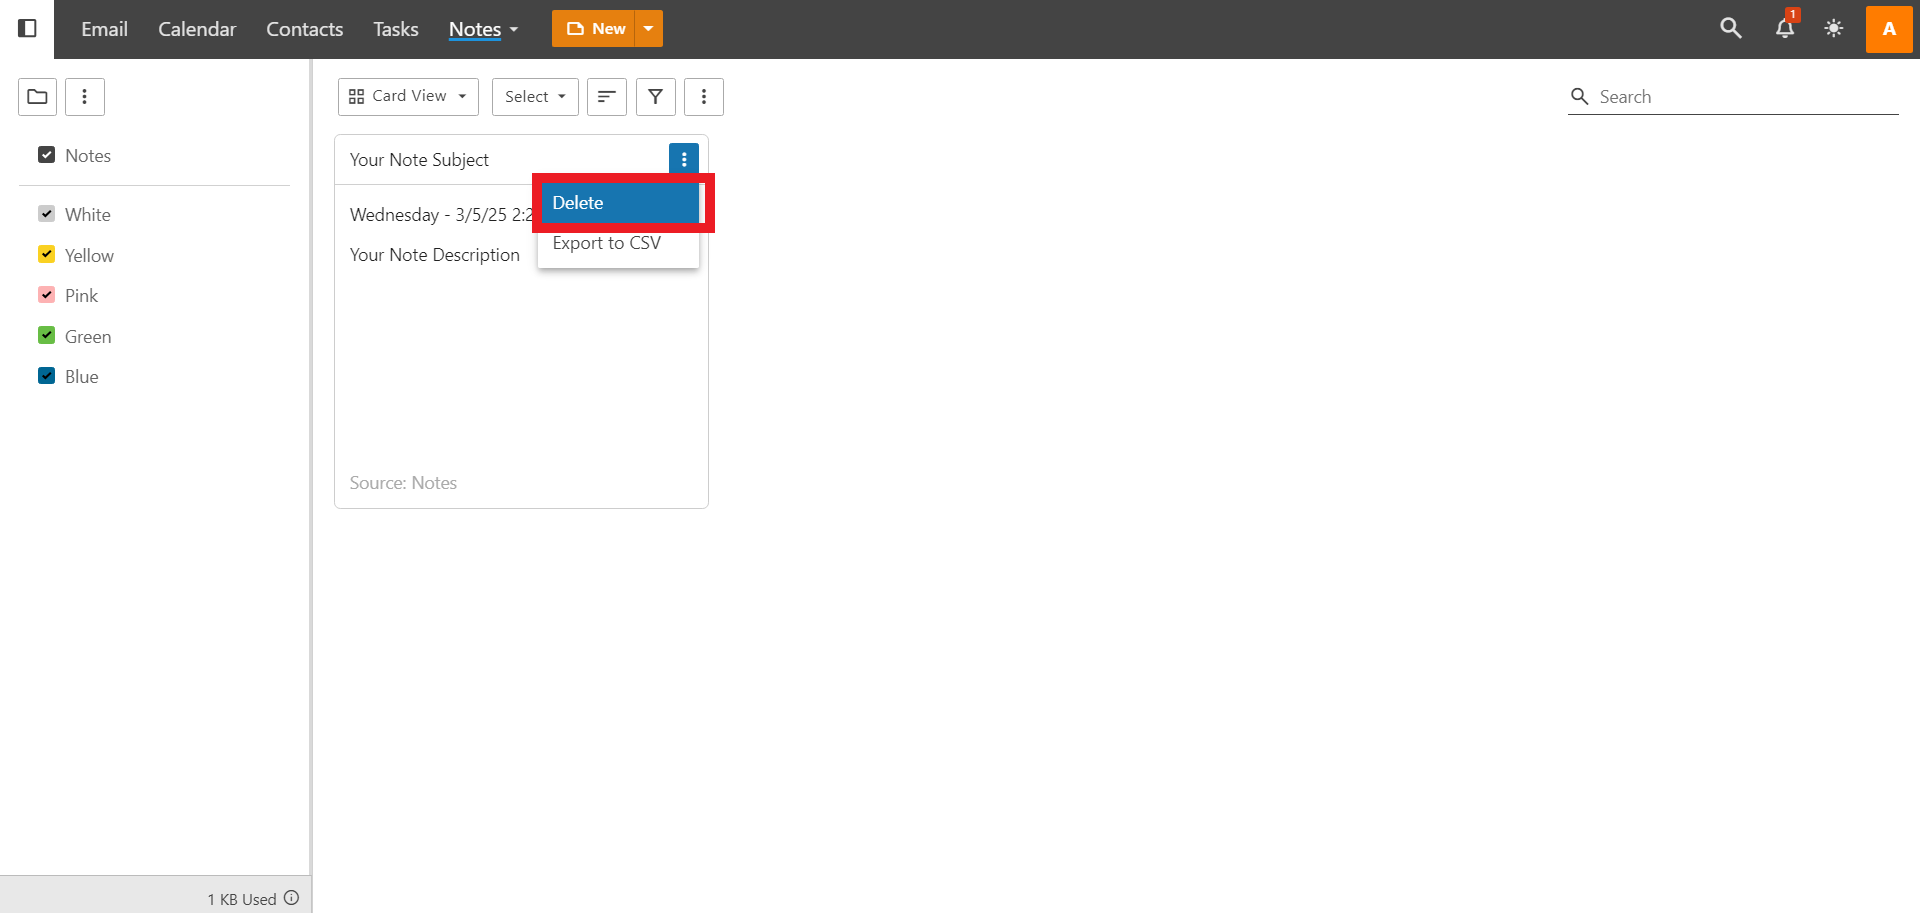
- To delete the task, click on the triple dot on the card of the task you want to delete and click Delete .
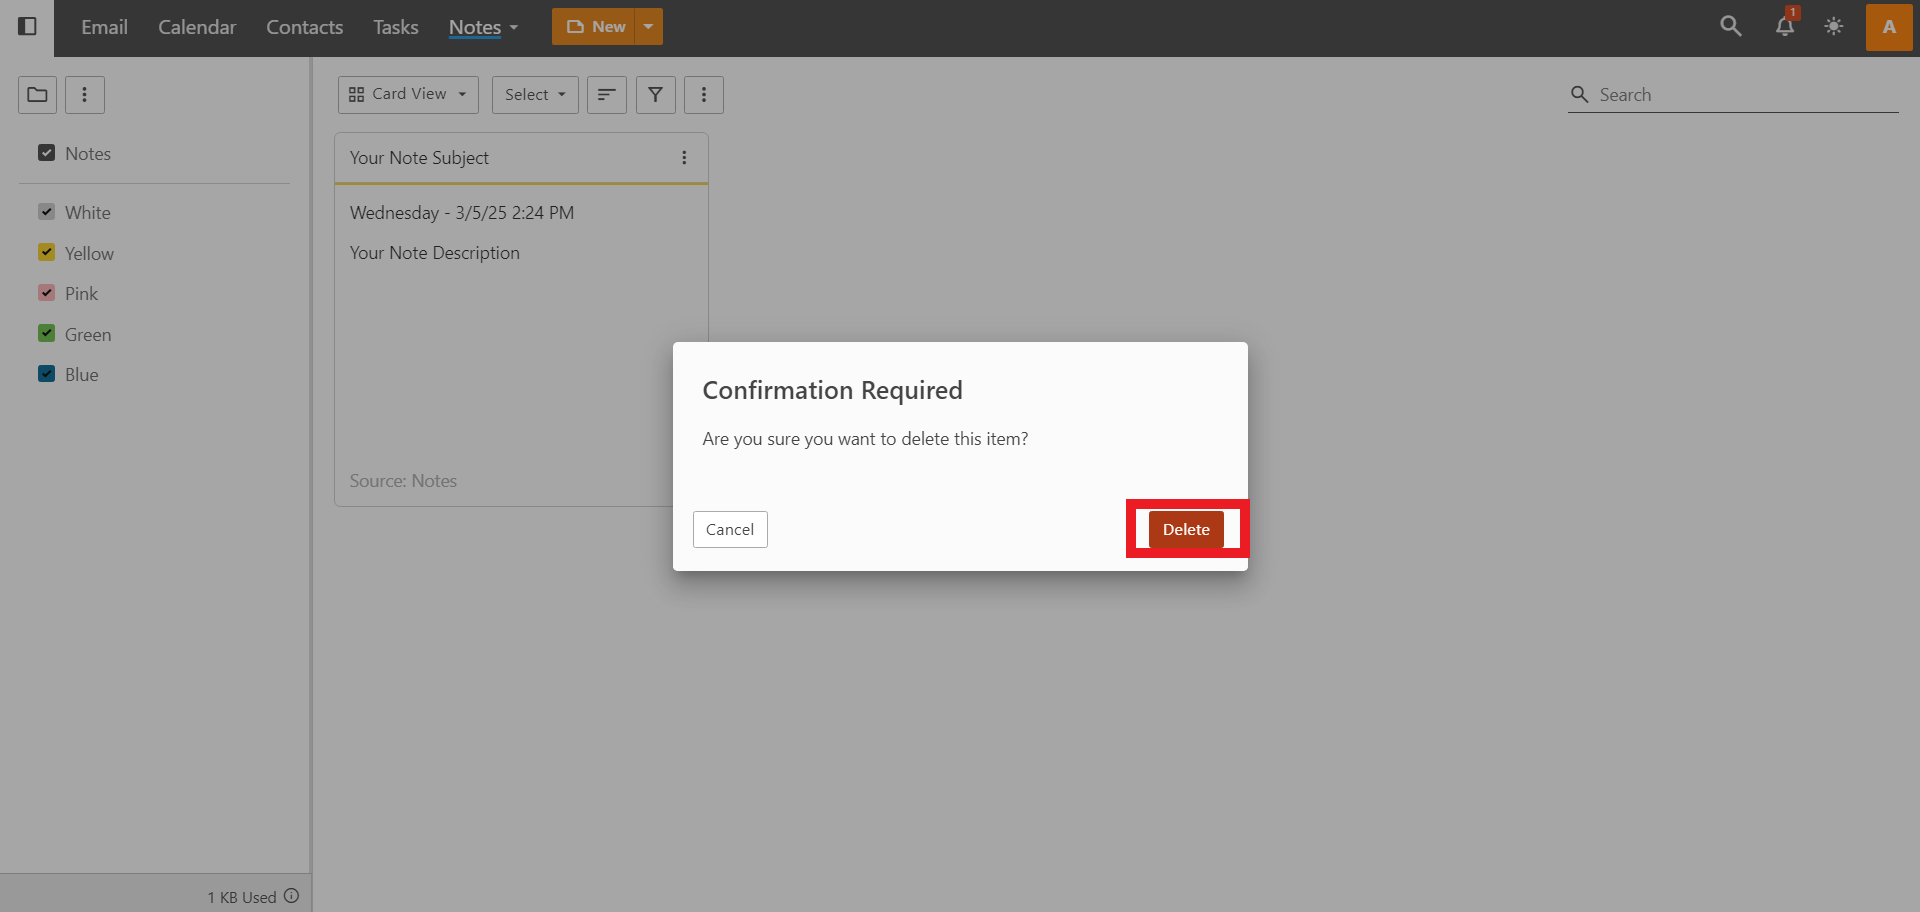
- It will show a pop-up of deletion confirmation, and you can just click Delete if you want to proceed.
Conclusion
By using SmarterMail’s Notes feature, you can conveniently store and organize important information in one place. With options to categorize, edit, and customize notes, you can ensure easy access and better organization. Whether for personal use or collaboration, regularly updating and managing your notes helps improve productivity and keeps essential details at your fingertips.
Should you encounter any issues or have any questions, our support team at IPSERVERONE is always here to assist you. Don’t hesitate to reach out to us at support@ipserverone.com for any help you need.
