Search Our Database
How to disable WordPress plugins in phpMyAdmin
Introduction
This guide explains how to disable a WordPress plugin using phpMyAdmin. This method is useful if you are unable to access the WordPress admin dashboard due to plugin conflicts or errors. By directly accessing the WordPress database via phpMyAdmin, you can quickly disable the active plugins and regain access to your site. Please note that disabling the plugins doesn’t remove them from your WordPress installation. You can re-enable the plugins again from your dashboard. This guide will walk you through the process of disabling plugins without logging into the WordPress admin interface.
Prerequisites
- Access to phpMyAdmin through your hosting control panel (e.g., cPanel or DirectAdmin)
- WordPress database username and password
- Knowledge of which database your WordPress site is using (if you manage multiple databases)
Step-by-Step Guide
Step 1: Log in to phpMyAdmin
1. Open your hosting control panel and navigate to phpMyAdmin.
2. Log in using your WordPress database username and password.
If you are unsure of the database credentials, you can find them in the wp-config.php file located in your website’s root directory:
/public_html/wp-config.php
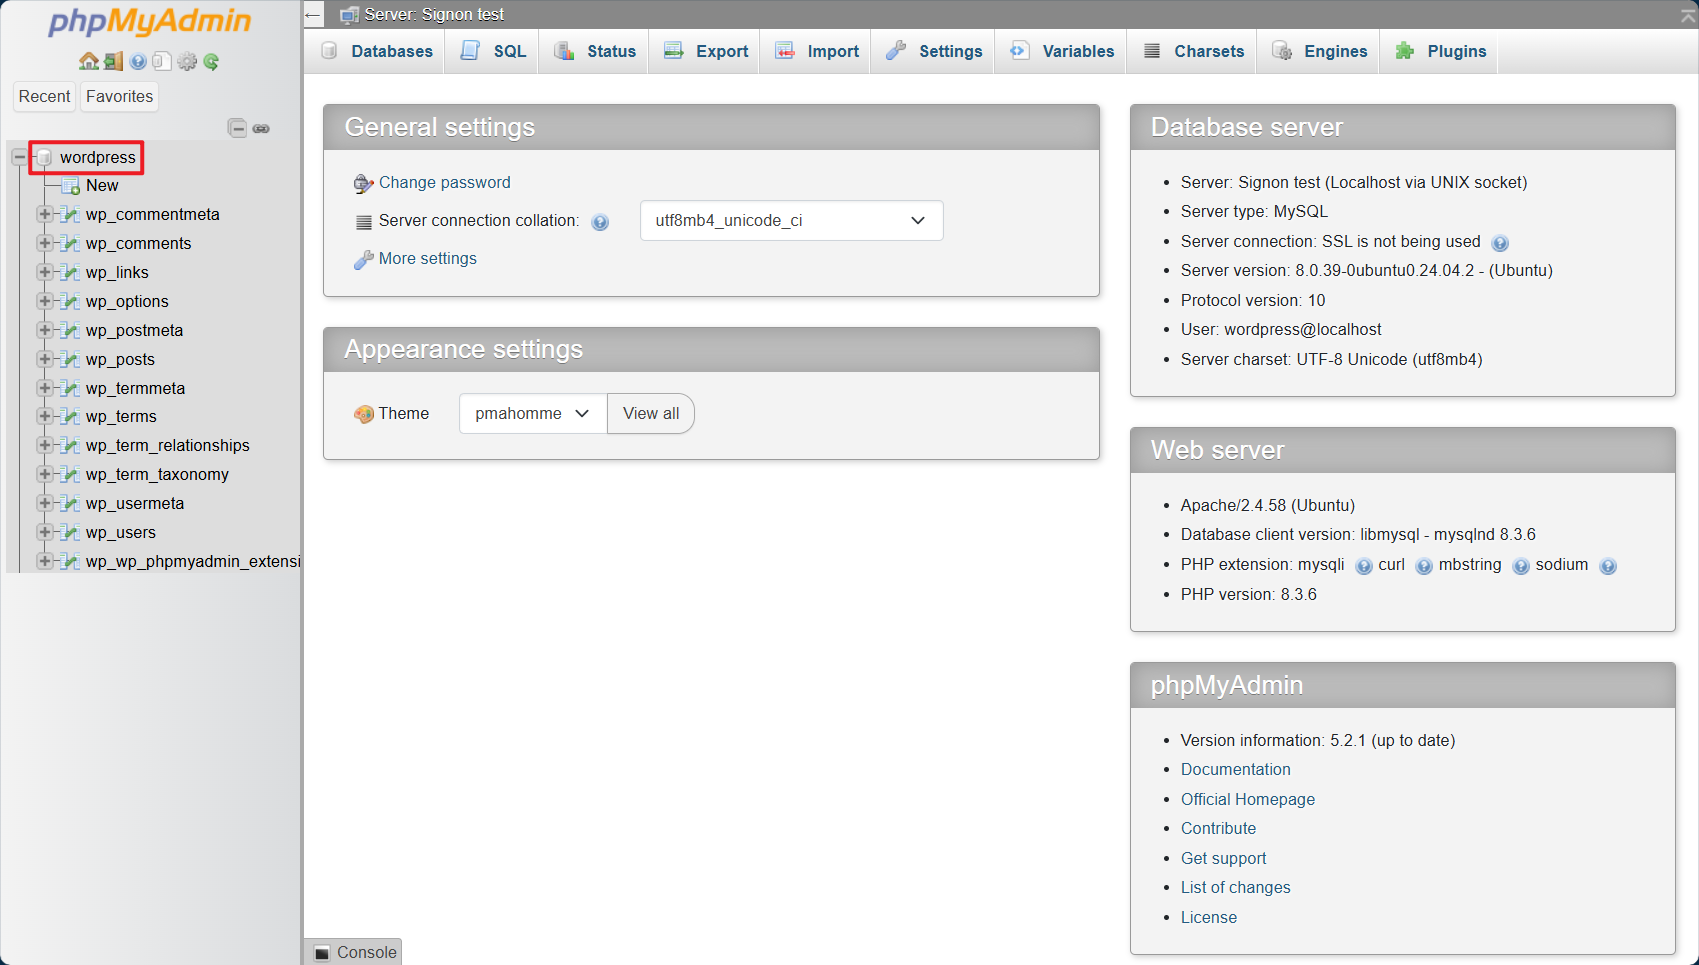
Step 2: Select the correct WordPress database
1. Once logged in, look at the left-hand sidebar in phpMyAdmin.
2. Select on the database associated with your WordPress site. If you have multiple databases, ensure you select the correct one.
Step 3: Run an SQL query to locate active plugins
1. After selecting the database, click on the ‘SQL’ tab at the top of the screen.
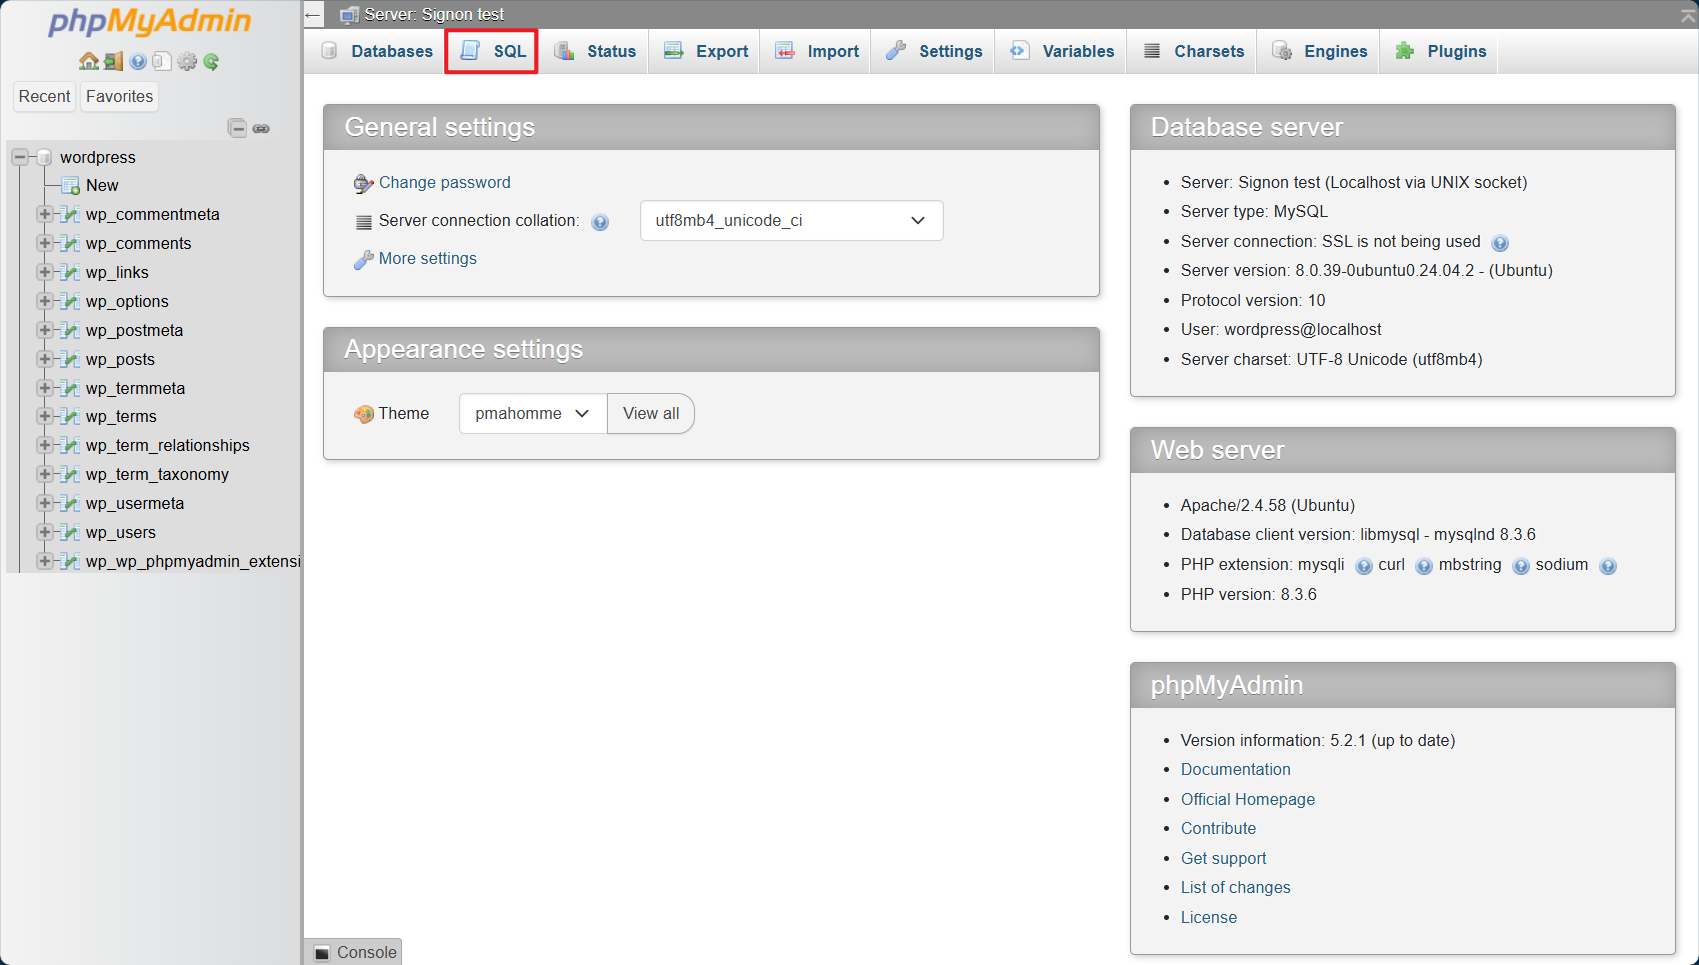
2. In the SQL query box, input the following query to find the list of active plugins:
SELECT * FROM wp_options WHERE option_name = 'active_plugins';
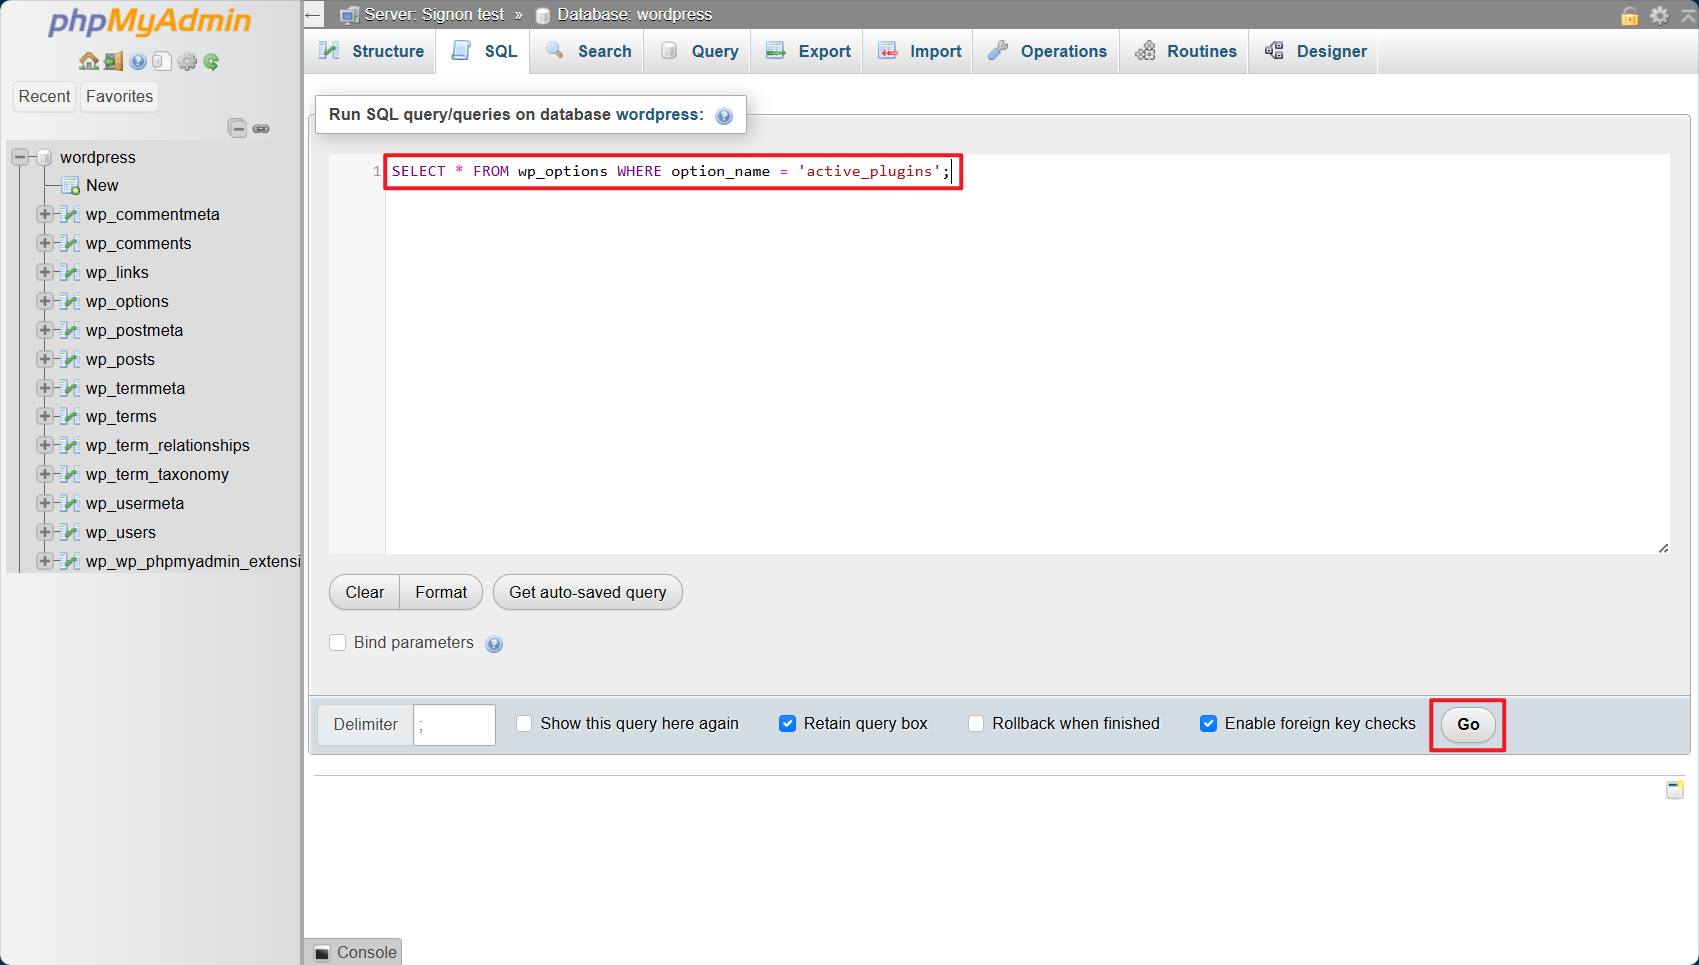
Click ‘Go’ to run the query.
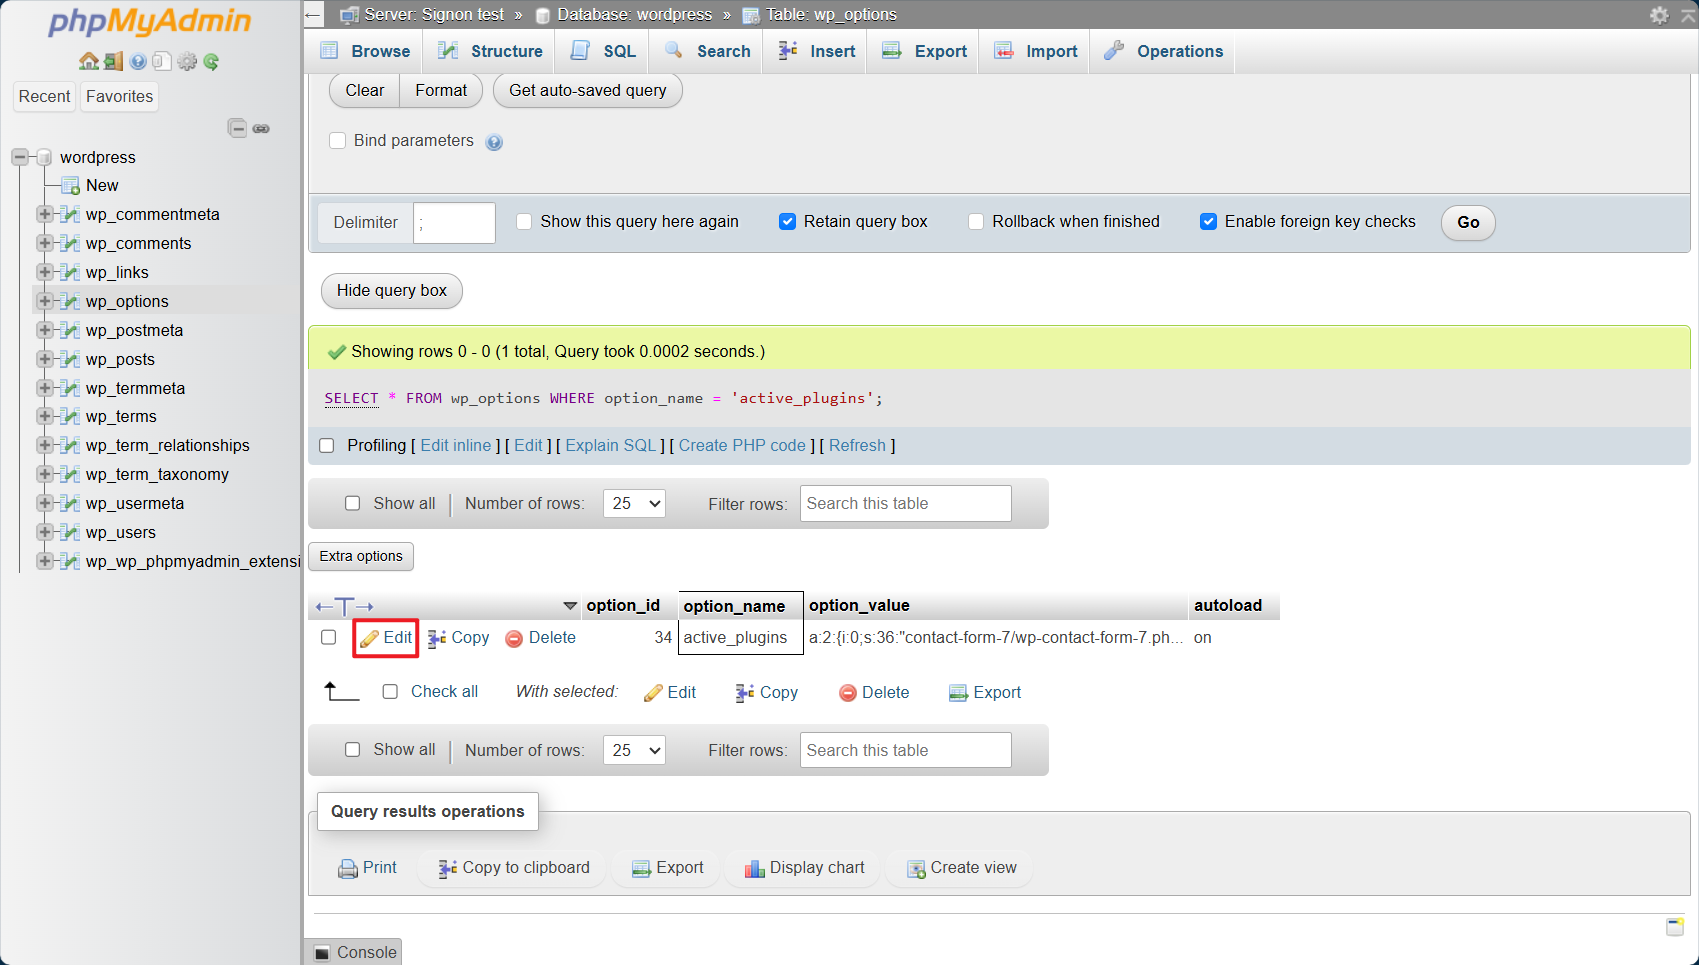
Step 4: Edit the active plugins option
1. Once the query result is displayed, scroll down and look for the row where option_name is active_plugins.
2. Click on the ‘Edit’ icon (usually a pencil icon) next to this row to modify the data.
Step 5: Remove active plugins
1. In the option_value text box, you will see a serialized array that lists all curently active plugins.
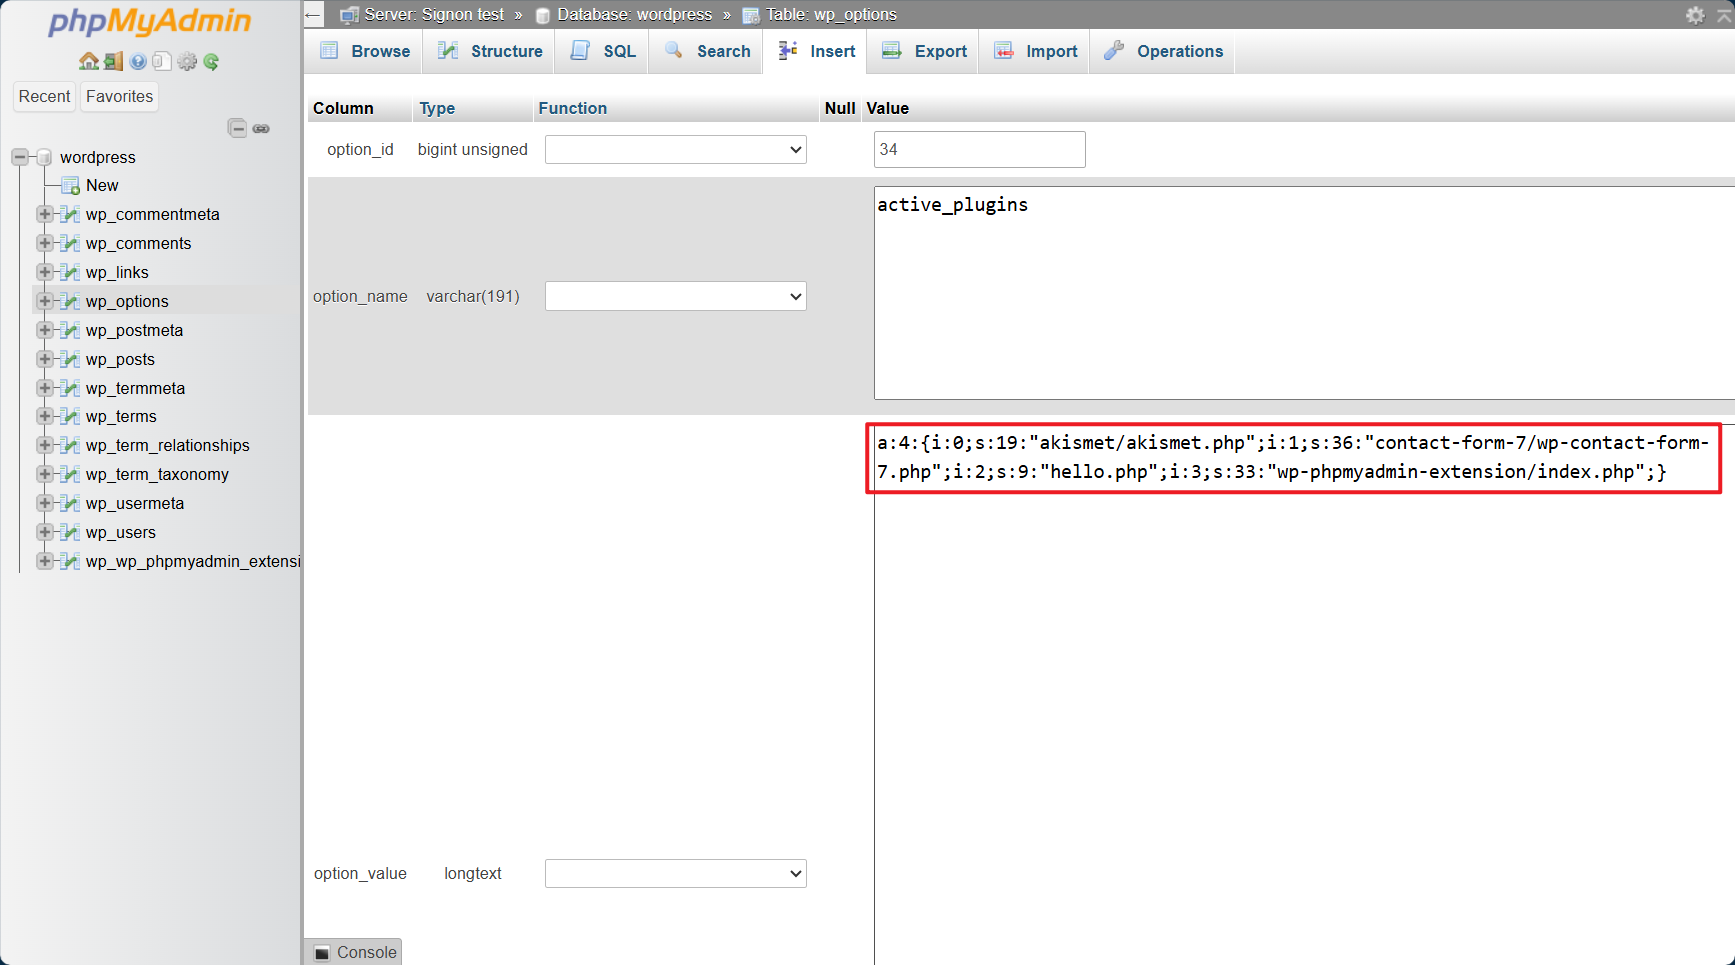
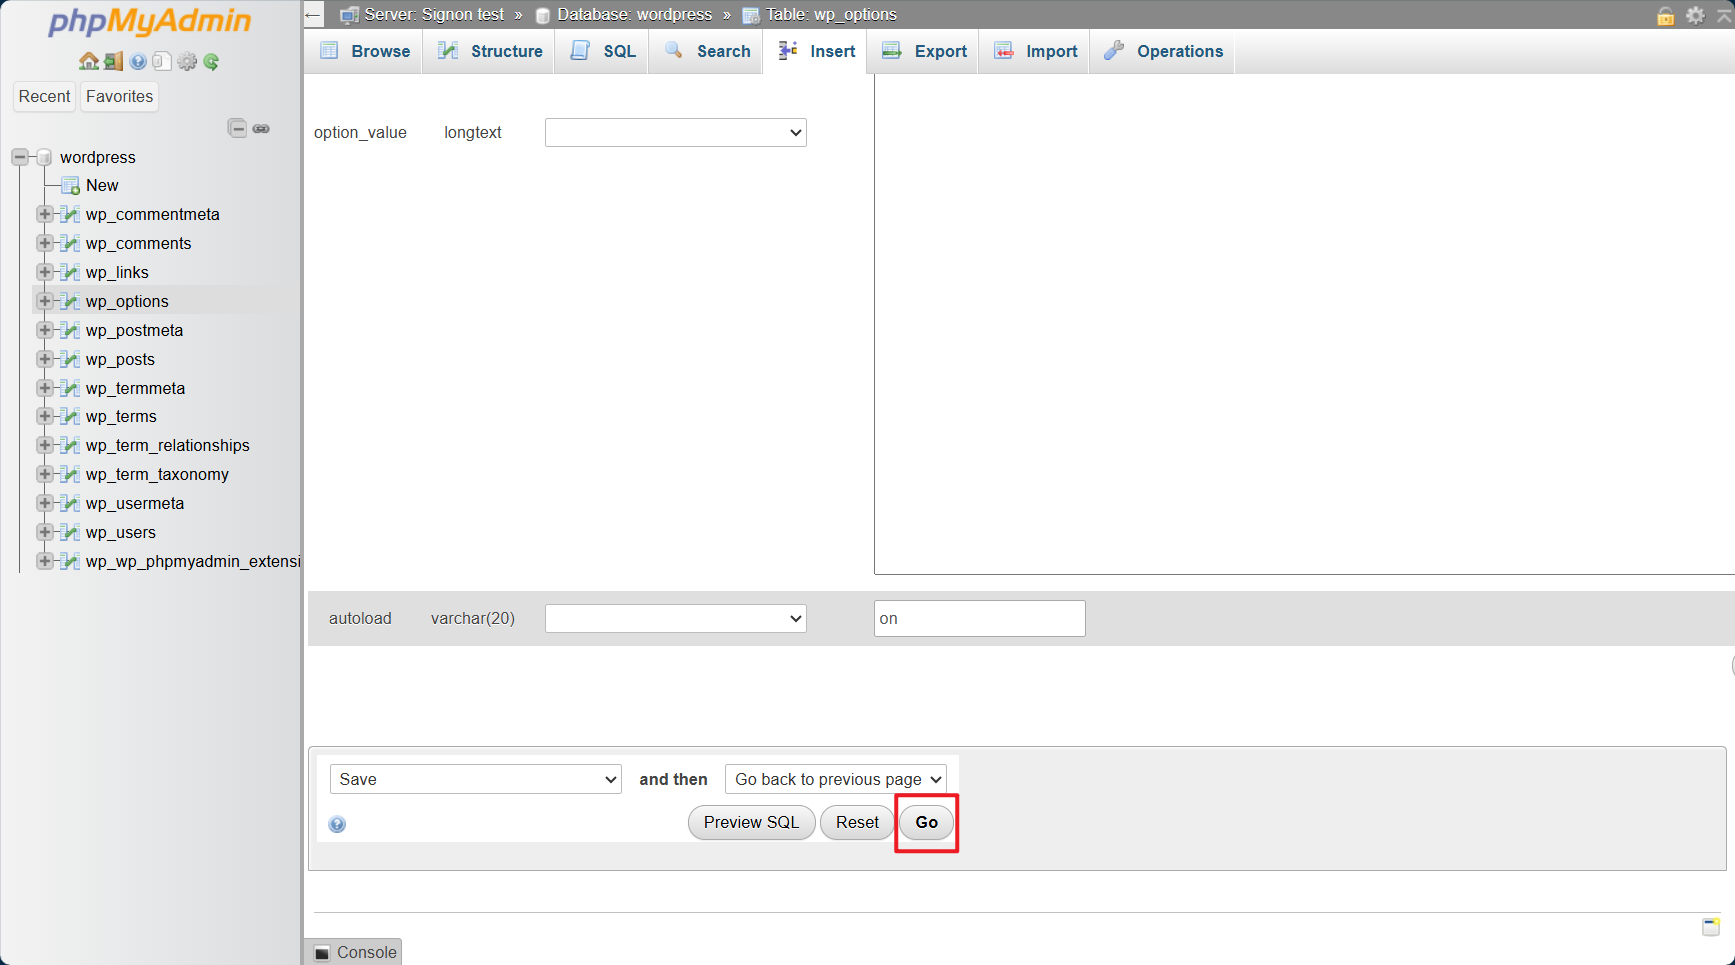
2. Select all the text in this field, delete it, and leave the text box empty. Then click ‘Go’ to save the changes.
Step 6: Verify changes and access WordPress admin
1. The active plugin data is now cleared. Try logging back into your WordPress admin dashboard. You should now be able to access the site without the plugins causing errors or conflicts.
Conclusion
By following these steps, you can disable all WordPress plugins directly through phpMyAdmin, which is helpful if you cannot access the WordPress admin dashboard due to a plugin issue. Once the plugins are disabled, you can log back into WordPress, troubleshoot the problem, and selectively re-enable plugins.
For additional assistance or if you encounter any issues, please contact our support team at support@ipserverone.com.
Article posted on 24 February 2020.