Search Our Database
How to enable MySQL Query Log on Linux Server
Introduction
MySQL Query Log is a feature that logs all queries run on a MySQL server, which is useful for debugging and performance monitoring. Enabling MySQL Query Log on a Linux server allows administrators to track SQL queries executed by MySQL, helping with debugging, monitoring, and optimizing database performance. This feature is vital for database administrators managing application performance or troubleshooting issues with SQL queries. It applies to servers running MySQL and is particularly useful when pinpointing problematic or inefficient queries.
Prerequisite
- SSH access to the server with root privileges
- Basic knowledge of MySQL configuration files and commands
Step-by-step guide
Step 1: Access to your server via SSH
- Access to your server and gain root privileges by command below.
sudo su -
Step 2: Locate and navigate to MySQL configuration file
- Locate your MySQL configuration file (my.cnf) path.
It can be either:cd /etc/
or
cd /etc/mysql/
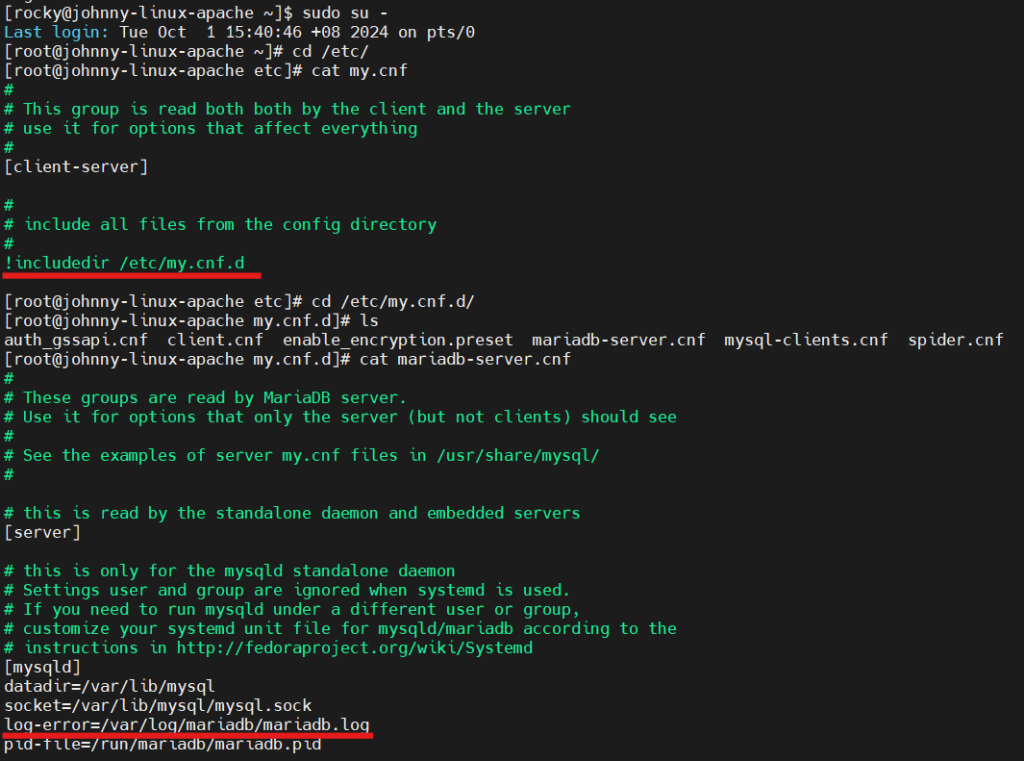
Step 3: Verify the content of MySQL configuration file
- Once you have navigated to the directories, you may check the MySQL configuration file by running the following command
cat my.cnf
- If the log is enabled, you should see a line similar as below. The file path following the ‘=’ sign shows the location of the log file.
log=/var/lib/mysql/mysql.logOr you may see line below as the configuration was stored in different location.
!includedir /etc/my.cnf.dNavigate to the file and you will see the similar line log=/var/lib/mysql/mysql.log will appear in the configuration file. For example:

Step 4: Edit MySQL configuration file
- If you didn’t see either of the lines, you may enable the log by running the command below.
vi my.cnf
Then press i to enable edit mode and add the line below under [mysqld].
log=/var/log/mysql.log
Press ESC to escape edit mode and enter :wq to save.
- Restart your MySQL service to apply the changes.
service mysqld restart
Step 5: Review the MySQL query log
- To review the query log. You can use commands such as the tail command to trace your code and steps from the log file.
tail -f: To display the last few lines and continuously update the log with new lines.
tail -f /var/log/mysql.log
tail -n <n>: To allows you to specify how many lines to display from the end of the file before it starts continuously updating with new lines.
tail -n 20 /var/log/mysql.log
Conclusion
By going through this guidance, you will be able to enable the MySQL Query Log on your server, providing valuable insights into query activity and performance issues.
For additional assistance or if you encounter any issues, please contact our support team at support@ipserverone.com.
Article posted on 24 February 2020 by Louis.