Search Our Database
How to increase disk quota in WHM (cPanel)
Introduction
Increasing the disk quota is necessary when a cPanel account exceeds its current storage limit or when additional resources are required to support the user’s needs. By adjusting the quota, you can ensure uninterrupted operations and avoid potential storage-related issues.
Prerequisites
- Access to WHM: You need to have administrative access to WHM on your server.
- Basic Knowledge of WHM: Familiarity with navigating the WHM interface.
Step-by-Step Guide
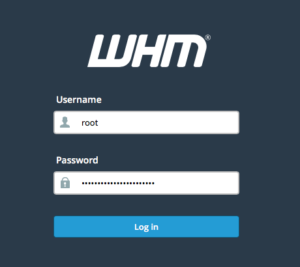
Step 1: Log in to WHM as the Root User
Begin by logging into WHM using the root credentials.
https://yourserverip:2087
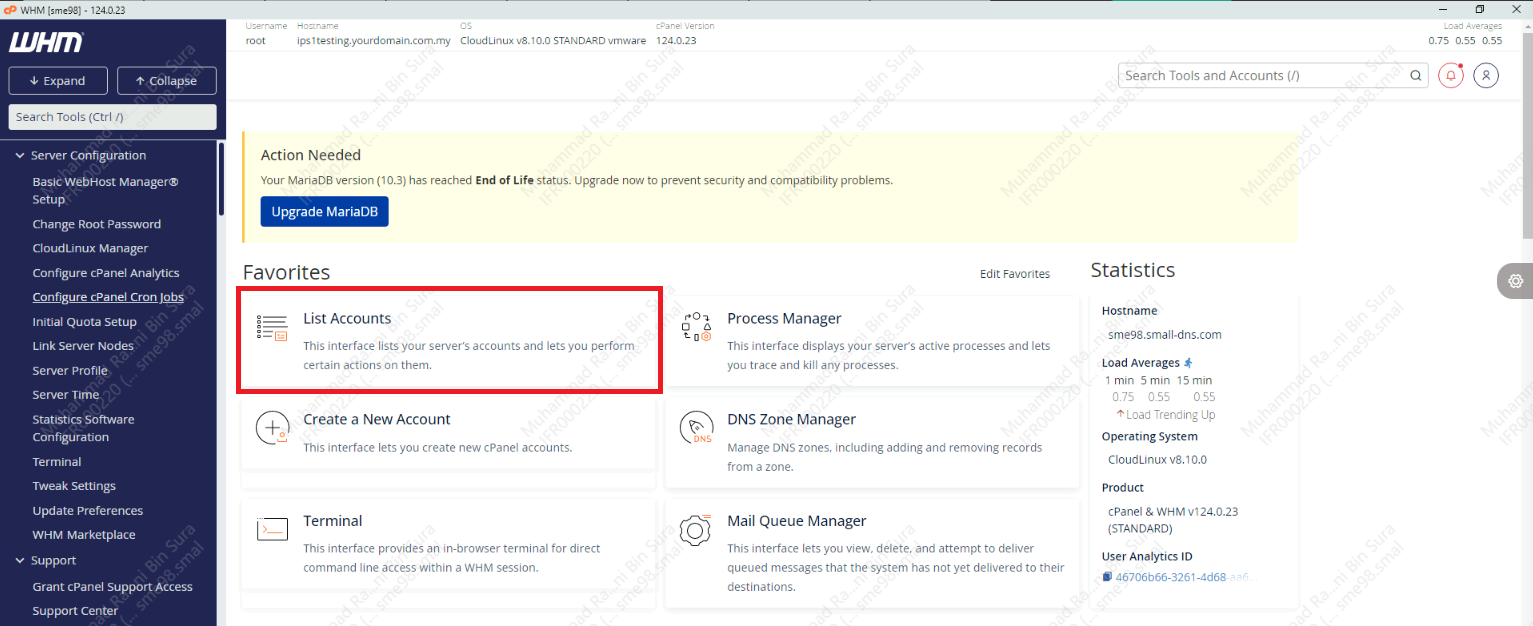
Step 2: Access the “List Accounts” Section
Once logged in, scroll down and click on List Accounts
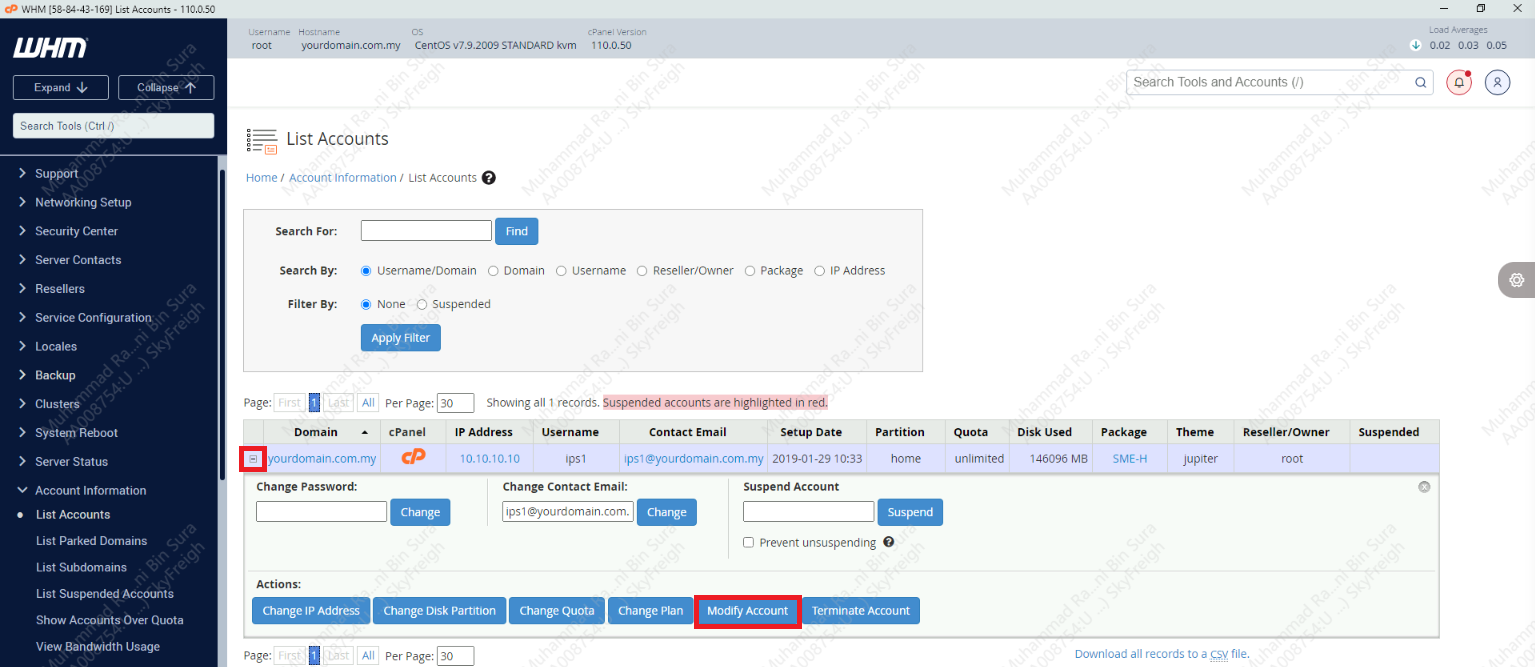
Step 3: Locate the cPanel Account
- Locate the account
-
Click the + icon next to the account to expand the account details and modify account
Step 4: Modify the Account’s Disk Quota
- In the Modify Account interface, locate the Disk Quota (MB) field.
-
Enter the new disk quota value in megabytes (MB). For unlimited disk space, click on Unlimited
Step 5: Save Changes
- Scroll to the bottom of the Modify Account page.
- Click the Save button to apply the new disk quota.
- You will see a confirmation message indicating that the disk quota has been successfully updated.
Step 6: Verify the Updated Disk Quota
- Return to the List Accounts page.
- Locate the modified account and check the updated quota under the Disk Used column.
Conclusion
Increasing the disk quota in WHM is a straightforward process that ensures cPanel accounts have the storage capacity needed to operate effectively. By following the steps outlined in this guide, you can quickly and efficiently manage disk quotas while maintaining server stability and user satisfaction.


