Search Our Database
How to Increase disk quota in DirectAdmin (Enhanced Skin)
Introduction
This article explains how to update the total disk space in DirectAdmin. It is designed for administrators or users with access to the DirectAdmin control panel who need to modify the disk space allocated to a domain or user.
Keeping the disk space updated ensures that your hosting environment reflects accurate storage allocations, preventing potential service interruptions. Follow this step-by-step guide to adjust the disk space settings for a user or domain within DirectAdmin.
Prerequisites
- Admin access to the DirectAdmin control panel.
- Ensure that your server has sufficient available disk space.
Step-by-Step Guide
Step 1: Log in to DirectAdmin
Open your web browser and log in to your DirectAdmin control panel using the following URL: https://yourdomain.com.my:2222
Enter your admin credentials to access the dashboard.
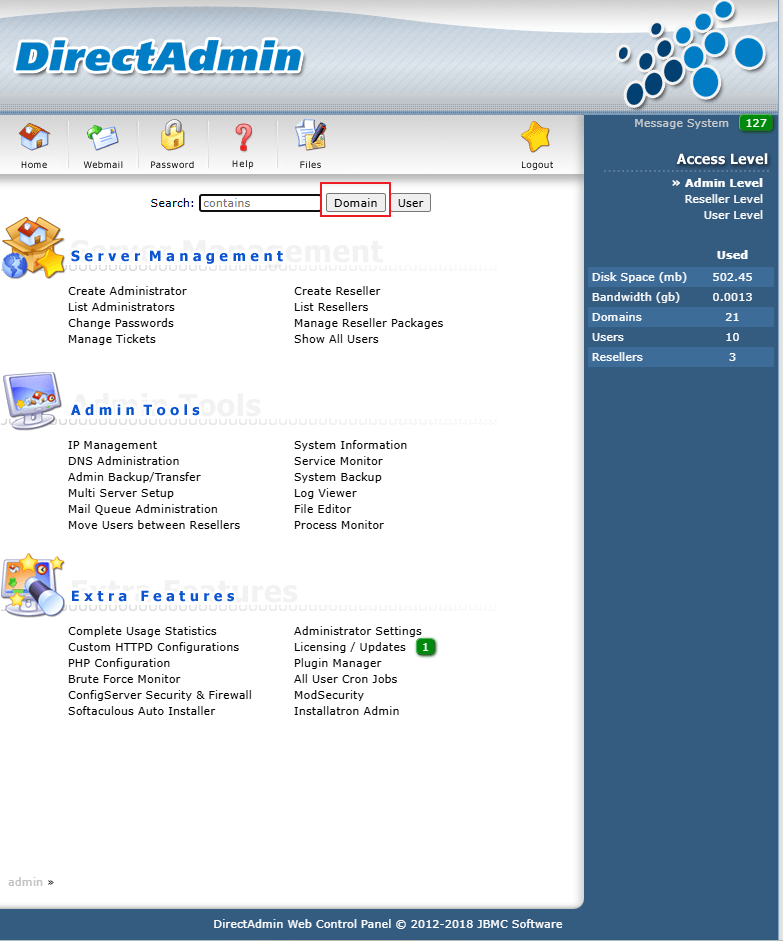
Step 2: Navigate to Domain Management
- Log in to DirectAdmin as a user.
- Click on “Domain” to proceed.
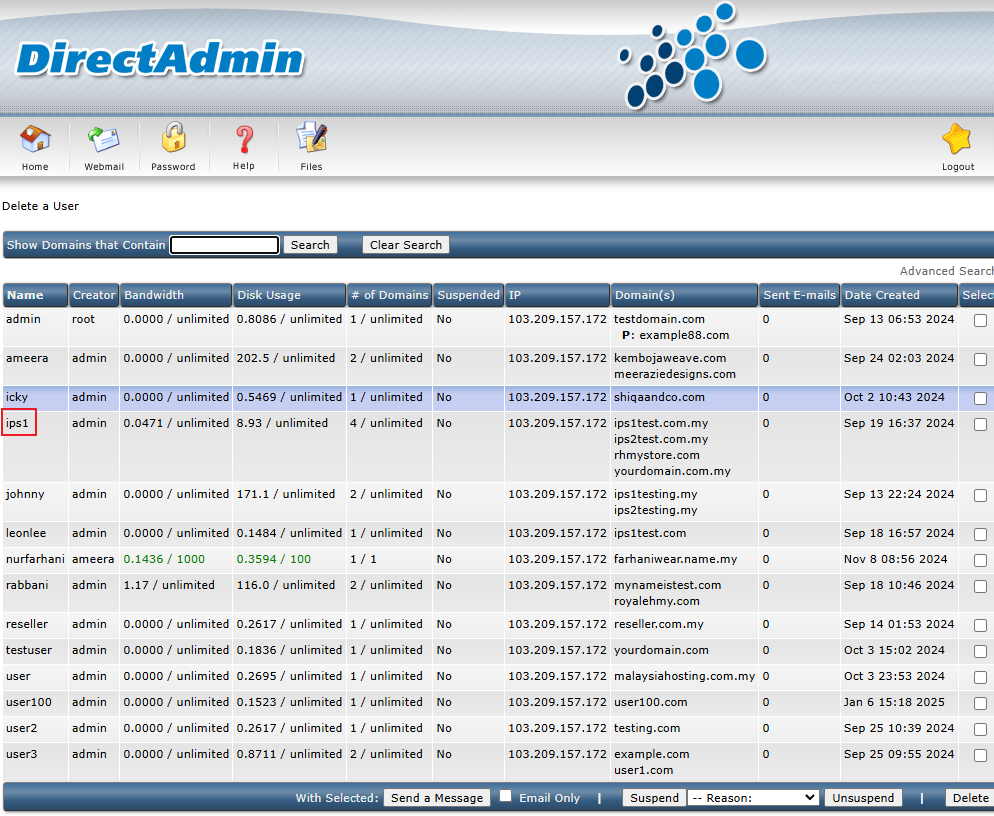
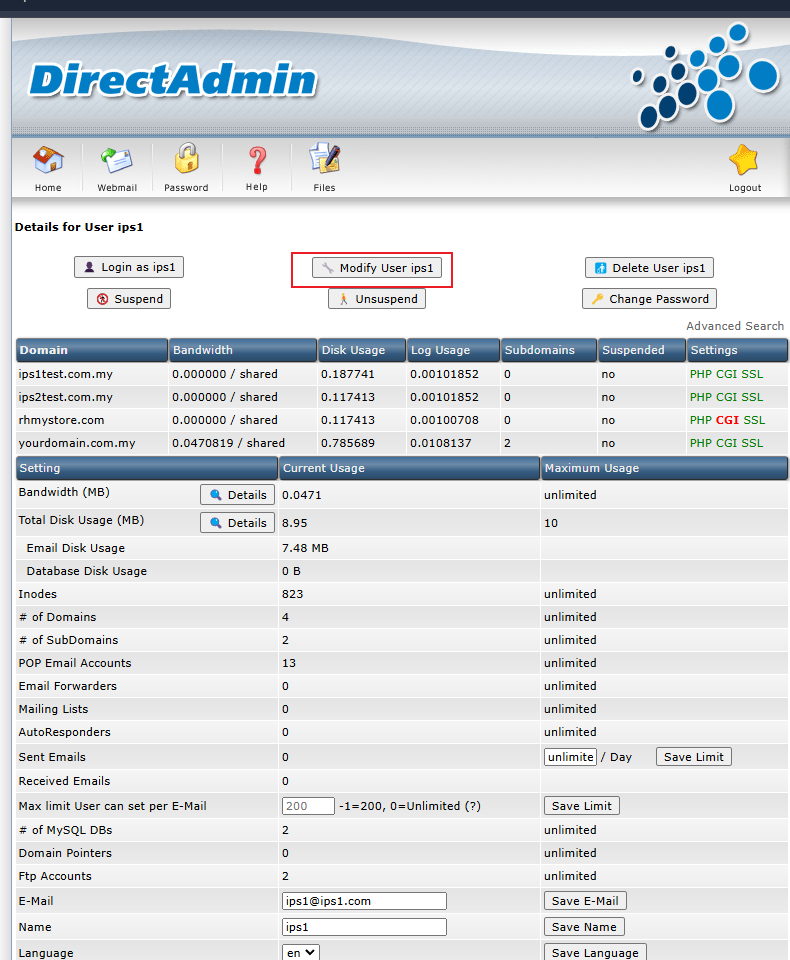
Step 3: Select the User Account
Find the user whose disk space needs to be increased:
- Locate the username in the list.
- Click on the username to open the account settings.
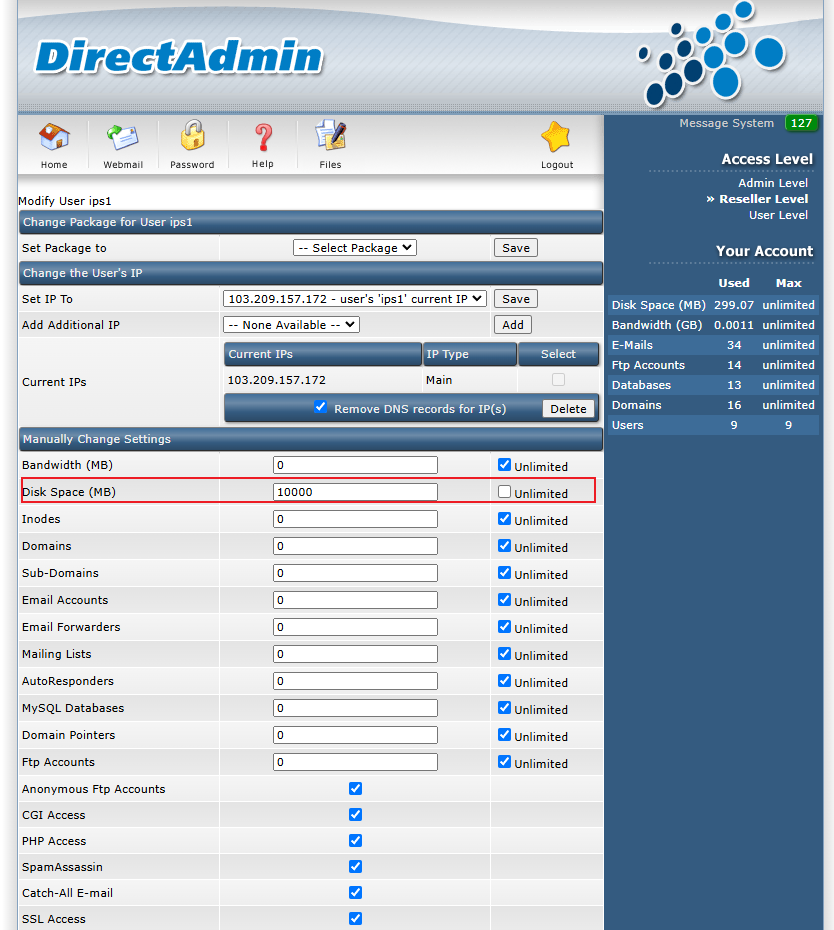
Step 4: Increase the Disk Space Quota
Modify the disk space for the selected user:
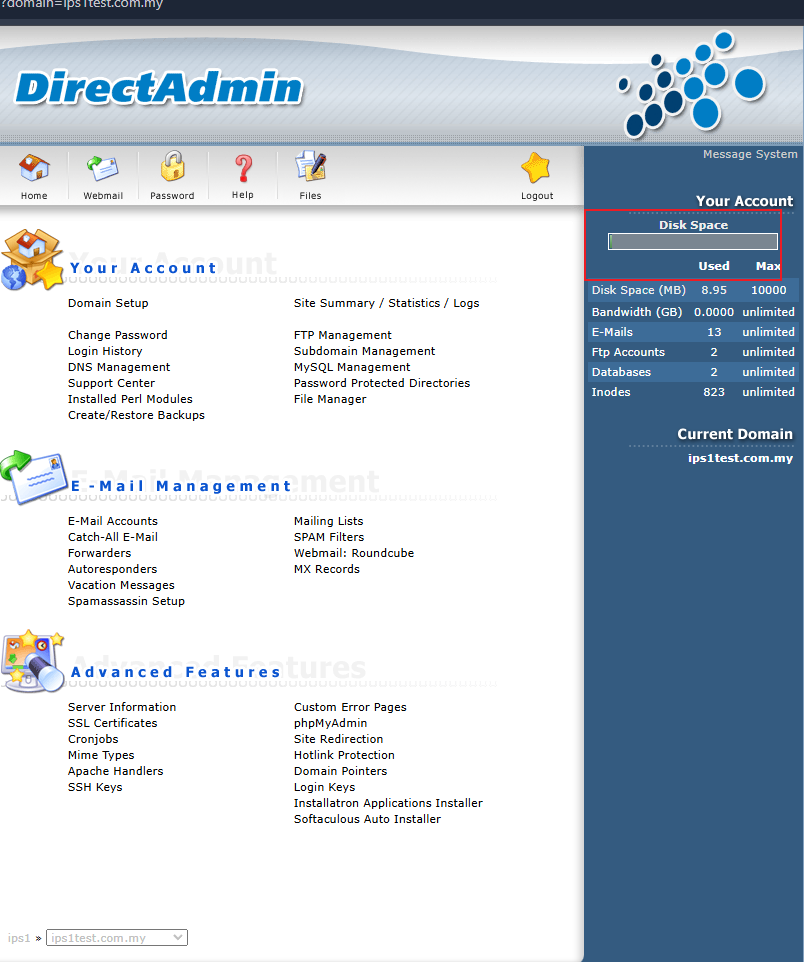
- In the Modify User section, locate the Disk Space option.
- Adjust the disk space quota to the required size (e.g., from 5000GB to 10000GB).
- Click Save or Modify to apply the changes.
Step 5: Verify the Changes
Once the changes are applied:
- Return to “User List” and confirm that the updated disk space allocation is correctly reflected.
- Ask the user to log in and verify that the new space is available.
Conclusion
Updating disk space in DirectAdmin ensures users have sufficient storage and prevents service disruptions. If the changes do not reflect immediately, try logging out, refreshing the control panel, or restarting DirectAdmin services.
For further assistance, contact our support team at support@ipserverone.com.
