Search Our Database
How to install built-in SSL certificate using AutoSSL in cPanel
Introduction
This guide explains how to install built-in SSL certificate using AutoSSL in cPanel. AutoSSL provides free SSL certificates that ensure secure communication between your website and visitors by encrypting data. SSL certificates are essential for improving security and increasing trust for visitors, as well as improving SEO rankings. This guide is intended for cPanel users who want to install built-in SSL certificate on their domains hosted in cPanel.
Prerequisites
- cPanel account access.
- A valid domain name that hosting under cPanel.
- The AutoSSL feature enabled in your cPanel hosting environment.
Step-by-Step Guide
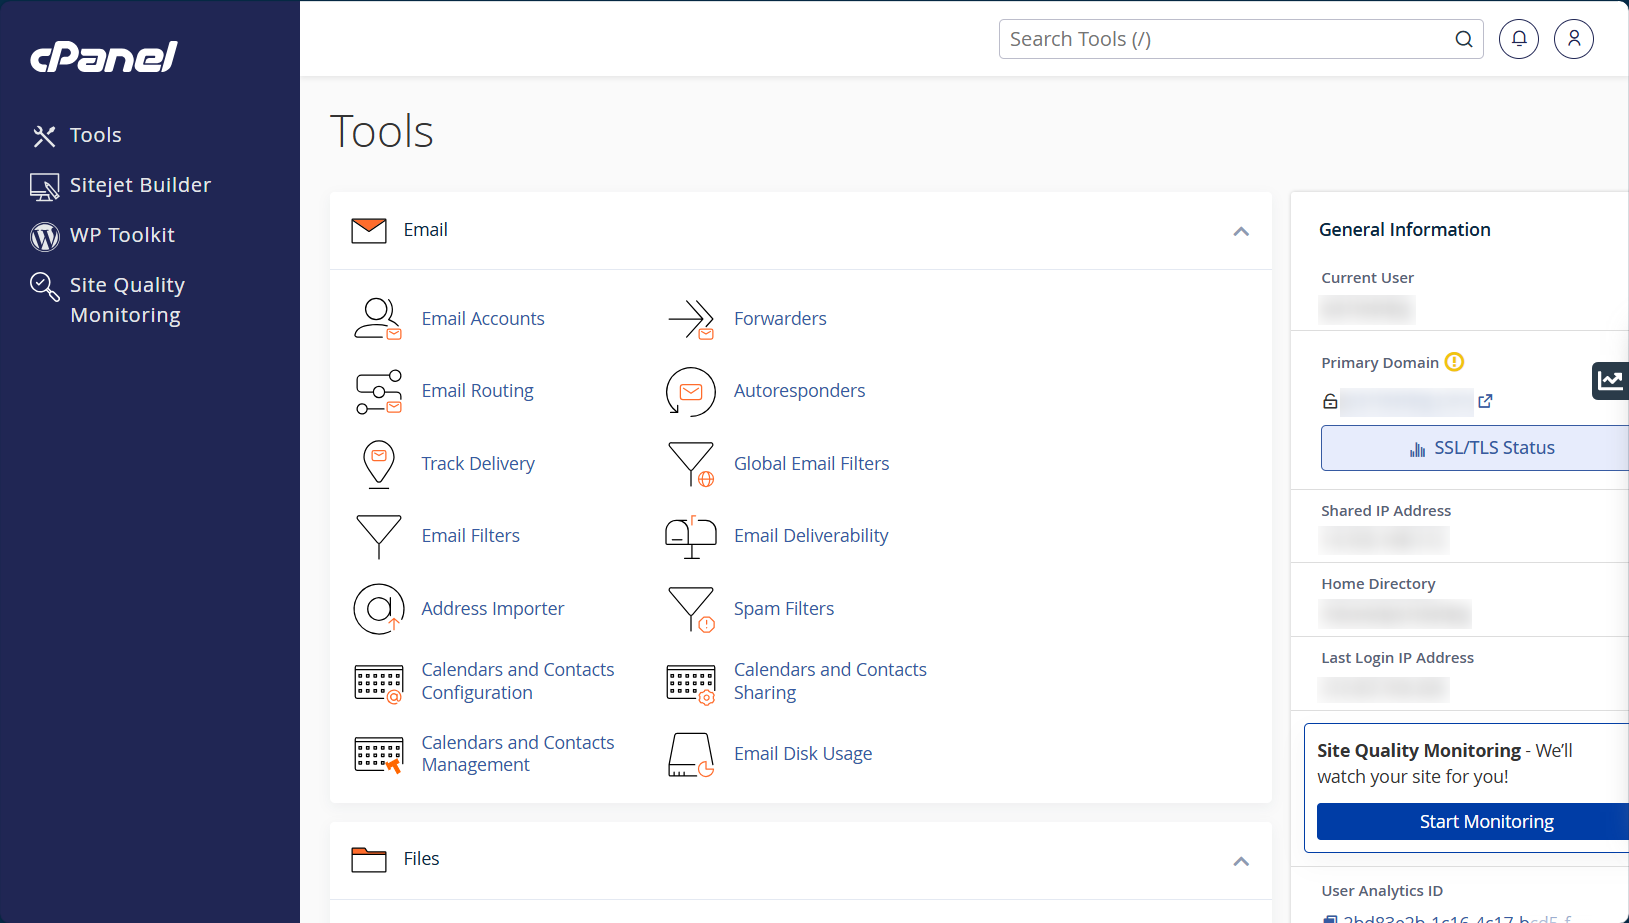
1. Log in to cPanel using your credentials. Once logged in, you will see the cPanel dashboard.
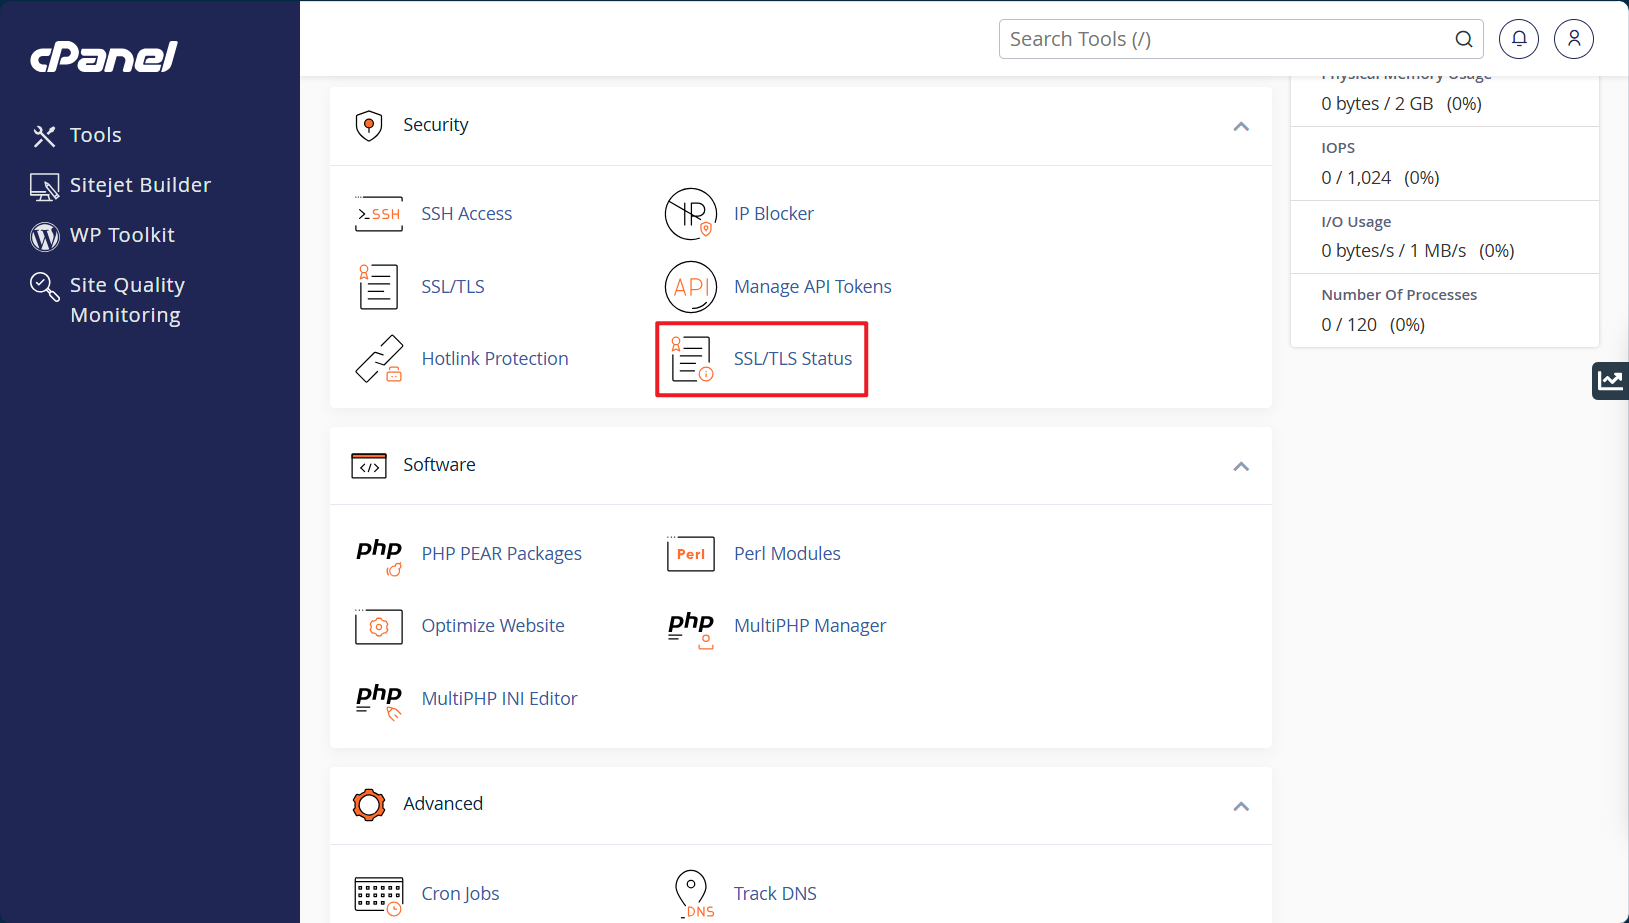
2. Scroll down to the Security section, then click on ‘SSL/TLS Status’.
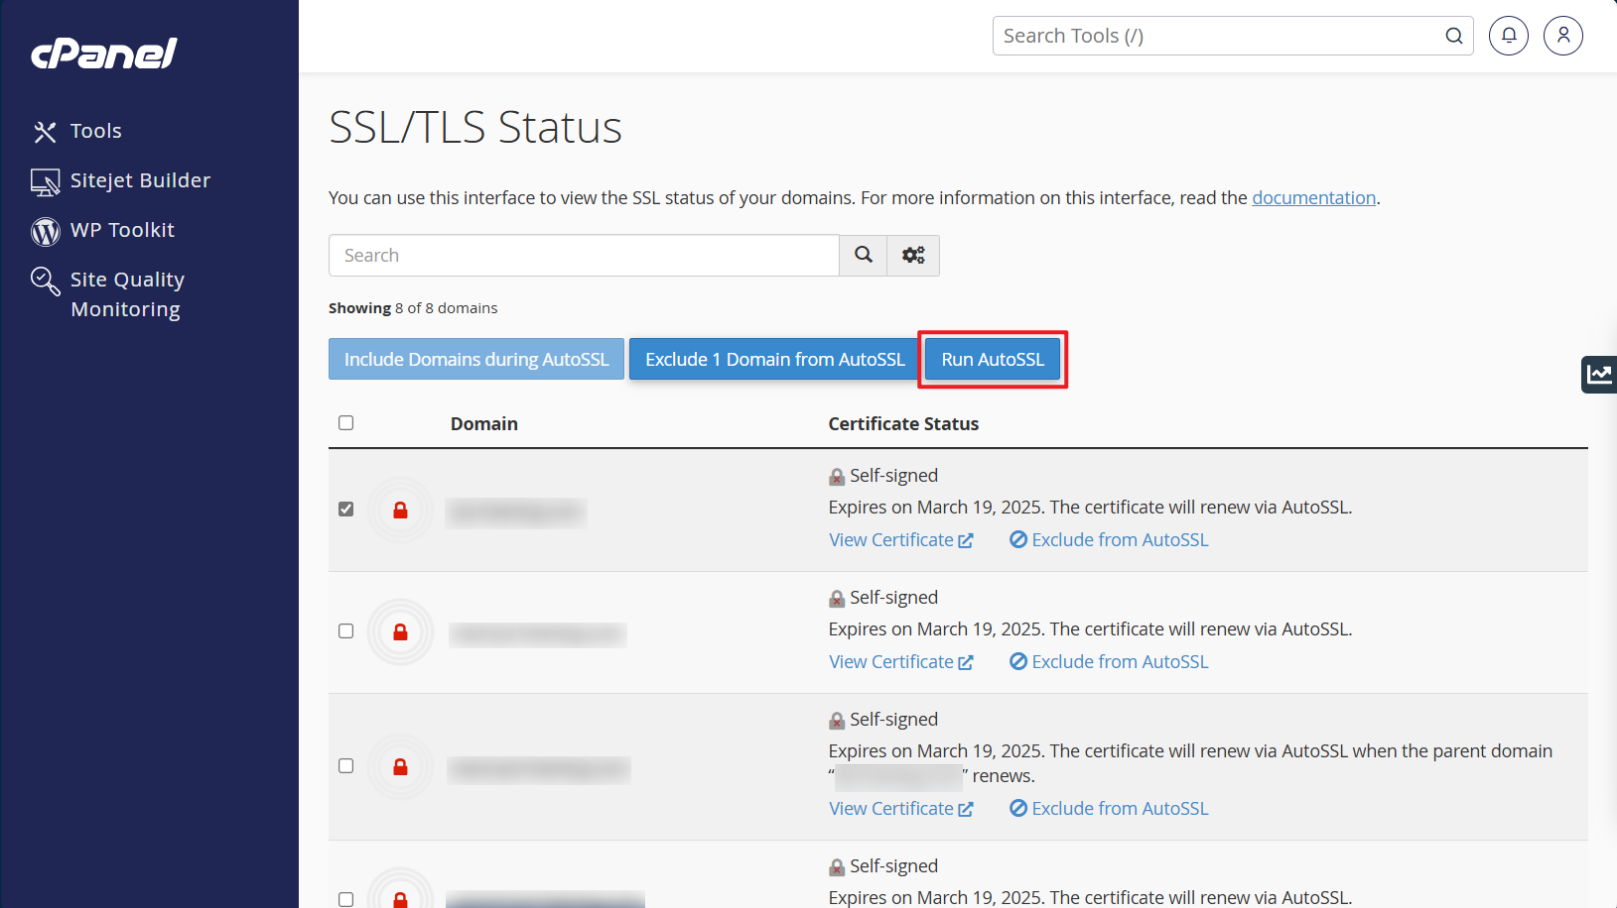
3. Select the checkbox for the domain you want to run AutoSSL, then click ‘Run AutoSSL’. Allow some time for the process to complete.
Conclusion
You have successfully installed a built-in SSL certificate using AutoSSL in cPanel. This ensures your website is encrypted and secure, providing a better experience for visitors and improving your SEO ranking. Always make sure that AutoSSL is enabled to keep your SSL certificates up-to-date.
Article posted on 18 May 2020.