Search Our Database
How to install WordPress with LEMP stack on RockyLinux/AlmaLinux
Introduction
LEMP Stack is a set of open-source software that includes Linux, NGINX, MySQL/MariaDB, and PHP, used to host dynamic websites and applications. Installing WordPress with the LEMP stack creates a high-performance and secure environment for running WordPress sites. This guide provides step-by-step instructions to install LEMP stack and WordPress, helping administrators set up a secure and efficient web server environment for hosting WordPress websites.
Prerequisite
- SSH access to the server with root privileges
- Basic knowledge of server management and Linux command-line
- Basic knowledge of LEMP stack
Step-by-Step Guide
Step 1: Access Your Server via SSH
- Access your server via SSH. Then run command below to gain root privilege.
sudo su -
- If you are using control panel like DirectAdmin or cPanel, you may skip to Step 5 and proceed to create database for WordPress. Because NGINX, PHP and MySQL should have already installed.
Step 2: Install NGINX web server
- Install NGINX web server.
yum install nginx -y
- Enable NGINX service.
systemctl enable nginx
- Start the NGINX service.
systemctl start nginx
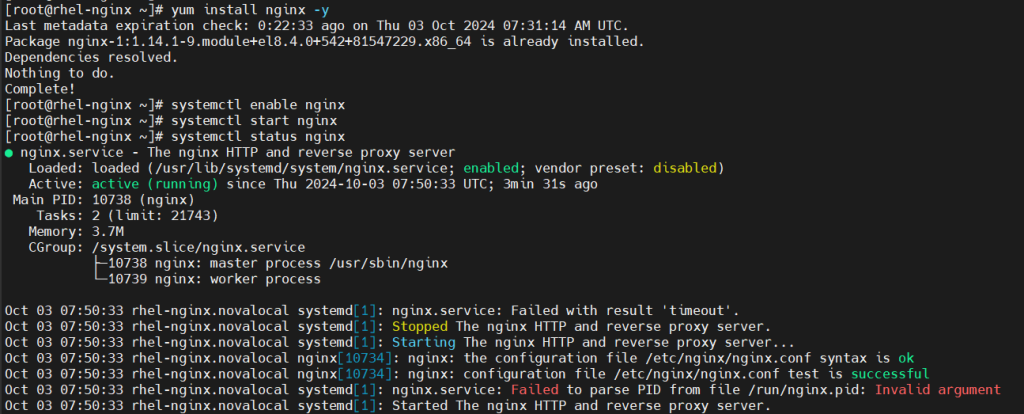
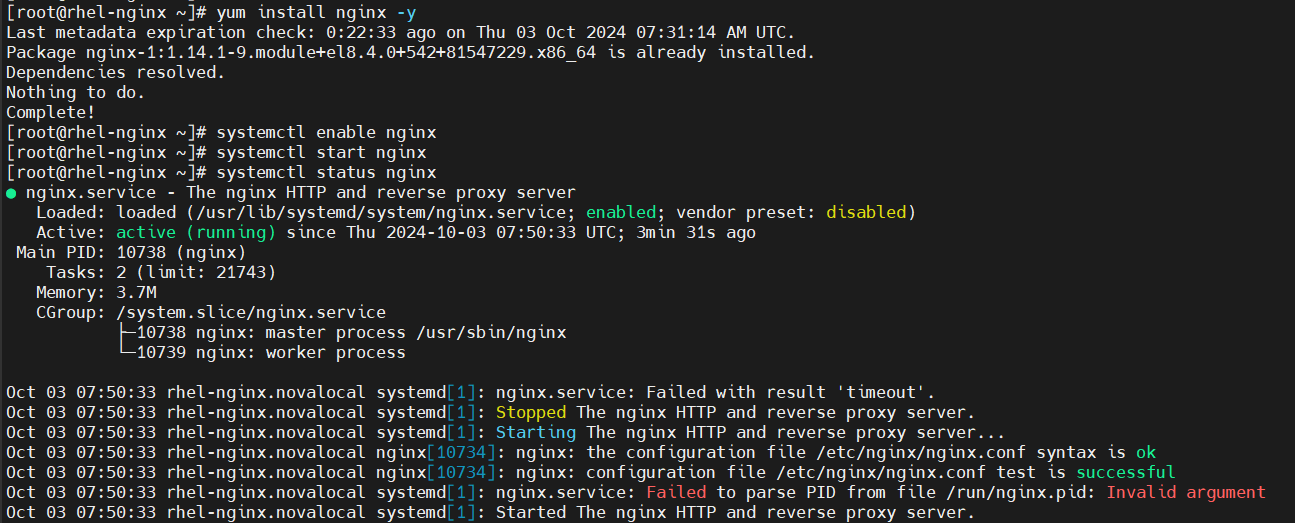
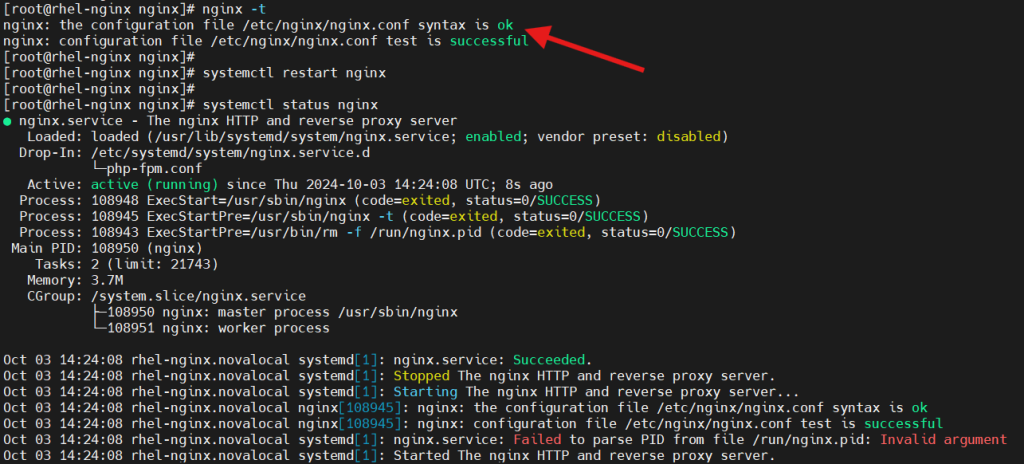
- Verify the NGINX service status. If you are seeing error – nginx.service: Failed to parse PID from file /run/nginx.pid, you may ignore it as the error will only appear when the server is Single-Core CPU Server.
systemctl status nginx
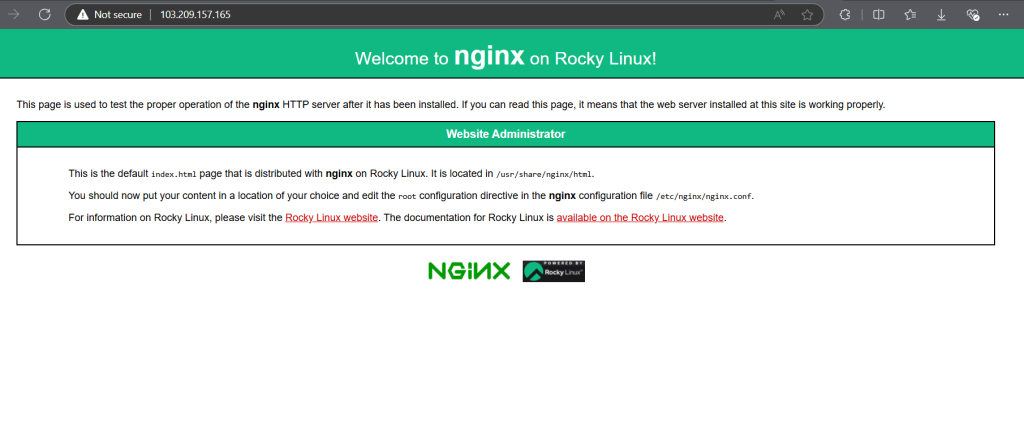
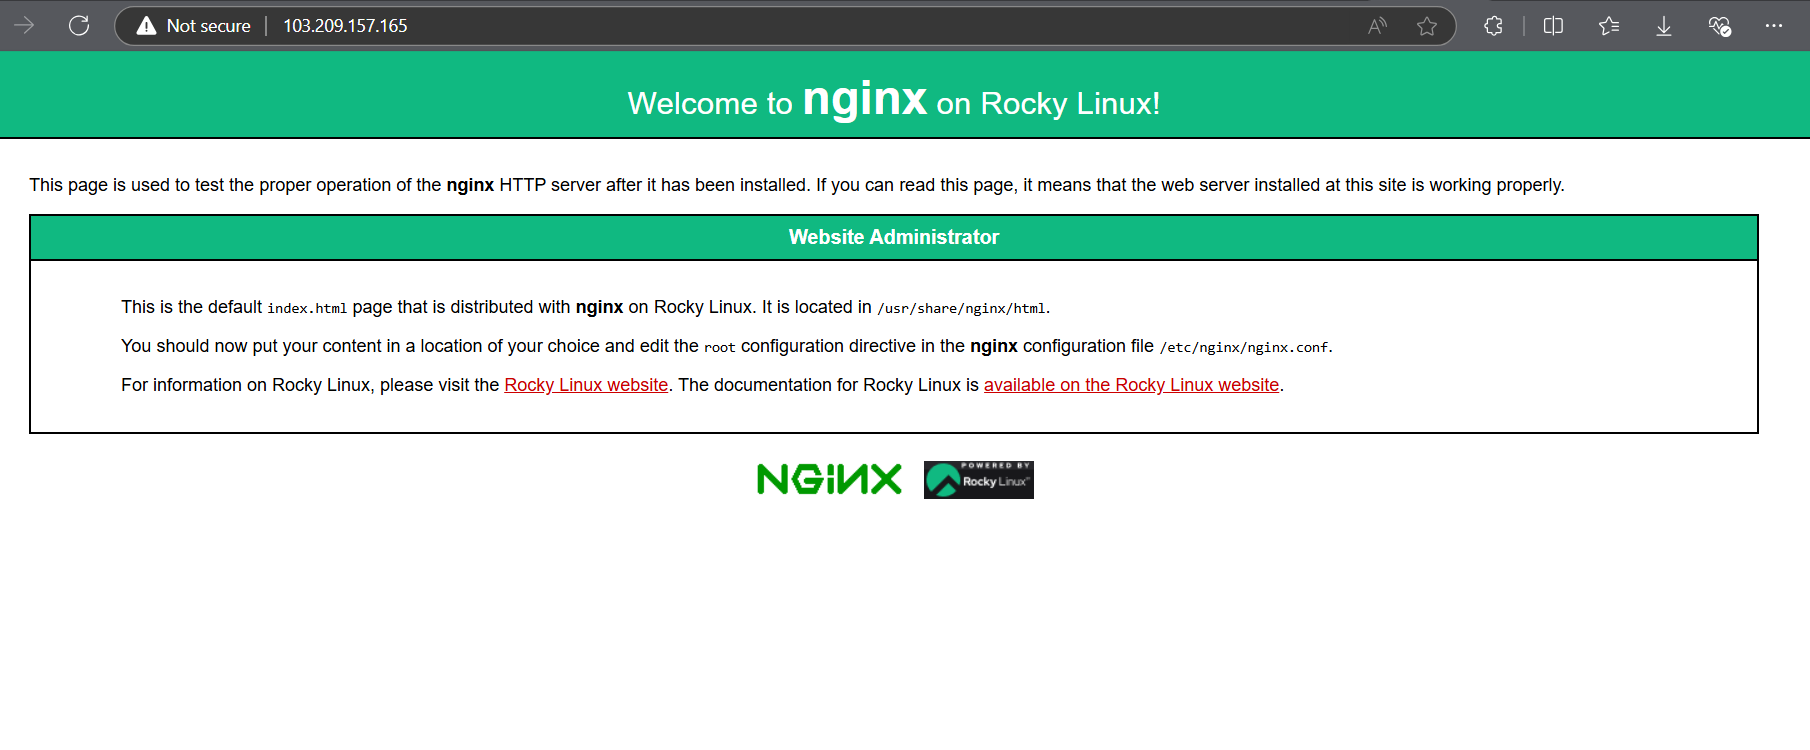
- Open your browser then enter http://<your-server-IP> and you should be seeing NGINX welcome page.
Step 3: Install PHP
- We would suggest installing the highest version possible from your OS base repositories.
- To verify what PHP version available from the base repositories.
yum module list php
- Then install the PHP version that you prefer.
yum module install php:8.2

- Then proceed to install PHP extensions that used commonly.
yum install php-fpm php-cli php-common php-gd php-json php-mbstring php-mysqlnd php-opcache php-xml php-zip -y
This command installs:
- php-fpm: The FastCGI Process Manager.
- php-cli: Command-line interface for PHP.
- php-common: Common files for PHP.
- php-gd: For image processing.
- php-json: JSON support for PHP.
- php-mbstring: Multibyte string functions.
- php-mysqlnd: MySQL native driver for PHP.
- php-opcache: To improve PHP performance.
- php-xml: XML support.
- php-zip: ZIP archive support.

- Enable PHP service.
systemctl enable php-fpm
- Start PHP service.
systemctl start php-fpm
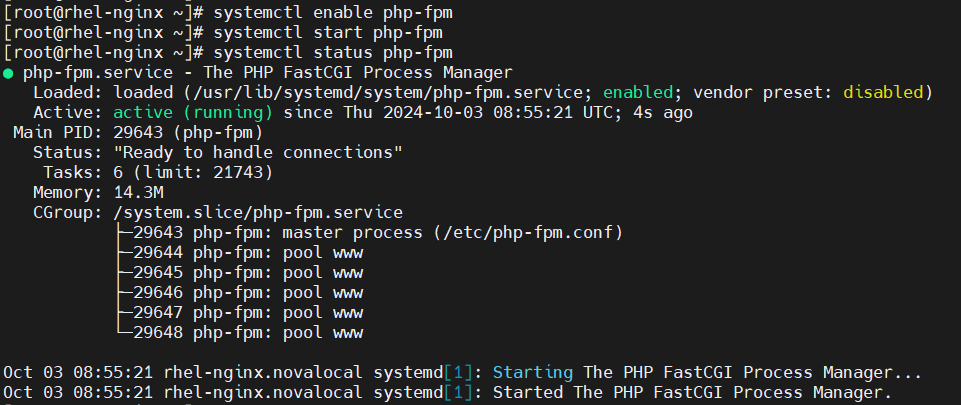
- Verify the PHP service status.
systemctl status php-fpm
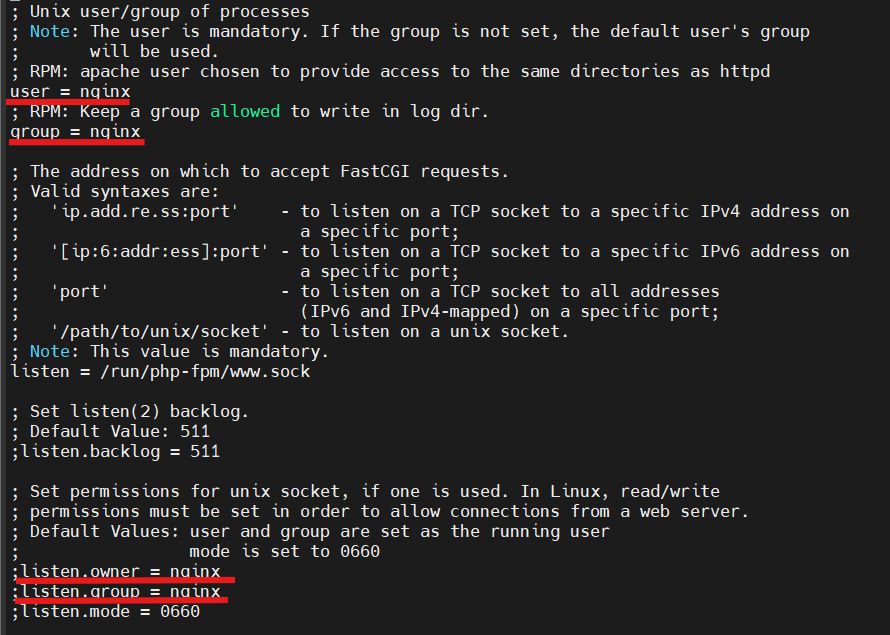
- The PHP-FPM was configured to run as apache user by default. We will need to alter it to run as nginx user.
vi /etc/php-fpm.d/www.conf
- Press i to enter edit mode.
- Find below configuration and change to nginx.
user = nginx
group = nginx
listen.owner = nginx
listen.group = nginx
- Press ESC and :wq to save.
- Restart NGINX and PHP service to apply the changes.
systemctl restart nginx php-fpm
Step 4: Install MySQL
- Install MySQL server and MySQL client.
yum install mysql-server mysql -y
- Enable MySQL service.
systemctl enable mysqld
- Start MySQL service.
systemctl start mysqld
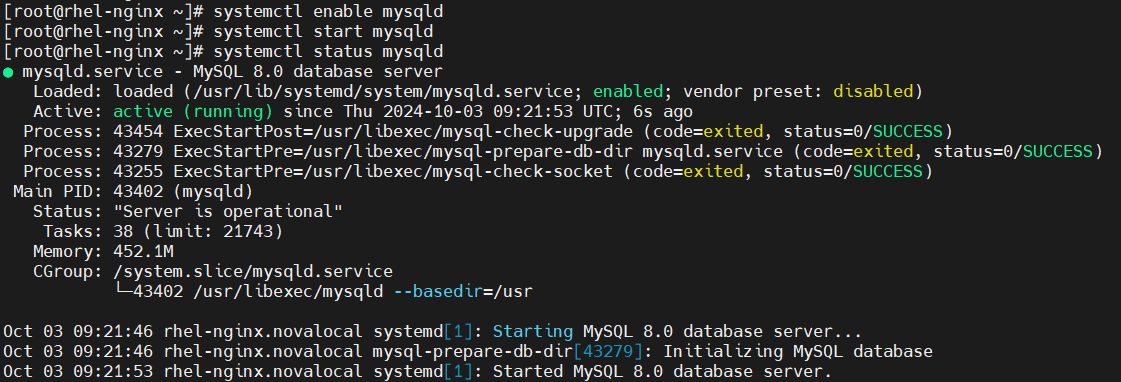
- Verify the MySQL service status.
systemctl status mysqld

- Enter command below and follow on-screen prompts to secure MySQL.
Important Note: Do not disallow root user to login MySQL if you haven’t created any MySQL user.
mysql_secure_installation
Step 5: Create database
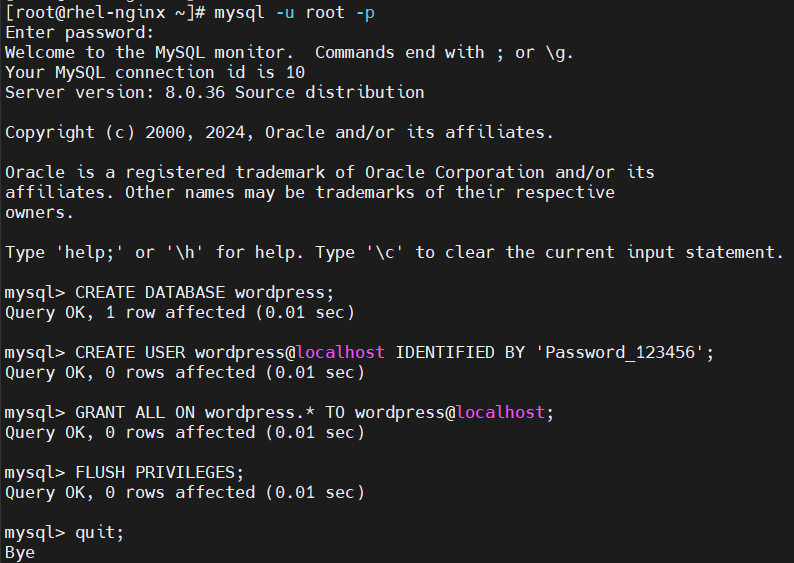
- Login into your MySQL.
mysql -u root -p
- Create database for WordPress.
CREATE DATABASE <database_name>;
- Create MySQL user together with the password.
CREATE USER <username>@localhost IDENTIFIED BY '<password>';
- Grant permission to user to manage WordPress database.
GRANT ALL ON wordpress.* TO <username>@localhost;
- Flush the privileges to apply the new configuration.
FLUSH PRIVILEGES;
- Exit MySQL shell.
QUIT;
- You may refer to the example below:
Step 6: Install WordPress
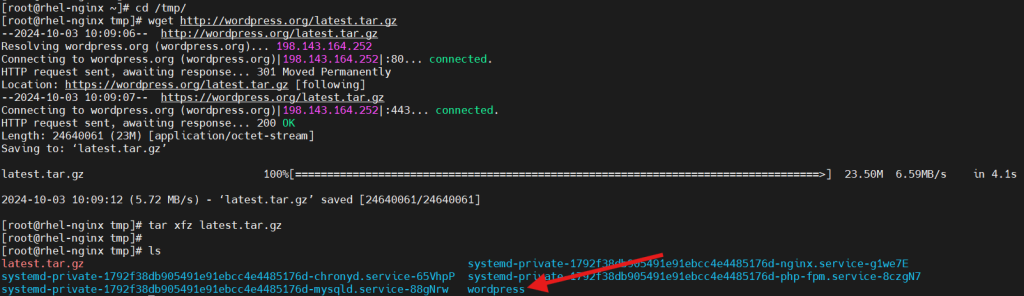
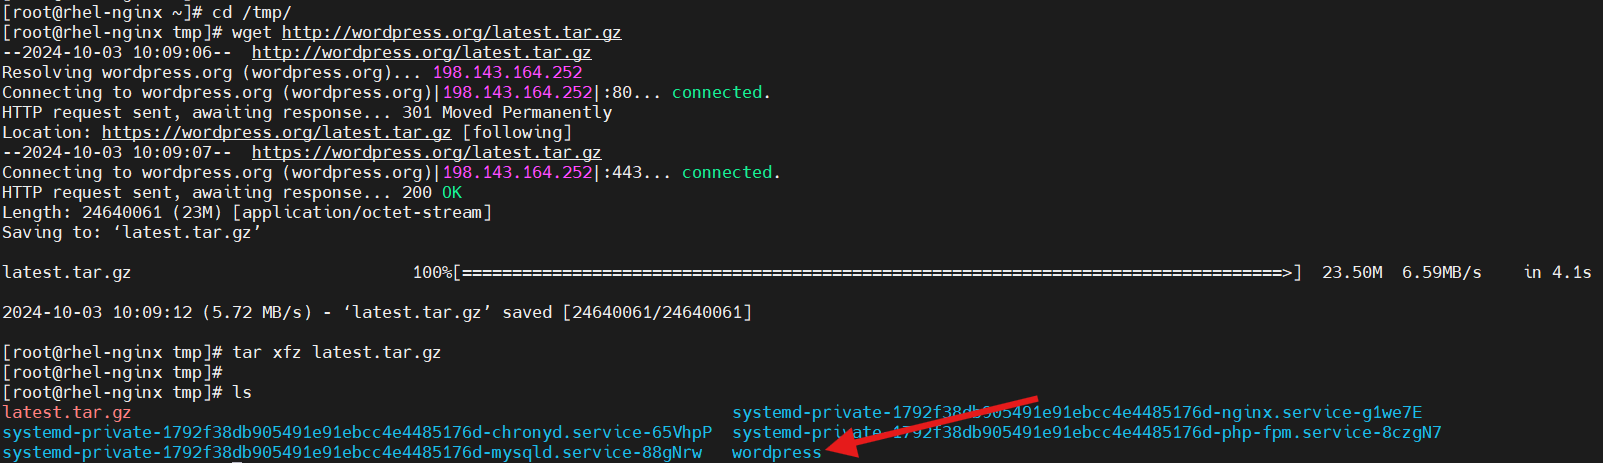
- Navigate to writable directory.
cd /tmp/
- Download WordPress compress file.
wget http://wordpress.org/latest.tar.gz
- Extract WordPress compress file.
tar xfz latest.tar.gz
- Then you will see the extracted WordPress file.
Step 7: Configure for your website
- Move your WordPress data to NGINX root directory and navigate to the directory. If you planned to have multiple websites, you would need to create a directory for each website before moving the WordPress data.
mkdir /usr/share/nginx/html/<domain.com>
chown nginx:nginx /usr/share/nginx/html/<domain.com>
cp -R wordpress/* /usr/share/nginx/html/<domain.com>
cd /usr/share/nginx/html/<domain.com>
Else, you may just move to default NGINX root directory.
cp -R wordpress/* /usr/share/nginx/html
cd /usr/share/nginx/html


- Change ownership of the WordPress data to nginx.
chown -R nginx:nginx *

- Make your server has allow the incoming traffic for HTTP and HTTPS, which opening port 80 and port 443. Depending on what firewall you were using in the server. We take iptables as example.
iptables -A INPUT -p tcp --dport 80 -j ACCEPT
iptables -A INPUT -p tcp --dport 443 -j ACCEPT
- To make sure your domain able to refer the WordPress, you will need to configure the NGINX configuration file. If you planned to have multiple websites, you would need to create new NGINX configuration file for each website and copy the default NGINX configuration before configuring.
mkdir /etc/nginx/conf.d/<domain.com>.conf
vi etc/nginx/conf.d/<domain.com>.conf
Else, you may just refer below to configure NGINX configuration file.
vi /etc/nginx/nginx.conf
- This step applied to single website or multiple websites. Press i to enter edit mode.
- Enter your domain after server_name for both HTTP and HTTPS. And do not remove the # on the HTTPS part if you haven’t SSL Certificate and Private Key for your website.
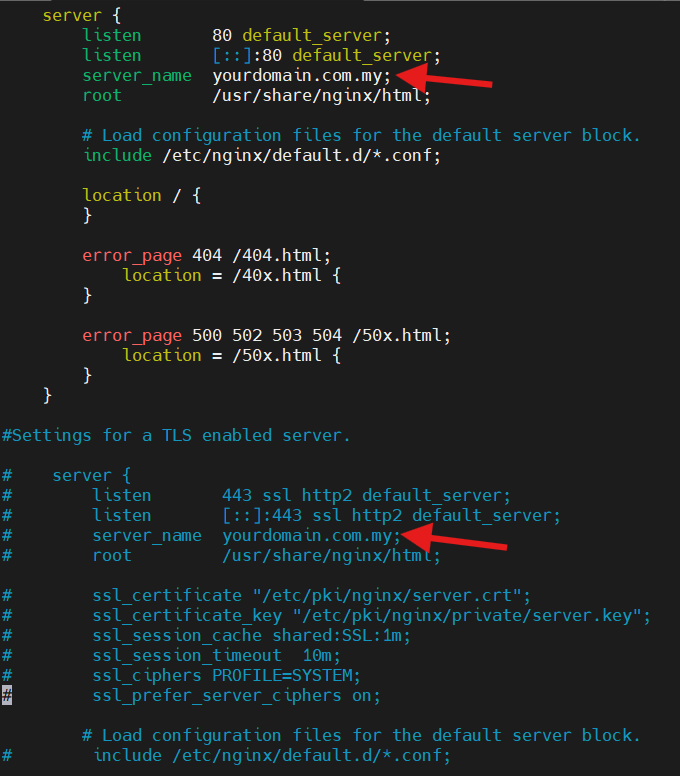
- If you already have SSL Certificate and Private Key for your website, you may remove the # and enter the path that your SSL Certificate and Private Key stored at. You may refer to below for example.
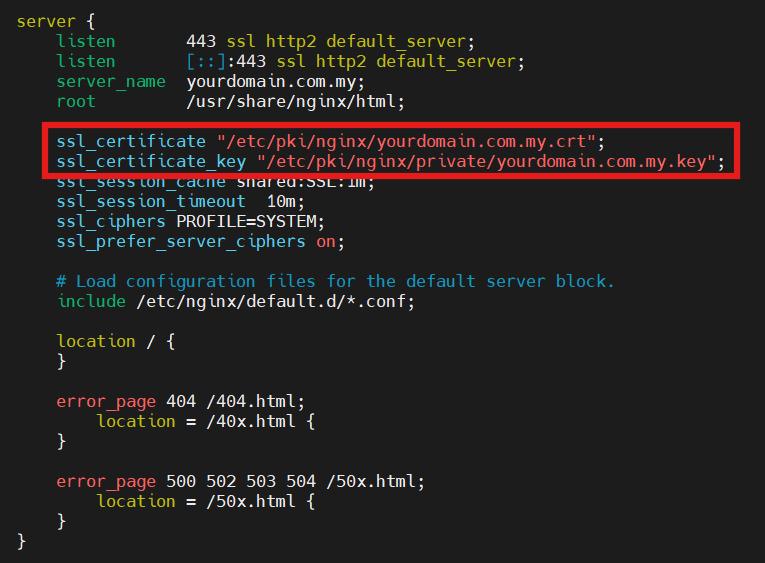
- Then verify if there is error in NGINX configuration. If there are no error, restart the NGINX service to apply the new configuration.
nginx -t
systemctl restart nginx

Step 8: Configure for WordPress
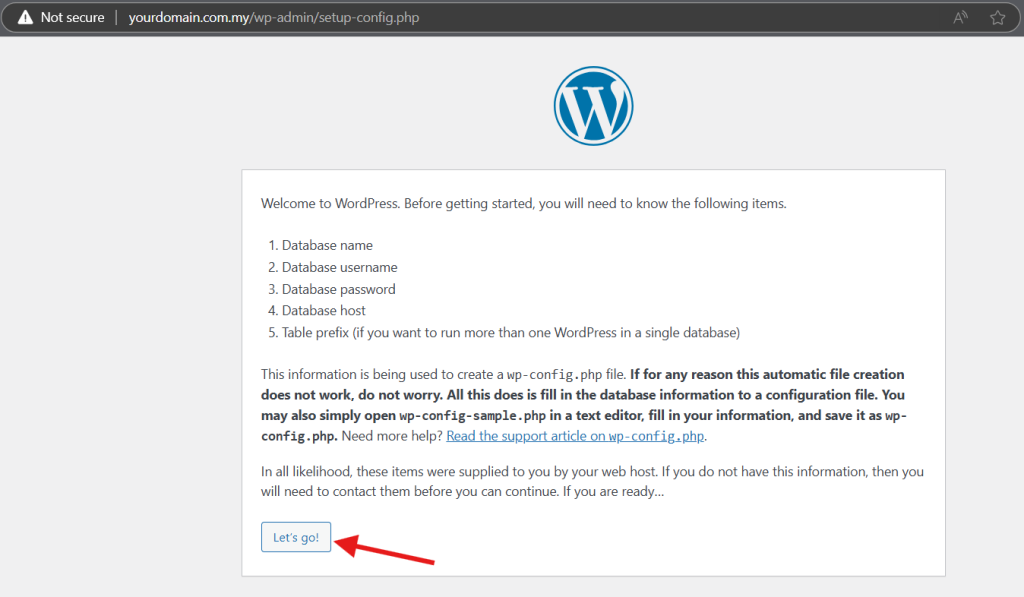
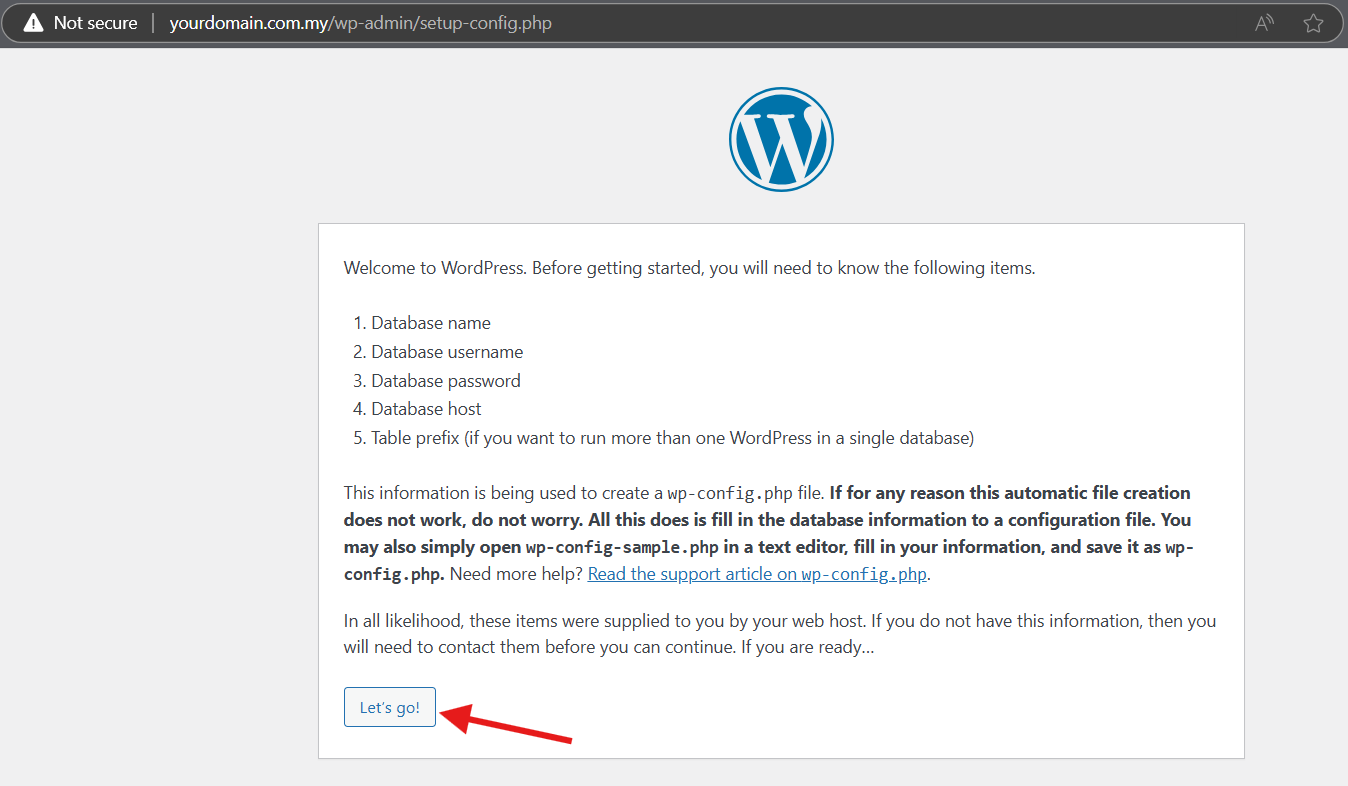
- Enter your domain or Server_IP in your browser and you will be redirected to WordPress configuration page. Click on Let’s Go to start configuration.
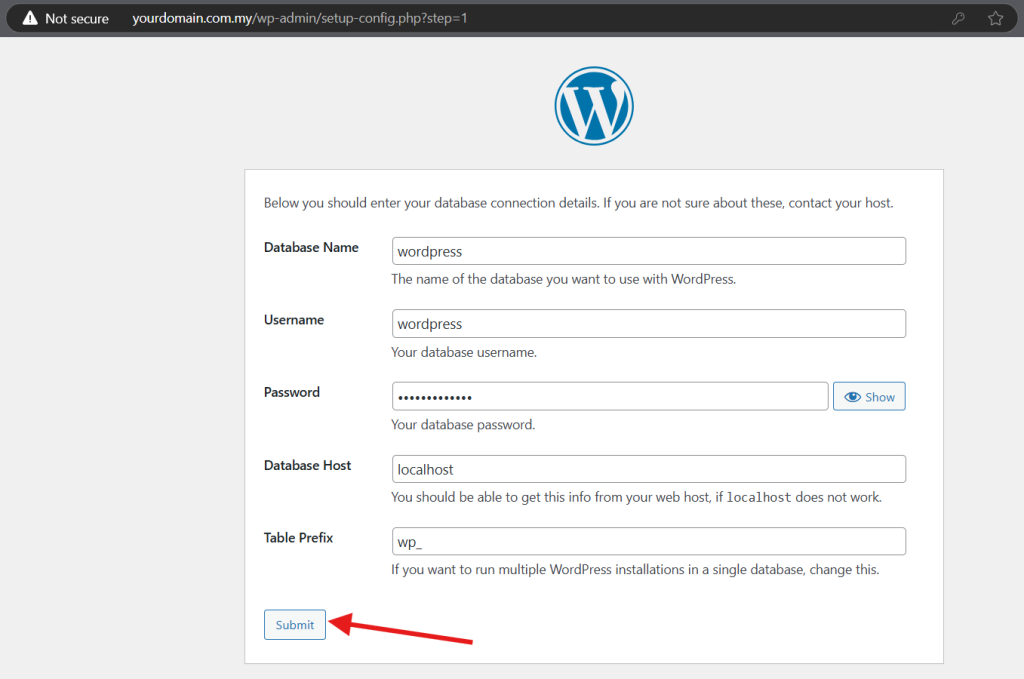
- Enter the database details that just created and click Submit.
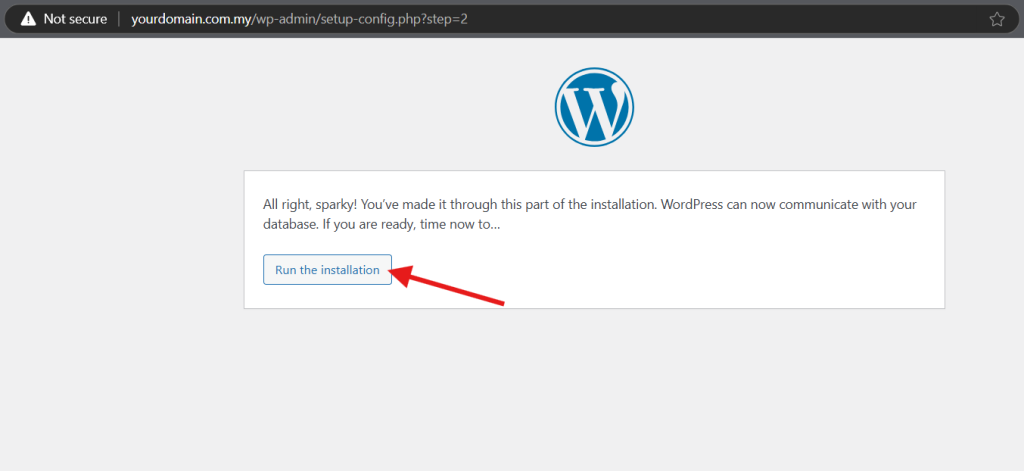
- Click Run Installation to continue.


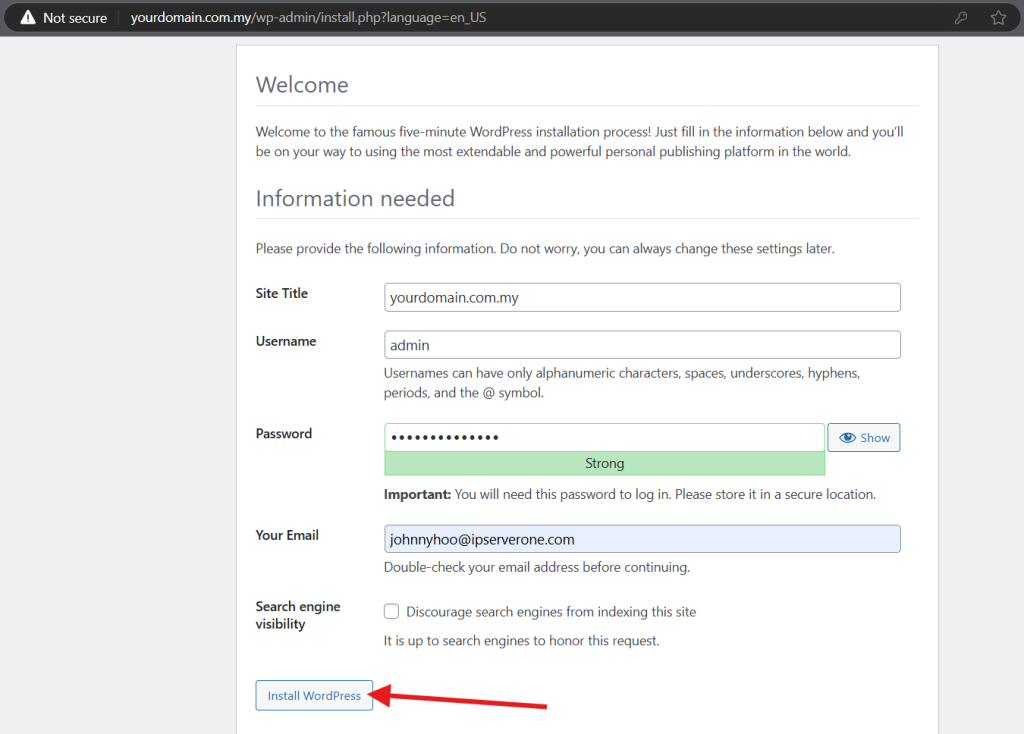
- Enter login details for WordPress and click Install WordPress.

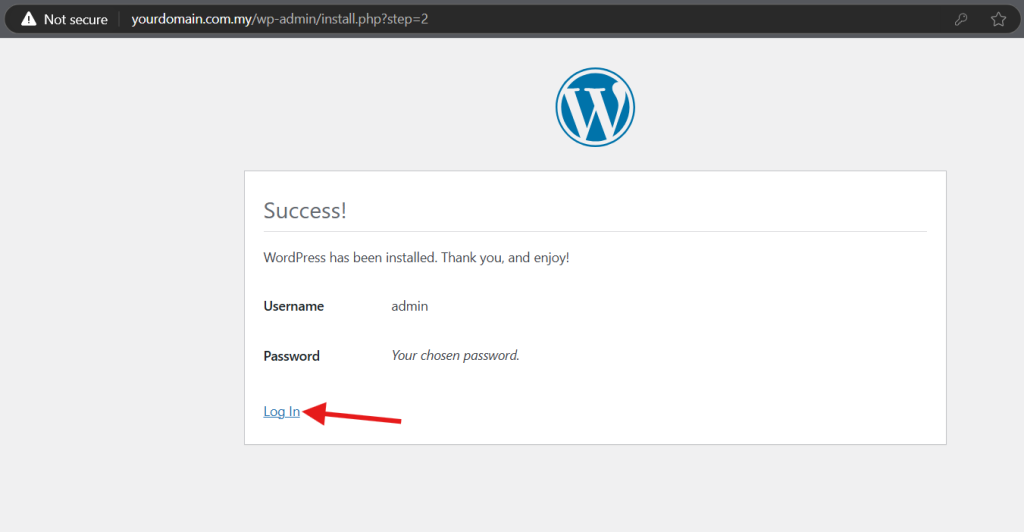
- Once the installation is completed, click on Log In to login your WordPress admin dashboard.

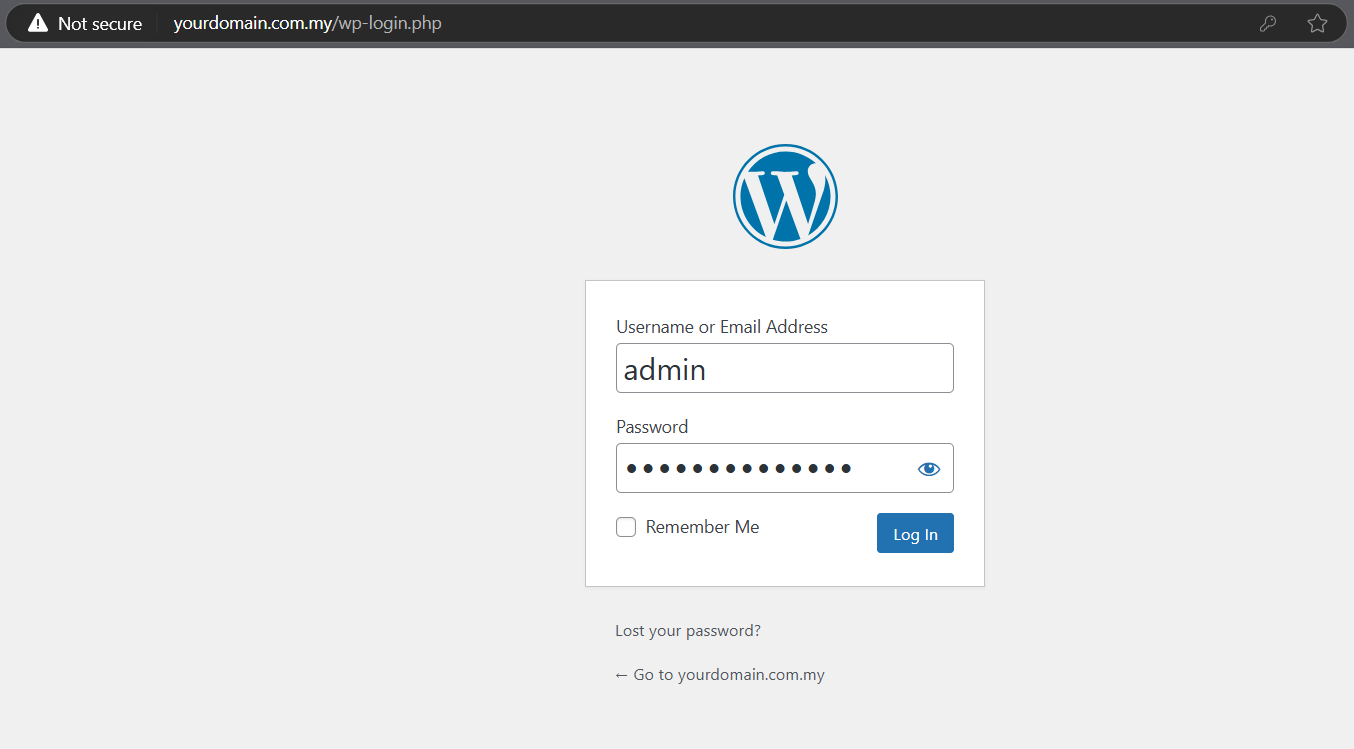
- Enter your login details then click Log In. To login WordPress admin dashboard, you may use <domain.com>/wp-admin in future.

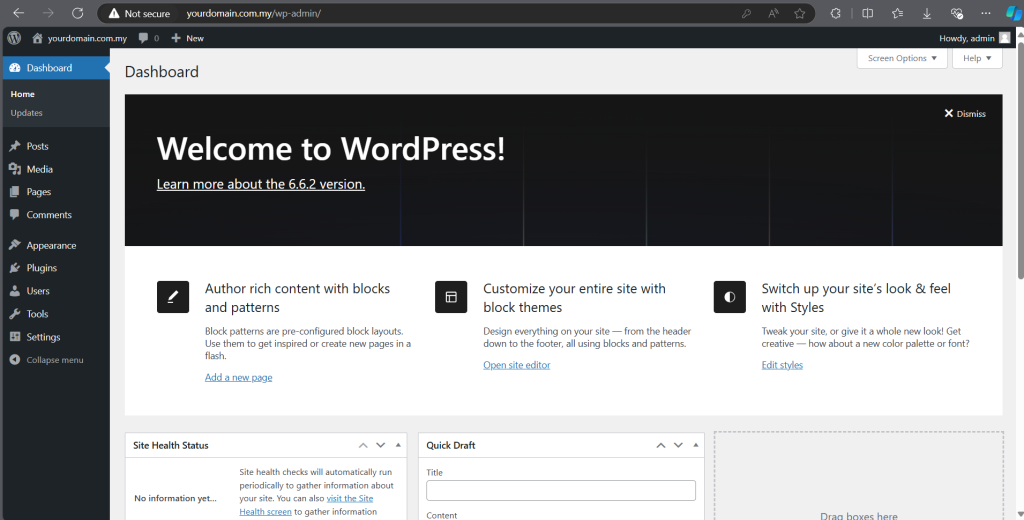
- Successfully login to WordPress admin dashboard.

Conclusion
By going through this guidance, you will be able to successfully install and configure WordPress with the LEMP stack on RockyLinux or AlmaLinux for optimal website performance.
For additional assistance or if you encounter any issues, please contact our support team at support@ipserverone.com.