Search Our Database
How to modify A records in DirectAdmin using DNS Management
Introduction
This article is for users managing their domain’s DNS records in DirectAdmin. It covers how to modify an A record, which is essential when pointing your domain or subdomains to a new IP address. We will walk you through the process of using DirectAdmin’s DNS Management feature to update these records efficiently.
Prerequisites
- Access to DirectAdmin with permissions to modify DNS records.
- The new IP address to which the domain or subdomain should be pointed.
Step-by-Step Guide
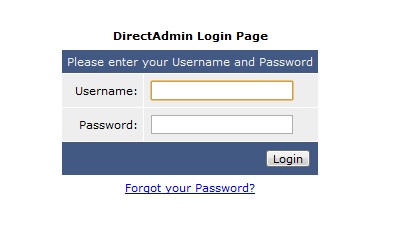
1. Log in to DirectAdmin
Open your web browser and navigate to your DirectAdmin login page. Enter your username and password, then click ‘Login’.
2. Access DNS Management
From the DirectAdmin home screen, locate and click on ‘DNS Management’ under the Your Account section. Click on ‘DNS Management’.
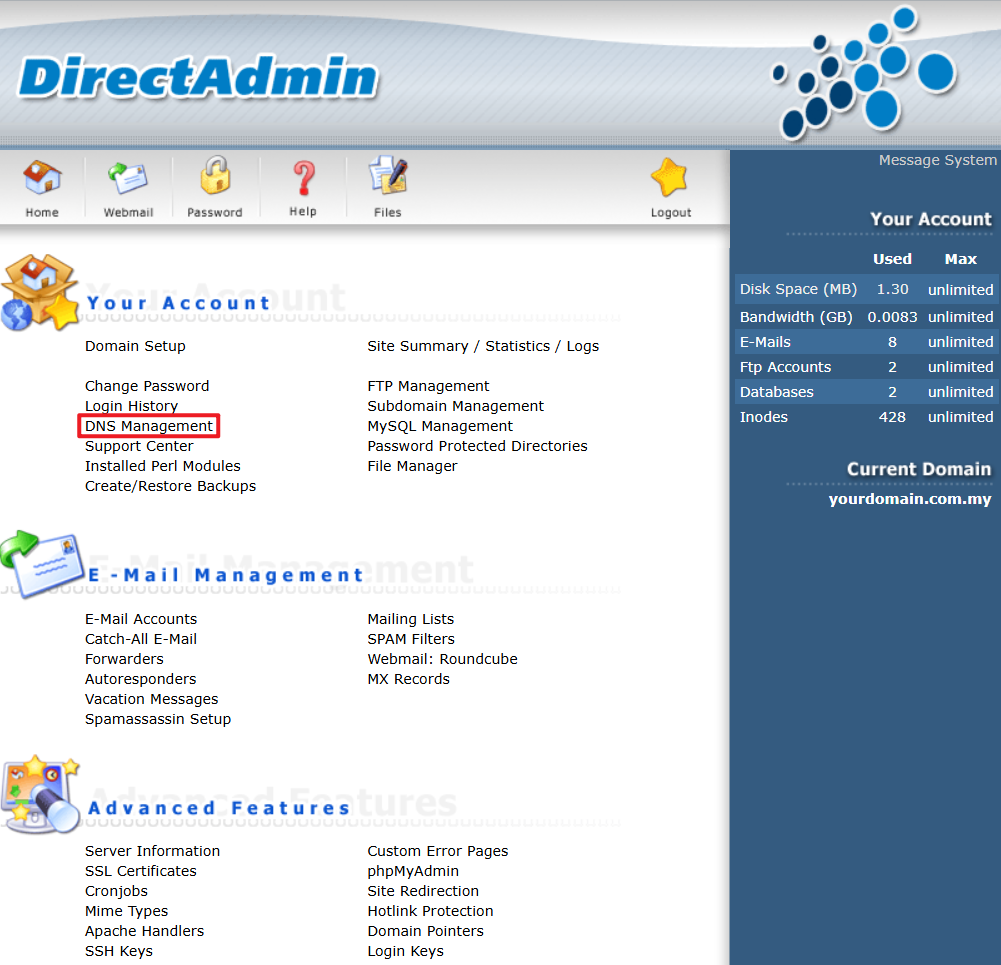
Note: If the DNS control is not authorized, you will not see the DNS Management option listed.
3. Locate the A Record
After you click the ‘DNS Management’, you will see the zone file of your domain. Take note that there can’t be two A records for the same domain at one time, so before you adding it, you need to delete the old one.
To add a new A record, insert the name of the zone in the left column, followed by the IP in the right column, and then click on ‘Add’.
Once the A record is added, allow 2 – 24 hours for DNS propagation.

Conclusion
You’ve successfully modified the A record for your domain or subdomain via DirectAdmin’s DNS Management feature. This process ensures your domain points to the correct IP address after changes are made to your server configuration.
Article posted on 24 February 2020.