Search Our Database
How to move from WHM interface to cPanel interface
Introduction
This guide explains how to access individual cPanel accounts directly through the Web Host Manager (WHM) interface. WHM serves as the control panel for managing multiple cPanel accounts, making it essential for administrators and resellers managing multiple websites. This guide is ideal for users with WHM access who need to perform tasks on specific cPanel accounts without requiring individual login credentials for each cPanel account. Navigating from WHM to cPanel simplifies account management, allowing for quicker troubleshooting, updates, and other administrative functions.
This step-by-step process assumes users have the necessary login credentials for WHM and provides troubleshooting tips to streamline the transition to cPanel if multiple accounts are managed.
Prerequisites
Before proceeding, ensure that the following prerequisites are met:
- Access to WHM with valid login credentials (username and password).
- Permissions to view and manage cPanel accounts within WHM.
Step-by-step Guide
Step 1: Log in to WHM
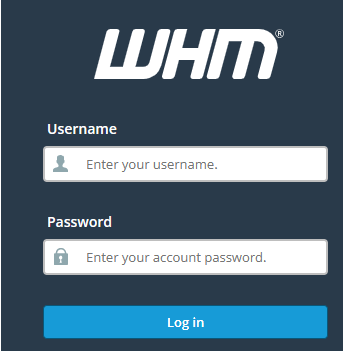
- Open a web browser and go to the WHM login page. Typically, this can be accessed by entering the server’s IP address followed by :2087 (e.g., https://your-server-ip:2087).
- Enter your WHM username and password in the login fields and click Log in.
Step 2: Navigate to the “List Accounts” Page
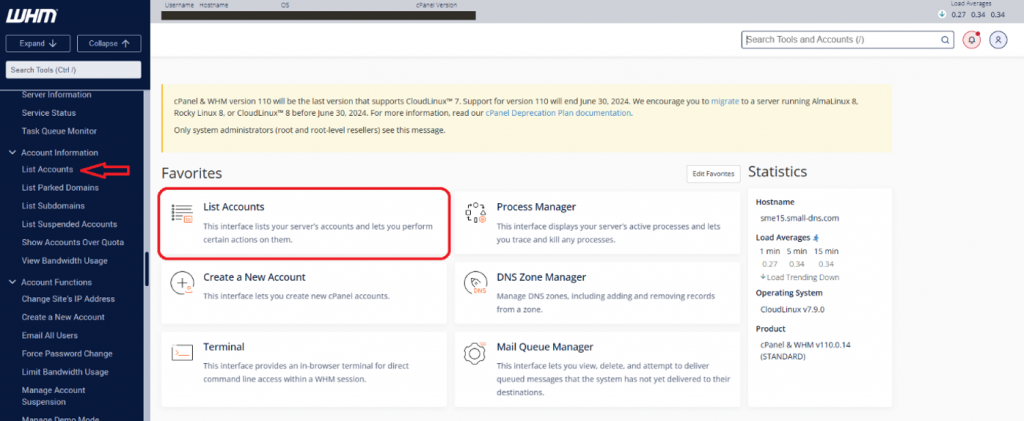
- Once logged into WHM, look at the left-hand sidebar to find the Account Information section.
- Click on List Accounts. This page displays a list of all cPanel accounts associated with your WHM instance, along with information like the primary domain, username, and IP address of each account.
Step 3: Select the Desired cPanel Account
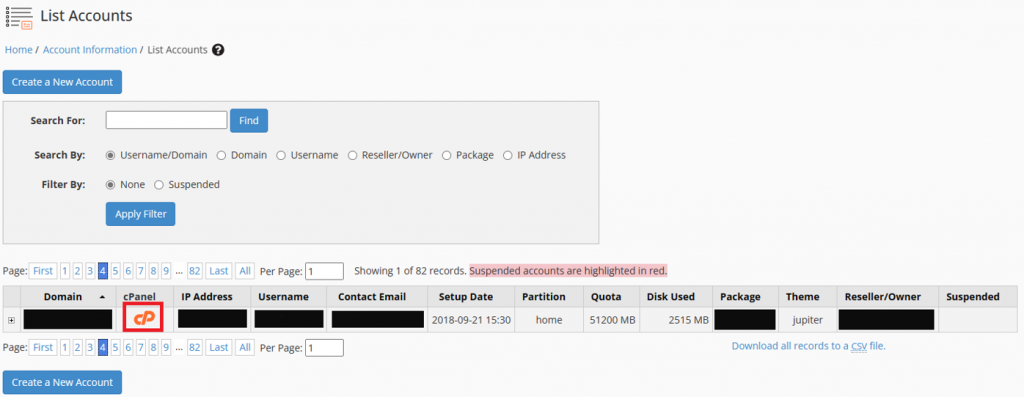
- On the List Accounts page, locate the cPanel account you want to access.
- Identification: Accounts can be identified by primary domain, username, or IP address.
- To the right of the account details, find the cPanel logo or icon. Click on this icon to proceed.
Step 4: Access cPanel
- After clicking the cPanel icon, WHM will automatically redirect to the cPanel interface for the selected account.
- No additional login credentials are needed, as WHM authorizes this access directly.
Conclusion
Following these steps, users can efficiently access any associated cPanel account directly from the WHM interface. This method ensures streamlined access to cPanel features for each managed account, making administrative tasks more convenient.
Should you have any inquiries about the guidelines, please feel free to open a ticket through your portal account or contact us at support@ipserverone.com. We’ll be happy to assist you further.
Article posted on 1 November 2023


