Search Our Database
How to recover an orphan InnoDB database from .ibd file
Introduction
This guide will walk you through the steps to recover your InnoDB database when the innodb_file_per_table setting is enabled. This setting separates the storage of data into individual table-specific files, which allows recovery of tables even when the global data file (ibdata1) is lost or damaged. With proper preparation, such as enabling the innodb_force_recovery option, and by following the steps below, you can recover your database and bring the corrupted tables back online.
This article assumes you have already configured the necessary recovery options in your my.cnf file and that the database folder remains intact or has been restored from a backup. If the `ibdata1` file has been lost, the steps provided will help you reestablish the link between your table structure and data files to restore functionality.
Prerequisites
- Ensure innodb_file_per_table and innodb_force_recovery=5 are enabled in the my.cnf file.
- The database folder /var/lib/mysql/database_name/ and its contents remain intact or have been restored from a backup.
Step-by-Step Guide
Step 1: Restart MySQL and Backup Your Database
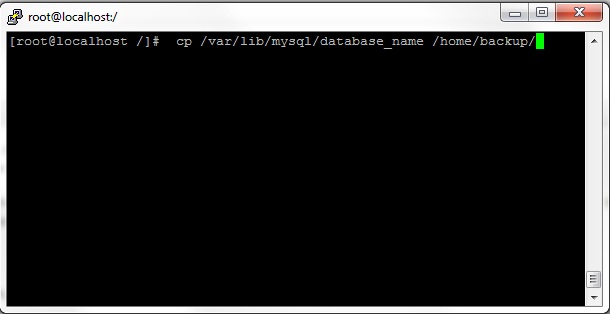
Restart the MySQL service to recreate the ibdata1 file and create a backup of your database folder.
cp -axvRfp /var/lib/mysql/database_name /home/backup/
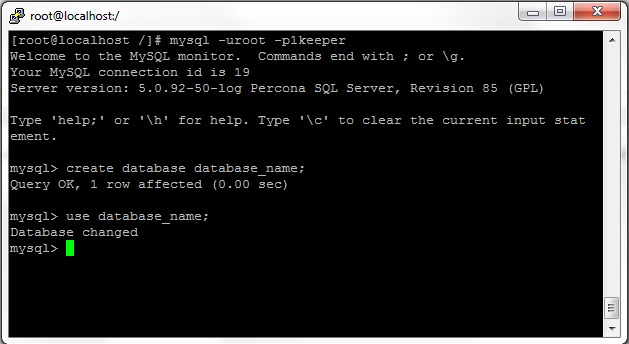
Step 2: Log into MySQL
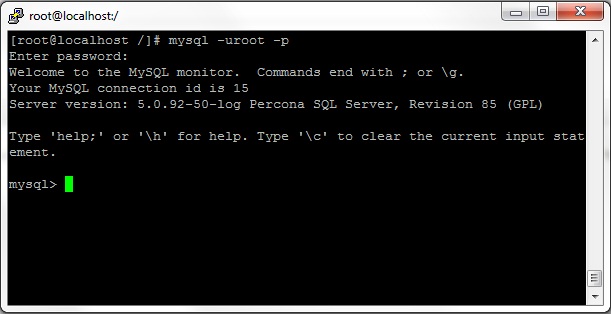
Access MySQL via the terminal using the root user.
mysql -uroot -p
Enter password:
Step 3: Create a Dummy Database
Create a dummy database with the same name as the original one.
CREATE DATABASE database_name;
Step 4: Connect to the Dummy Database
Switch to the newly created dummy database.
USE database_name;
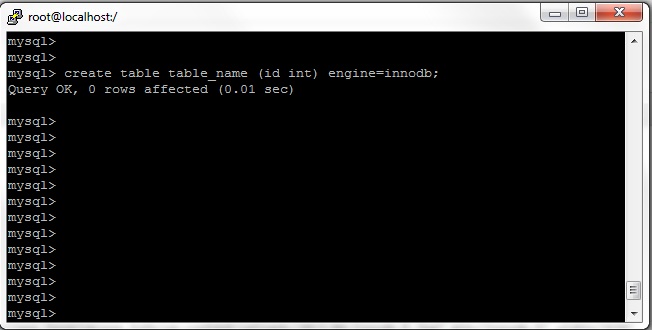
Step 5: Create a Dummy Table
Create a dummy table with the same name as the corrupted table, using a random structure, and enable the InnoDB engine.
CREATE TABLE table_name (id INT) ENGINE=InnoDB;
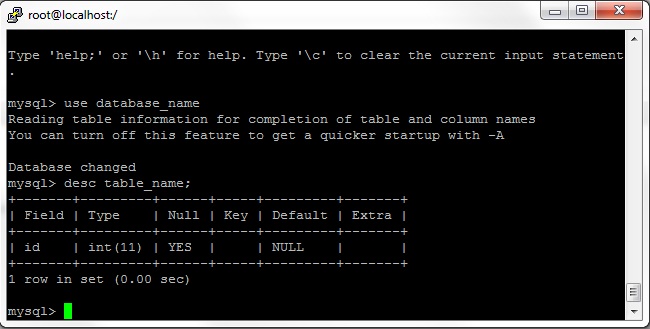
Step 6: Verify the Table Structure
Describe the table to check its structure.
mysql> desc table_name;
+-------+---------+------+-----+---------+-------+
| Field | Type    | Null | Key | Default | Extra |
+-------+---------+------+-----+---------+-------+
| id    | int(11) | YES  |     | NULL    |       |
+-------+---------+------+-----+---------+-------+
1 row in set (0.00 sec)
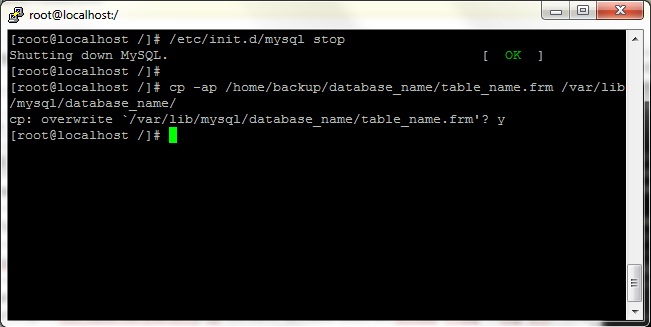
Step 7: Replace the .frm File
Stop the MySQL service and copy the .frm file from the backup to the database folder.
/etc/init.d/mysql stop
cp -ap /home/backup/database_name/table_name.frm /var/lib/mysql/database_name/
Step 8: Start MySQL and Flush Tables
Start the MySQL service, connect to the database, and flush the tables.
/etc/init.d/mysql start
mysql -uroot -p
USE database_name;
FLUSH TABLES;
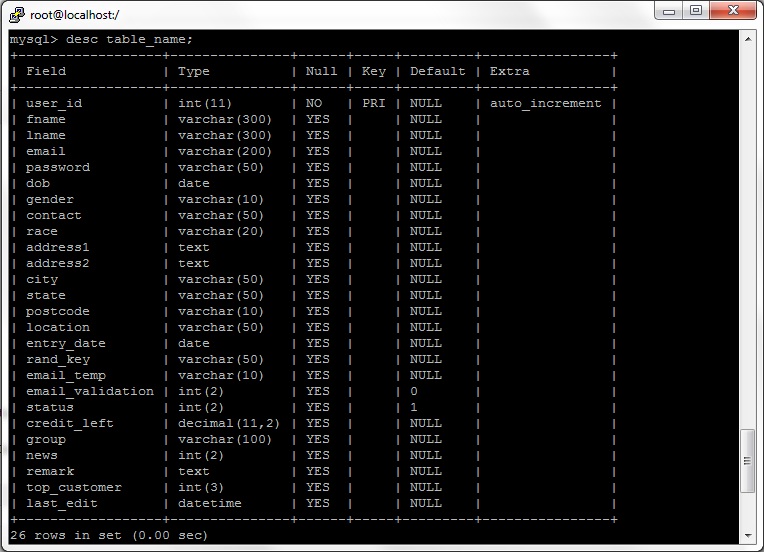
Step 9: Verify the Table Structure
Use the DESC command to verify that the correct table structure has been restored.
DESC table_name;
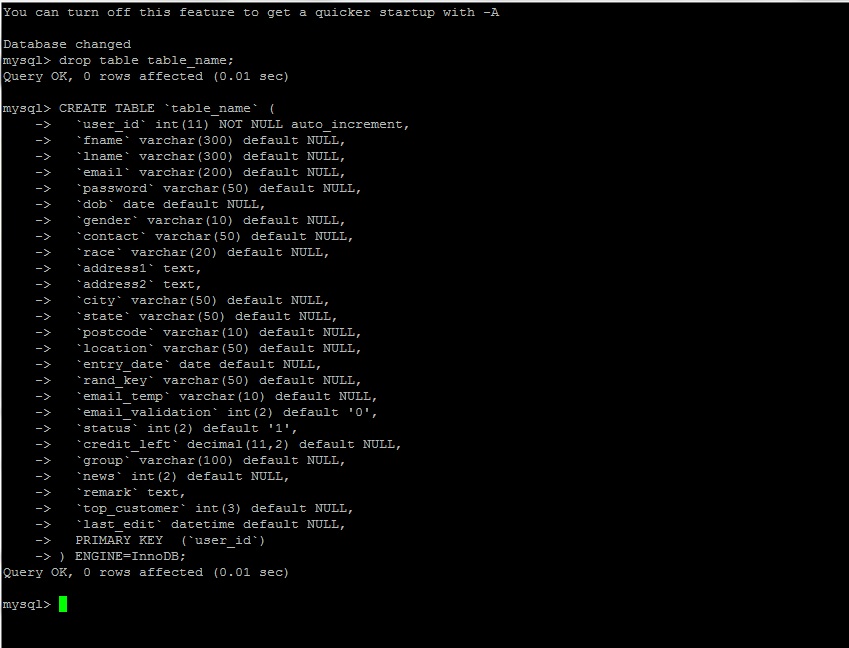
Step 10: Retrieve the Table’s Create Statement
Retrieve the full CREATE query for the table.
SHOW CREATE TABLE table_name;
Step 11: Drop the Dummy Table and Recreate It
Drop the dummy table and recreate it using the recovered structure.
DROP TABLE table_name;
Step 12: Install the Percona InnoDB Recovery Tool
Download, extract, and install the Percona InnoDB recovery tool.
cd /usr/local
wget http://www.ipfusions.com/setup/percona-data-recovery-tool-for-innodb-0.5.tar.gz
tar xvfz percona-data-recovery-tool-for-innodb-0.5.tar.gz
cd percona-data-recovery-tool-for-innodb-0.5
./configure
make
Step 13: Replace the .ibd File
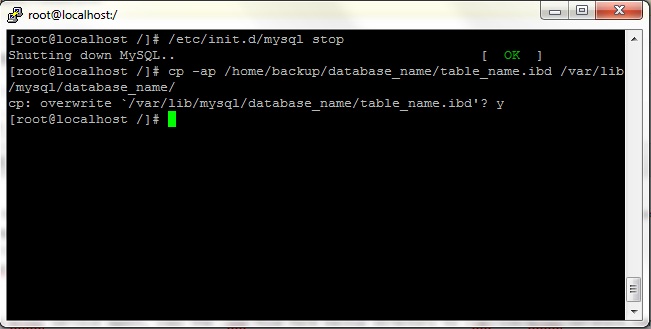
Stop the MySQL service again and replace the .ibd file with the backup.
/etc/init.d/mysql stop
cp -ap /home/backup/database_name/table_name.ibd /var/lib/mysql/database_name/
Step 14: Use the Percona ibdconnect Tool
Run the ibdconnect tool to sync the .ibd and ibdata1 files.
ibdconnect -o /var/lib/mysql/ibdata1 -f /var/lib/mysql/database_name/table_name.ibd -d database_name -t table_name
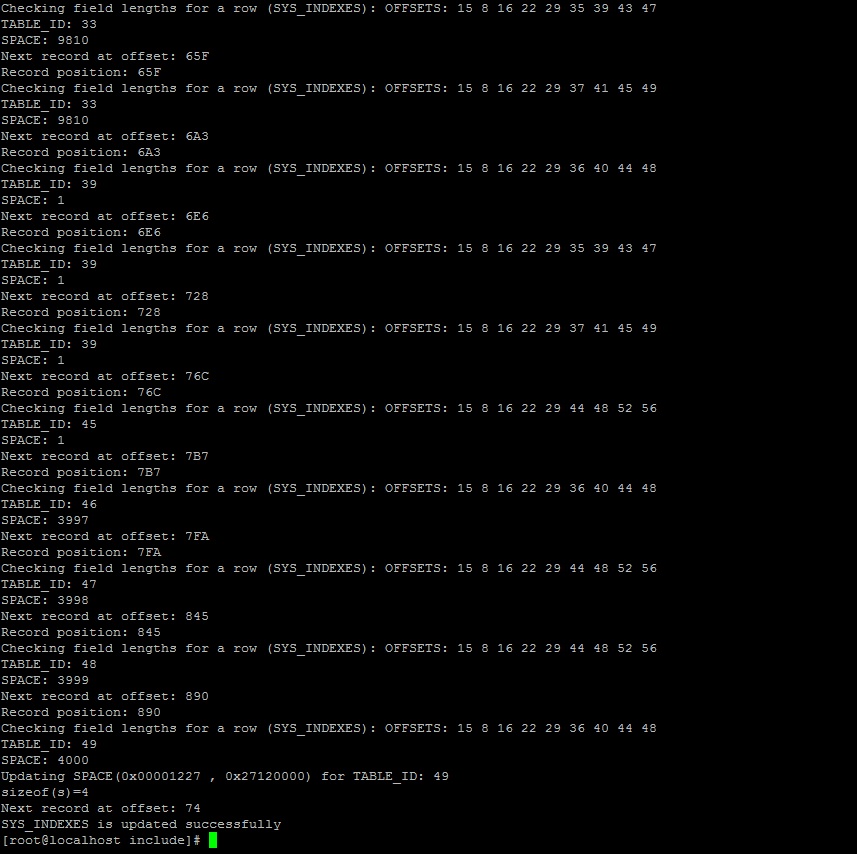
Step 15: Run innochecksum on ibdata1
Perform a checksum on ibdata1 using the Percona checksum tool. Run the command multiple times until there are no error messages.
innochecksum /var/lib/mysql/ibdata1
Step 16: Start MySQL Service
Finally, start the MySQL service.
/etc/init.d/mysql start
Conclusion
