Search Our Database
How to Remove an IP Address in DirectAdmin (Evolution Skin)
Introduction
DirectAdmin is a popular hosting control panel that provides administrators with tools to manage server resources, including IP addresses. Efficient IP management is vital for maintaining server organization and preventing configuration conflicts.
At times, administrators may need to remove an IP address due to decommissioning, reassignment, or to resolve network issues. Using DirectAdmin’s Evolution Skin—the default modern interface—this process can be completed quickly and safely.
This guide outlines the necessary steps to remove an IP address from a DirectAdmin server via the Evolution Skin, ensuring a smooth and error-free operation.
Prerequisites
- Access to DirectAdmin with administrator privileges.
- The Evolution Skin enabled in DirectAdmin.
Step-by-Step Instructions
Step 1: Log in to DirectAdmin
To begin, access your DirectAdmin control panel by navigating to https://yourserver.hostname:2222 and logging in with your admin credentials.
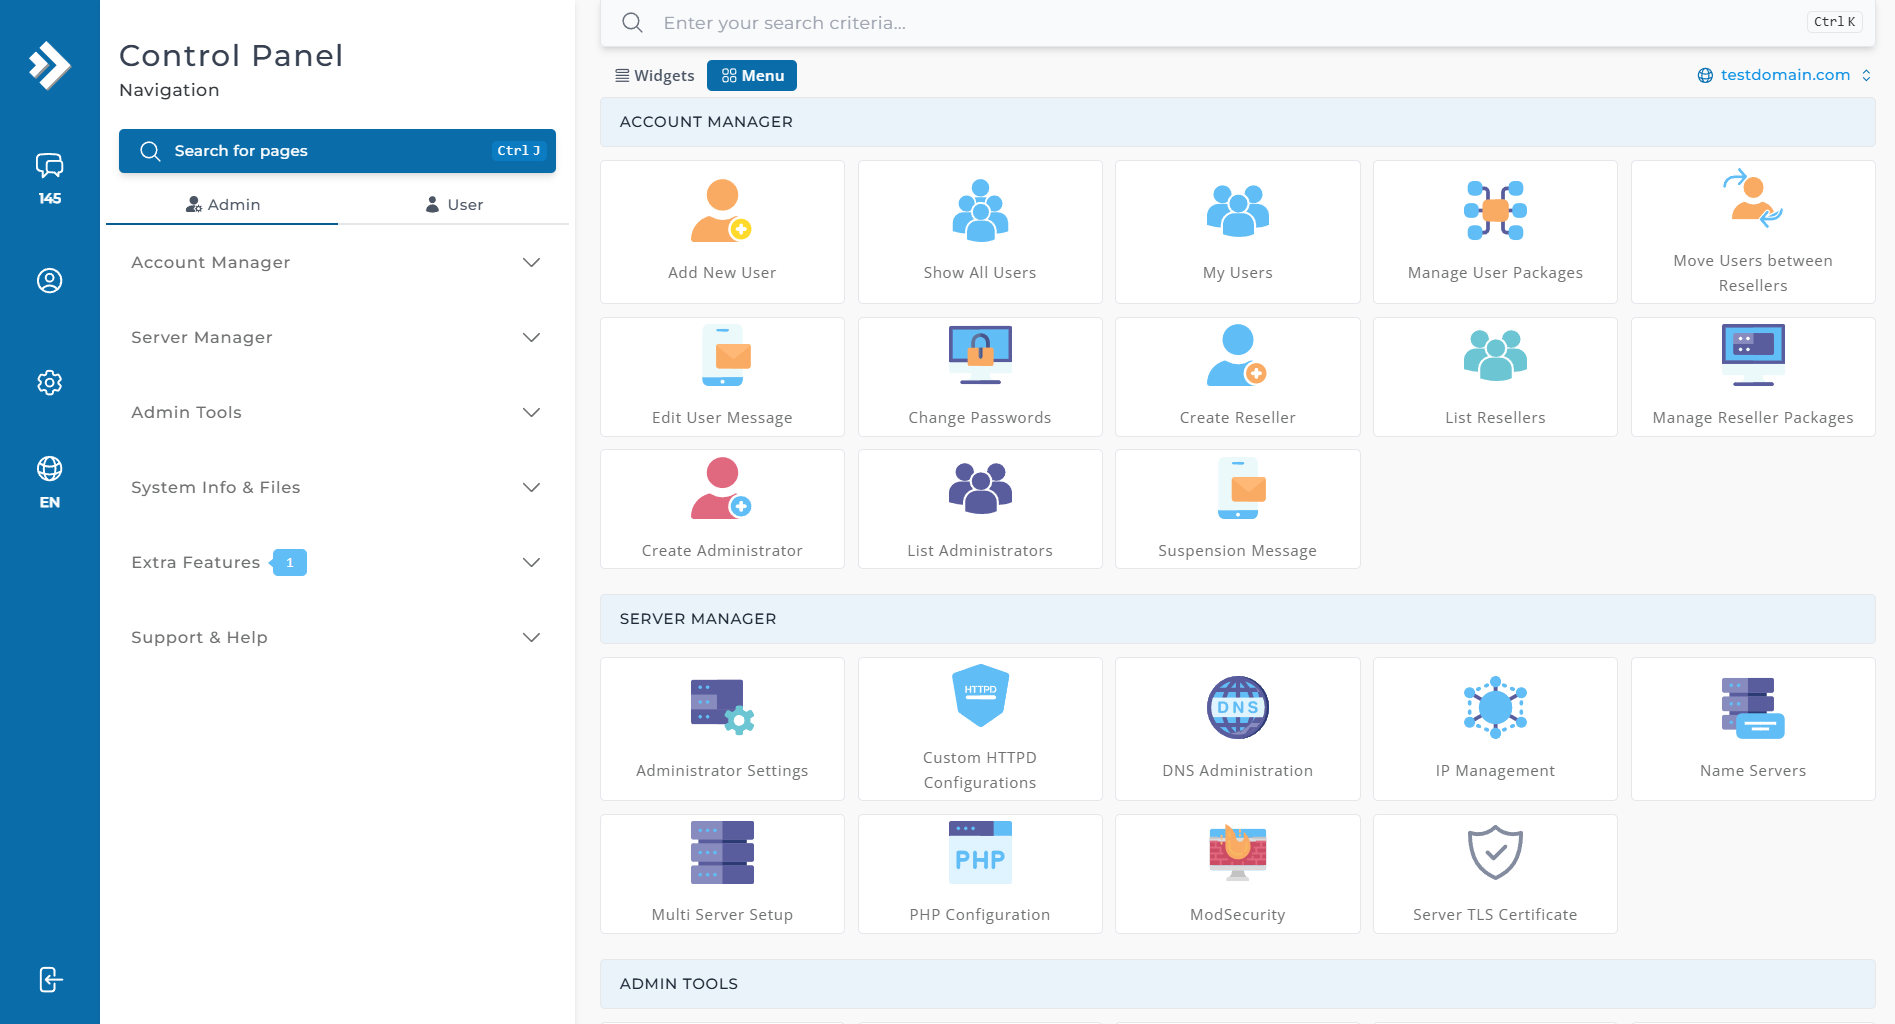
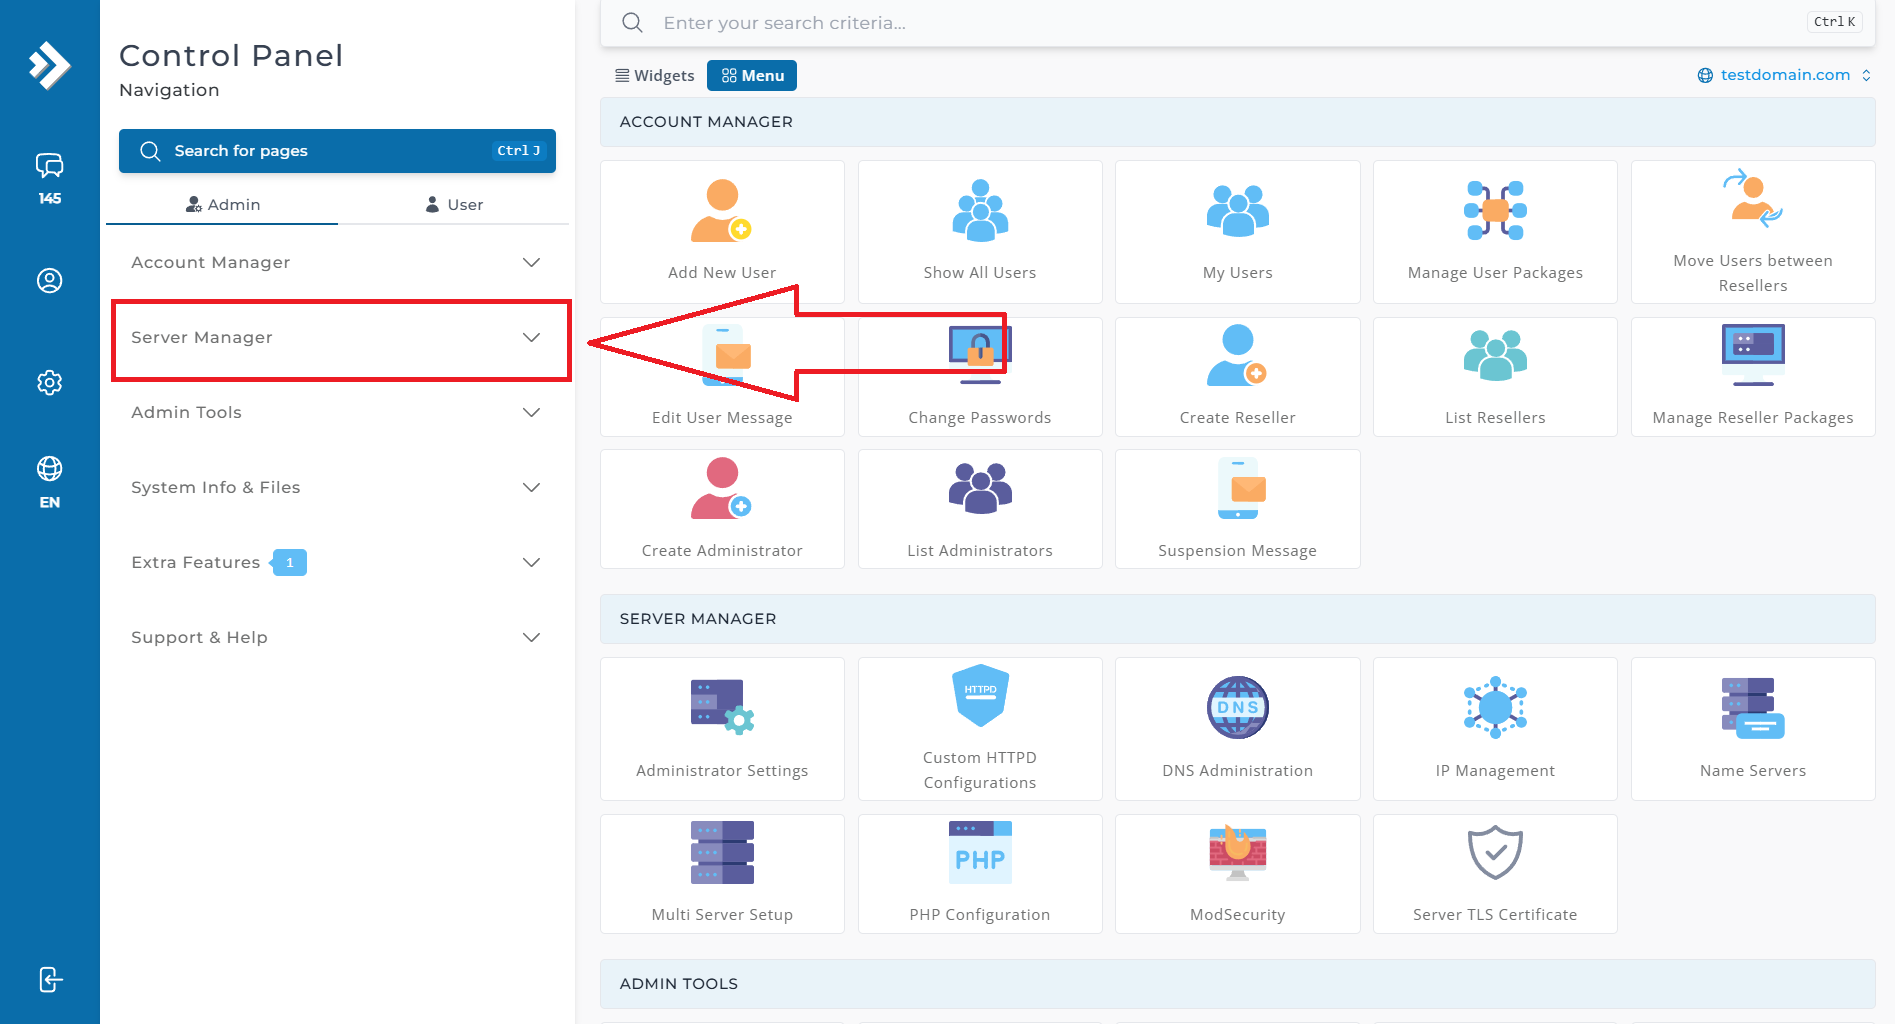
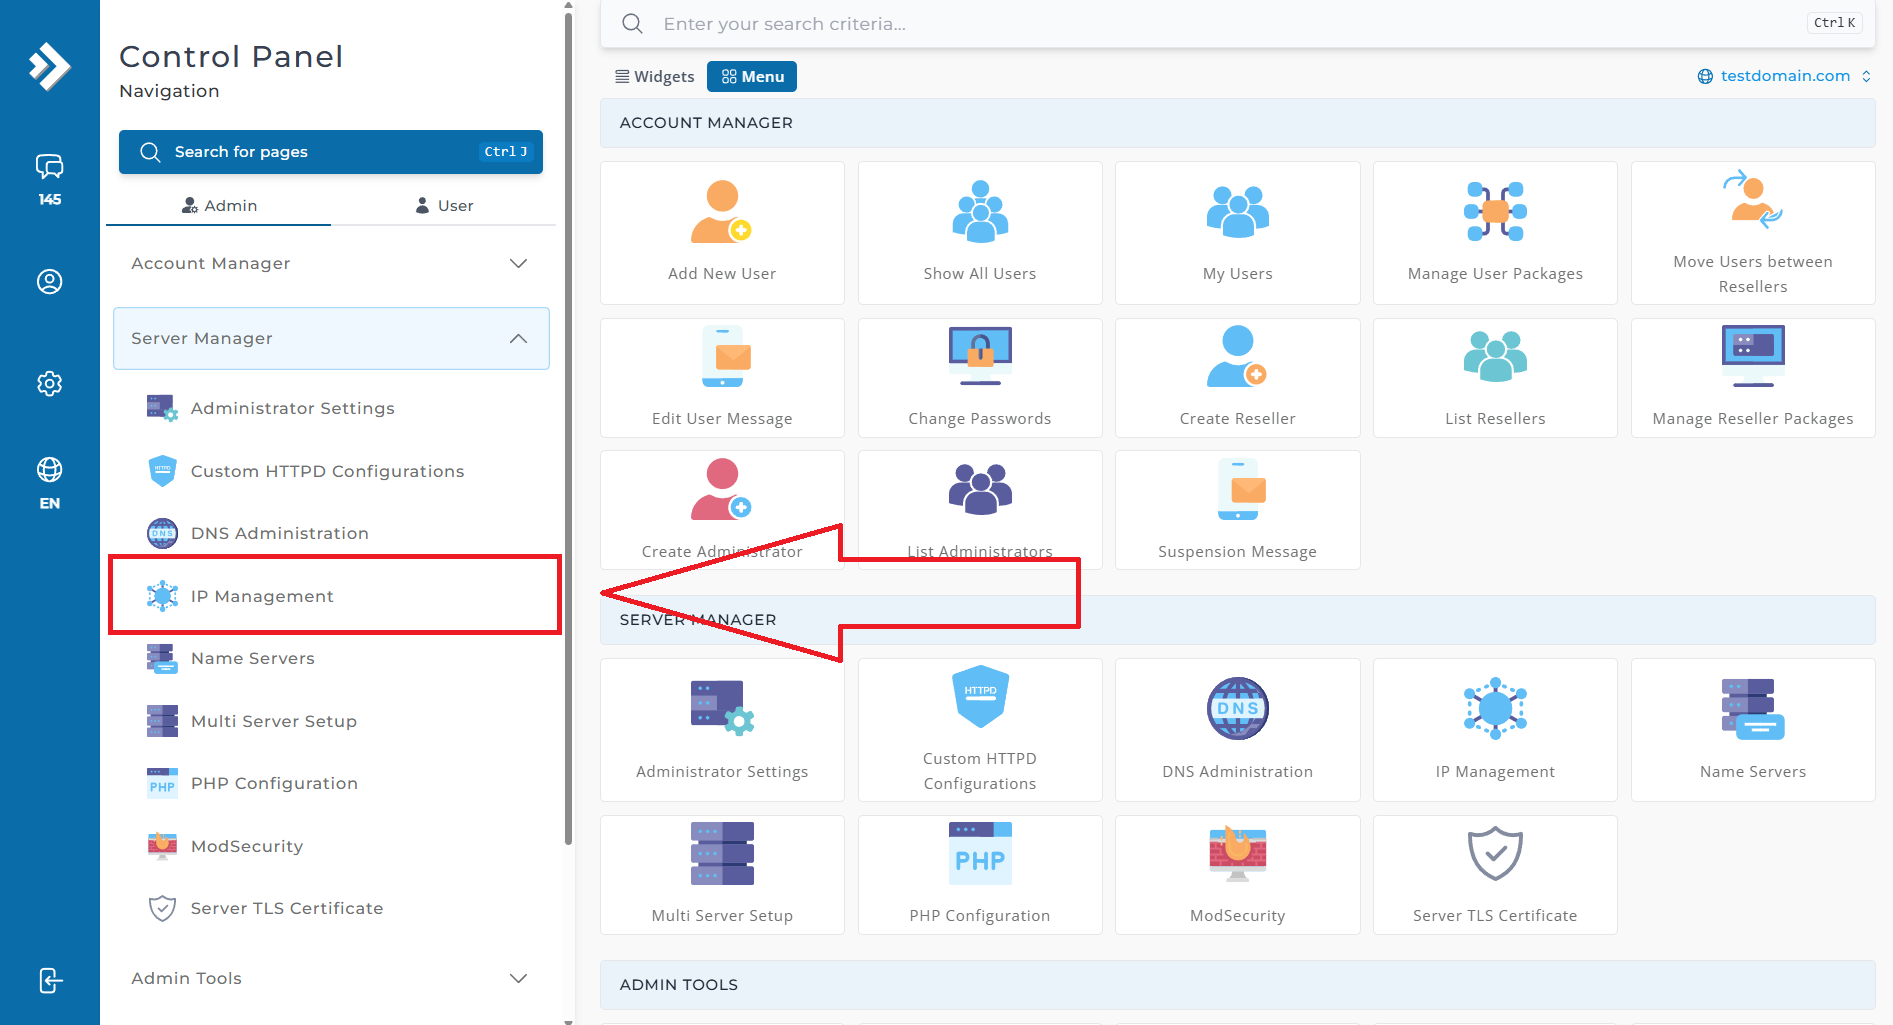
Step 2: Access the IP Management Section
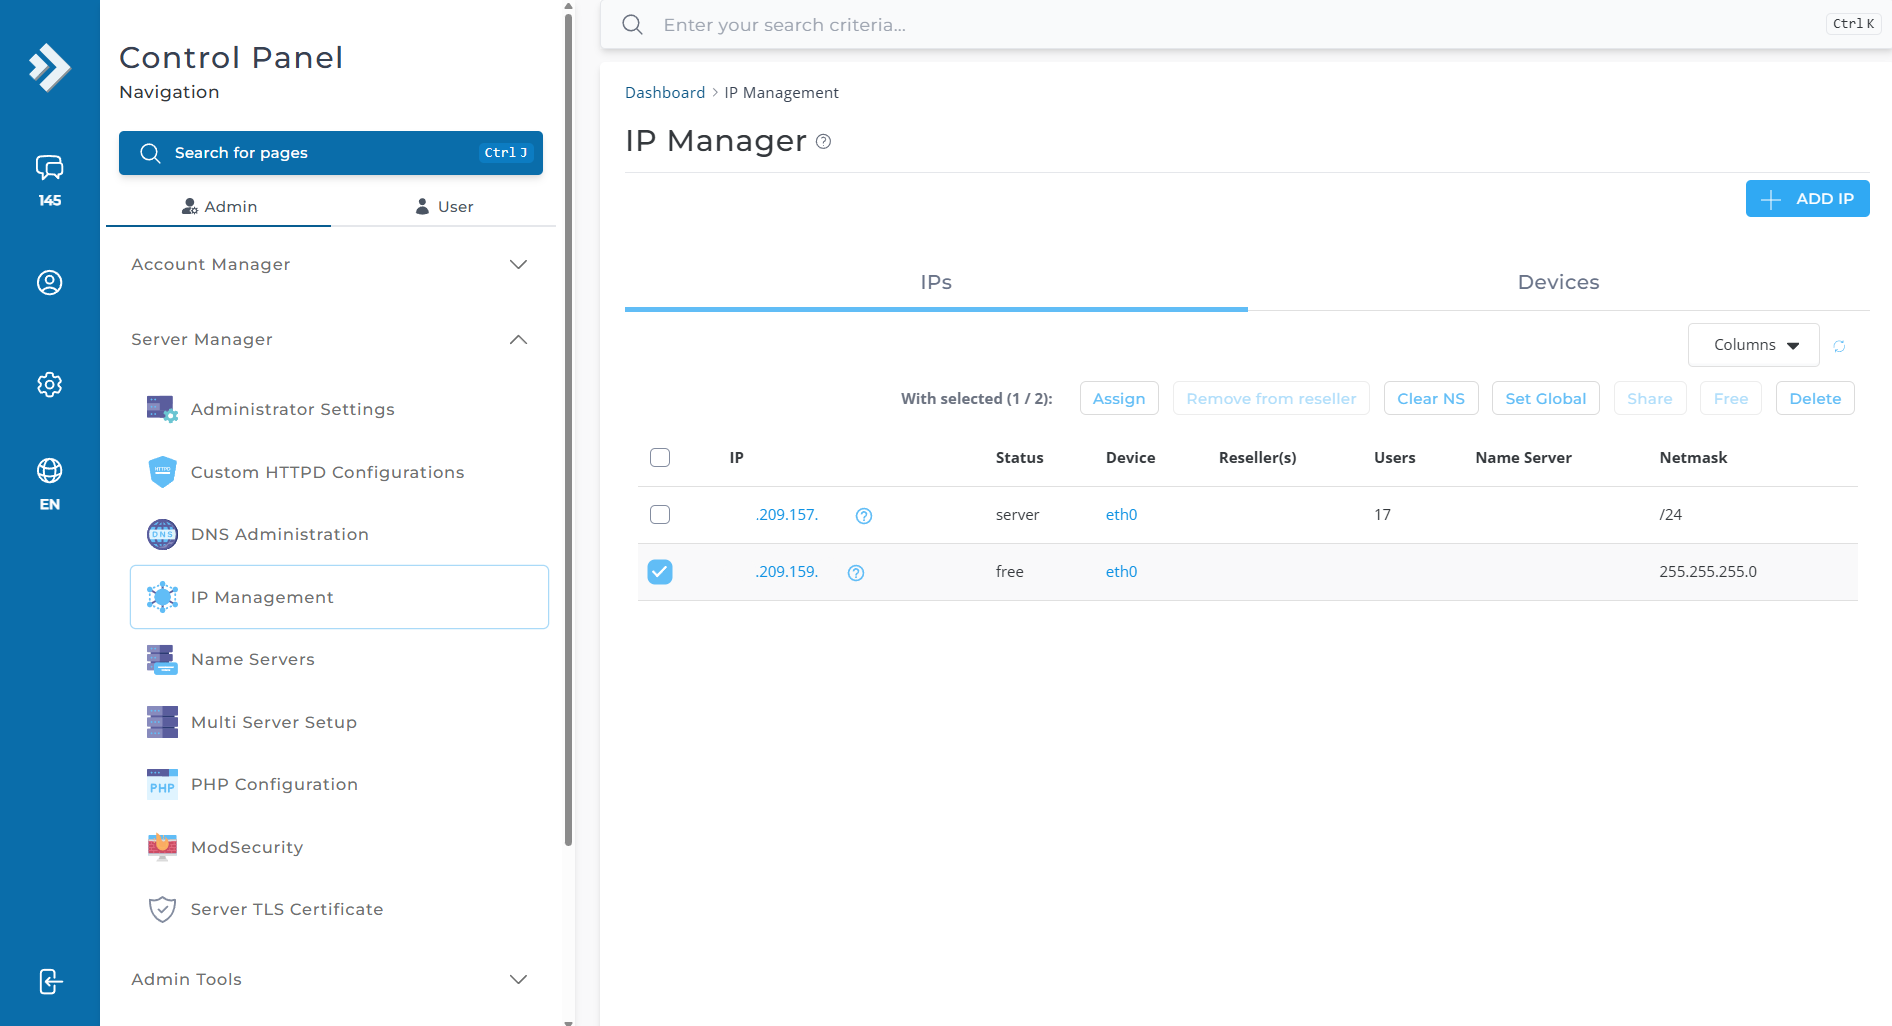
Navigate to Server Manager on the left panel and select IP Management.
Step 3: Removing the IP Address
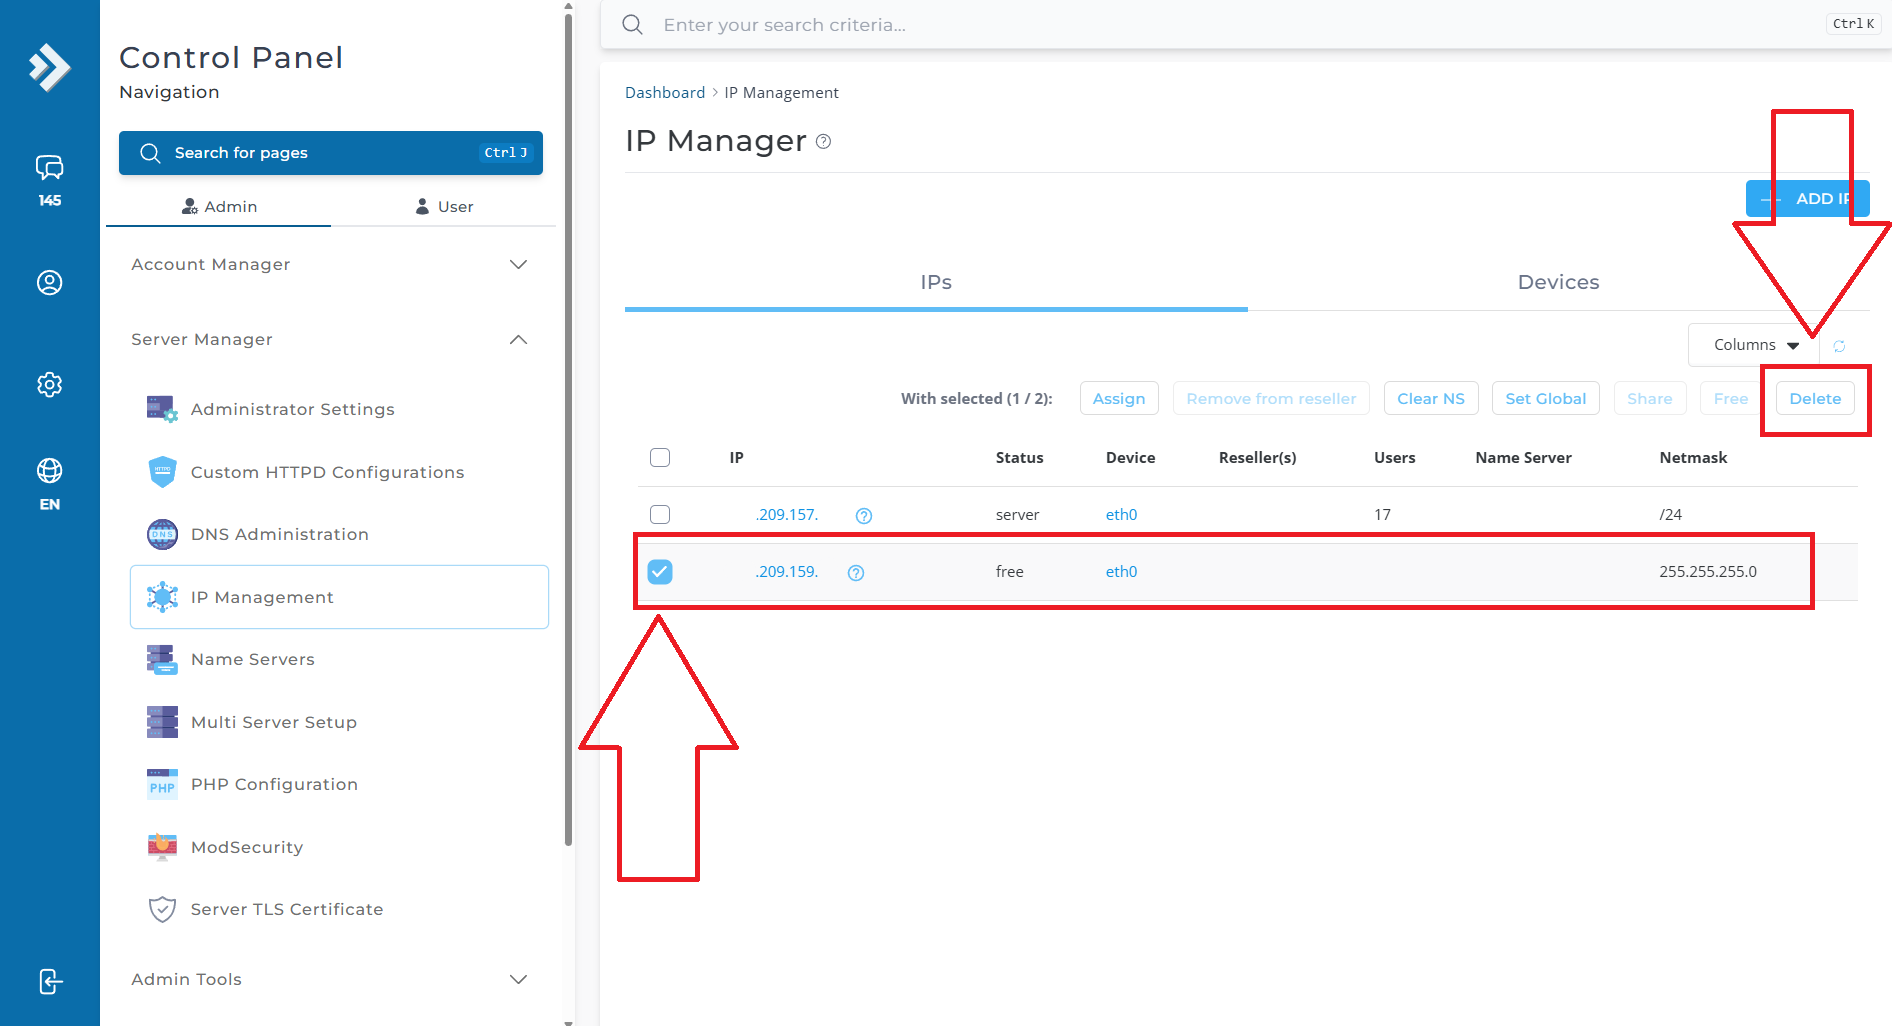
In the IP Management section, you will see a list of assigned IP addresses. Locate the IP address you want to remove and check the box next to it. Then, click the button Delete.
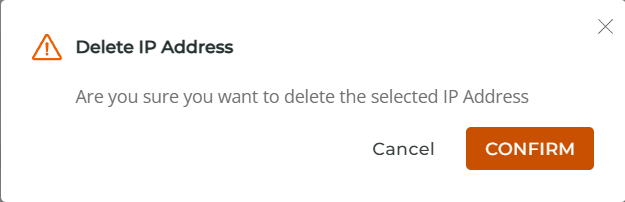
You will be prompt to confirm the removal of the IP. Once confirm, click on the button CONFIRM.
Step 4: Verify the IP Removal
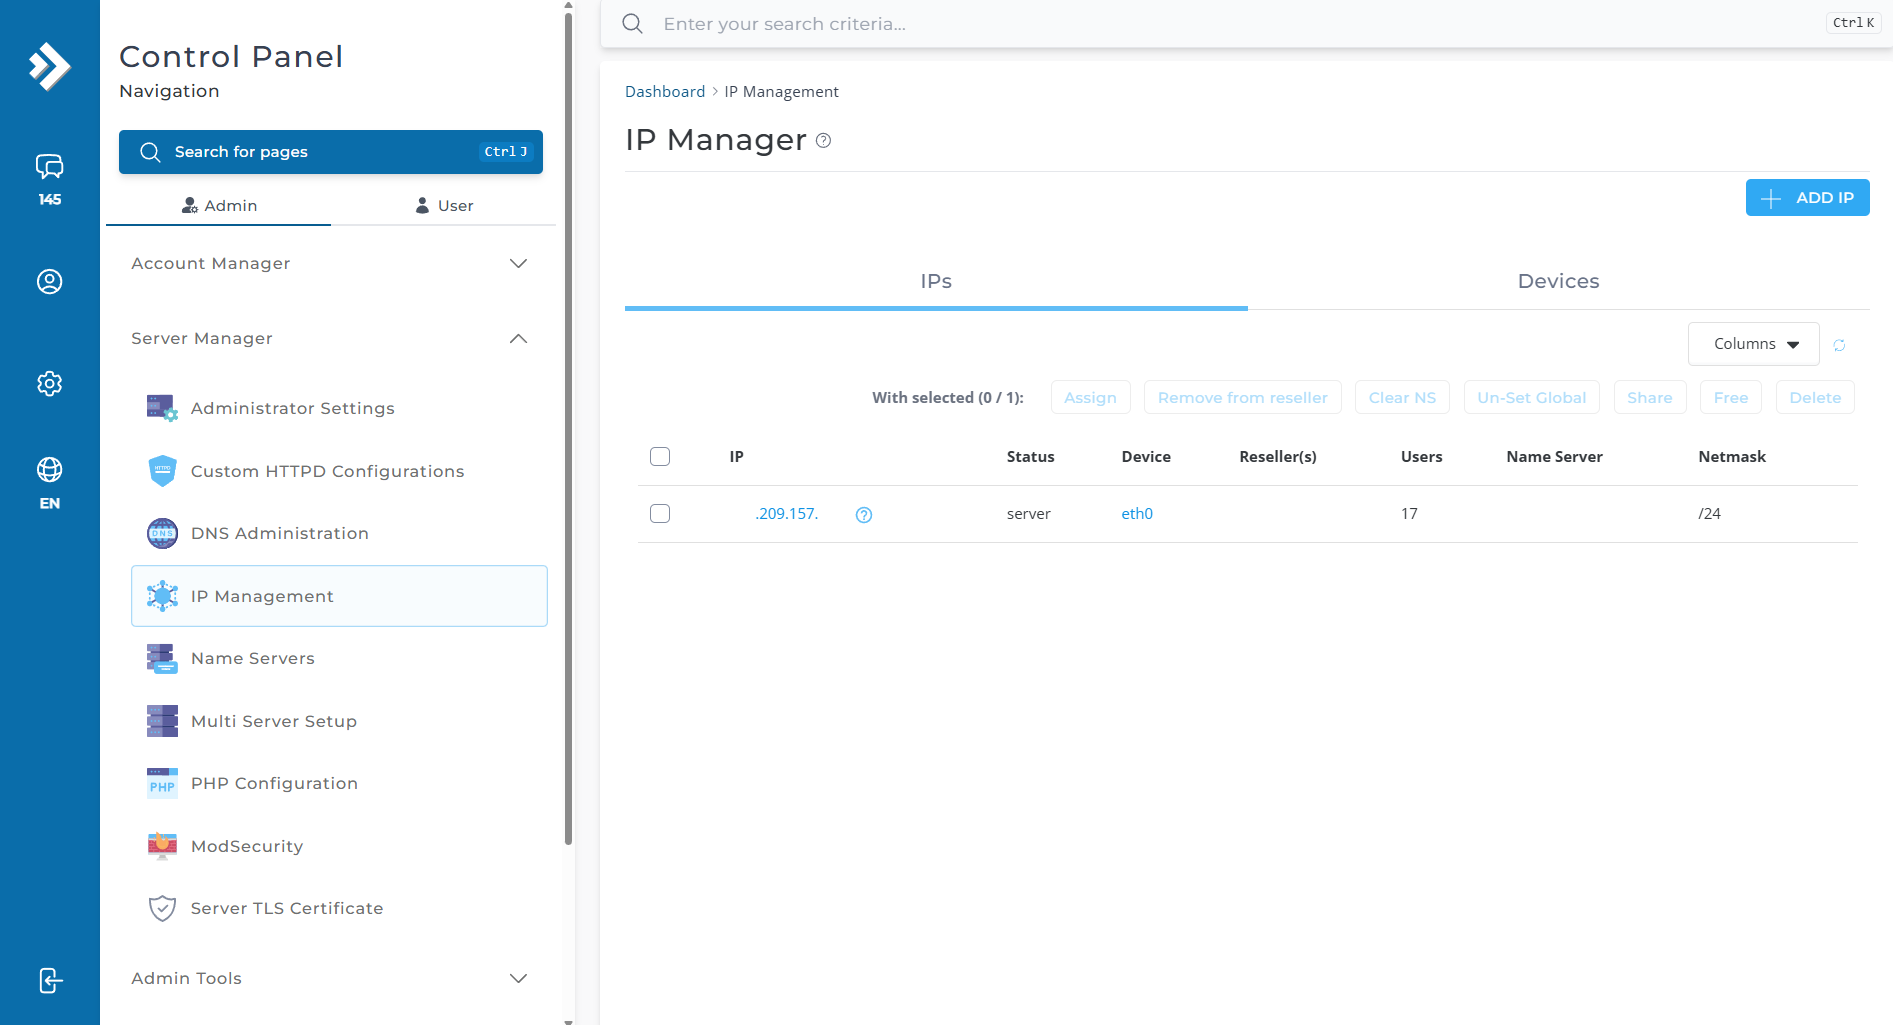
Once the IP is removed, refresh the page to ensure it no longer appears in the list. If needed, restart networking services for changes to take effect.
Conclusion
By following these steps, you can successfully remove an IP address from DirectAdmin’s Evolution Skin. If you encounter any issues, ensure that the IP is not assigned to any active users or services before removal.