Search Our Database
How to Remove IPv4 from Blacklist as Administrator in SmarterMail
Introduction
If an IPv4 address has been blacklisted in SmarterMail, users may experience difficulty accessing email services. As an administrator, you can remove the blocked IP to restore normal operations. This guide provides step-by-step instructions to remove an IPv4 address from the blacklist in SmarterMail.
Prerequisites
- Administrator access to SmarterMail.
- The IPv4 address that needs to be removed from the blacklist.
Step-by-Step Instructions
Step 1: Access the SmarterMail Admin Interface
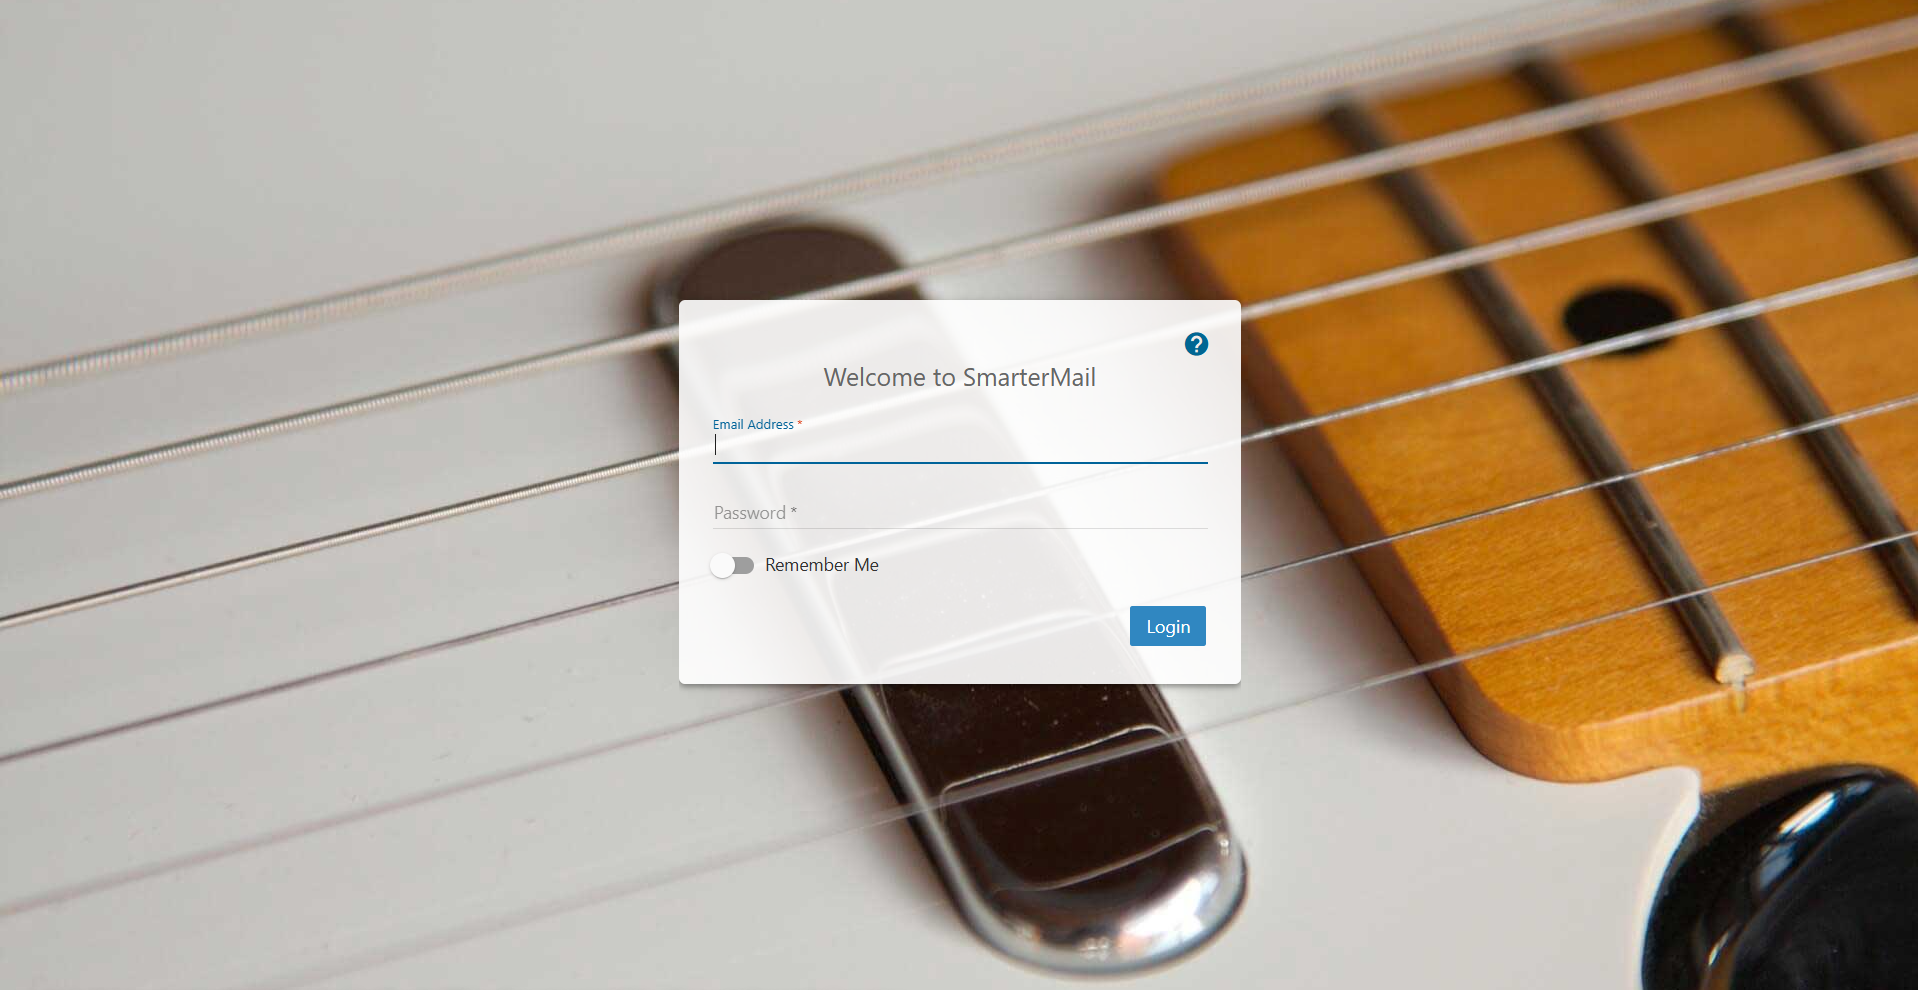
- Log in to the SmarterMail web interface as an administrator.
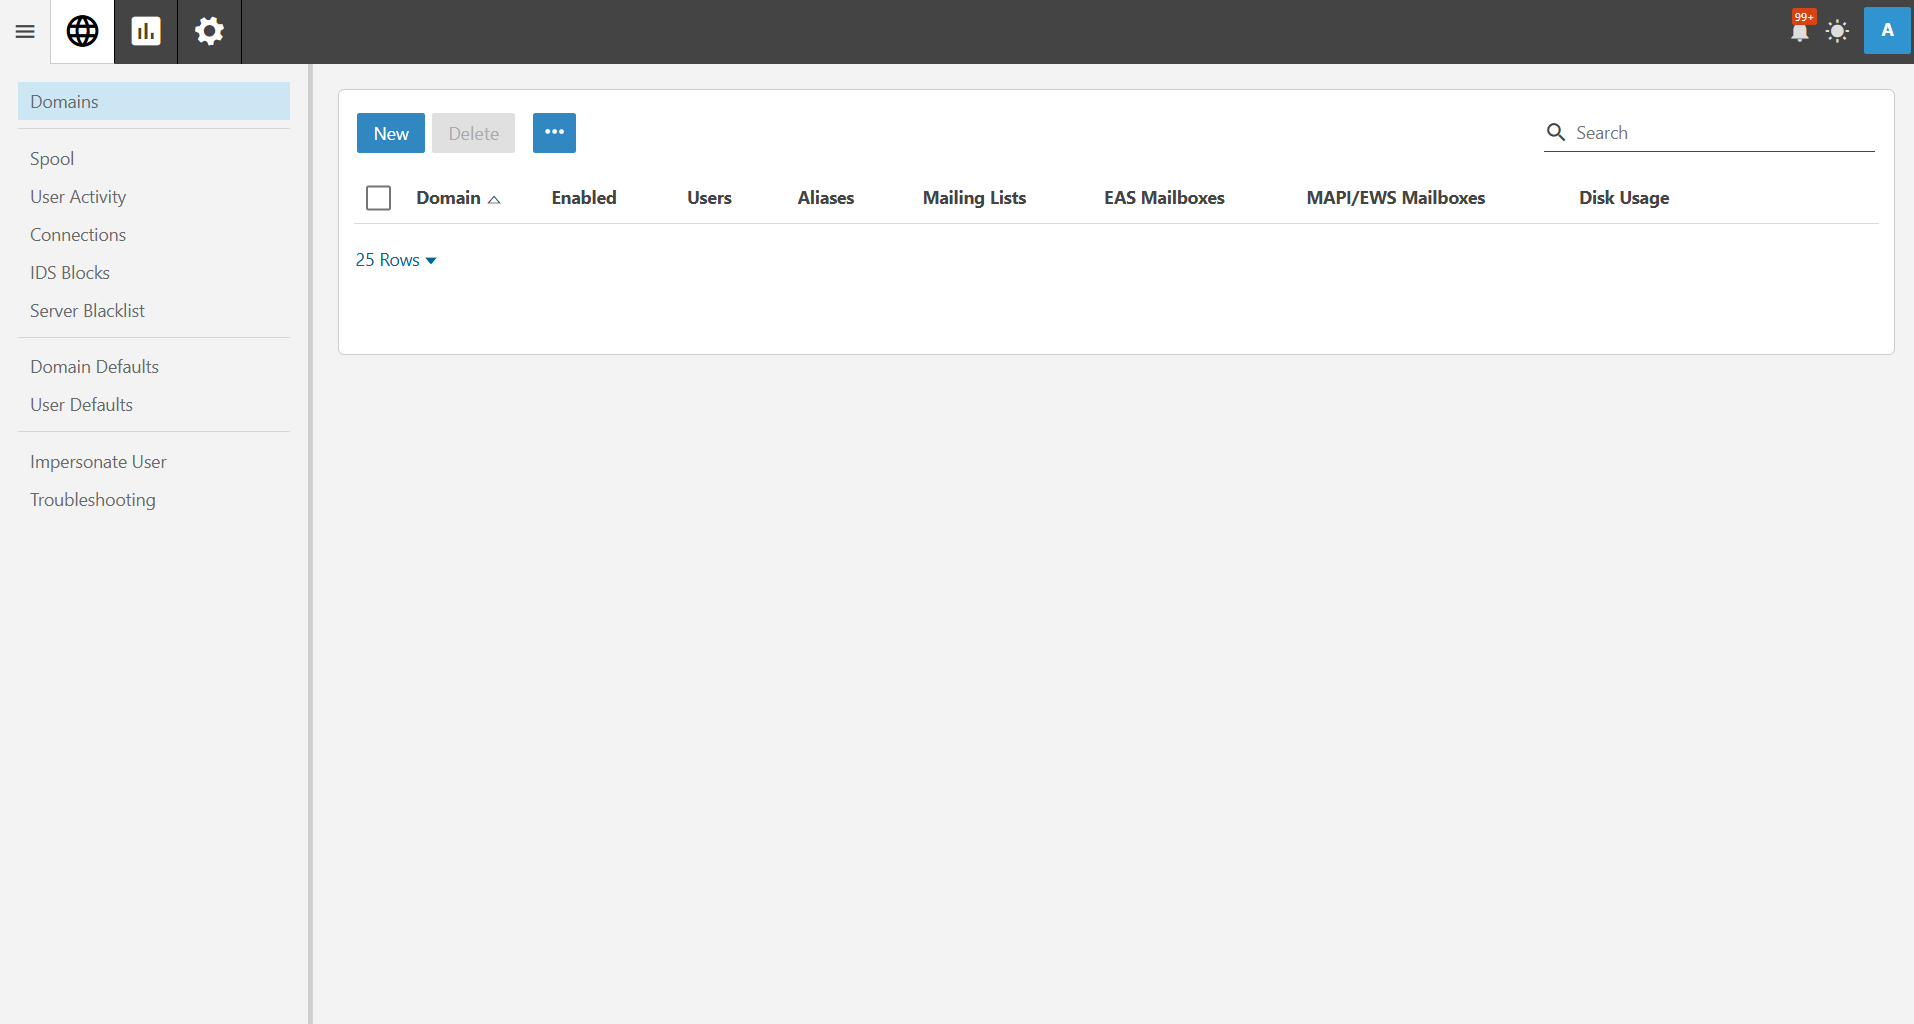
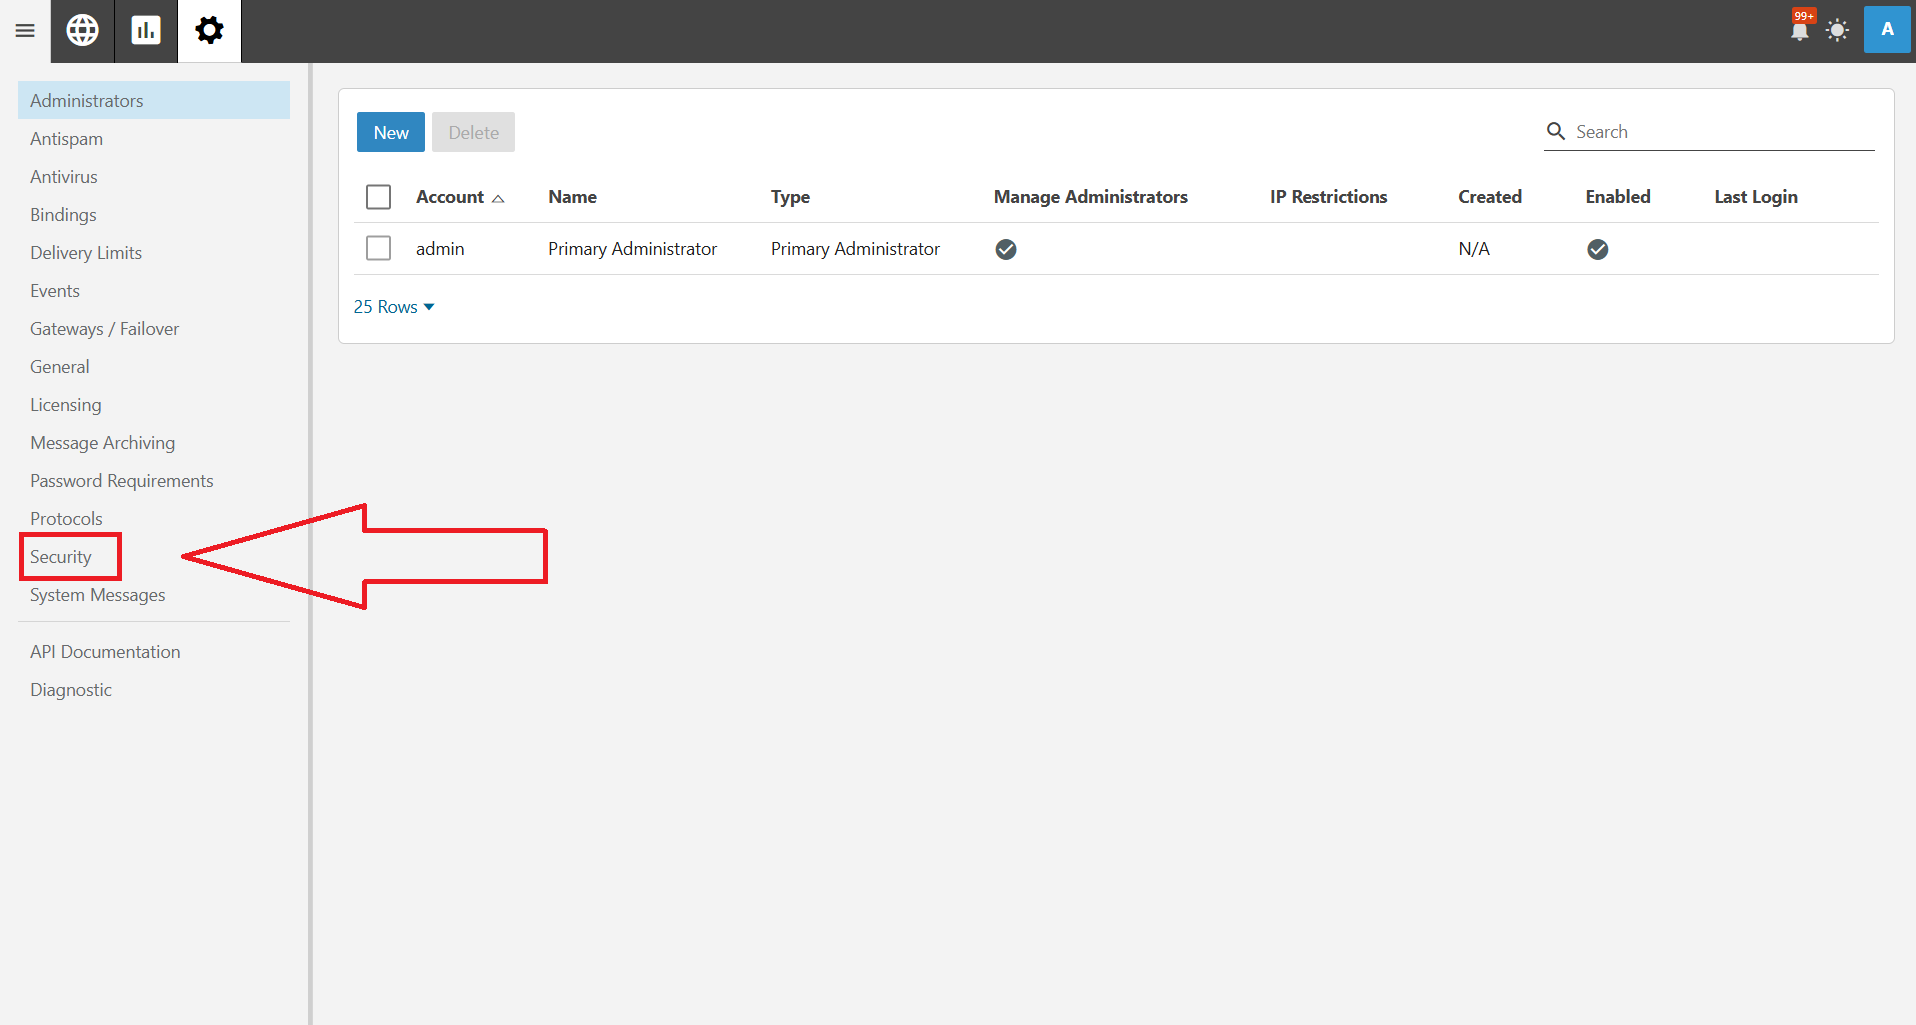
- Navigate to Security from the main menu.
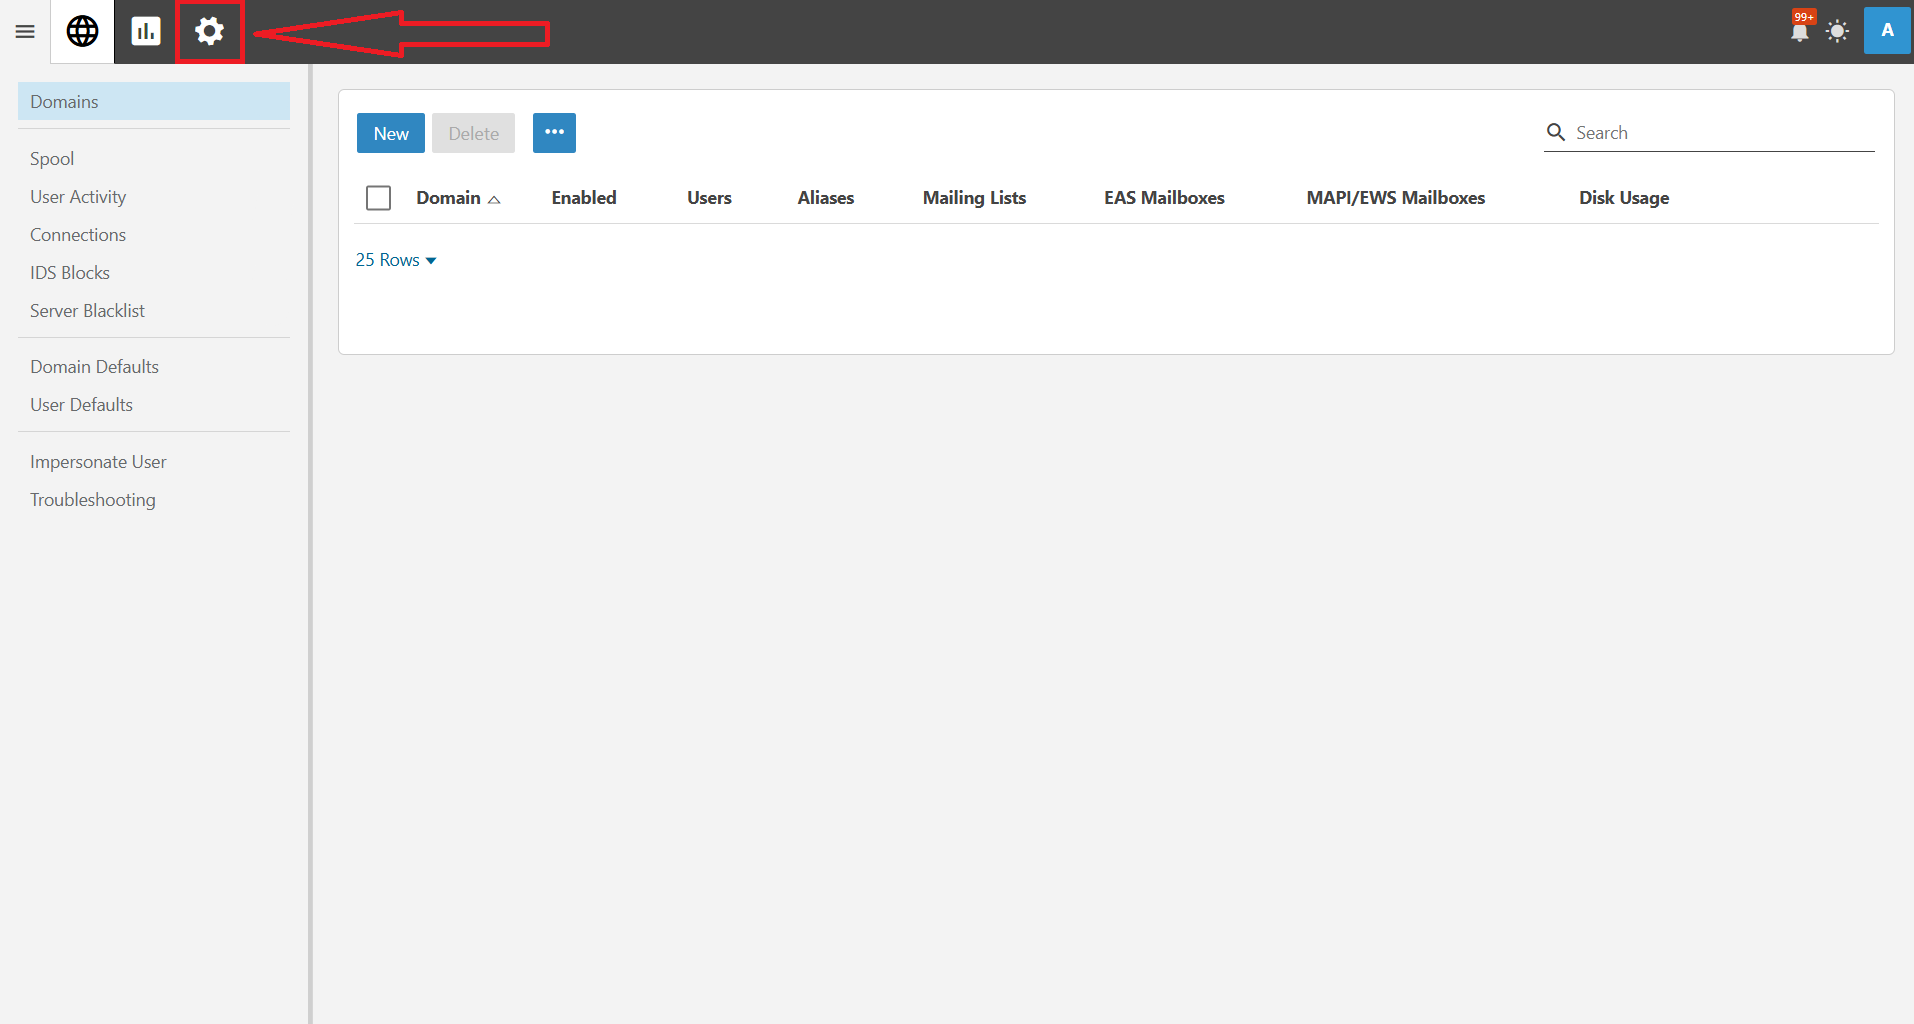
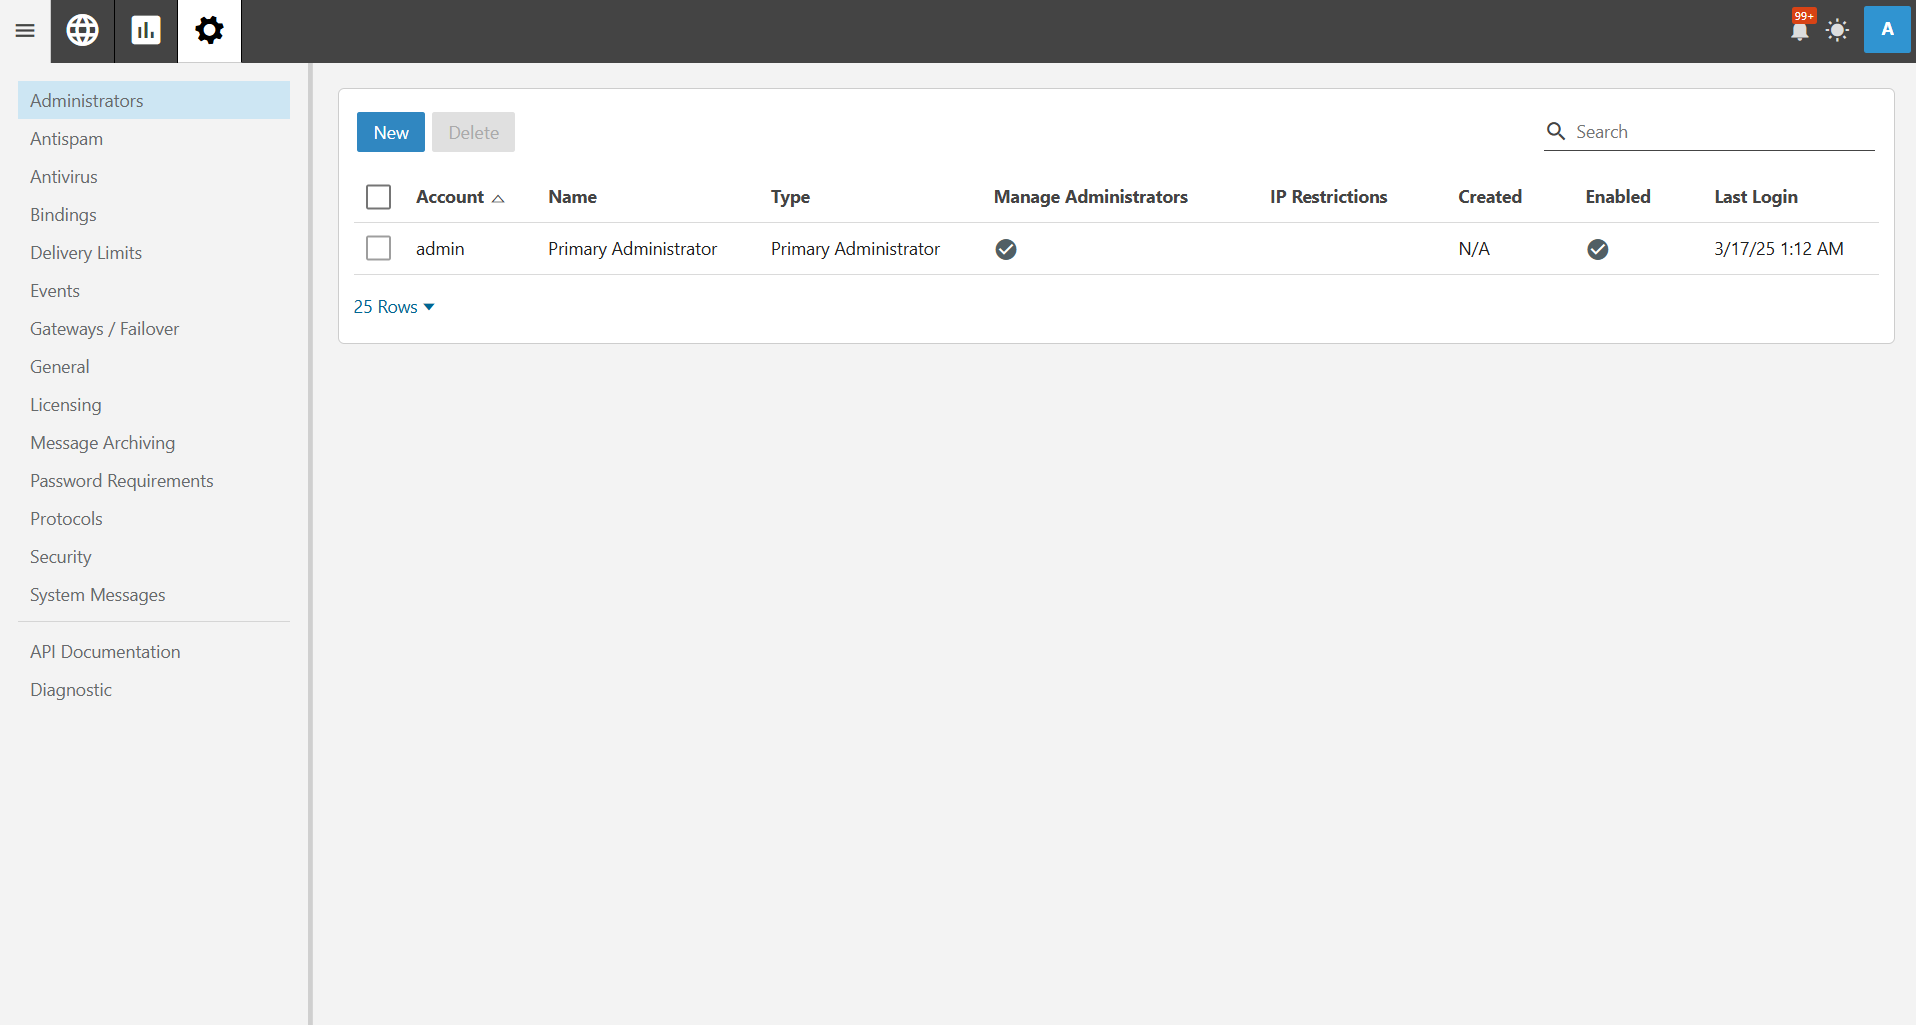
Step 2: Access the Blacklist
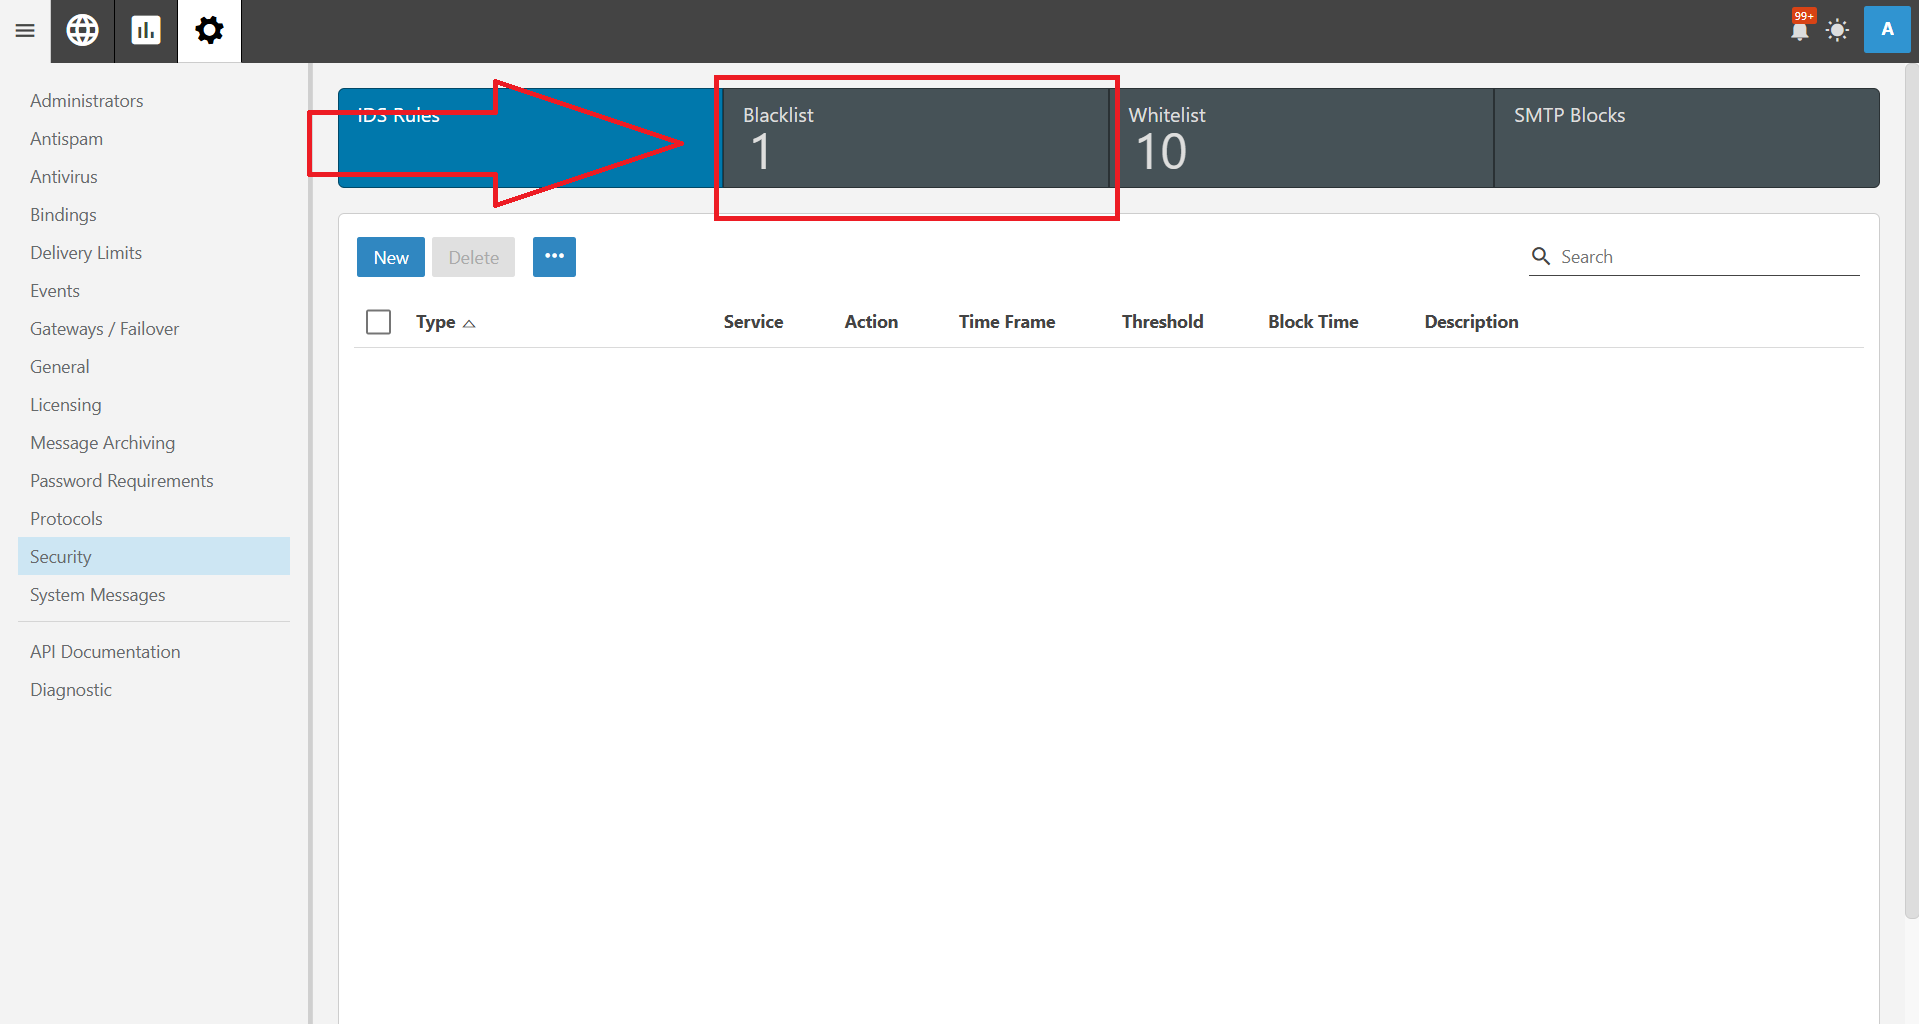
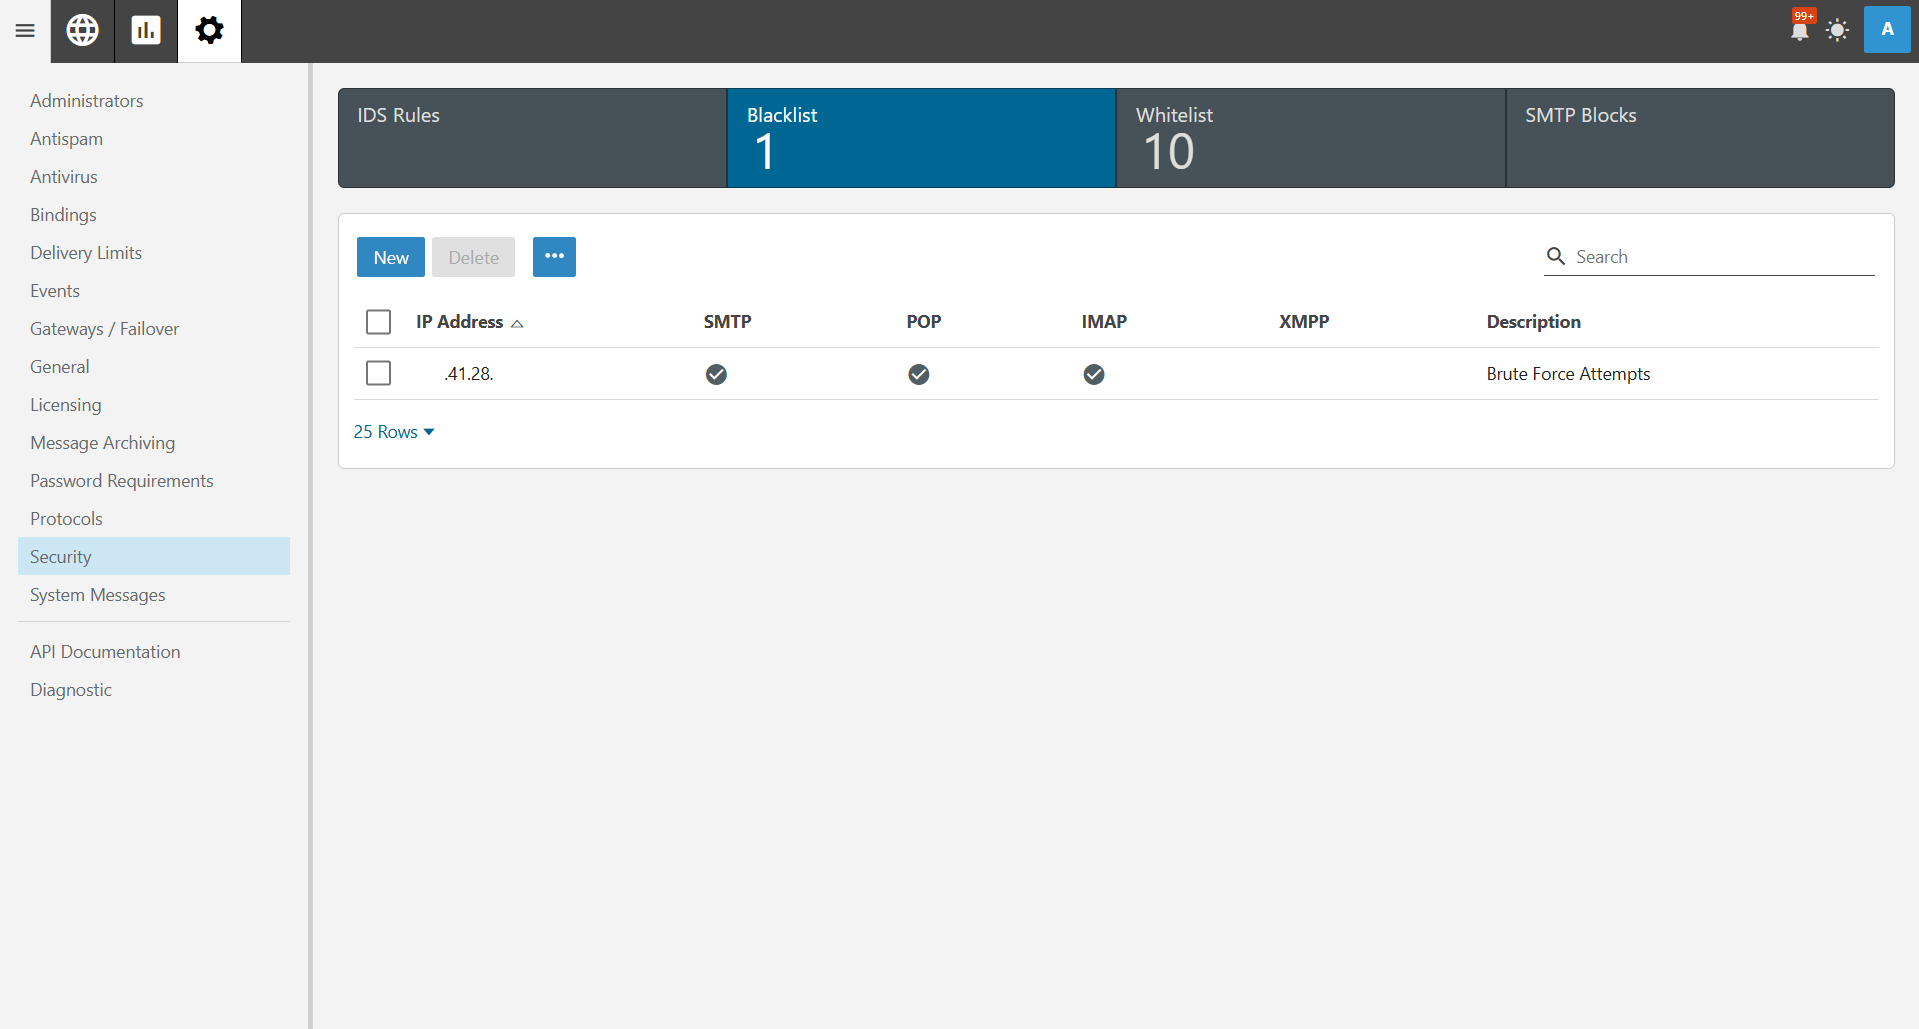
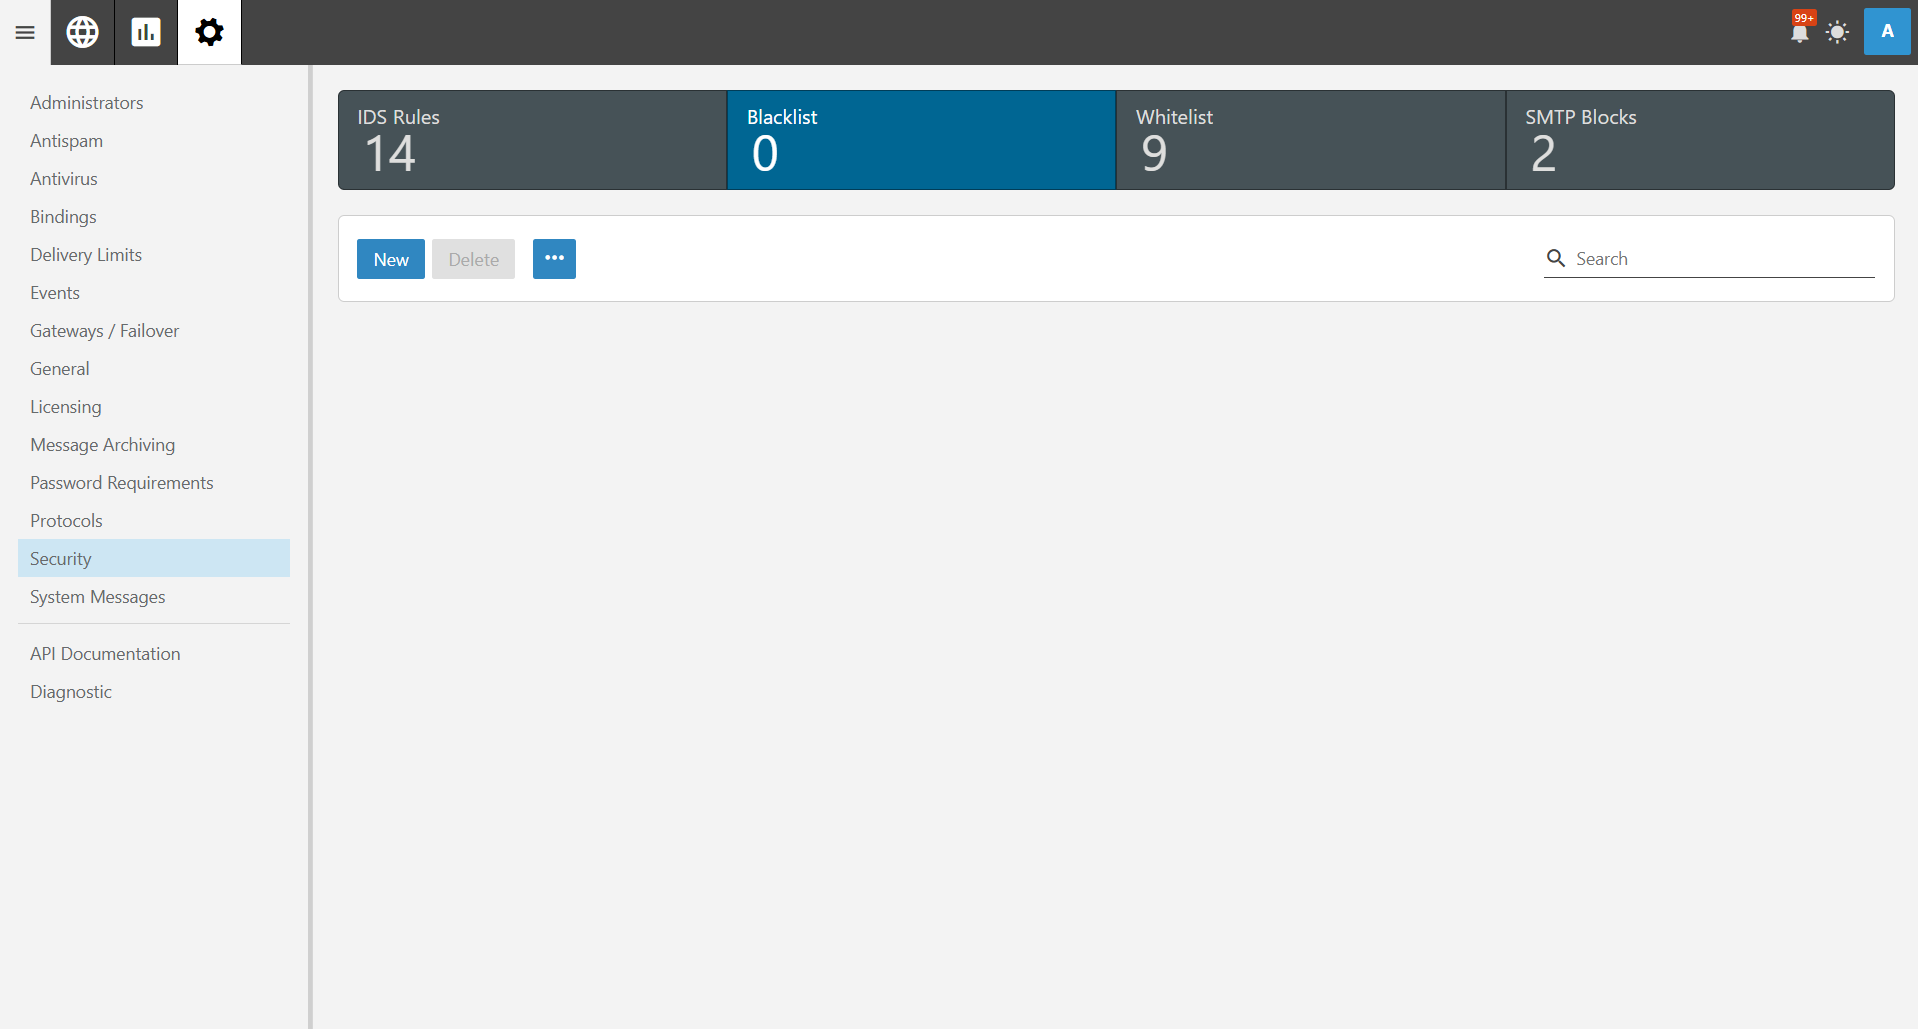
Under the Security settings, click on Blacklist. Here, you will find a list of blocked IP addresses.
Step 3: Remove the Blacklisted IP
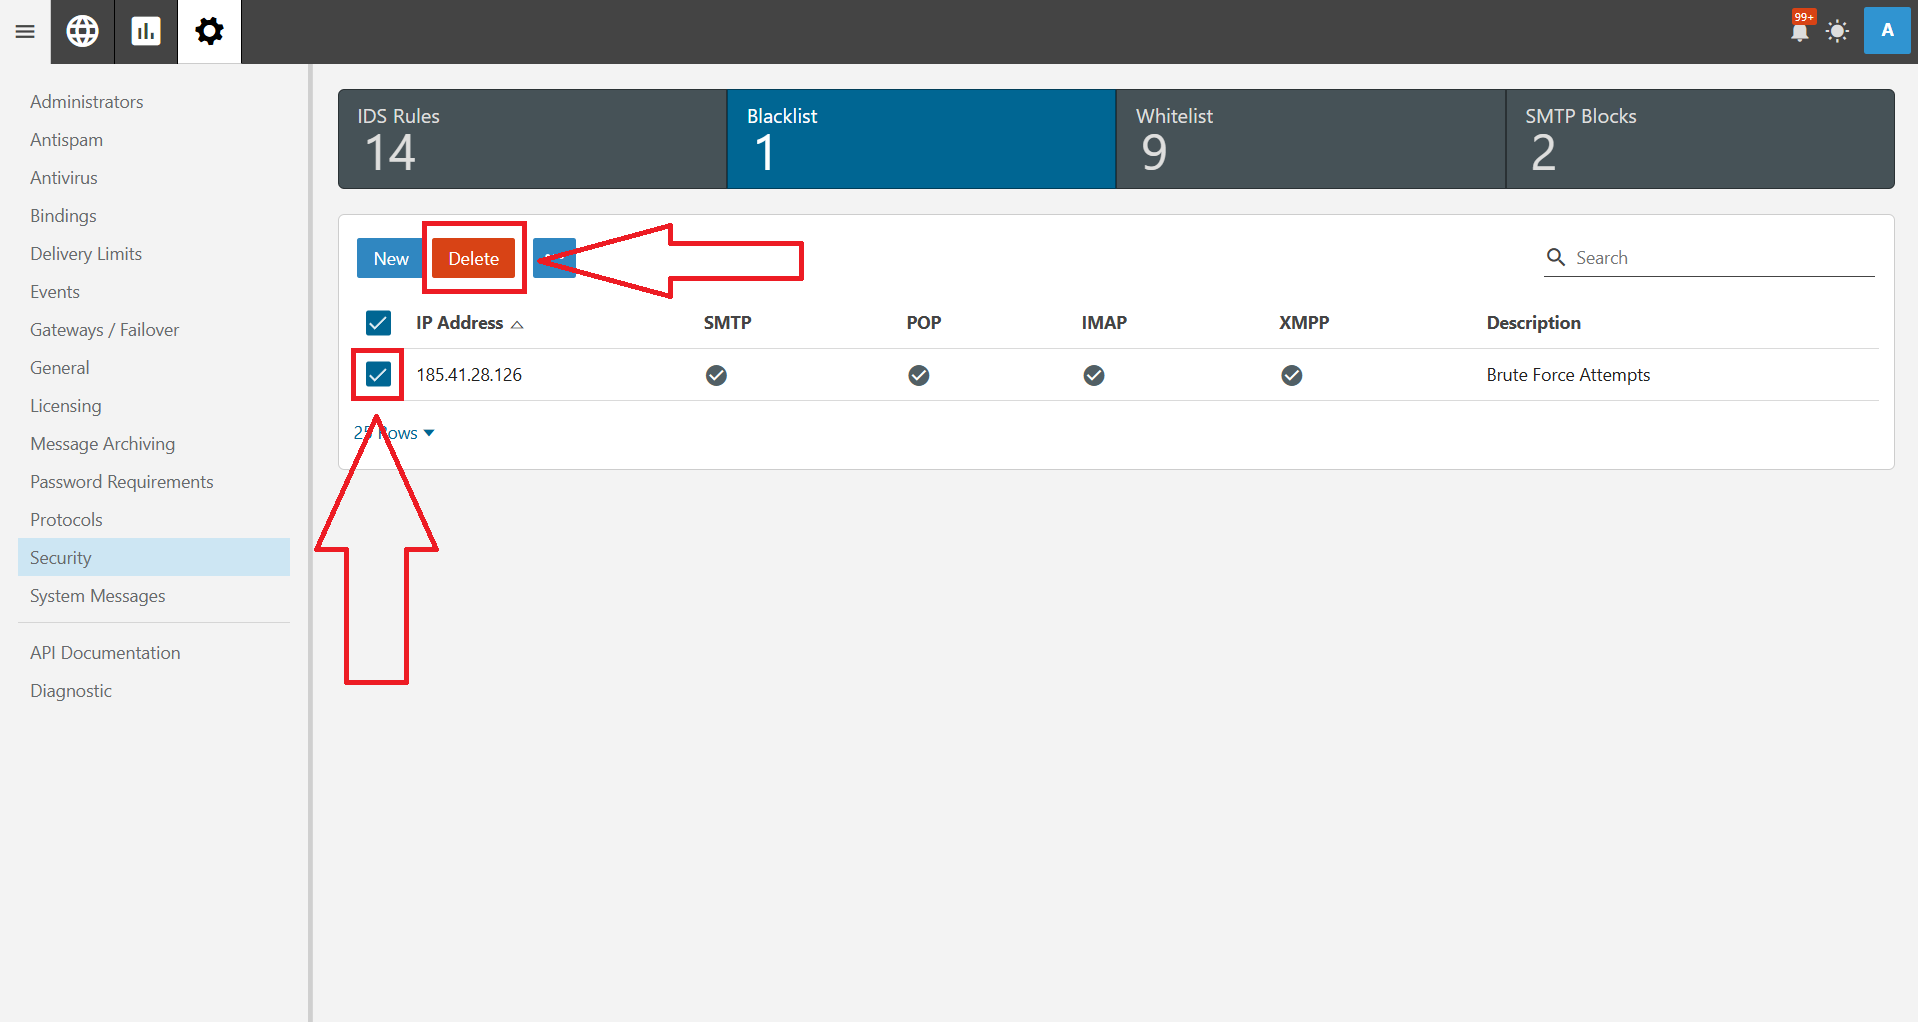
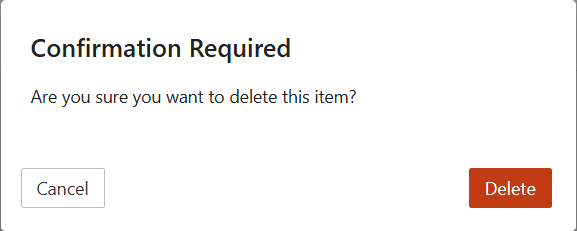
First, find the IPv4 address that you want to remove from the blacklist. You can use the search function to locate it quickly. Once you’ve located the IPv4 that you want to remove, tick the IP address and click on the Delete button. Confirm the action when prompted.
Step 4: Verify Removal of Blacklisted IP
Go back to the Blacklist section to confirm the blacklisted IP has been removed.
Conclusion
By following these steps, you can successfully remove an IPv4 address from the blacklist in SmarterMail. This will allow affected users to regain access to email services. If the IP is repeatedly blacklisted, consider checking the logs for suspicious activity and updating security policies.
If you have any questions or require further assistance, feel free to open a support ticket through your portal account or contact us at +603-2026 1688. Our team is ready to assist you.
