Search Our Database
How to Remove Whitelisted or Blacklisted IP Using CSF via WHM
Introduction
This guide will walk you through the process of removing an IP address from the whitelist or blacklist using the ConfigServer Security & Firewall (CSF) plugin in WHM. This ensures that only authorized IPs have access to your server.
Prerequisites
Before you begin, ensure you have:
- Root access to WHM.
- The CSF (ConfigServer Security & Firewall) plugin installed.
- The IP address you wish to remove from the whitelist or blacklist.
Step-by-Step Instructions
Step 1: Log into WHM
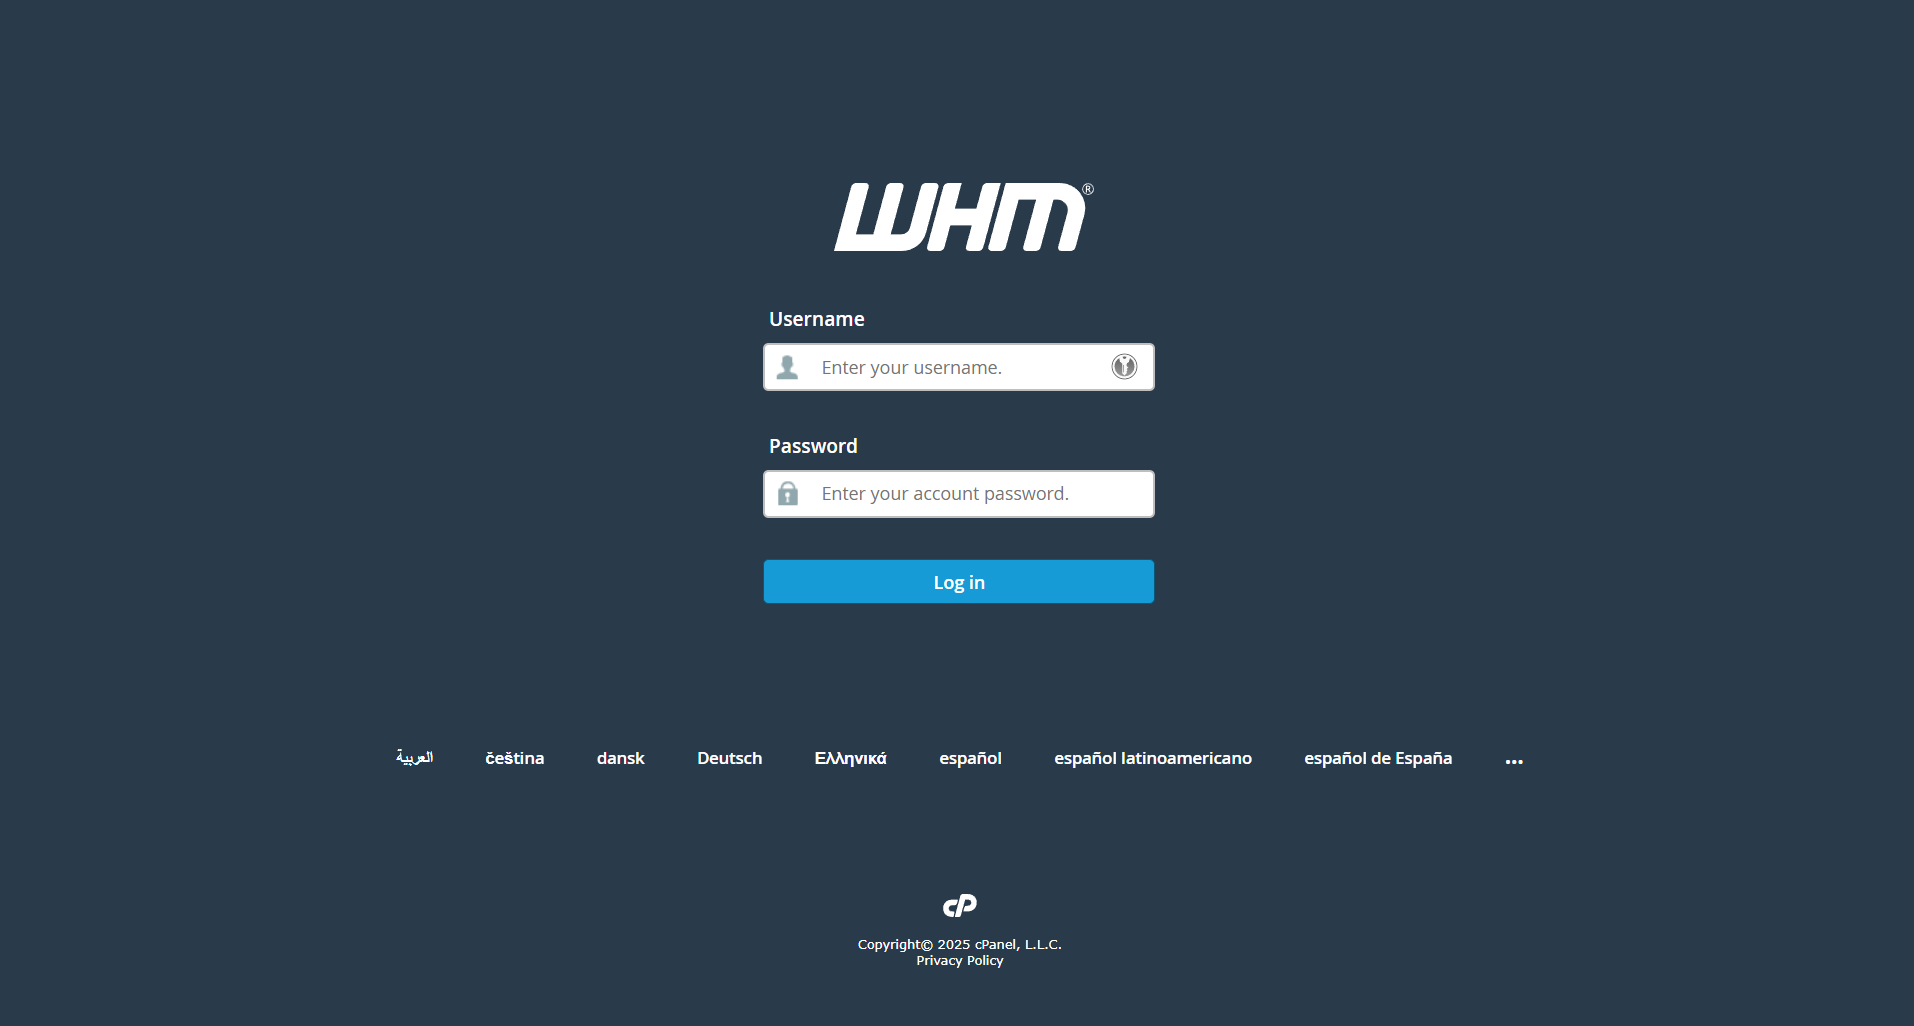
To begin, access your WHM control panel by navigating to https://yourserver.hostname:2087 and logging in with your root credentials.
Step 2. Access CSF in WHM
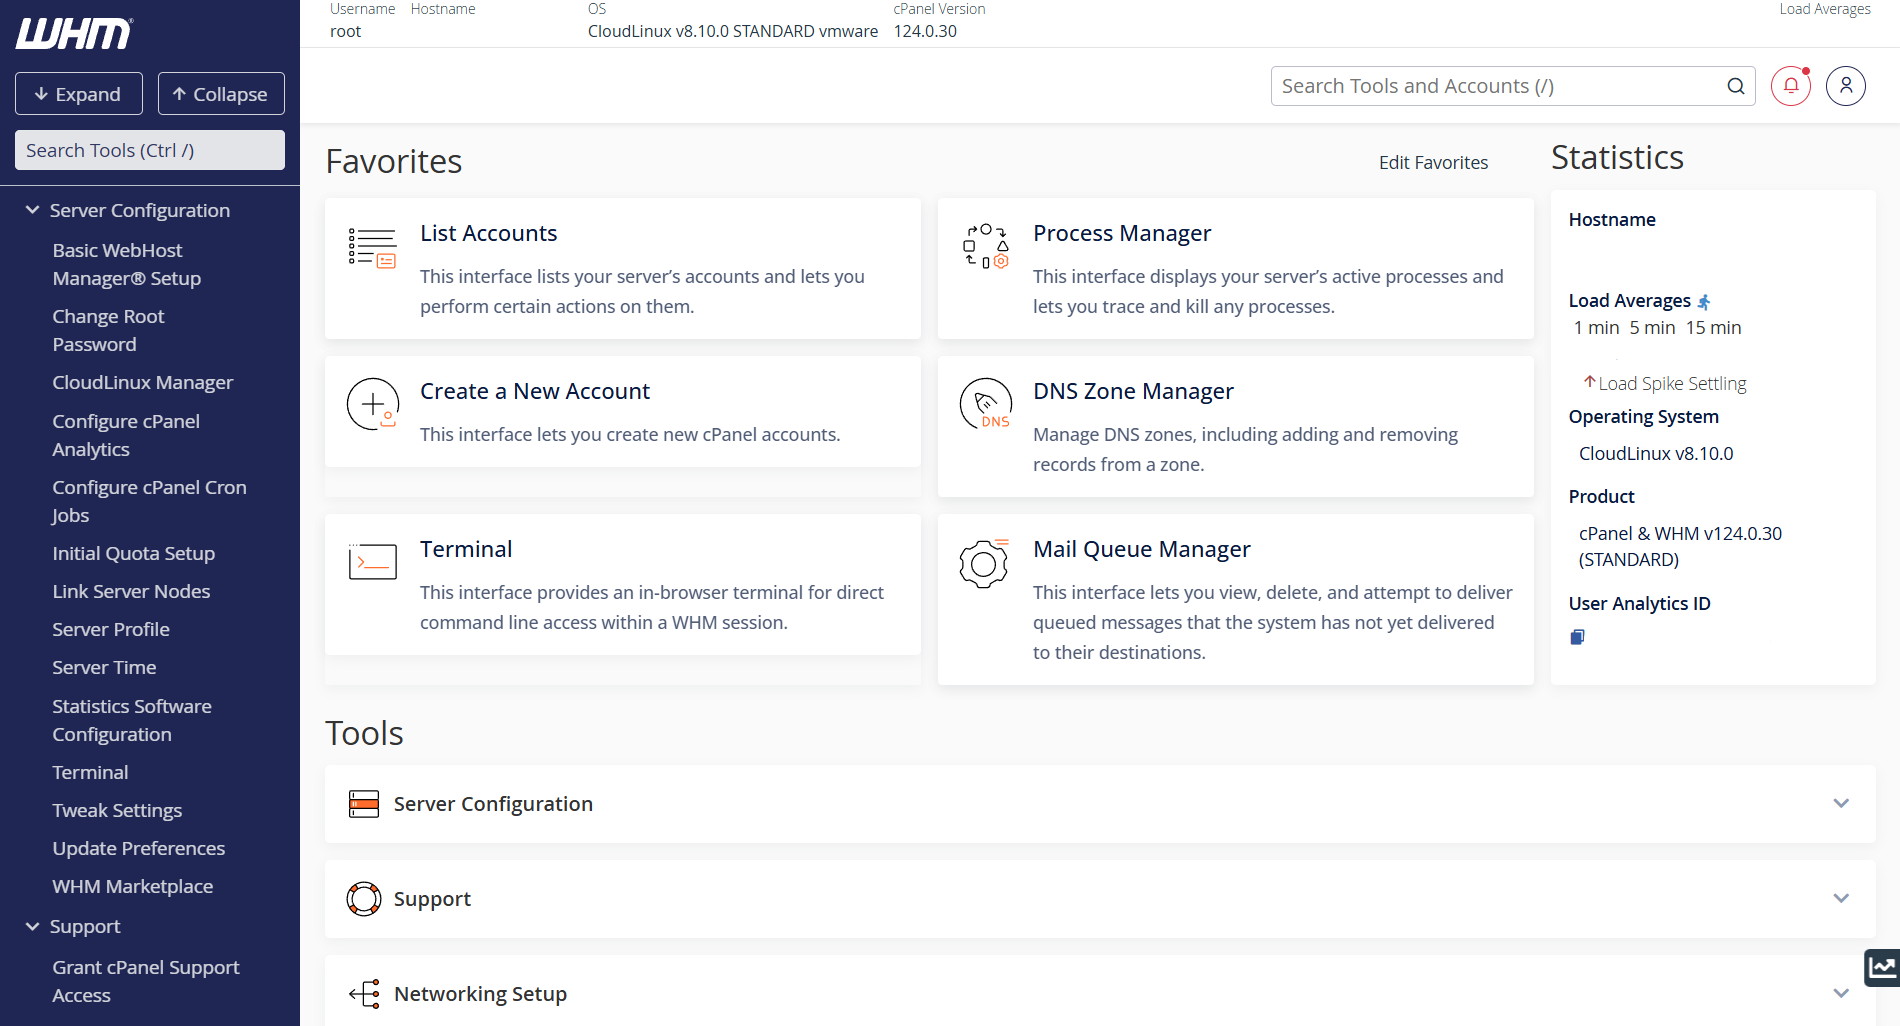
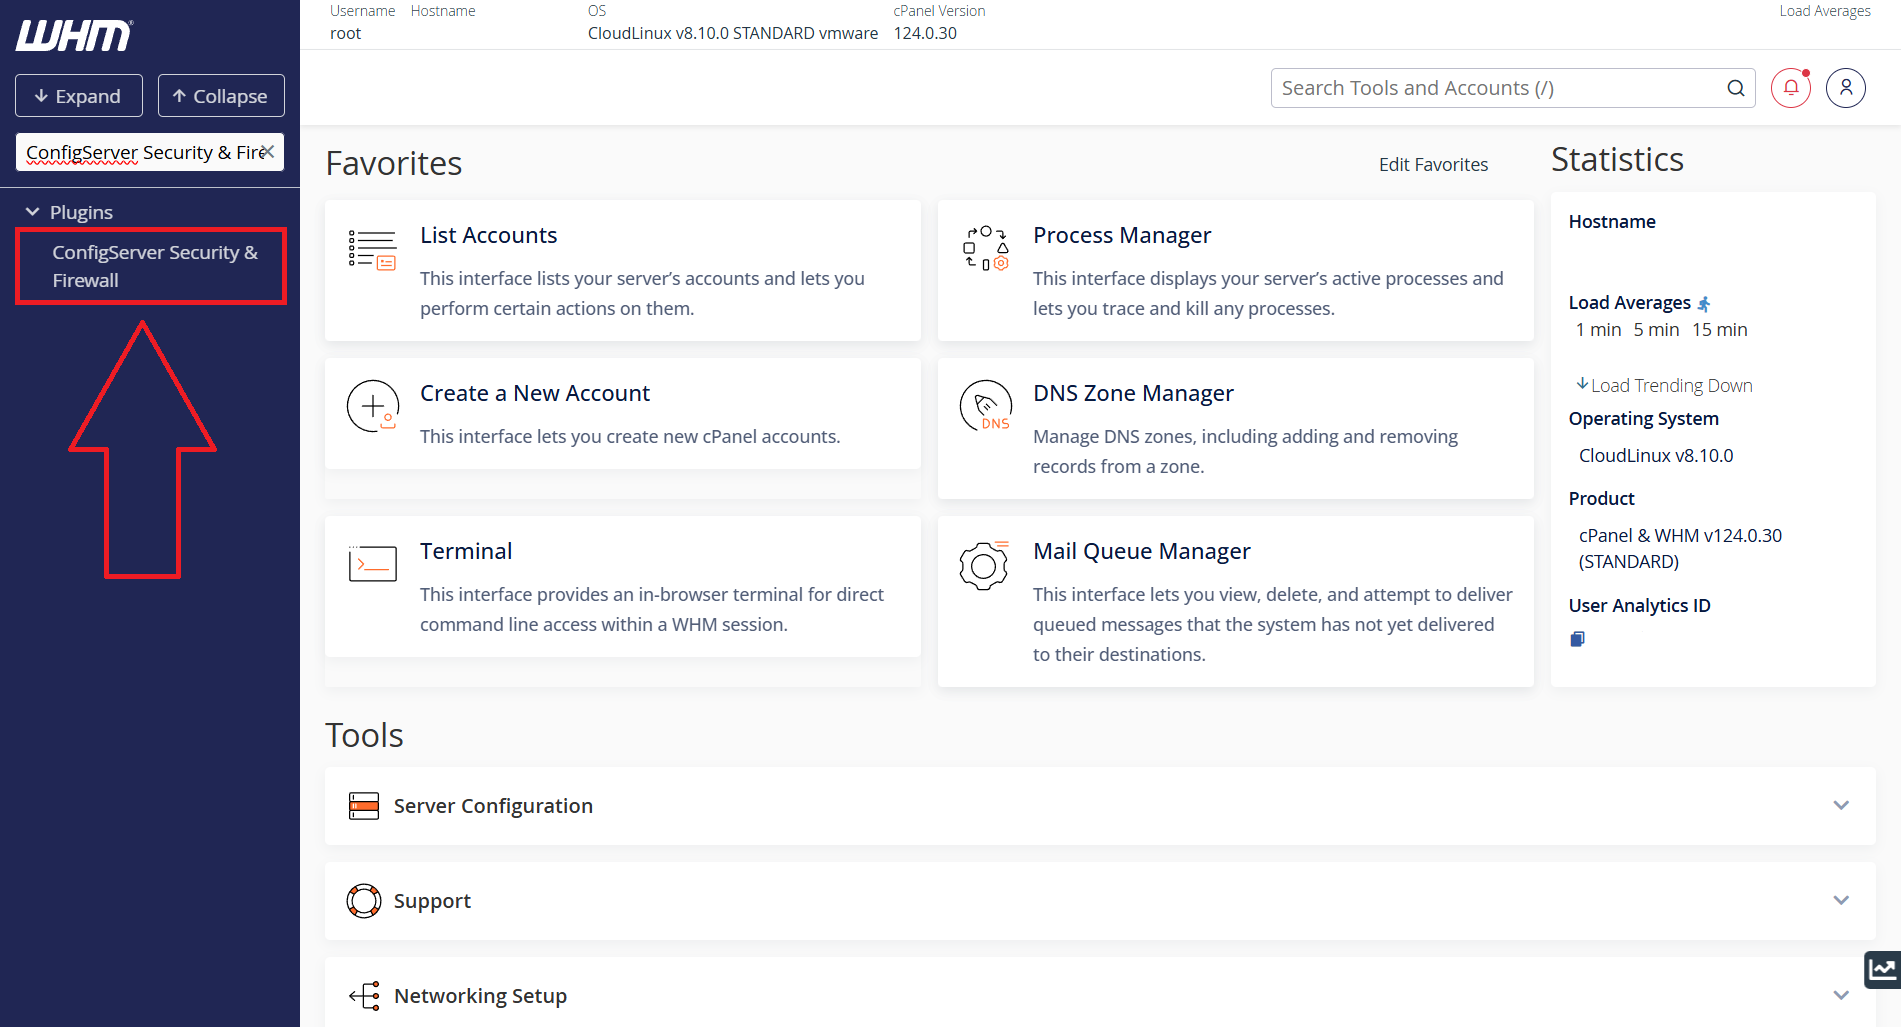
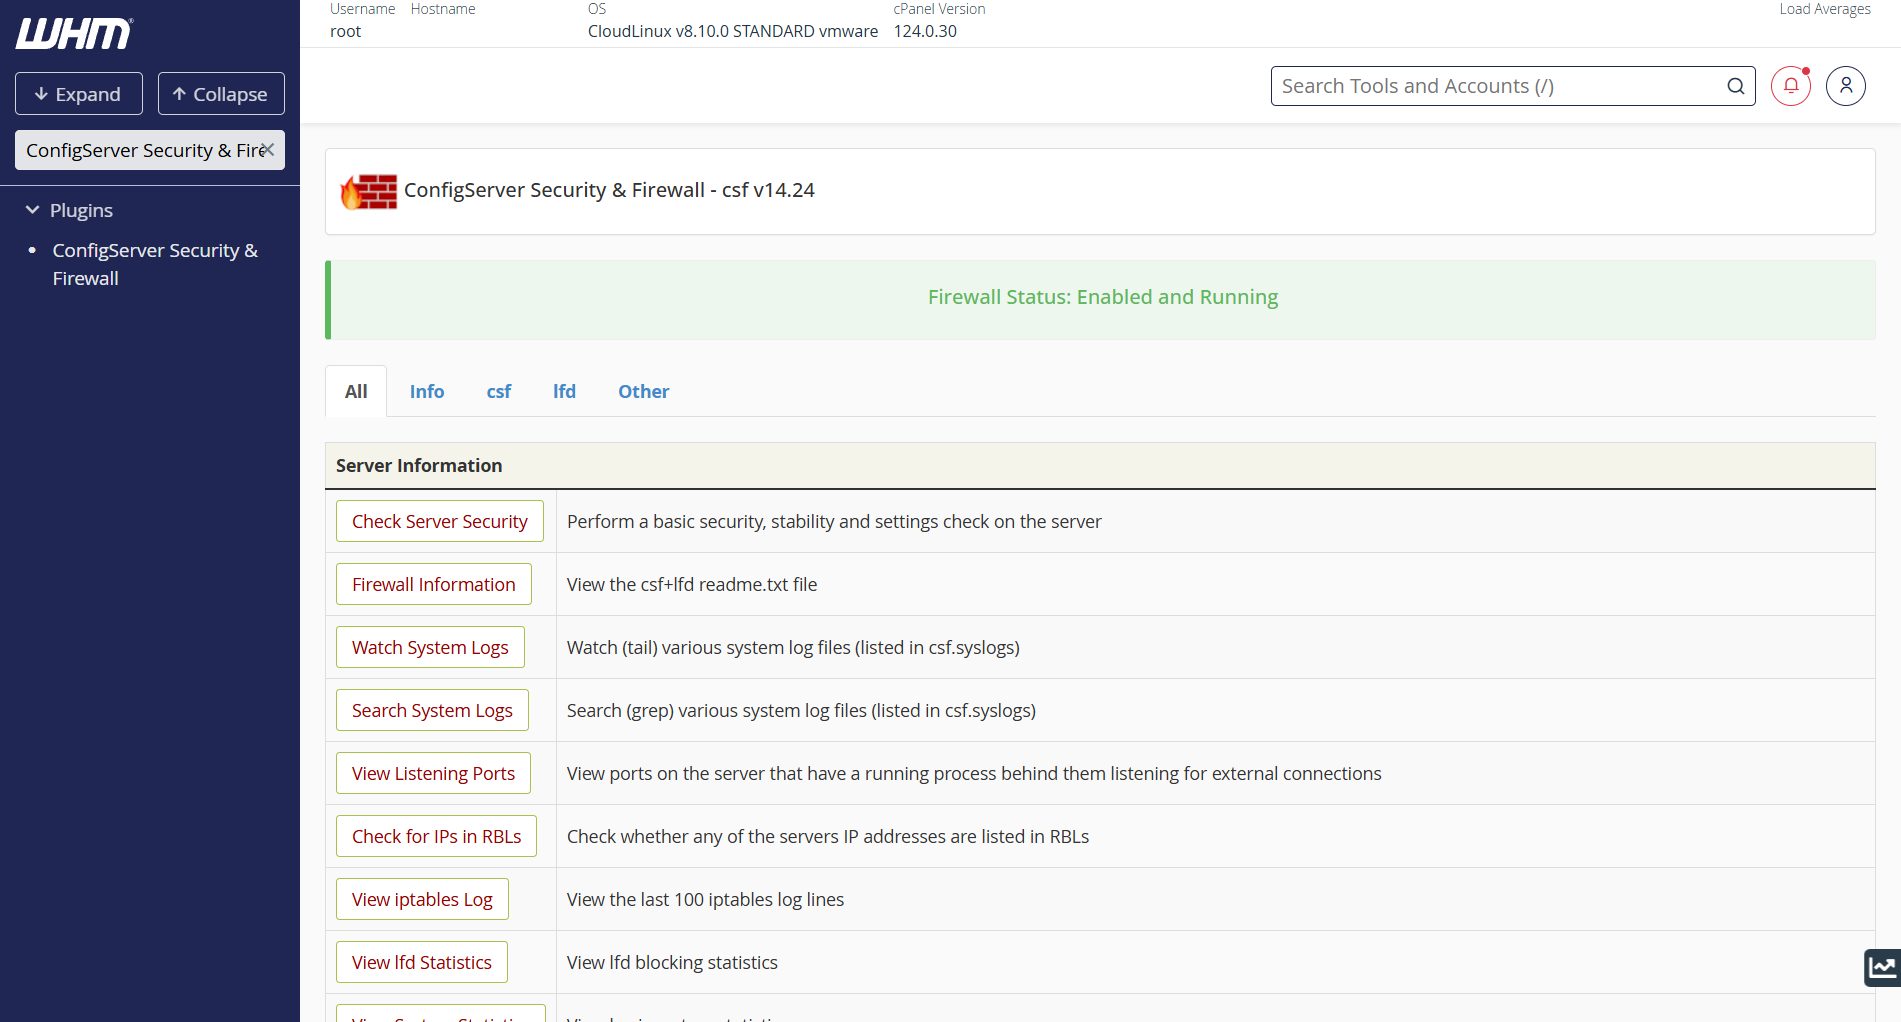
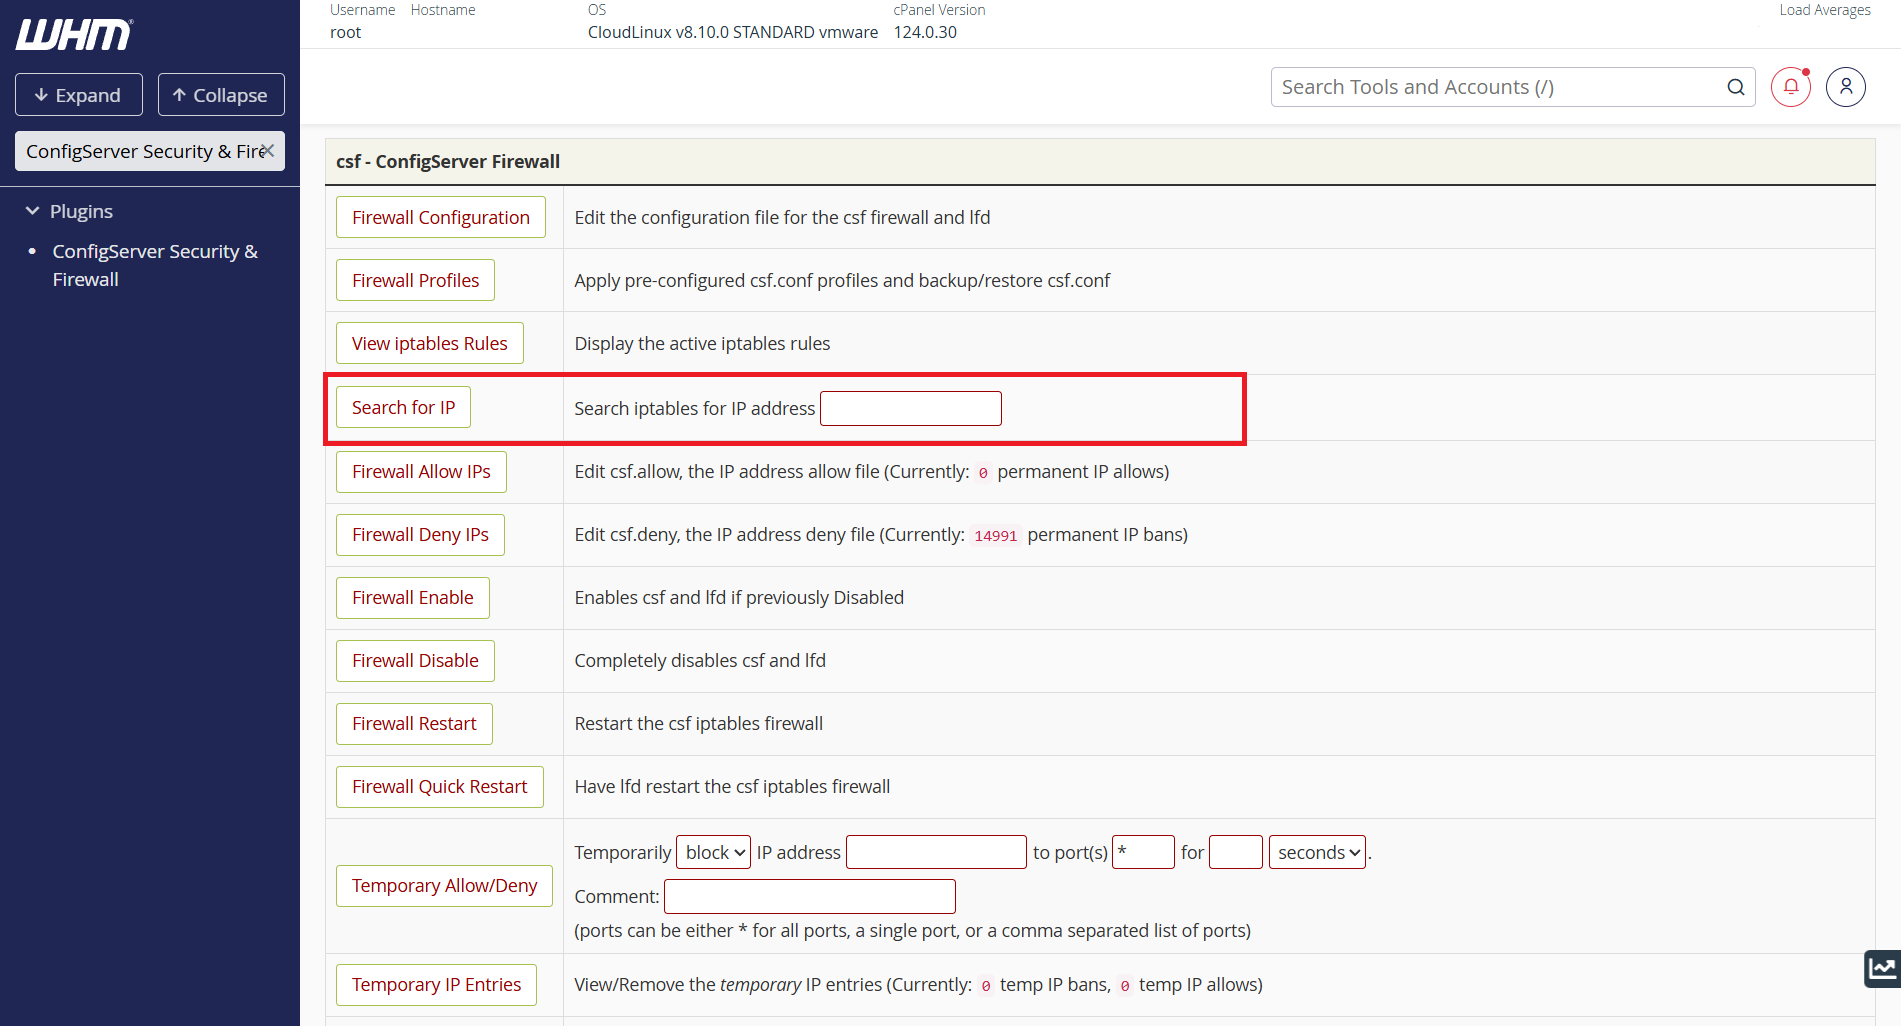
To begin whitelist/blacklist IP Address(es) in CSF, at the search bar on the left panel, type “ConfigServer Security & Firewall” and click on it.
Step 3: Search for the IP Address
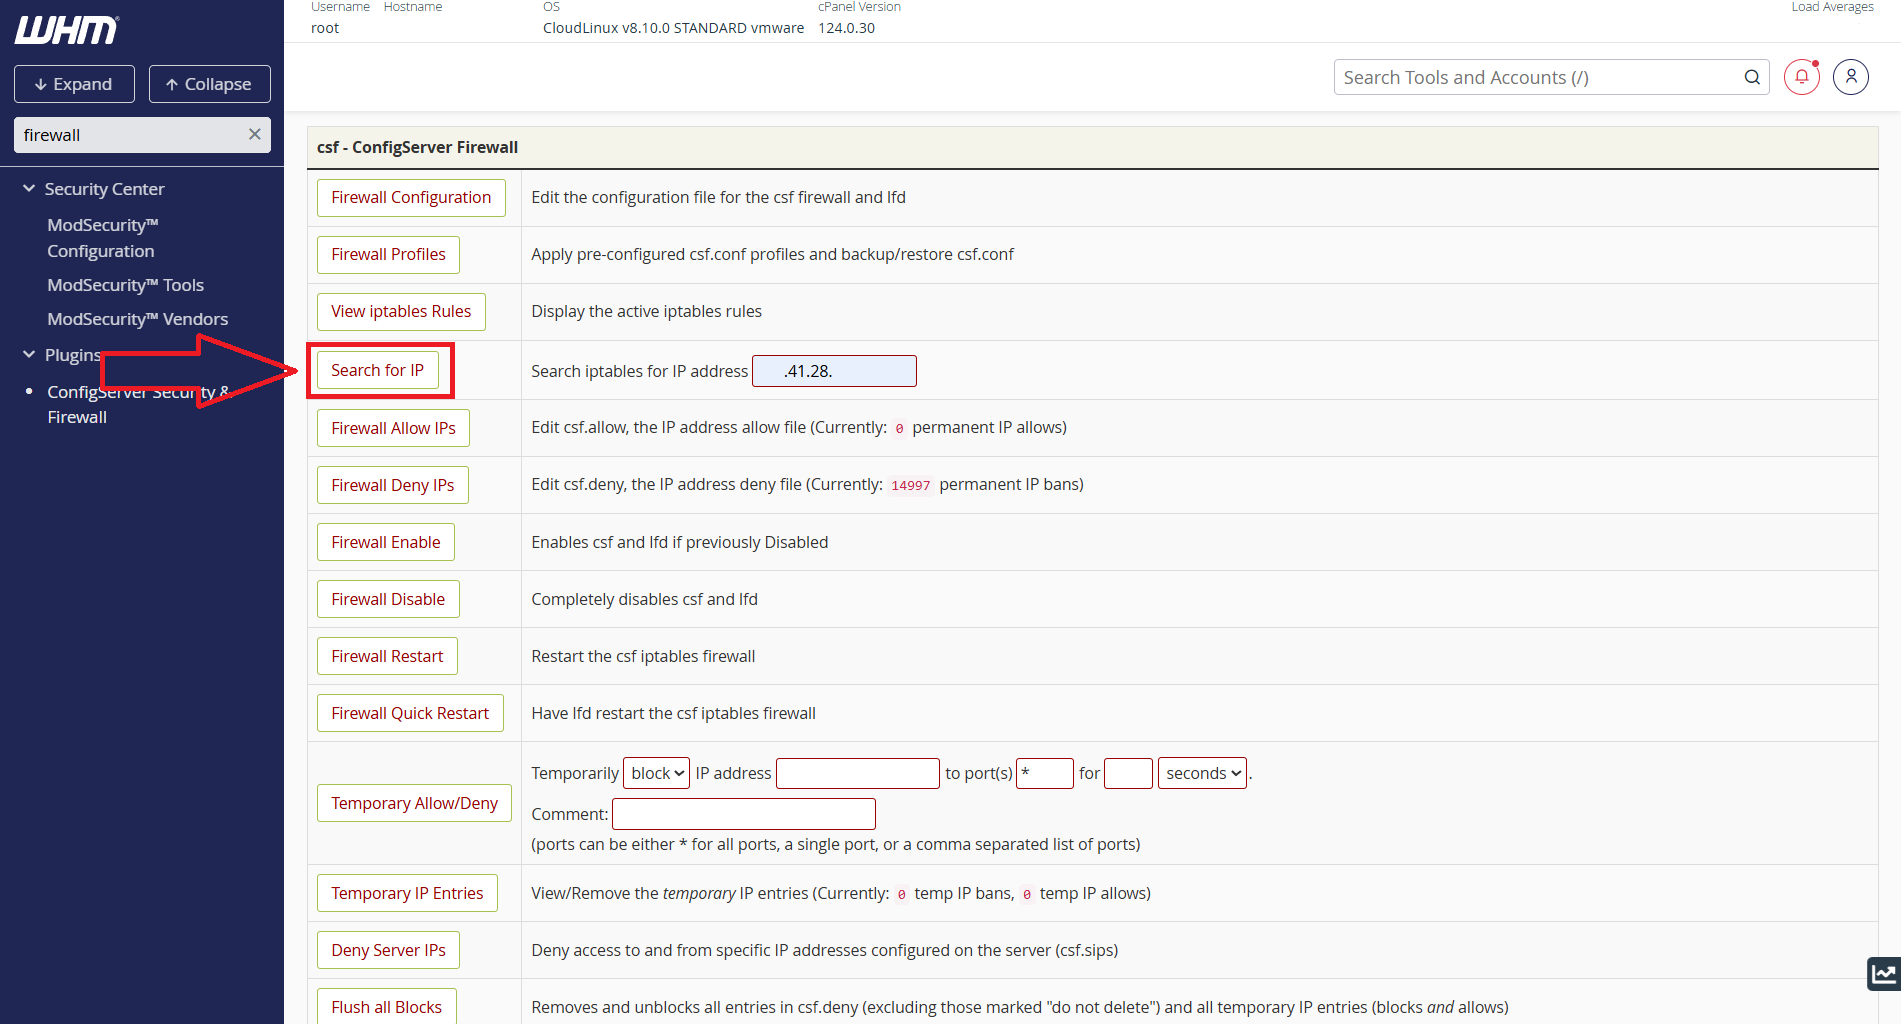
- Scroll down to the section labelled Search for IP.
- Next, type the IPv4 address that you want to check and click Search for IP
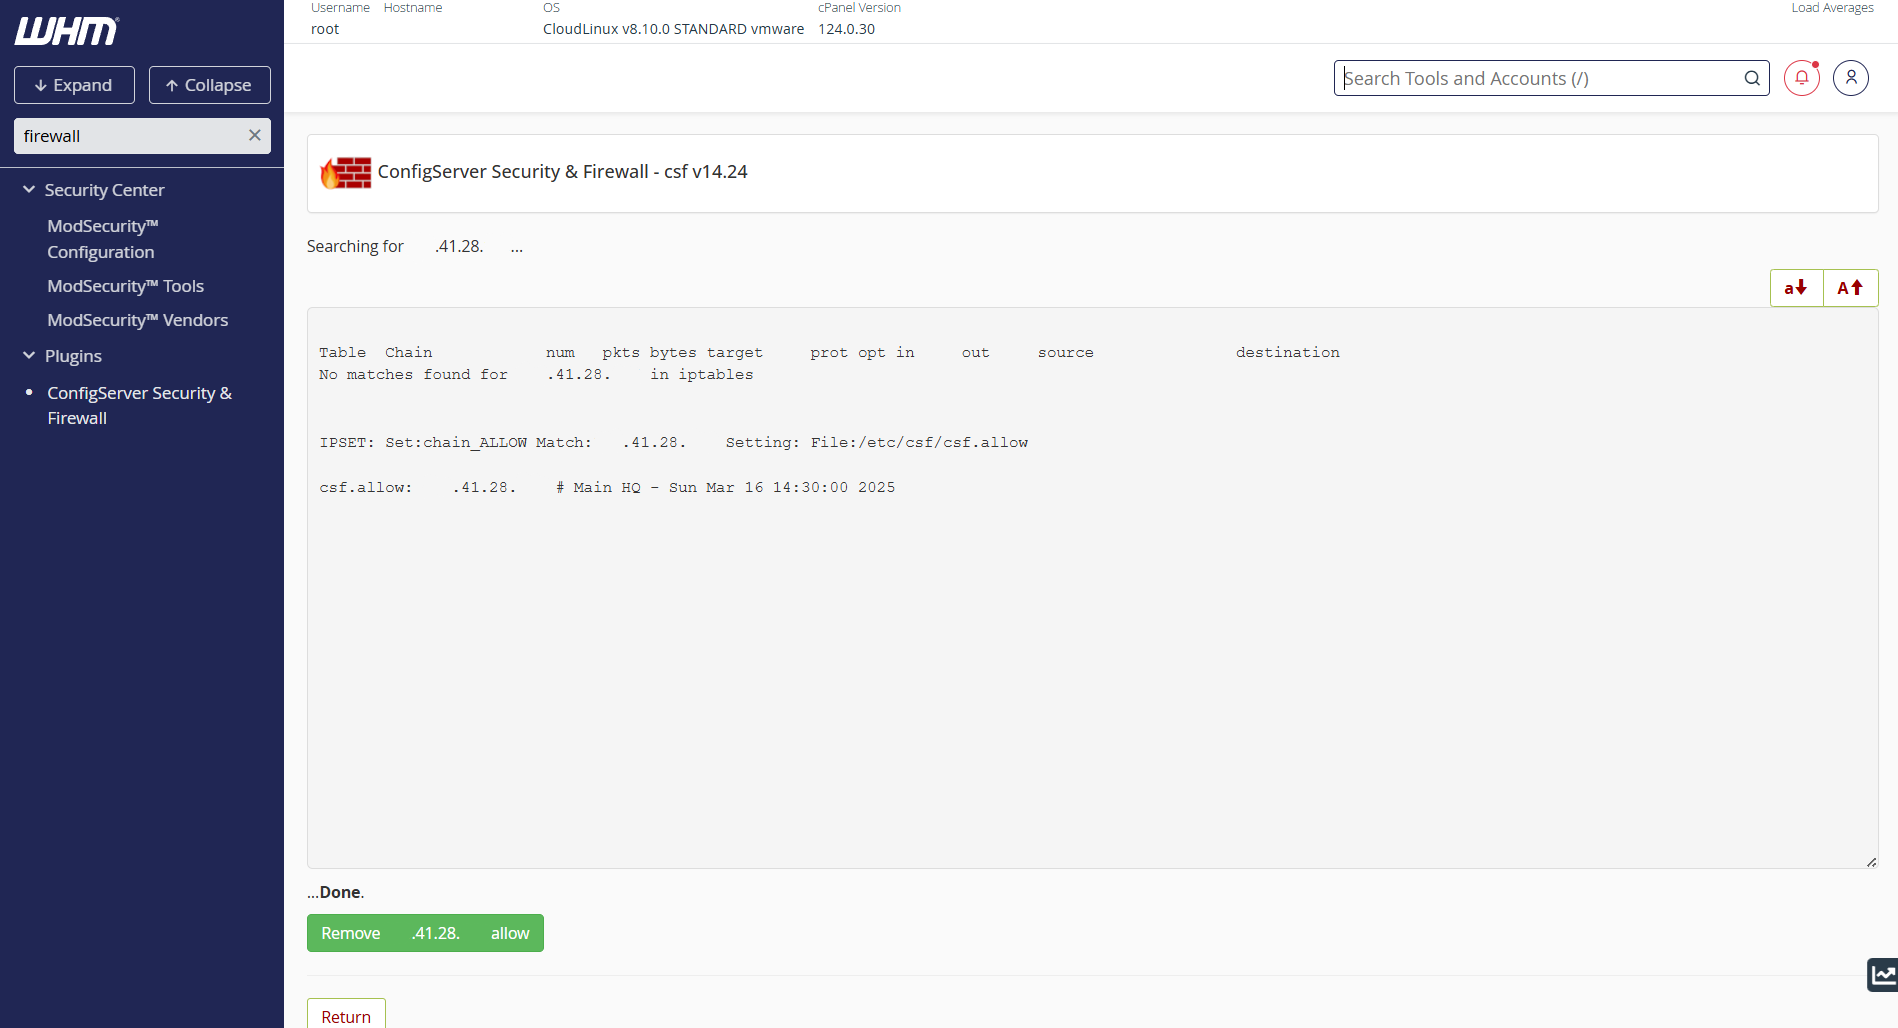
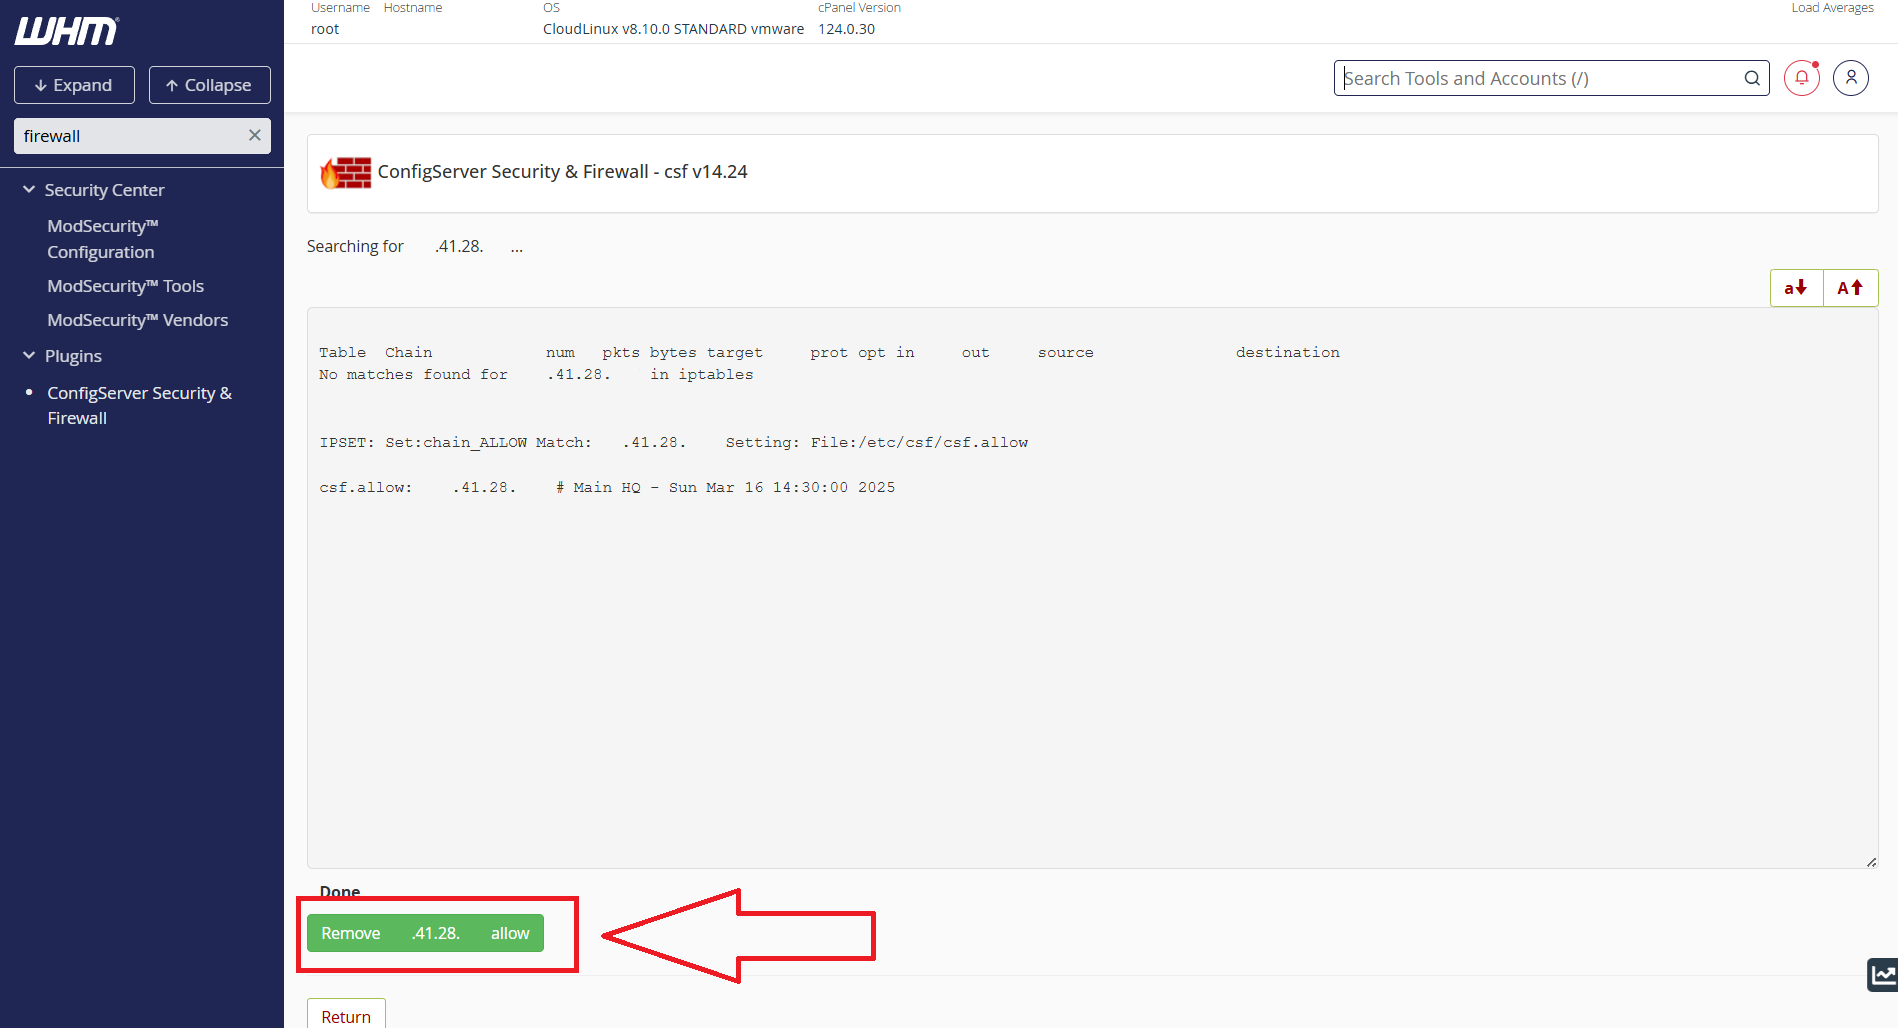
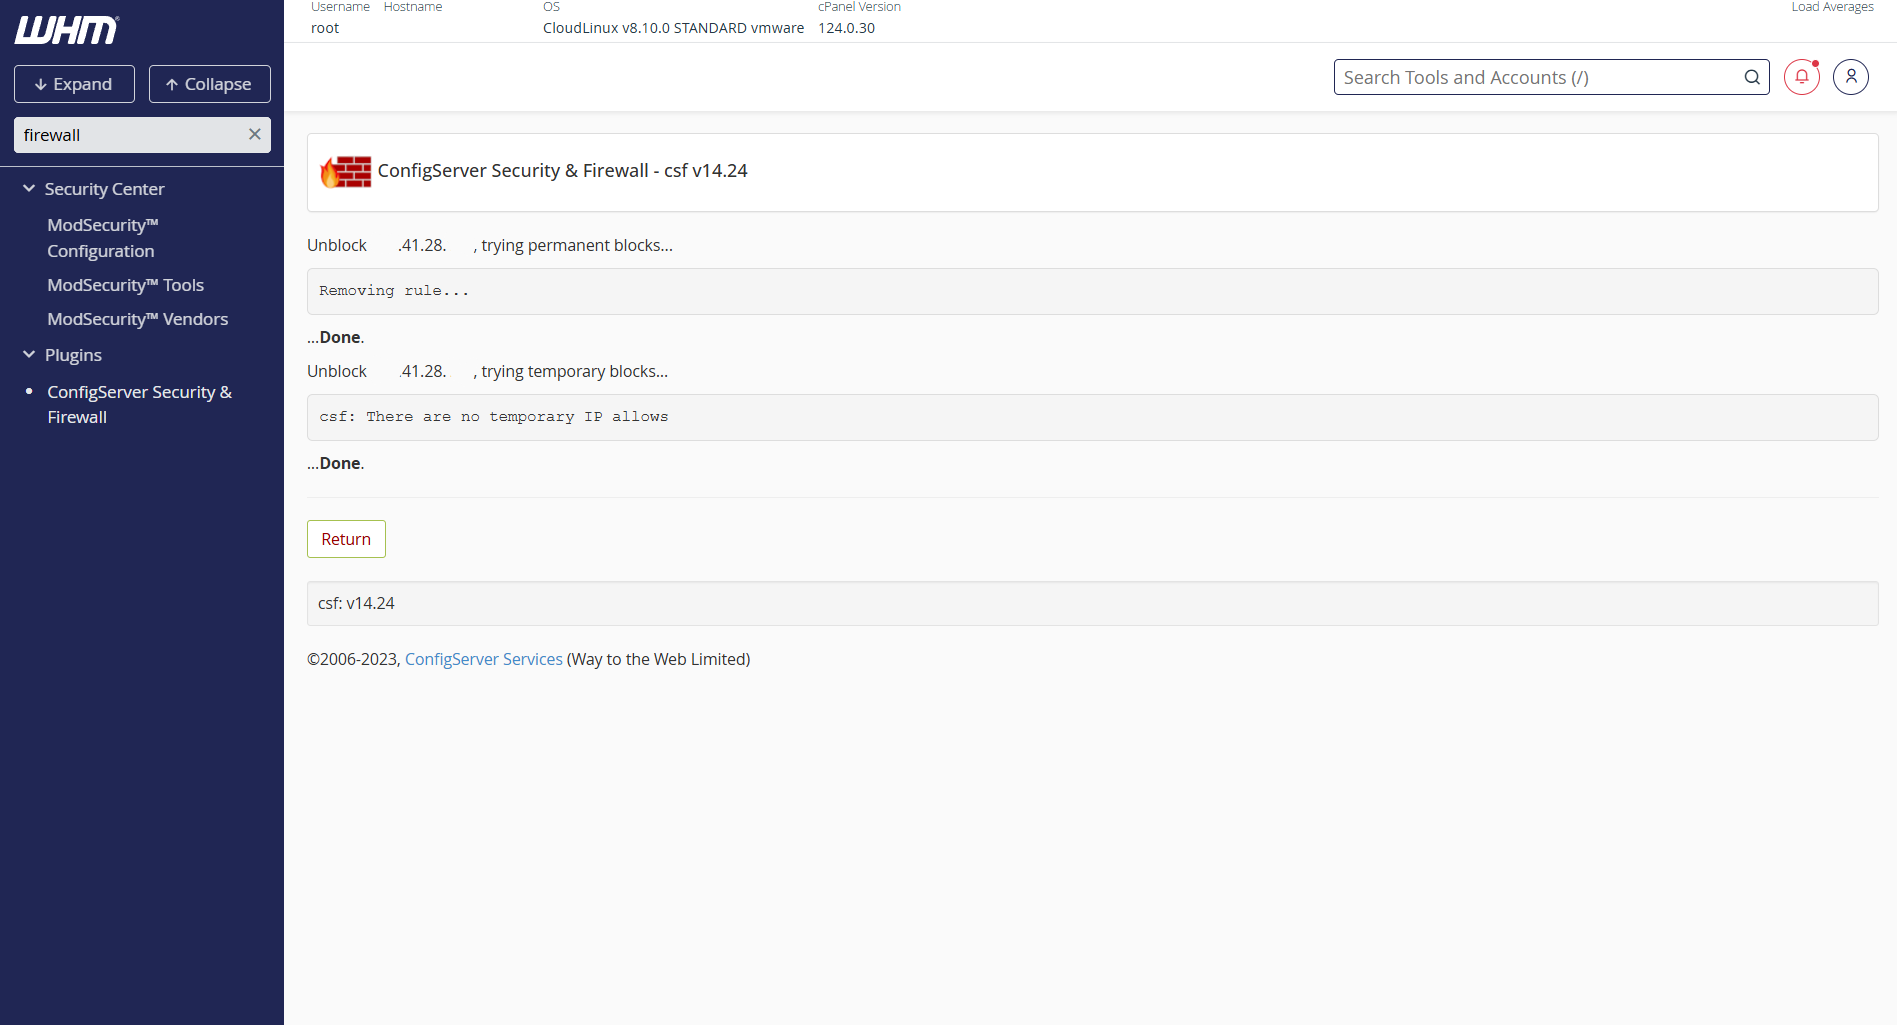
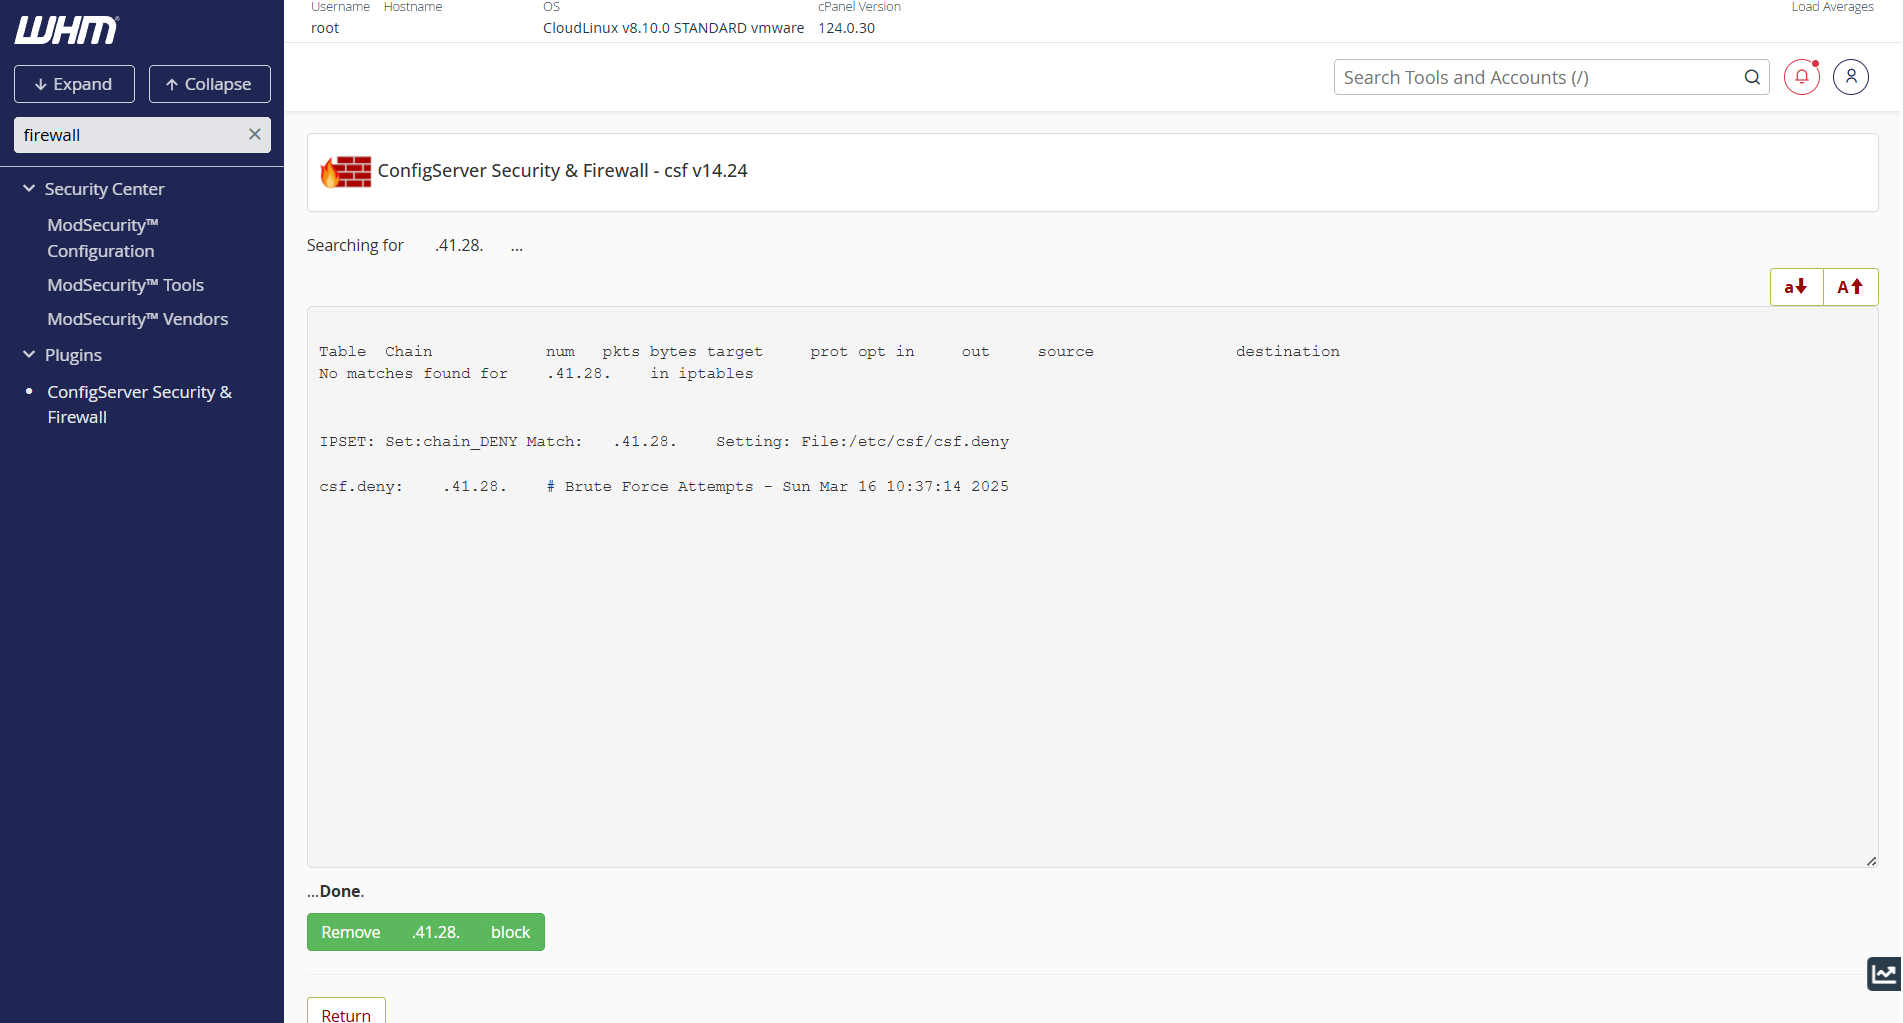
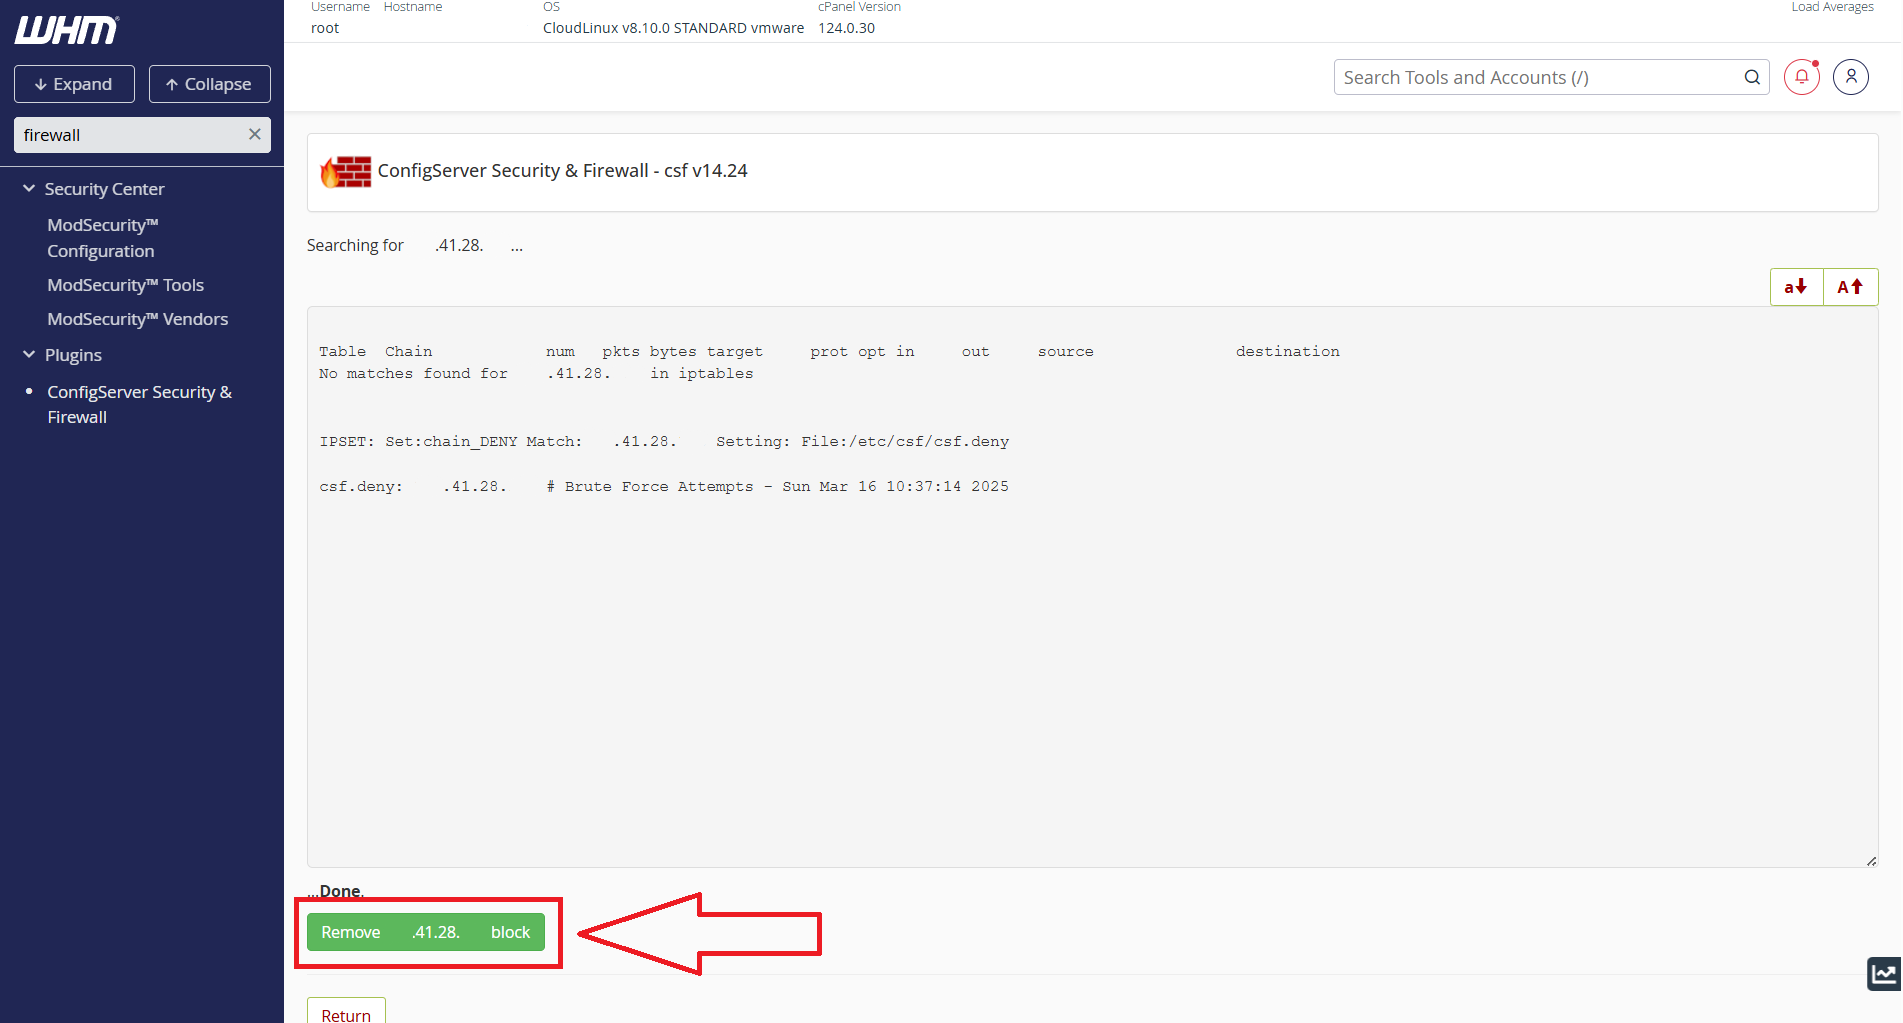
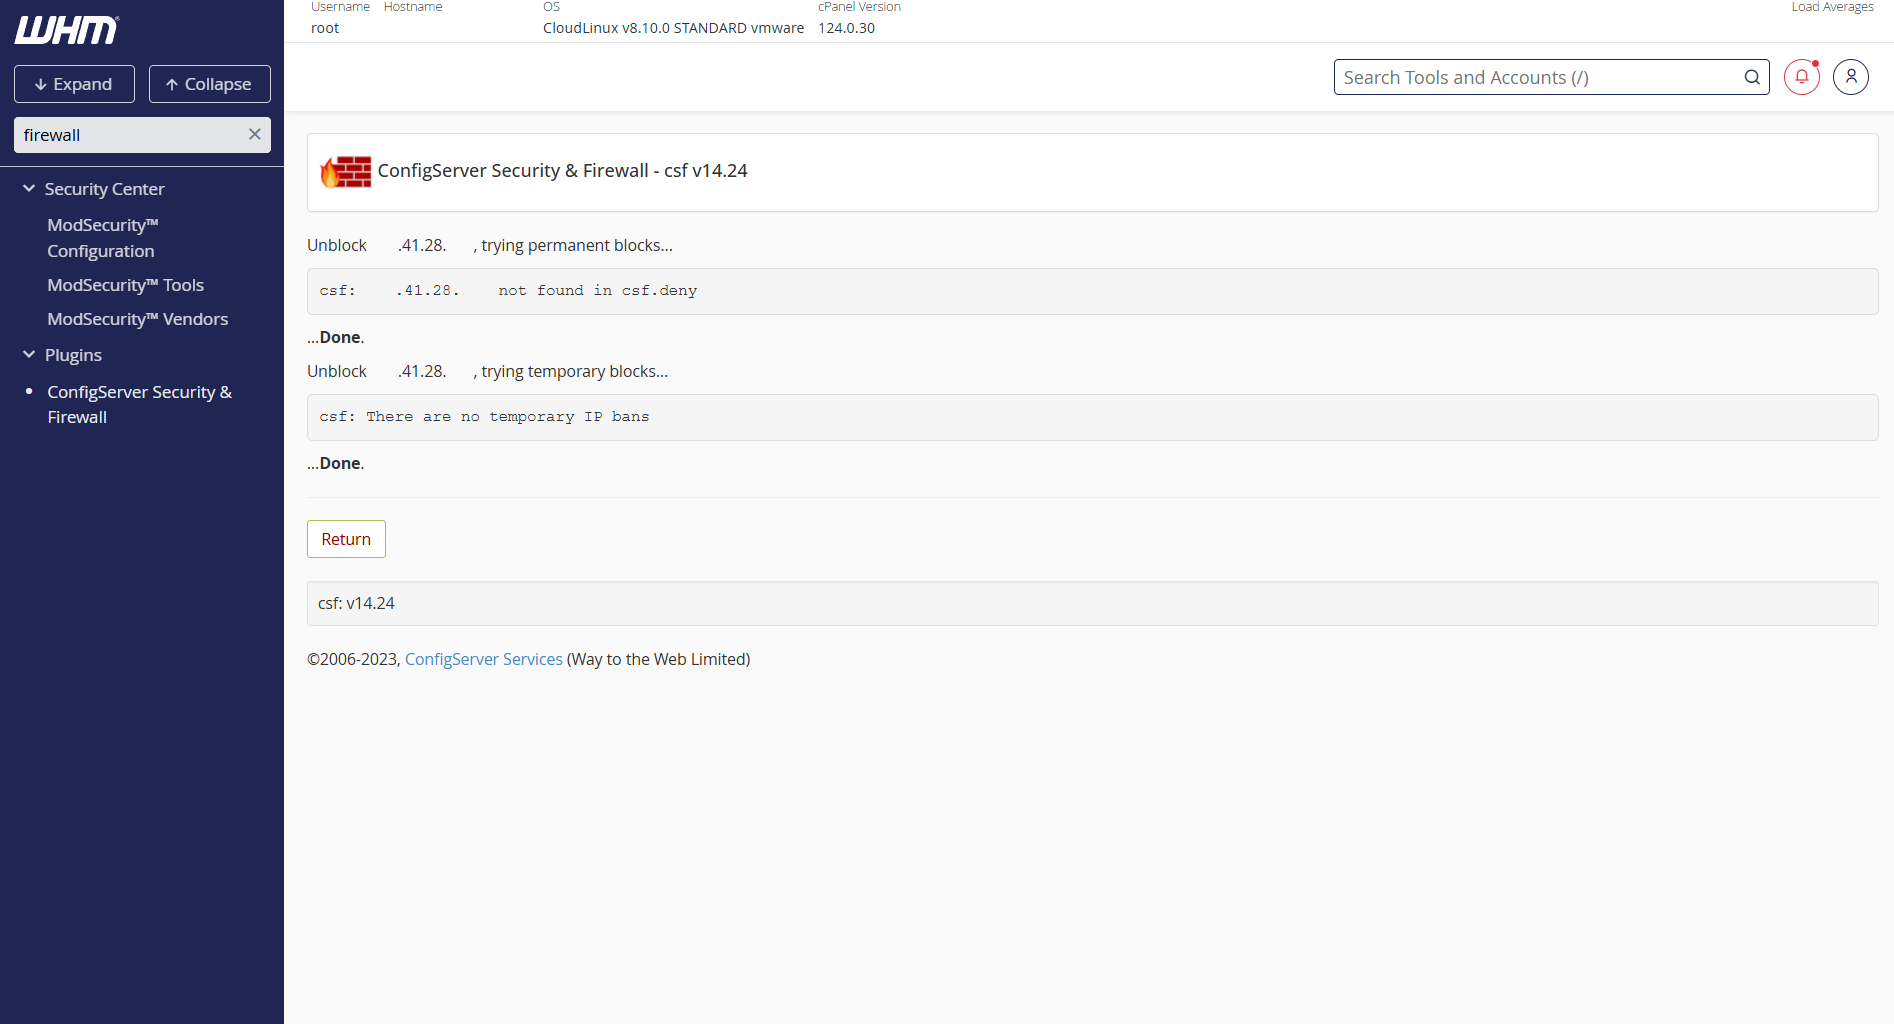
Step 4: Remove the IP from the Whitelist/Blacklist
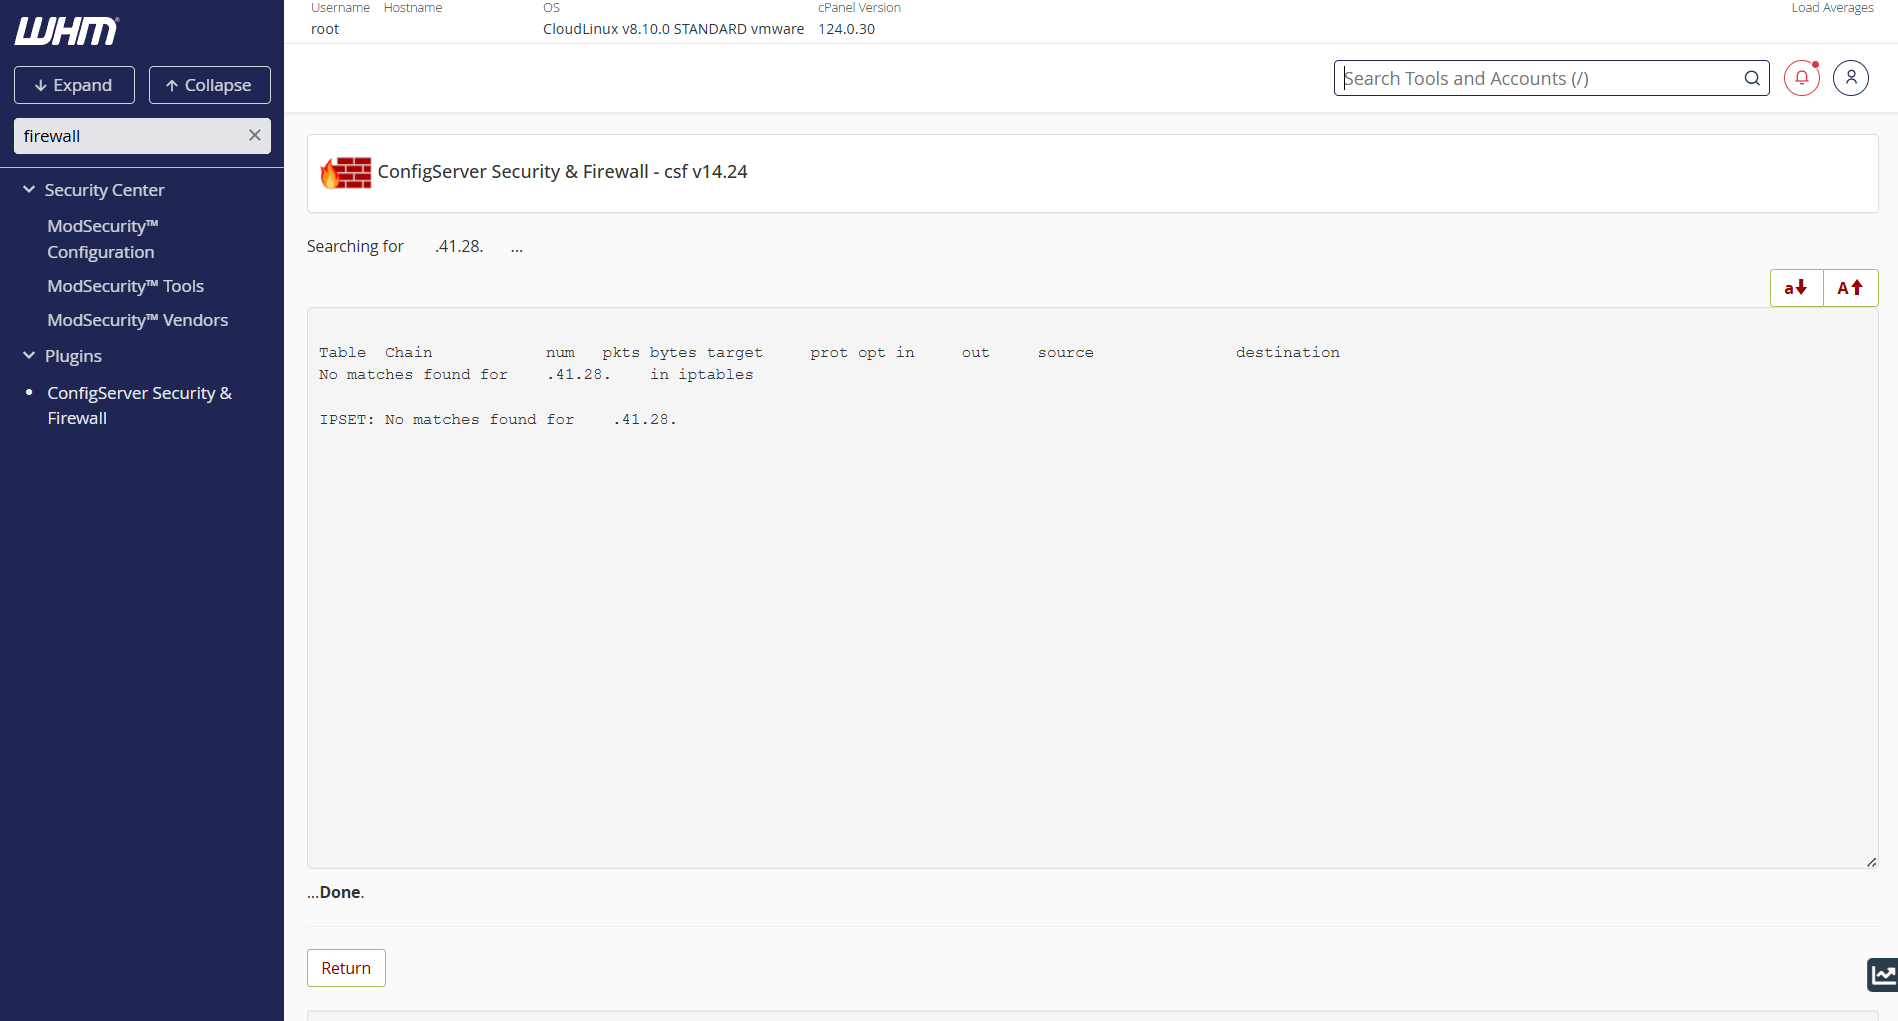
If the IPv4 is not whitelist/blacklist, you’ll see the following result:
Conclusion
By following these steps, you can successfully remove an IP from the whitelist or blacklist in CSF via WHM. If you have any questions or require further assistance, feel free to open a support ticket through your portal account or contact us at +603-2026 1688. Our team is ready to assist you.
