Search Our Database
How to restore a backup using Veeam Agent for Windows
Introduction
Veeam Agent for Windows is a standalone backup solution designed to protect Windows-based systems, including workstations and servers. It provides features such as scheduled backups, incremental backups, and the ability to restore entire systems or individual files.
This guide outlines how to restore a backup using Veeam Agent for Windows, based on the interface shown in the provided screenshot. Unlike Veeam Backup & Replication (VBR), which is used for centralized backup management, Veeam Agent for Windows operates independently or integrates with VBR for managed backups.
Restoring a backup is crucial in cases where system files become corrupted, important data is lost, or a system rollback is necessary. This guide will demonstrate how to use Veeam Agent’s restore options to recover your system, files, or application data effectively.
Prerequisites
- Veeam Agent for Windows is installed and running on the system.
- A valid backup exists, as shown in the backup history of the Veeam Agent for Windows interface.
- Administrator privileges on the system.
- Access to the backup repository or storage where the backups are saved.
- If performing a bare metal recovery, a bootable Veeam Recovery Media is required.
Step-by-Step Guide
Step 1: Open Veeam Agent for Windows
- Click on the Start Menu and search for Veeam Agent for Microsoft Windows.
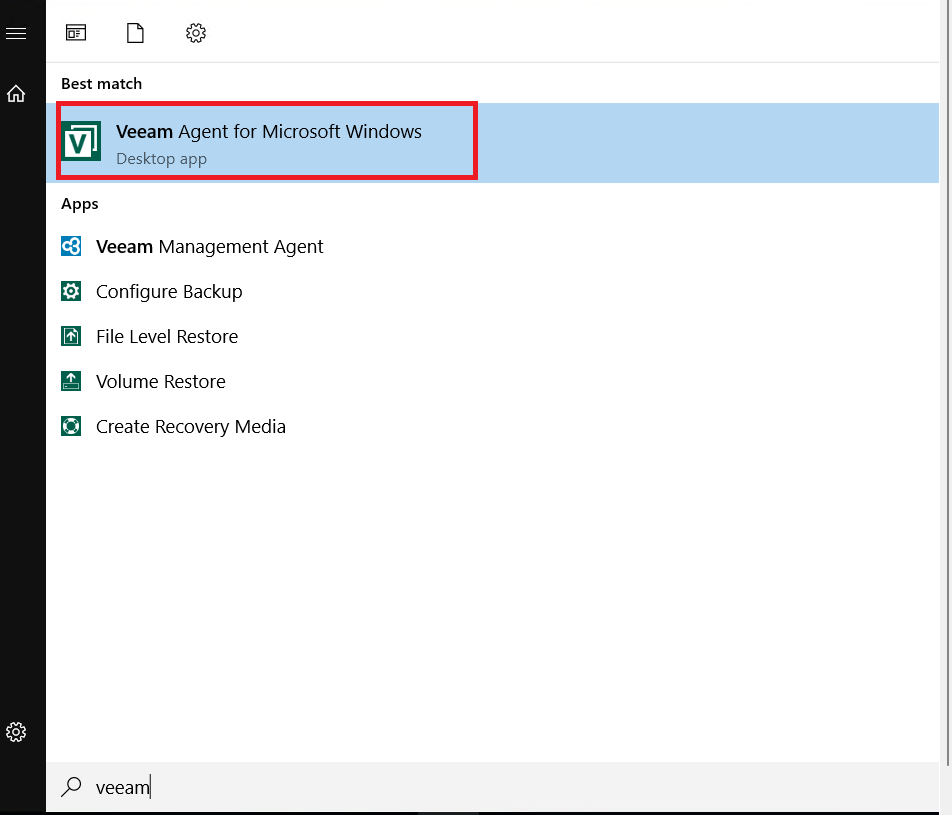
- Launch the application.
- If the Veeam Agent is managed by your administrator (as indicated in the screenshot), you may have limited restore options.
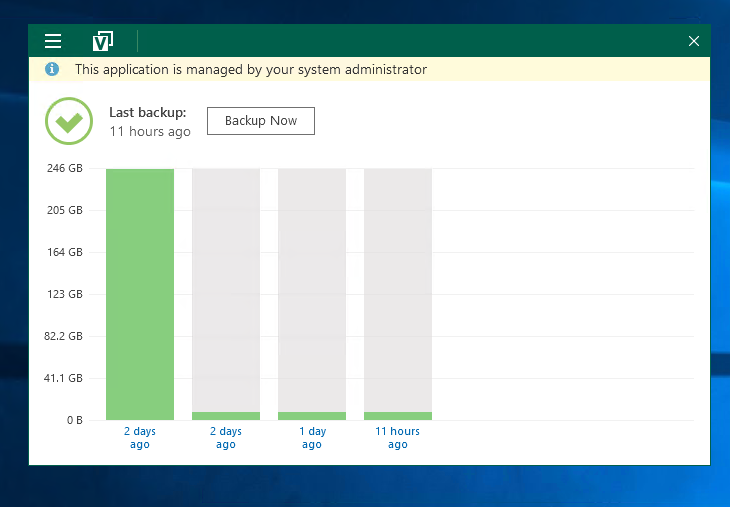
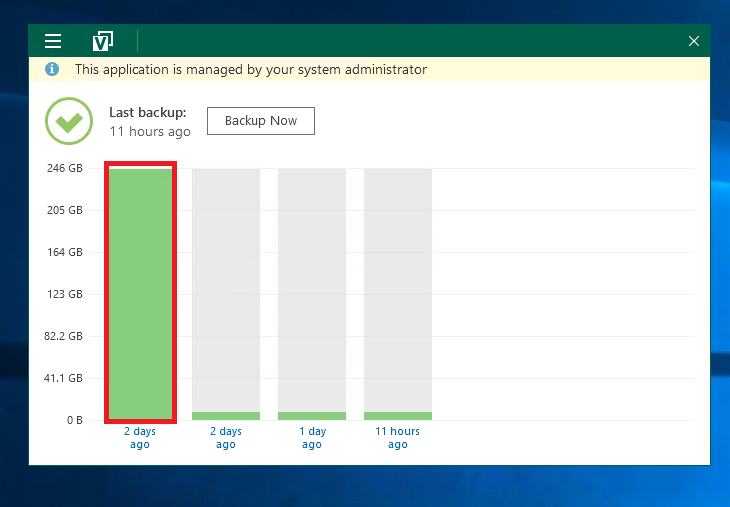
Step 2: Access the Restore Options
- In the Veeam Agent interface, click on the backup bar that you want to restore (for example, 2 days ago backup)
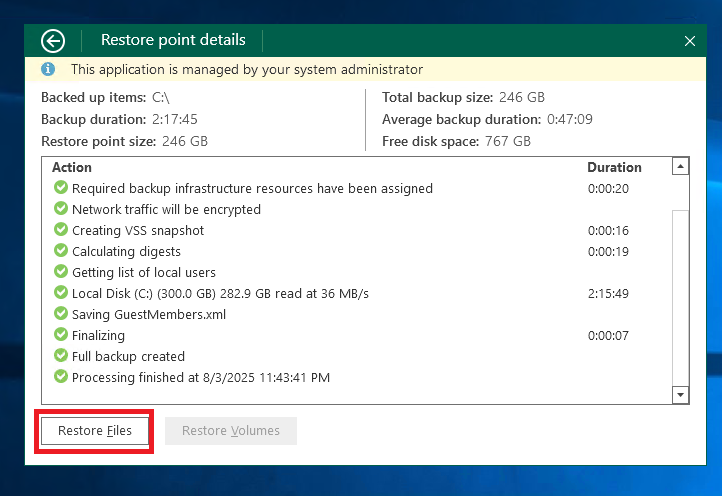
- Select Restore Files from the option.
Step 3: Restore Individual Files.
- A file explorer window will open, allowing you to browse the backed-up files.
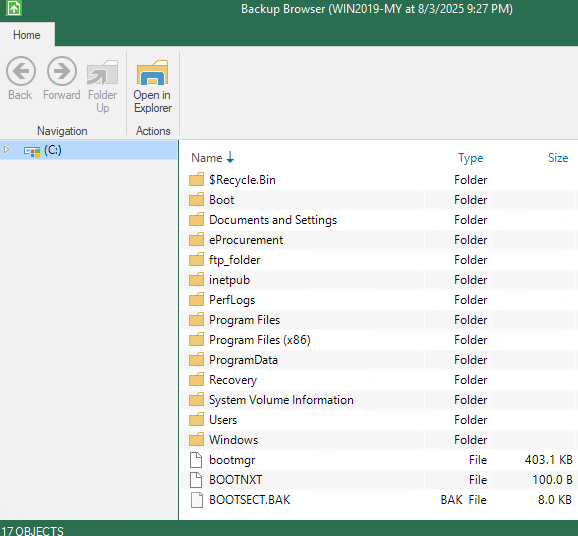
- Locate the file(s) or folder(s) you need to restore.
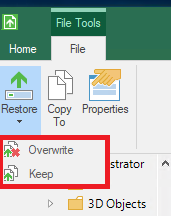
- On the top left tab or Right-click on the selected file(s) and choose:
- Restore – This restores the file to its original location.
- Copy To – This allows you to save the file to a different location.
-
If prompted, choose between the following options:
- Overwrite: Replaces the existing file with the restored version. Any changes made after the backup was taken will be lost.
- Keep: Retains both the existing file and the restored version. The restored file will have a modified name (e.g., a timestamp or numerical suffix).
Step 4: Verify the Restored Data
- Navigate to the original or selected destination folder.
- Open the restored file(s) to ensure they are intact.
- If necessary, restart any applications that rely on the restored files.
Conclusion
This guide provided a step-by-step method to restore backups using Veeam Agent for Windows. Regularly verifying and maintaining backup integrity ensures a smooth recovery process.
Should you have any inquiries about the guidelines, please feel free to open a ticket through your portal account or contact us at support@ipserverone.com. We’ll be happy to assist you further.