Search Our Database
How to scheduling backups in Plesk
Introduction
Regularly scheduling data backups in Plesk is crucial for maintaining the security and availability of your data, ensuring quick recovery in case of data loss or system failure. Plesk’s backup automation allows you to customize how and when backups occur, making the process seamless. This guide walks you through configuring automated backups, including options like incremental backups to save disk space, choosing storage locations, and setting up notifications for any errors during the process. Setting this up properly will ensure your system is always safeguarded.
Prerequisites
- Access to Plesk control panel.
- Administrative privileges.
- Adequate storage space for backup files.
Step-by-Step Guide
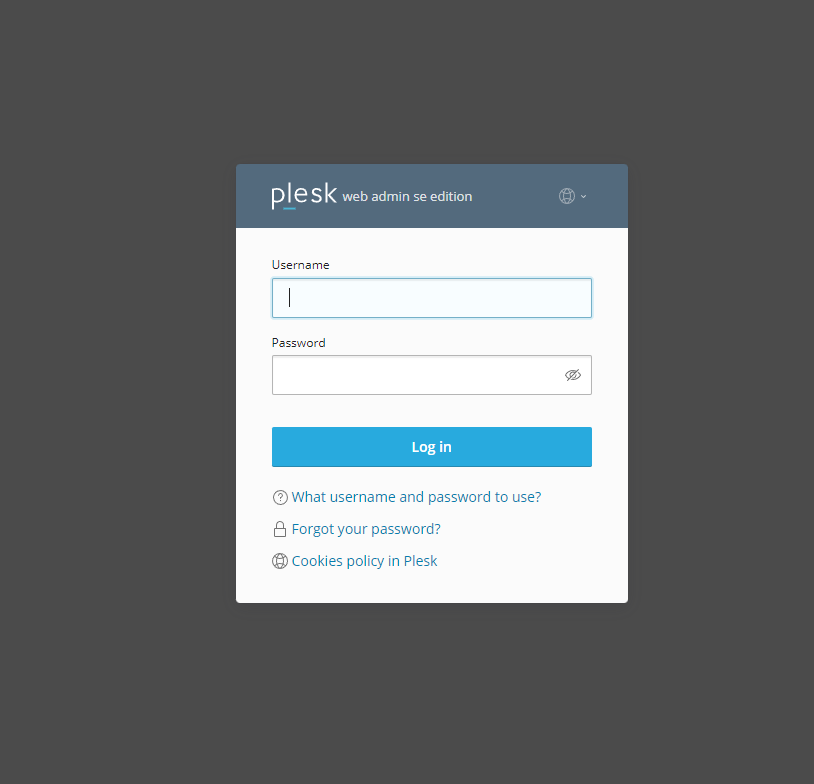
Step 1: Log into Plesk
- Access your Plesk control panel using admin credentials.
Step 2: Navigate to Backup Settings
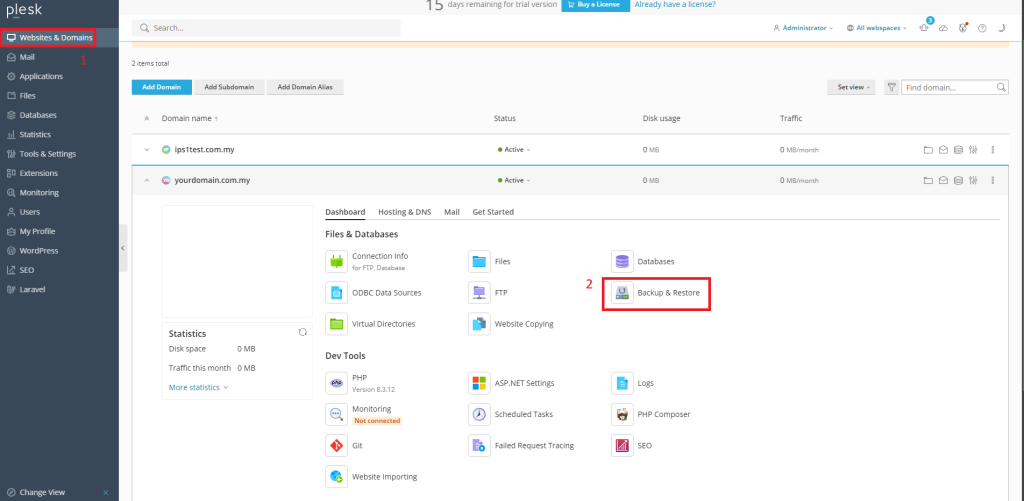
- Go to Websites & Domains.
- Select the domain you want to back up.
- Click on Backup & Restore.
Step 3: Set Up Backup Schedule
- In the Backup Manager, click Schedule.
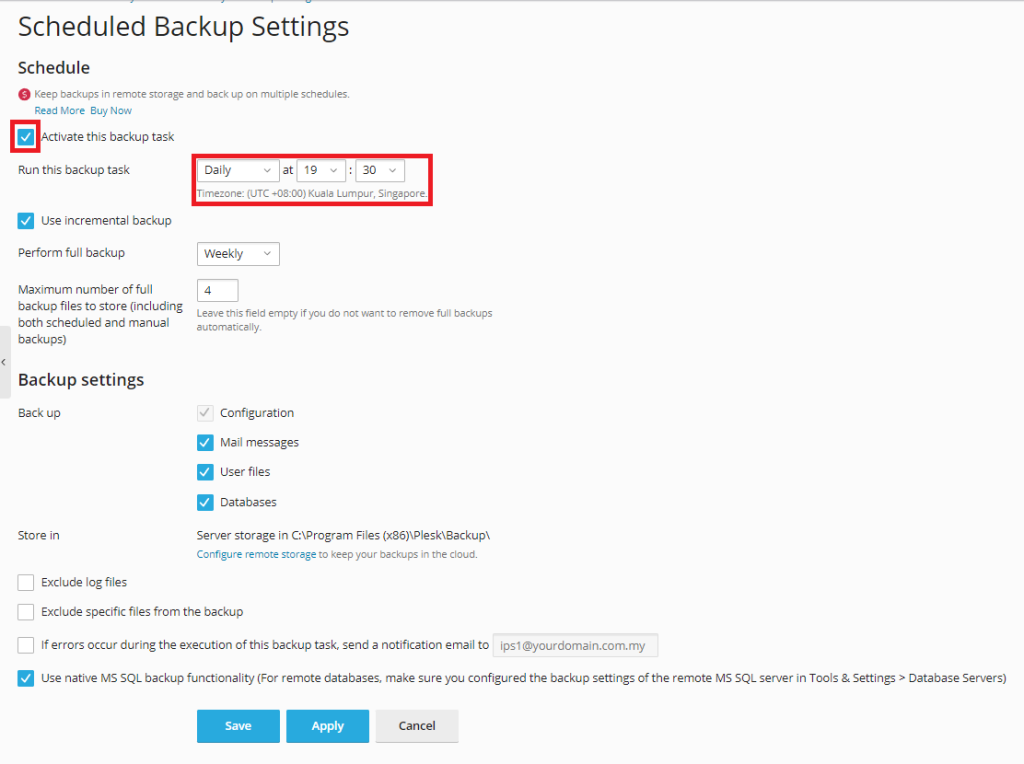
- Check Activate this backup task.
- Configure how often the backup should run (daily, weekly, monthly) in Run this backup task.
Step 4: Configure Backup Options
- Use incremental backup: Reduce disk usage by performing incremental backups.
- Choose how often a full backup will be created (weekly, monthly, etc.).
- Define how long backups will be retained under Keep backup files for
Step 5: Backup Data and Storage Location
- Select what data to back up: either Account settings only, or Account settings and all related data.
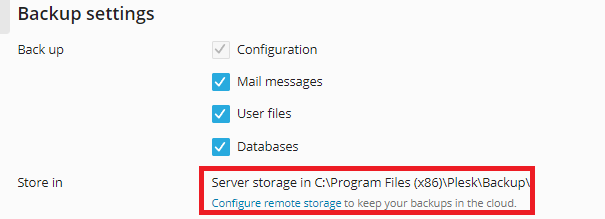
- Choose the storage location for the backup: local or remote (e.g., FTP storage).
Step 6: Additional Options
- Enable Splitting of the backup file if needed, and define the volume size (up to 2047 MB).
- Provide an email address for notifications about any backup errors.
- Optionally, select Suspend domains until the backup task is completed to avoid disruptions.
Step 7: Save the Backup Schedule
- Click OK to apply your backup schedule.
Conclusion
By following these steps, you can ensure your data is regularly backed up in Plesk Obsidian 18. Scheduling automatic backups will help safeguard your data and keep your site protected from potential data loss. For additional help, feel free to contact our support team at support@ipserverone.com.


