Search Our Database
How to Set Up IP Blocker via cPanel
Introduction
The IP Blocker tool in cPanel allows you to restrict access to your website from specific IP addresses, helping enhance security and prevent unwanted visitors. This guide will walk you through the process of setting up an IP Blocker efficiently.
Prerequisites
- Access to your cPanel with user privileges.
- The IP addresses or IP ranges you want to block.
Step-by-Step Instructions
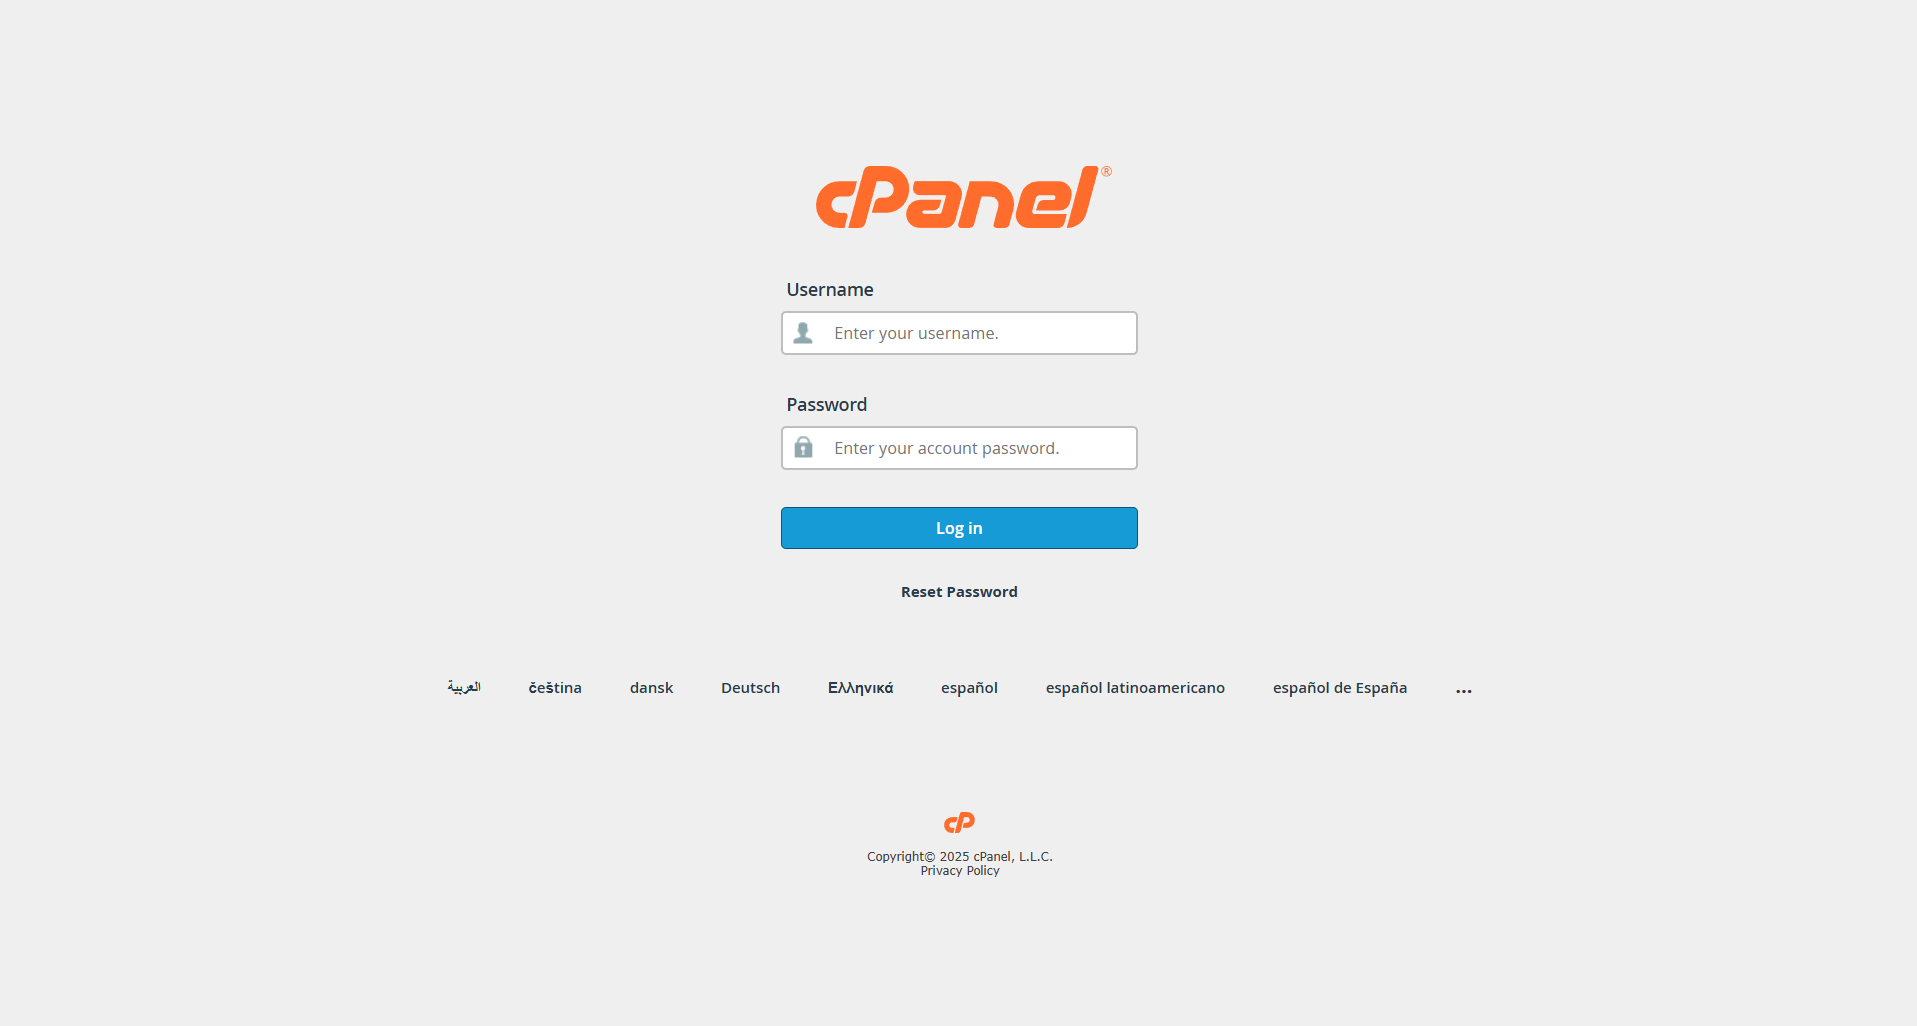
Step 1: Log into WHM
To begin, access your WHM control panel by navigating to https://yourserver.hostname:2083 and logging in with your user credentials.
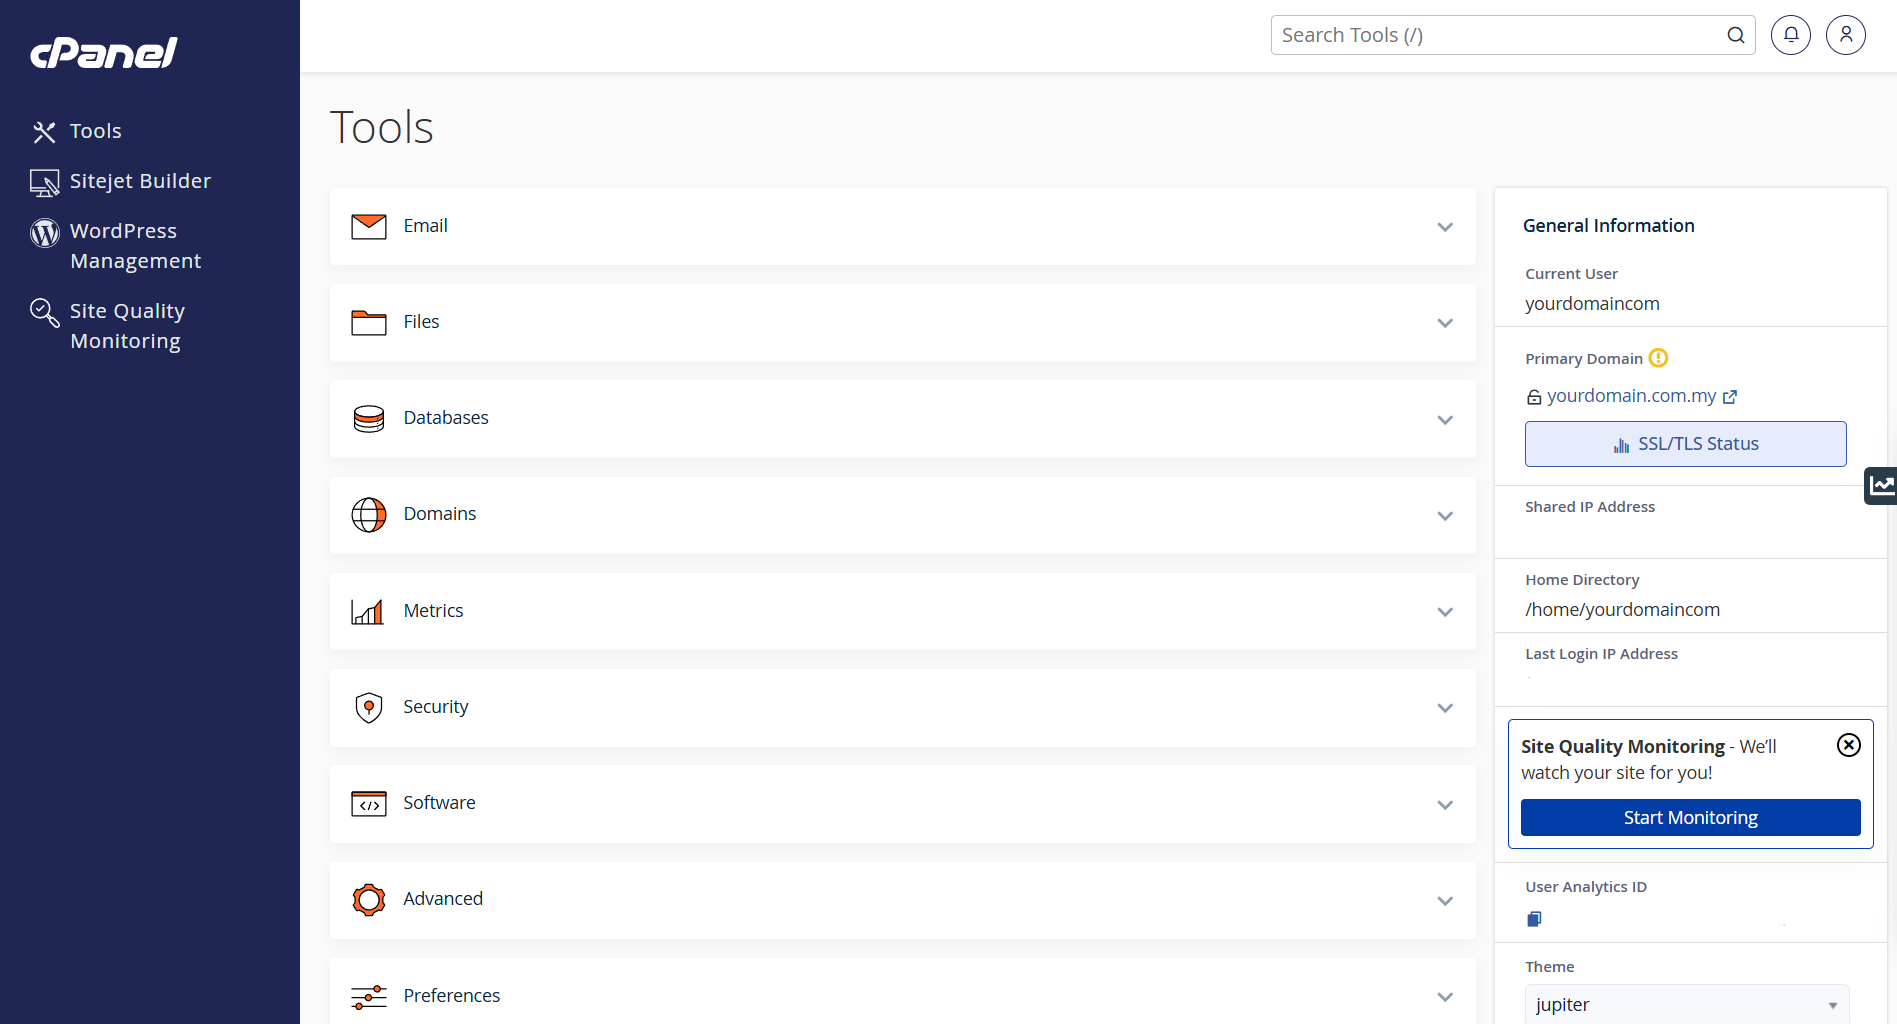
Step 2. Access IP Blocker in cPanel
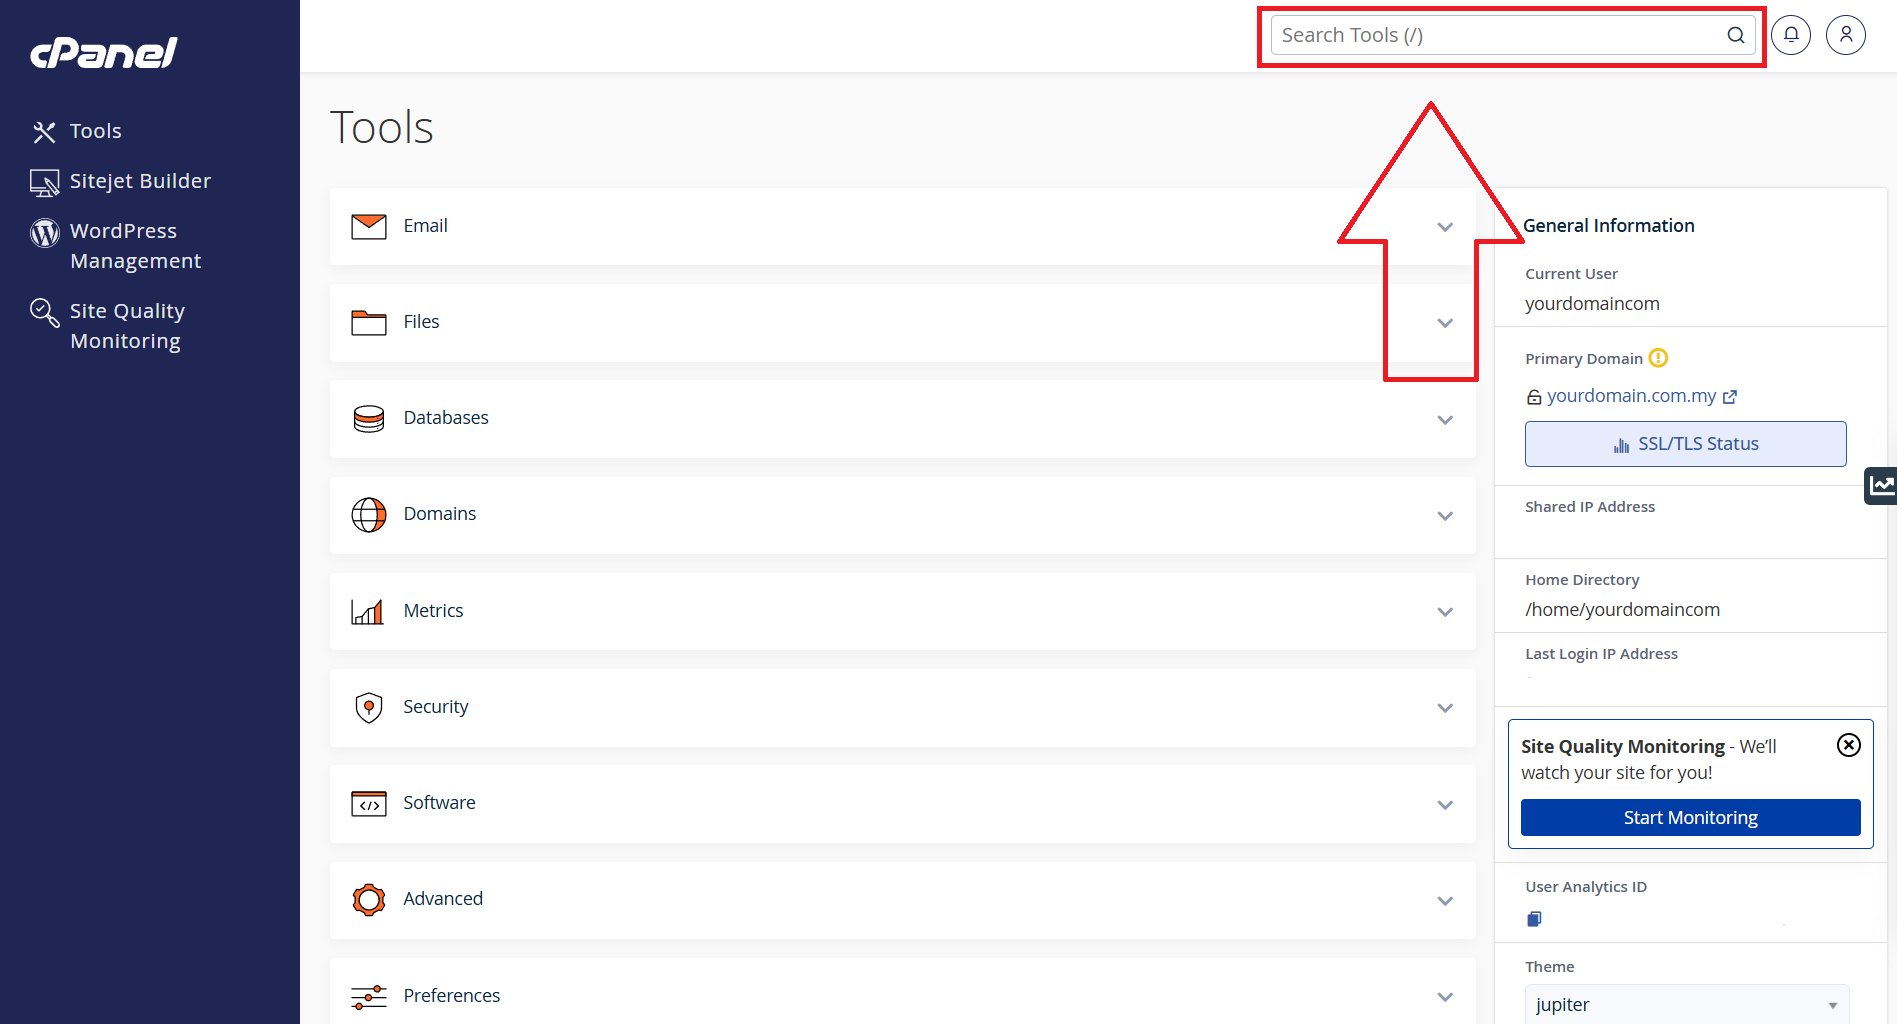
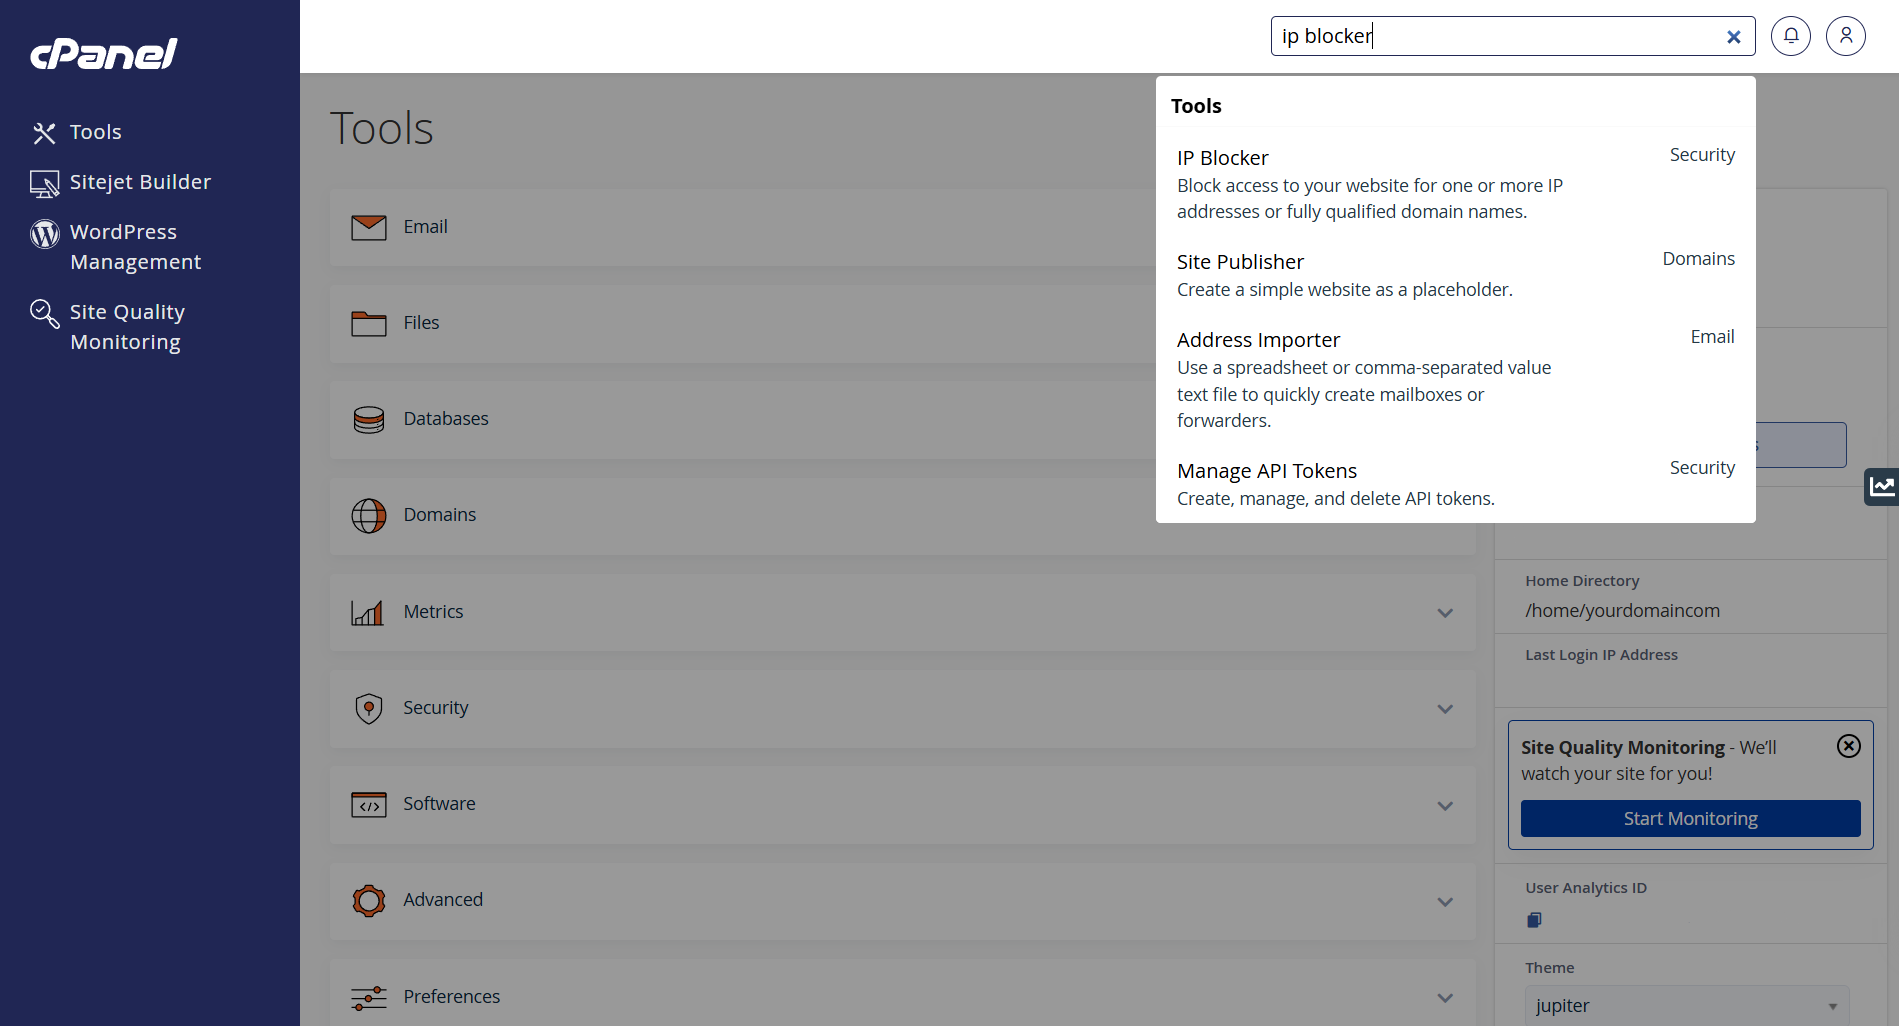
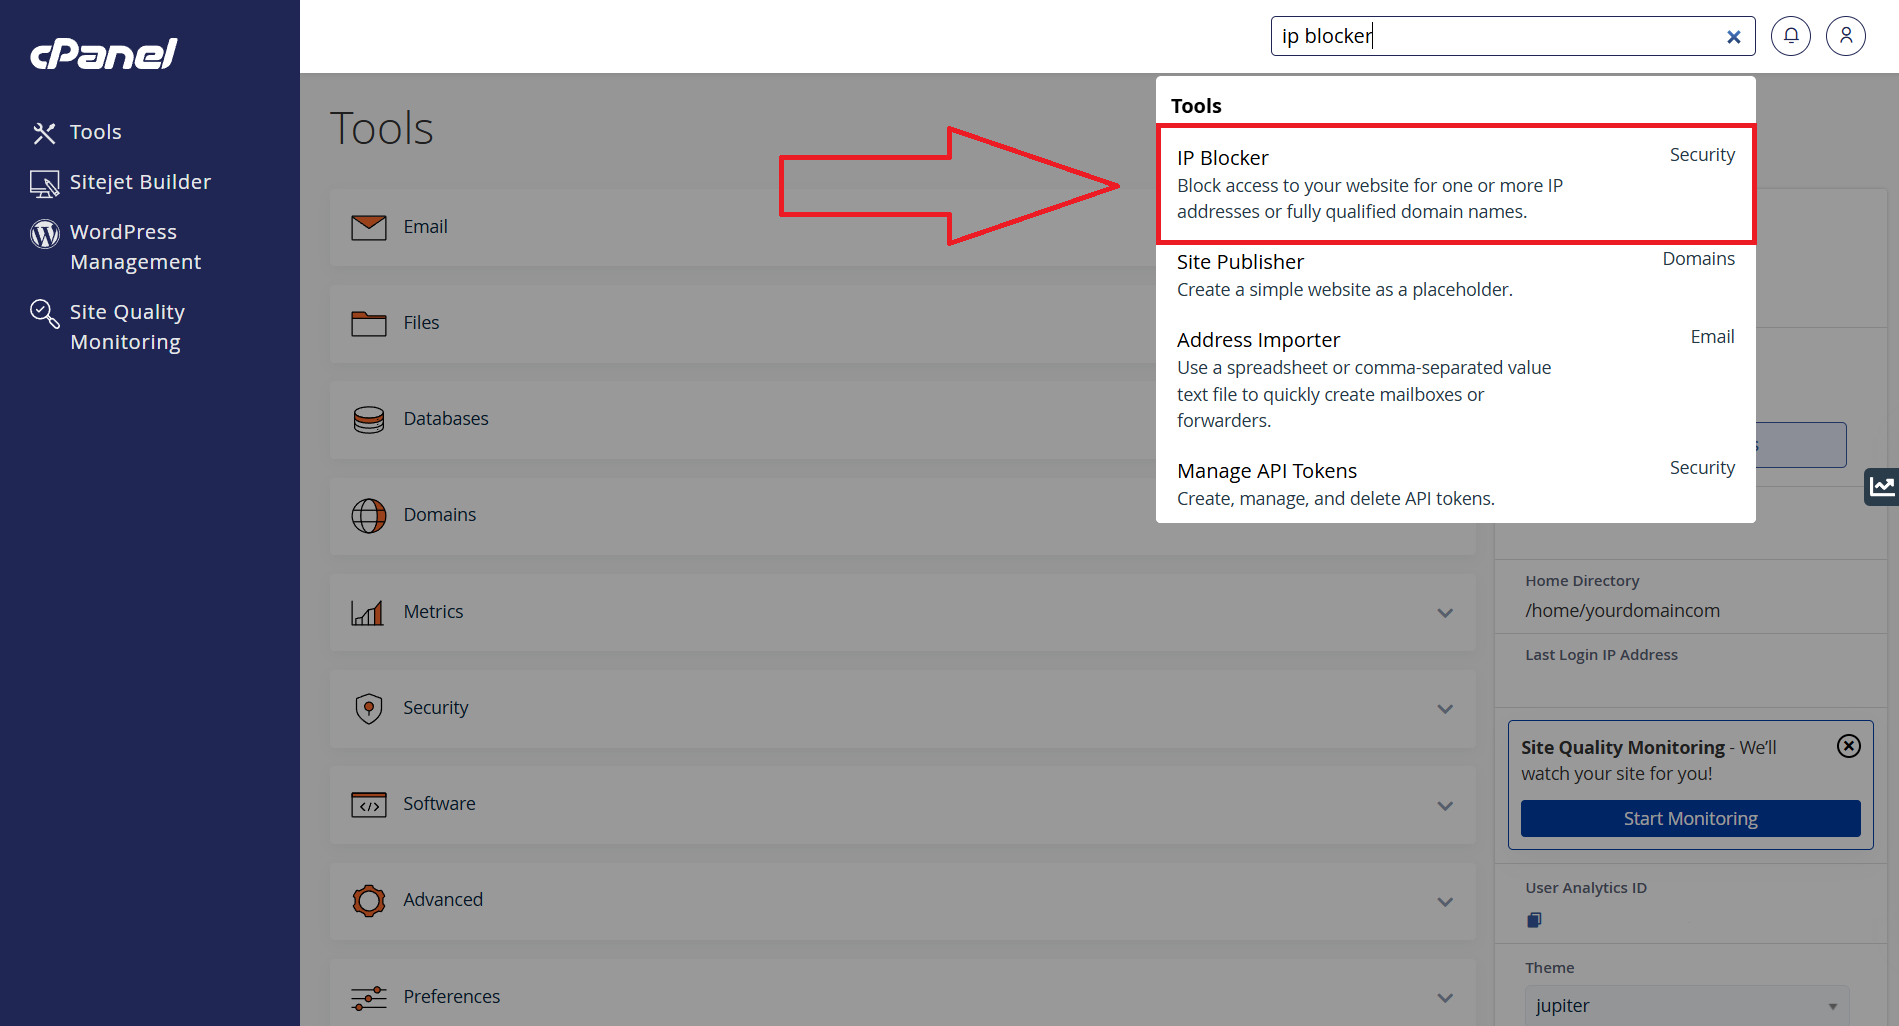
To begin whitelist/blacklist IP Address(es) in IP Blocker, at the search bar on the top right panel, type “IP Blocker” and click on it.
Step 3: Managing IPv4 Address in IP Blocker
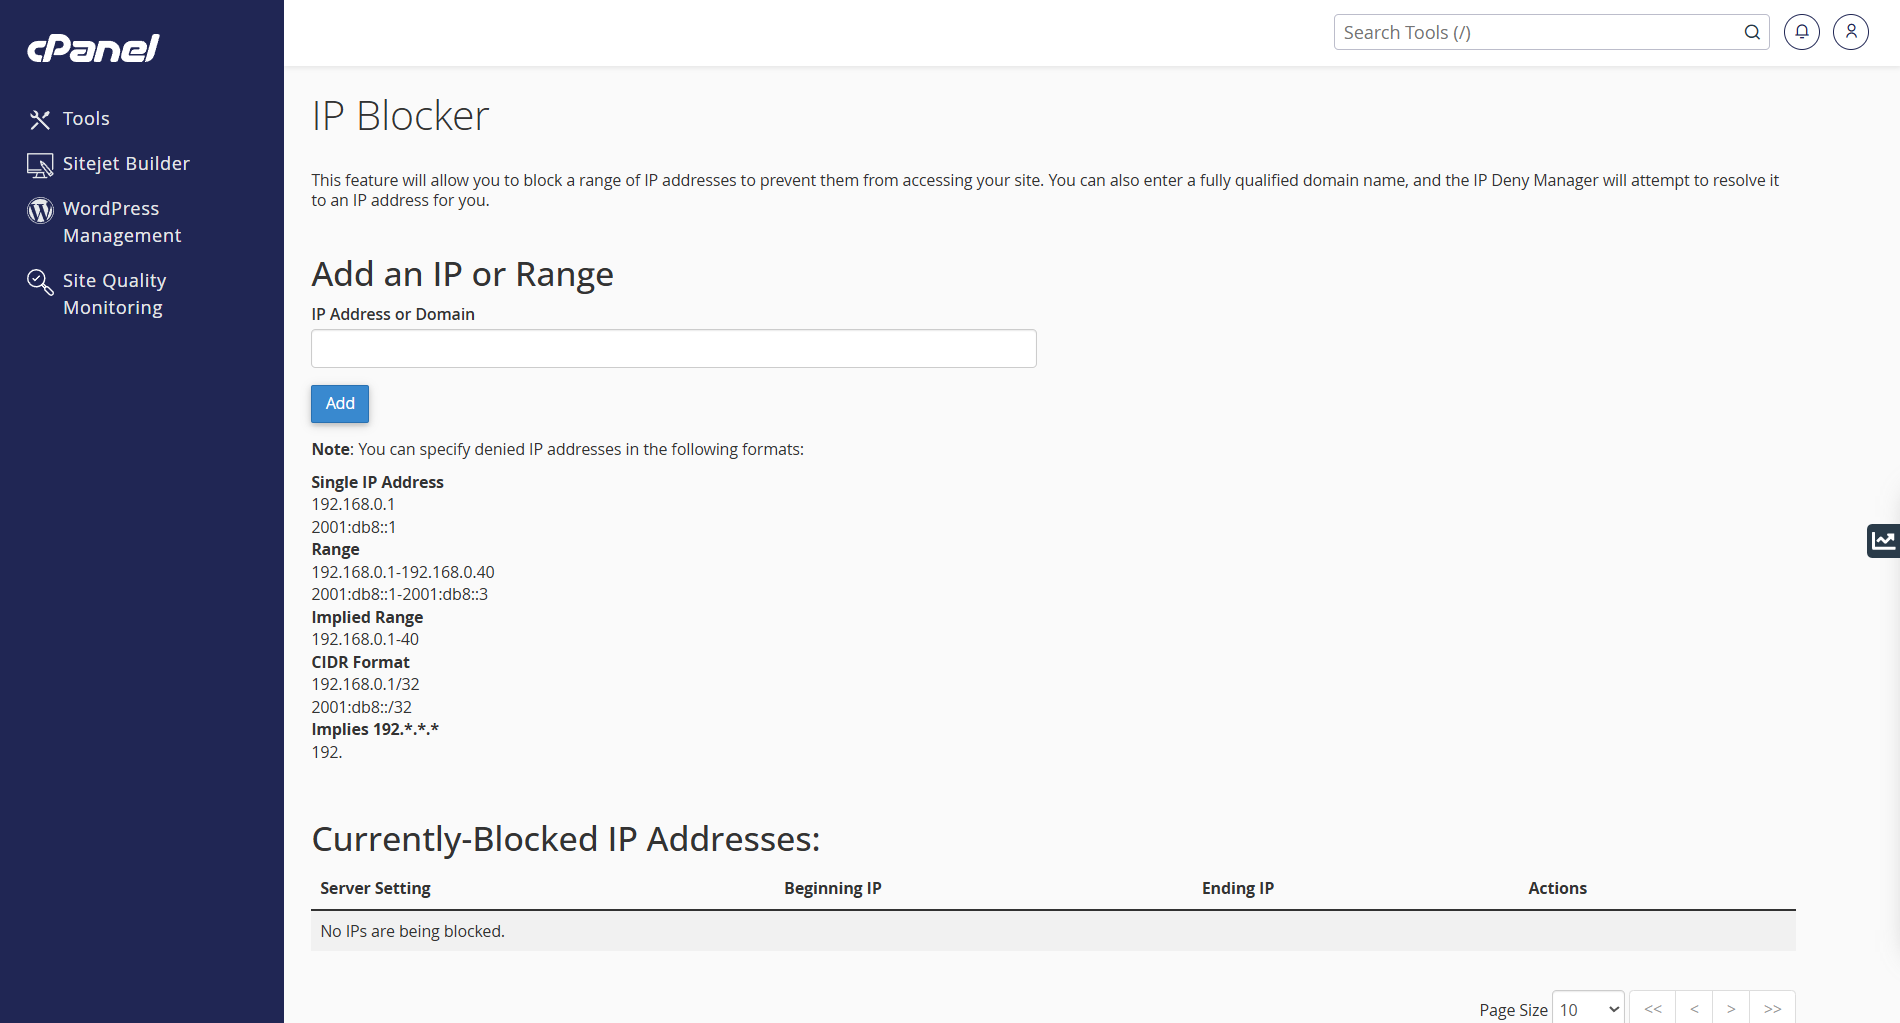
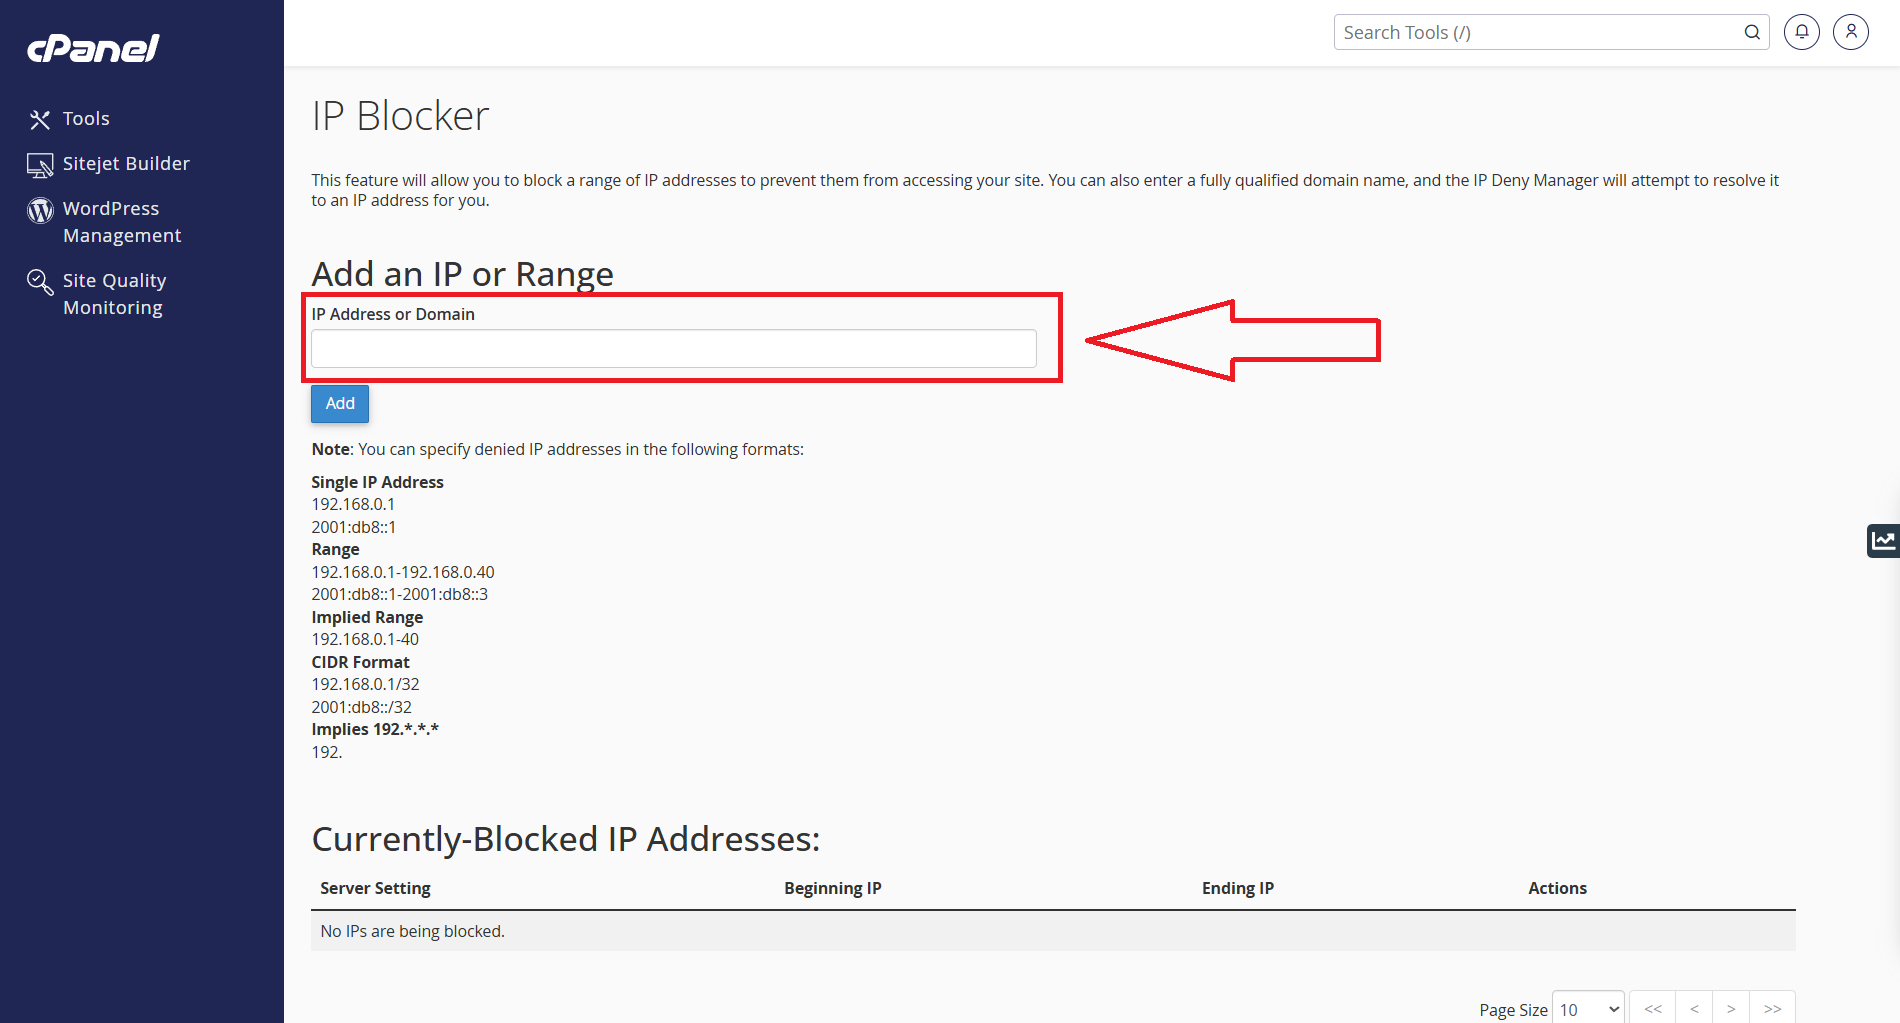
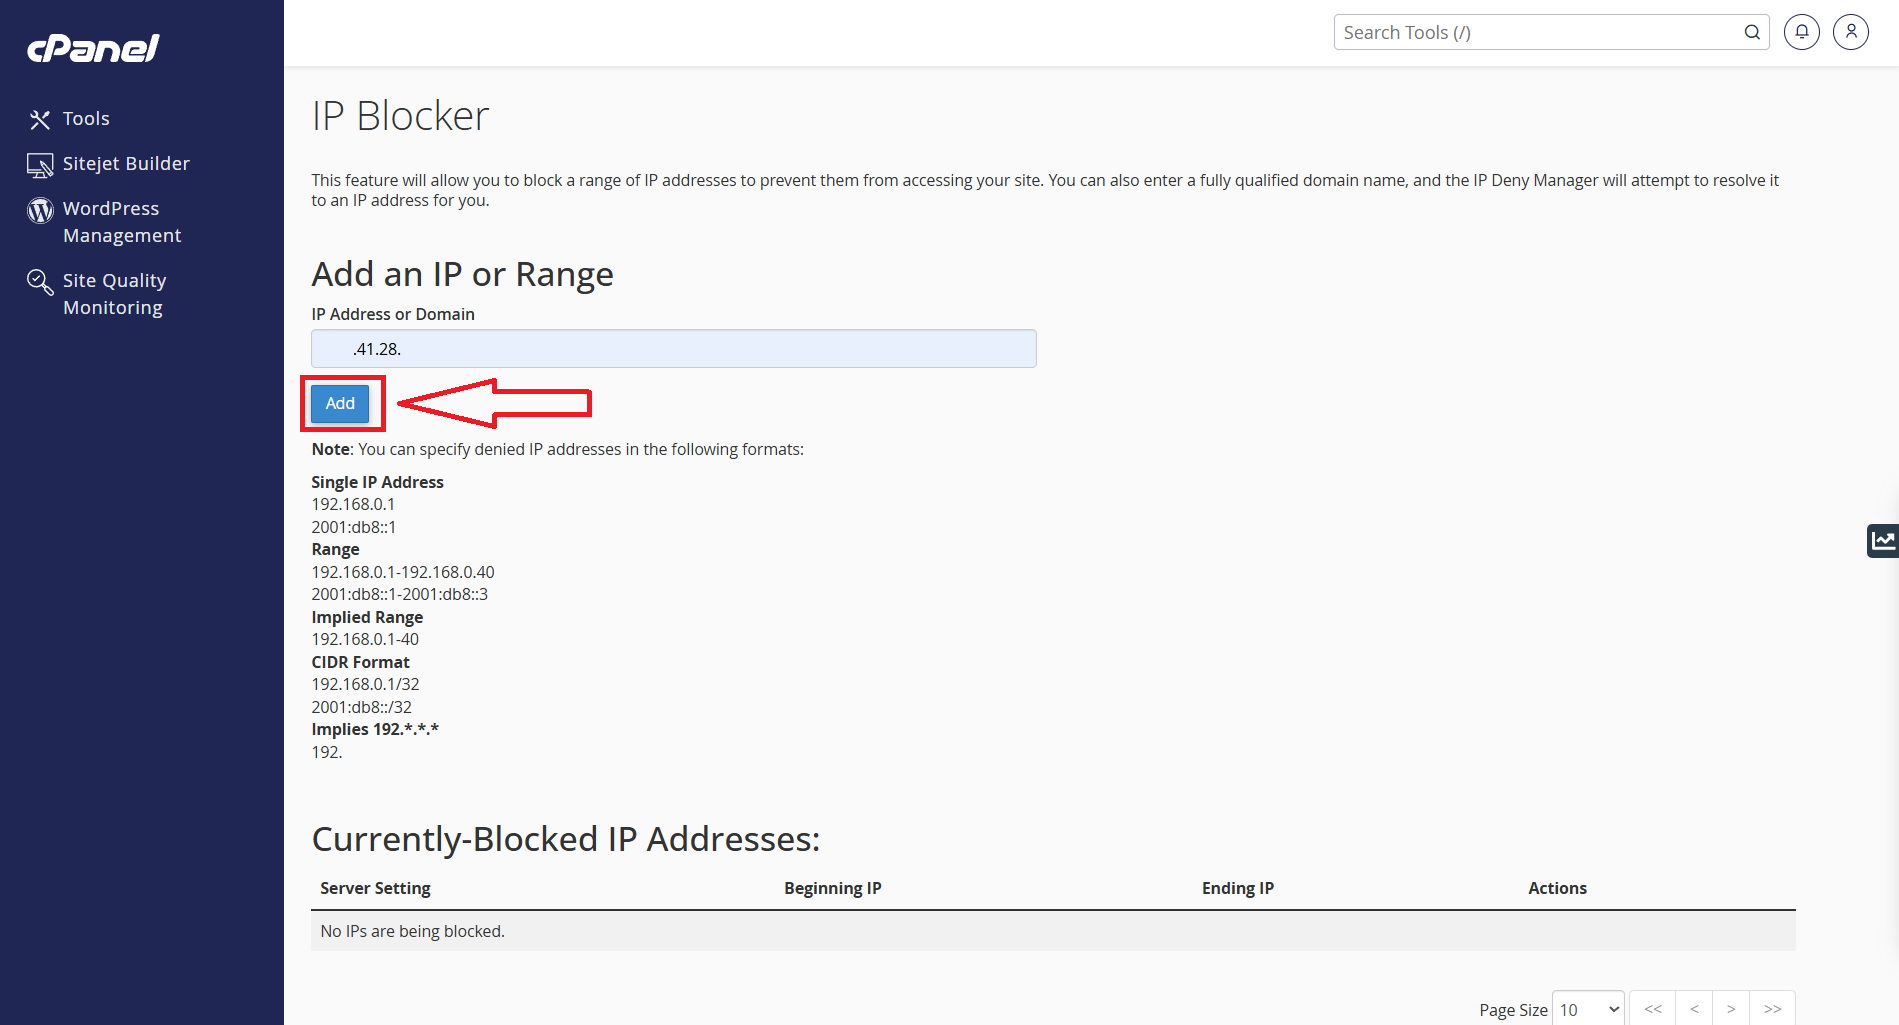
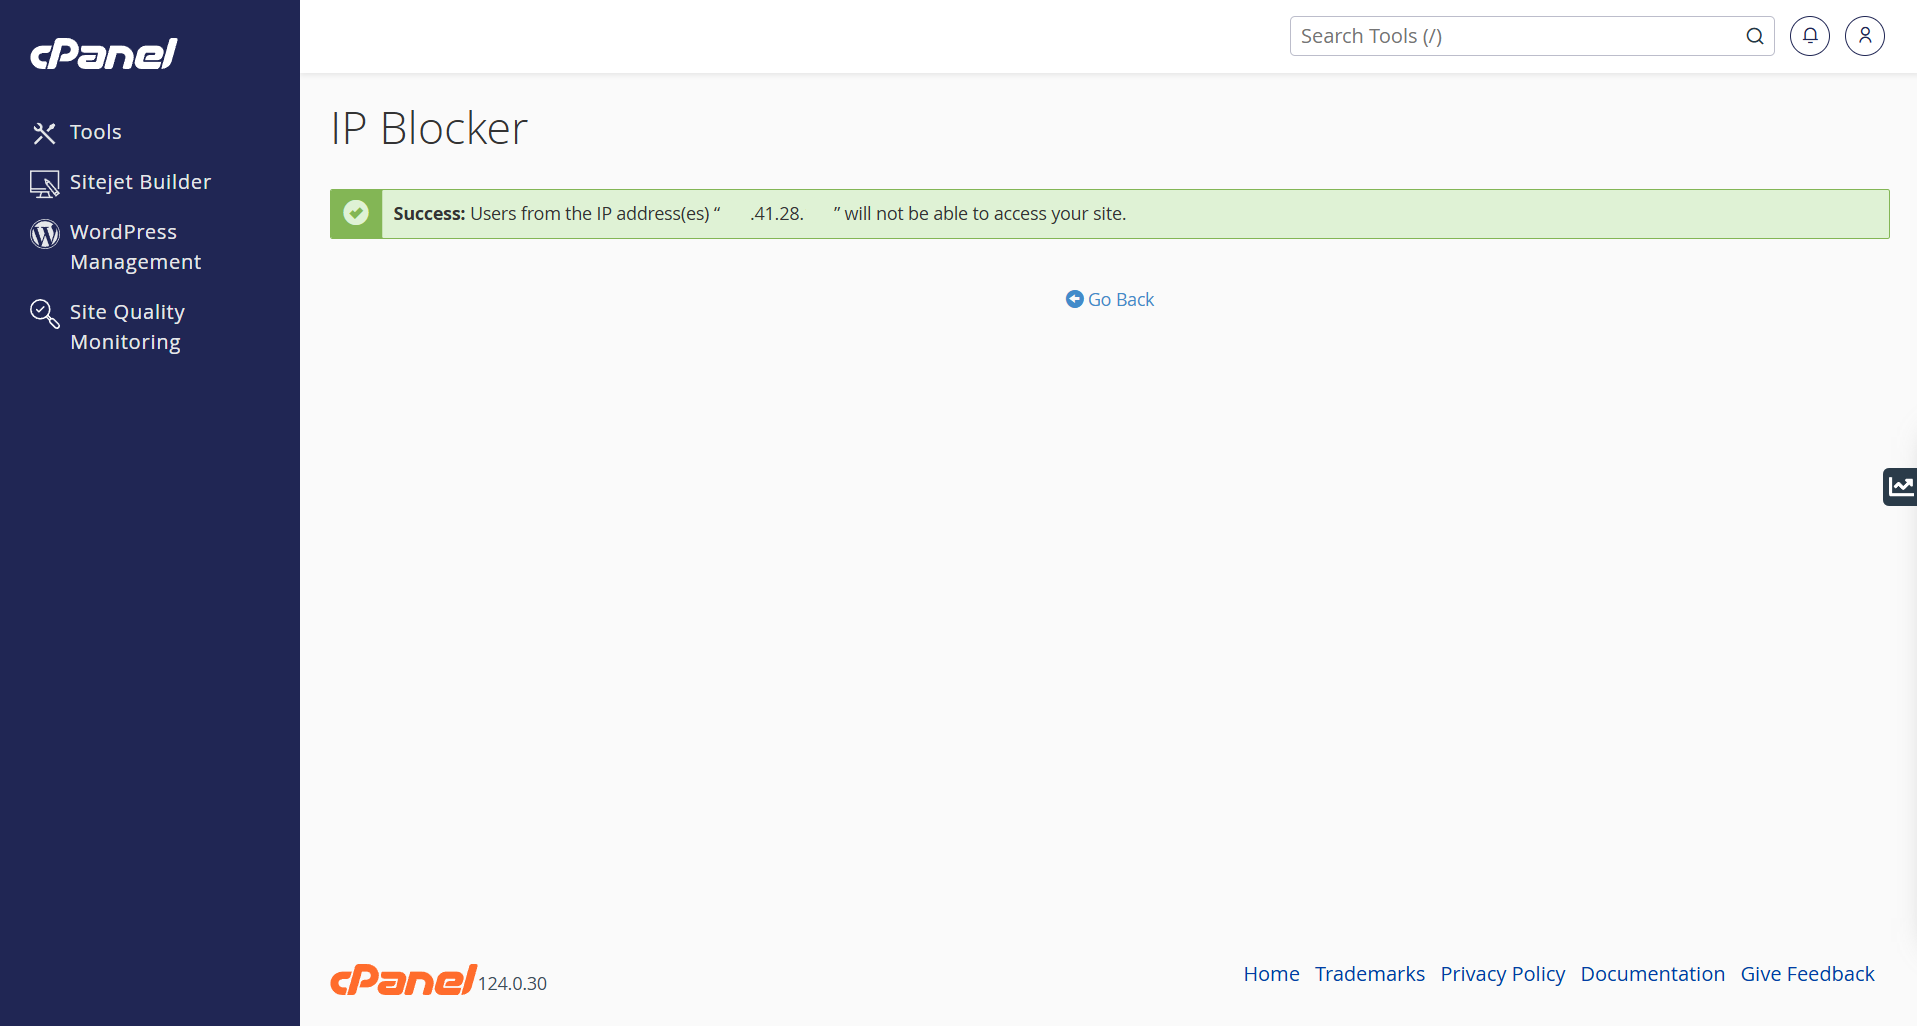
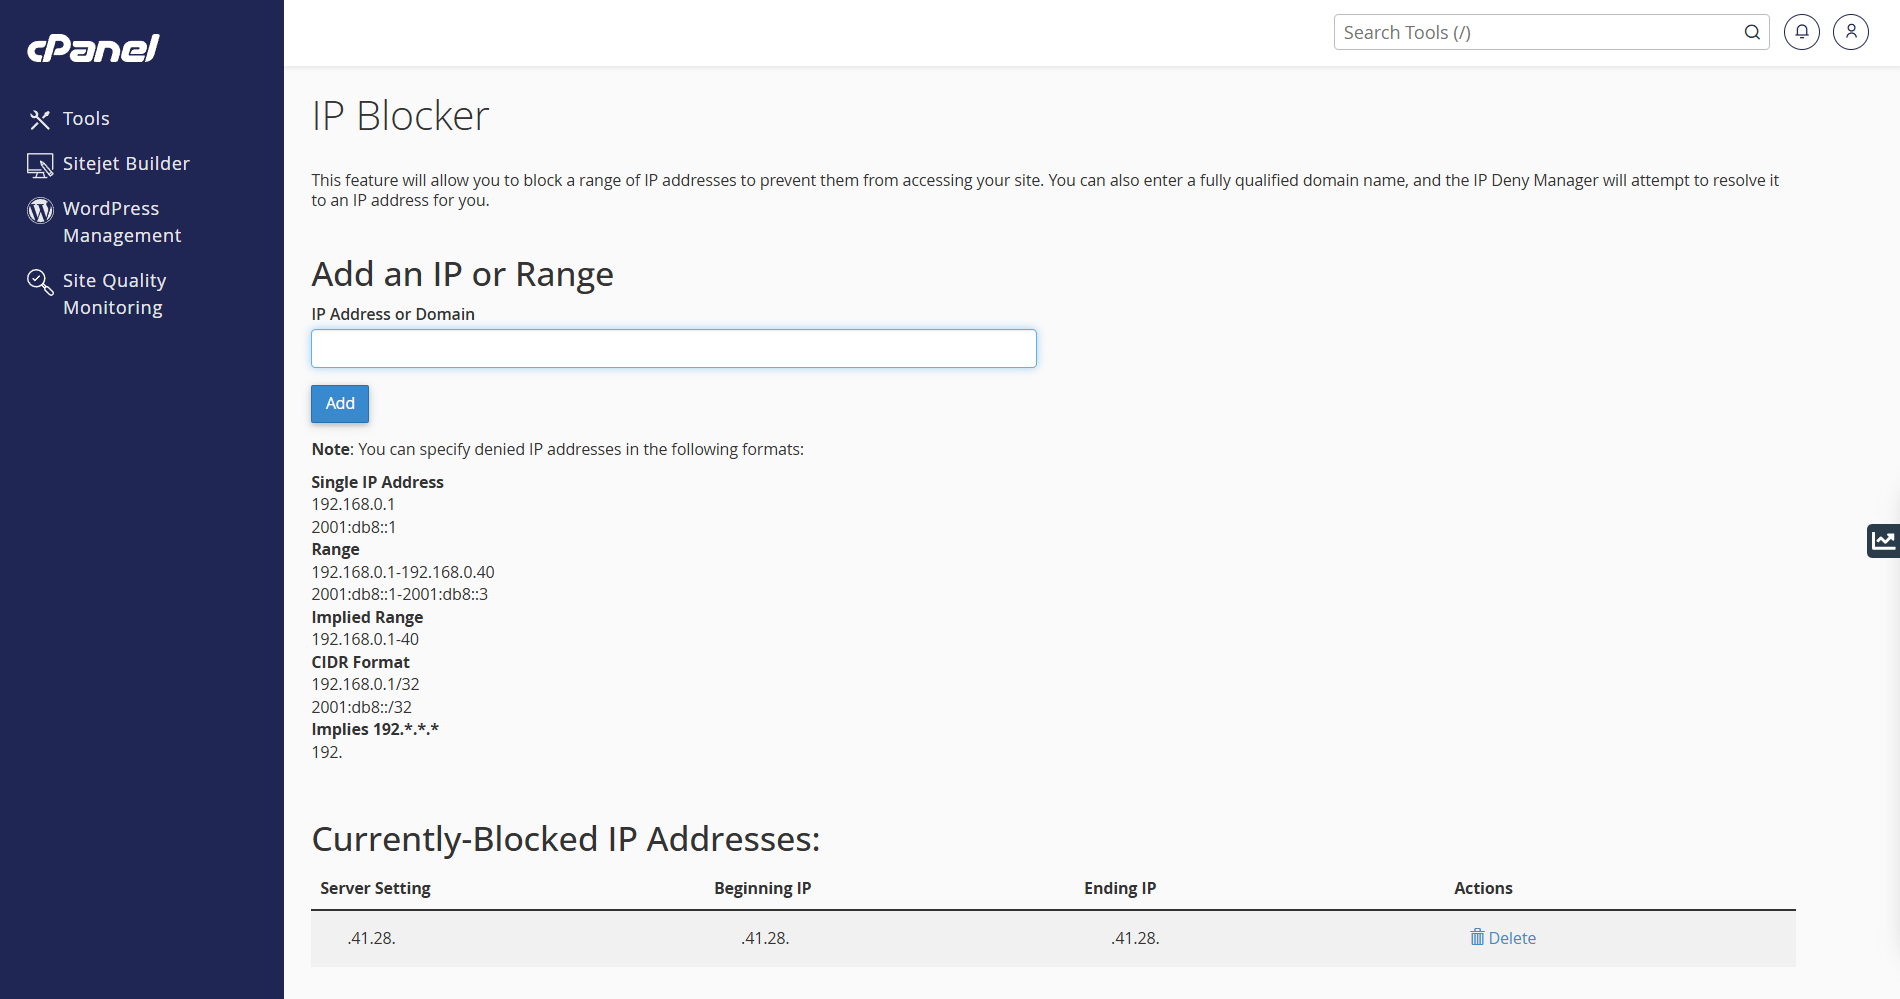
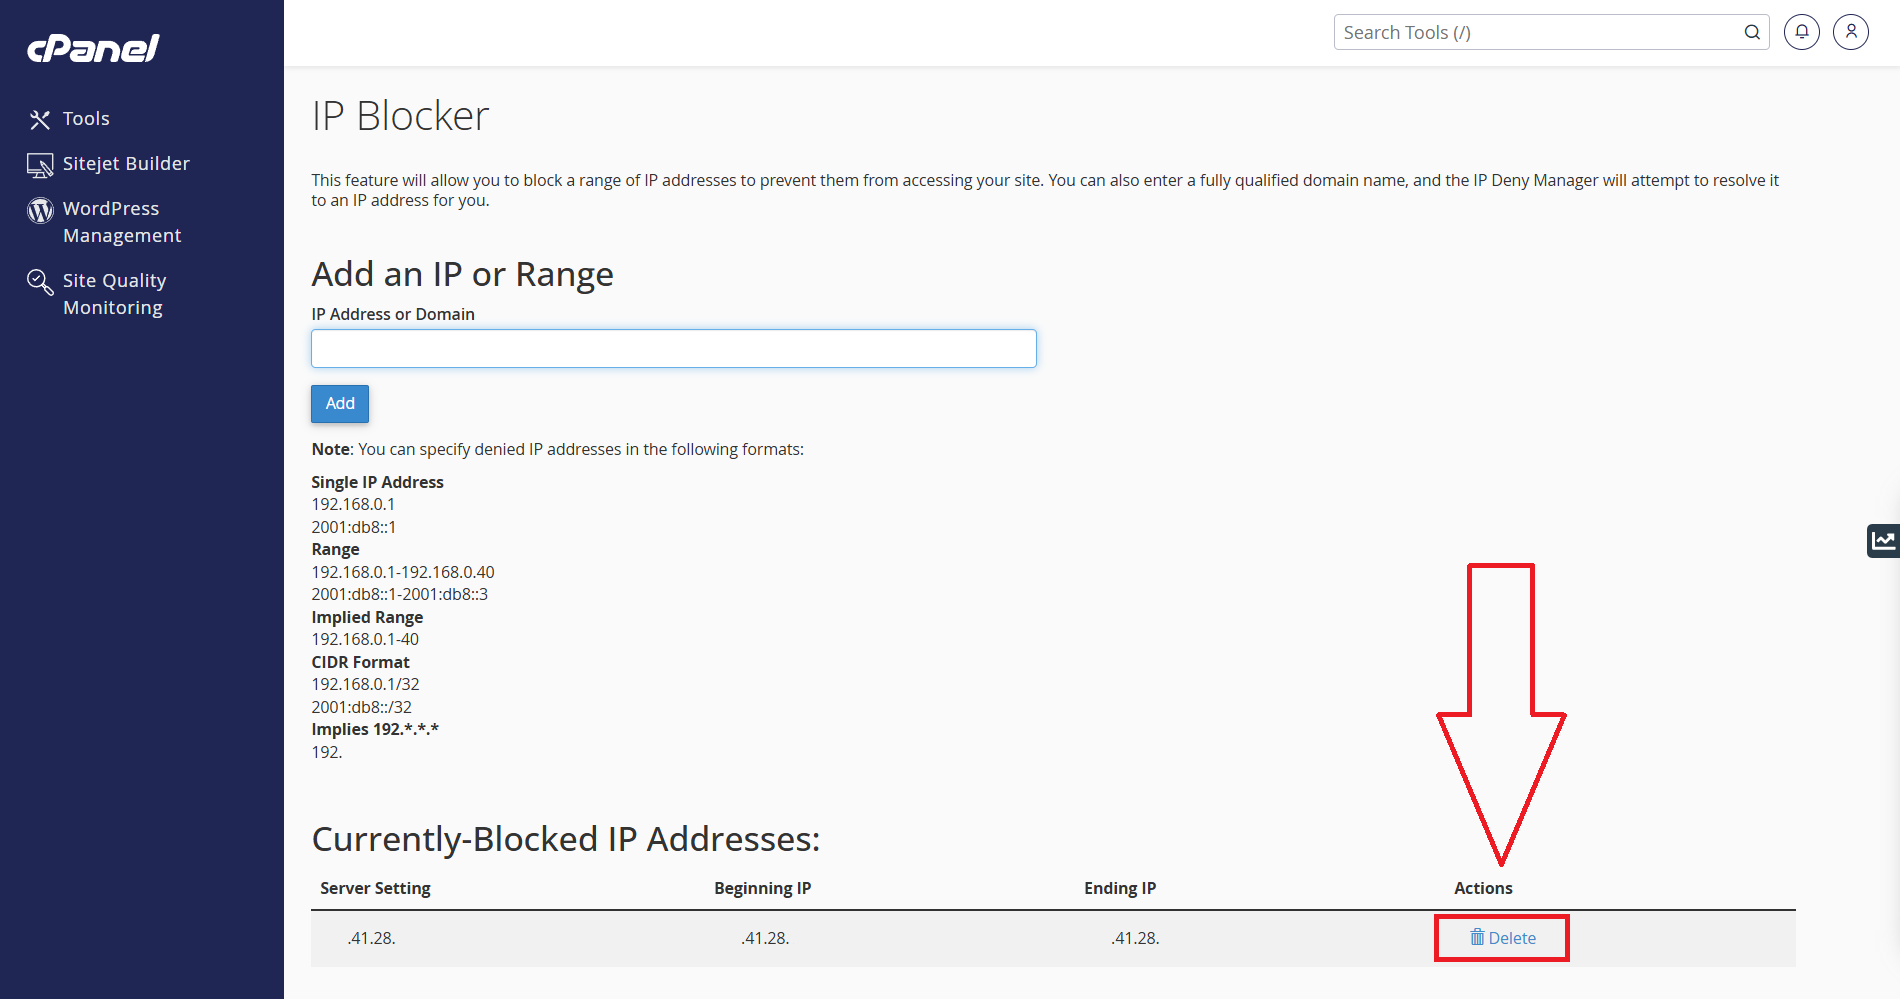
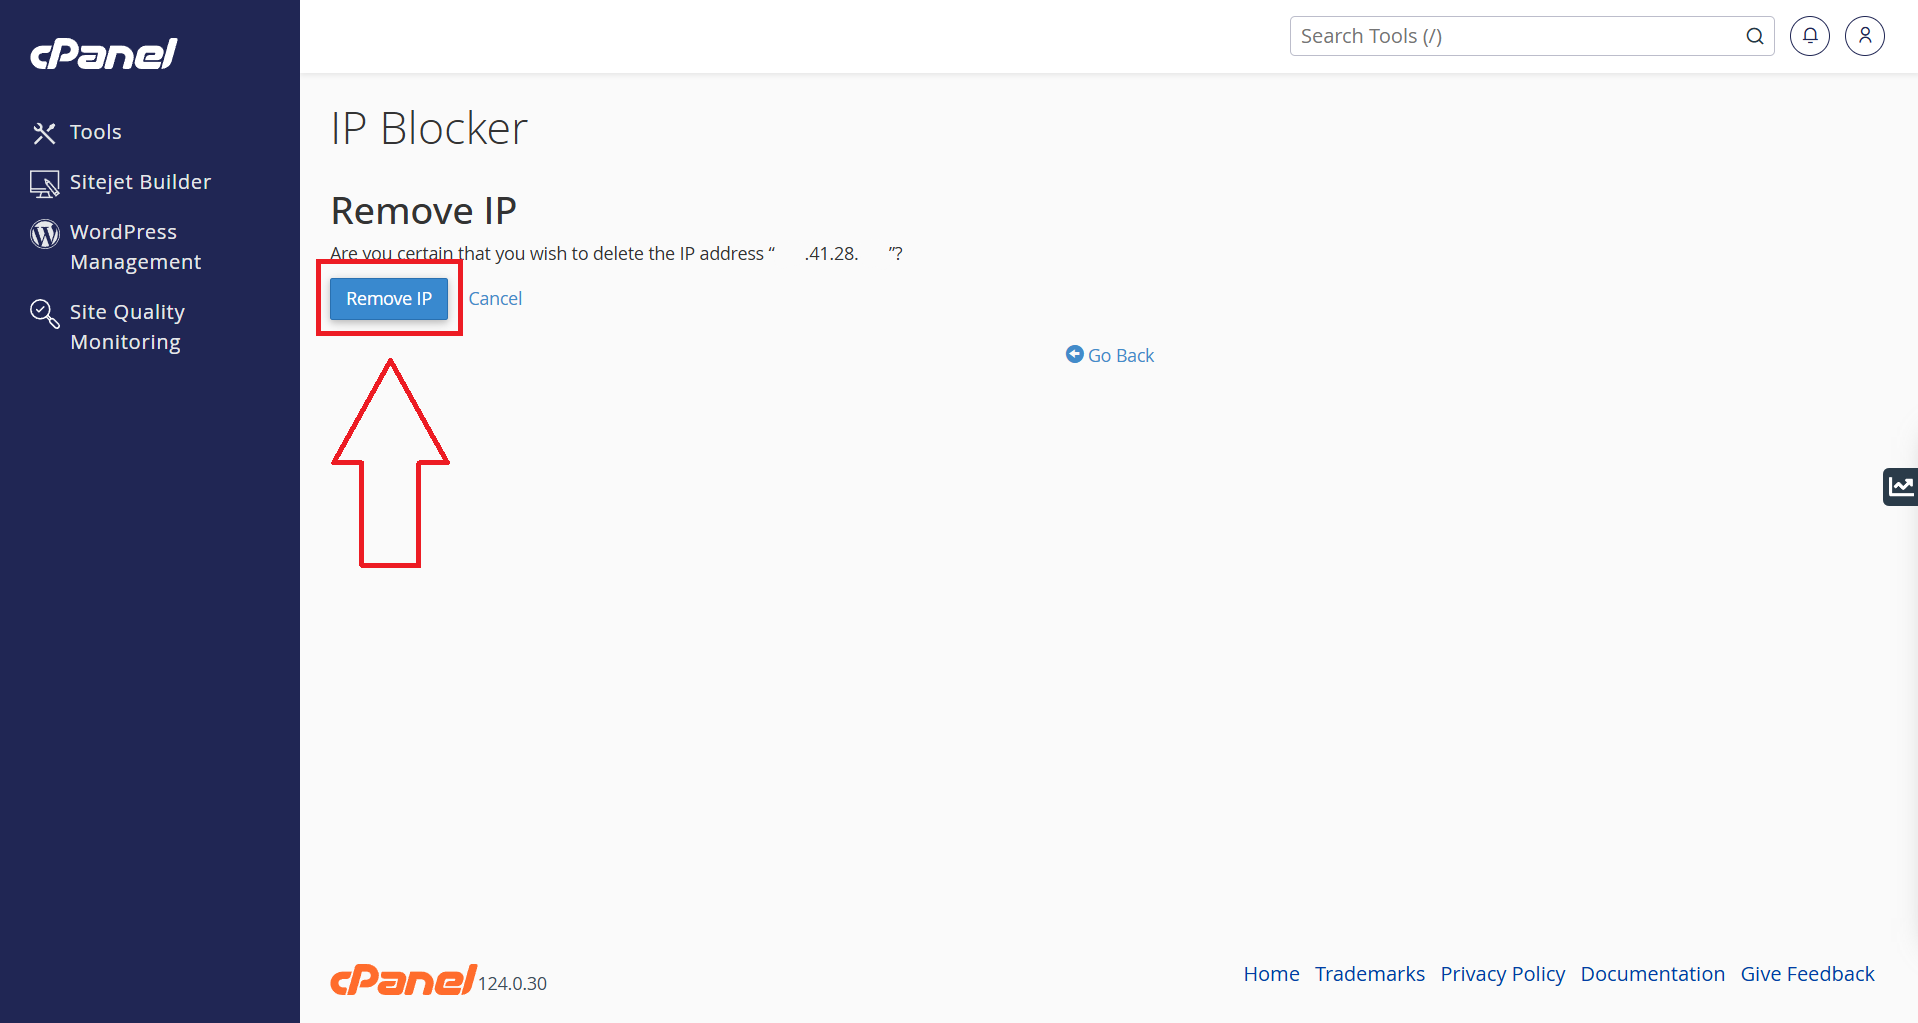
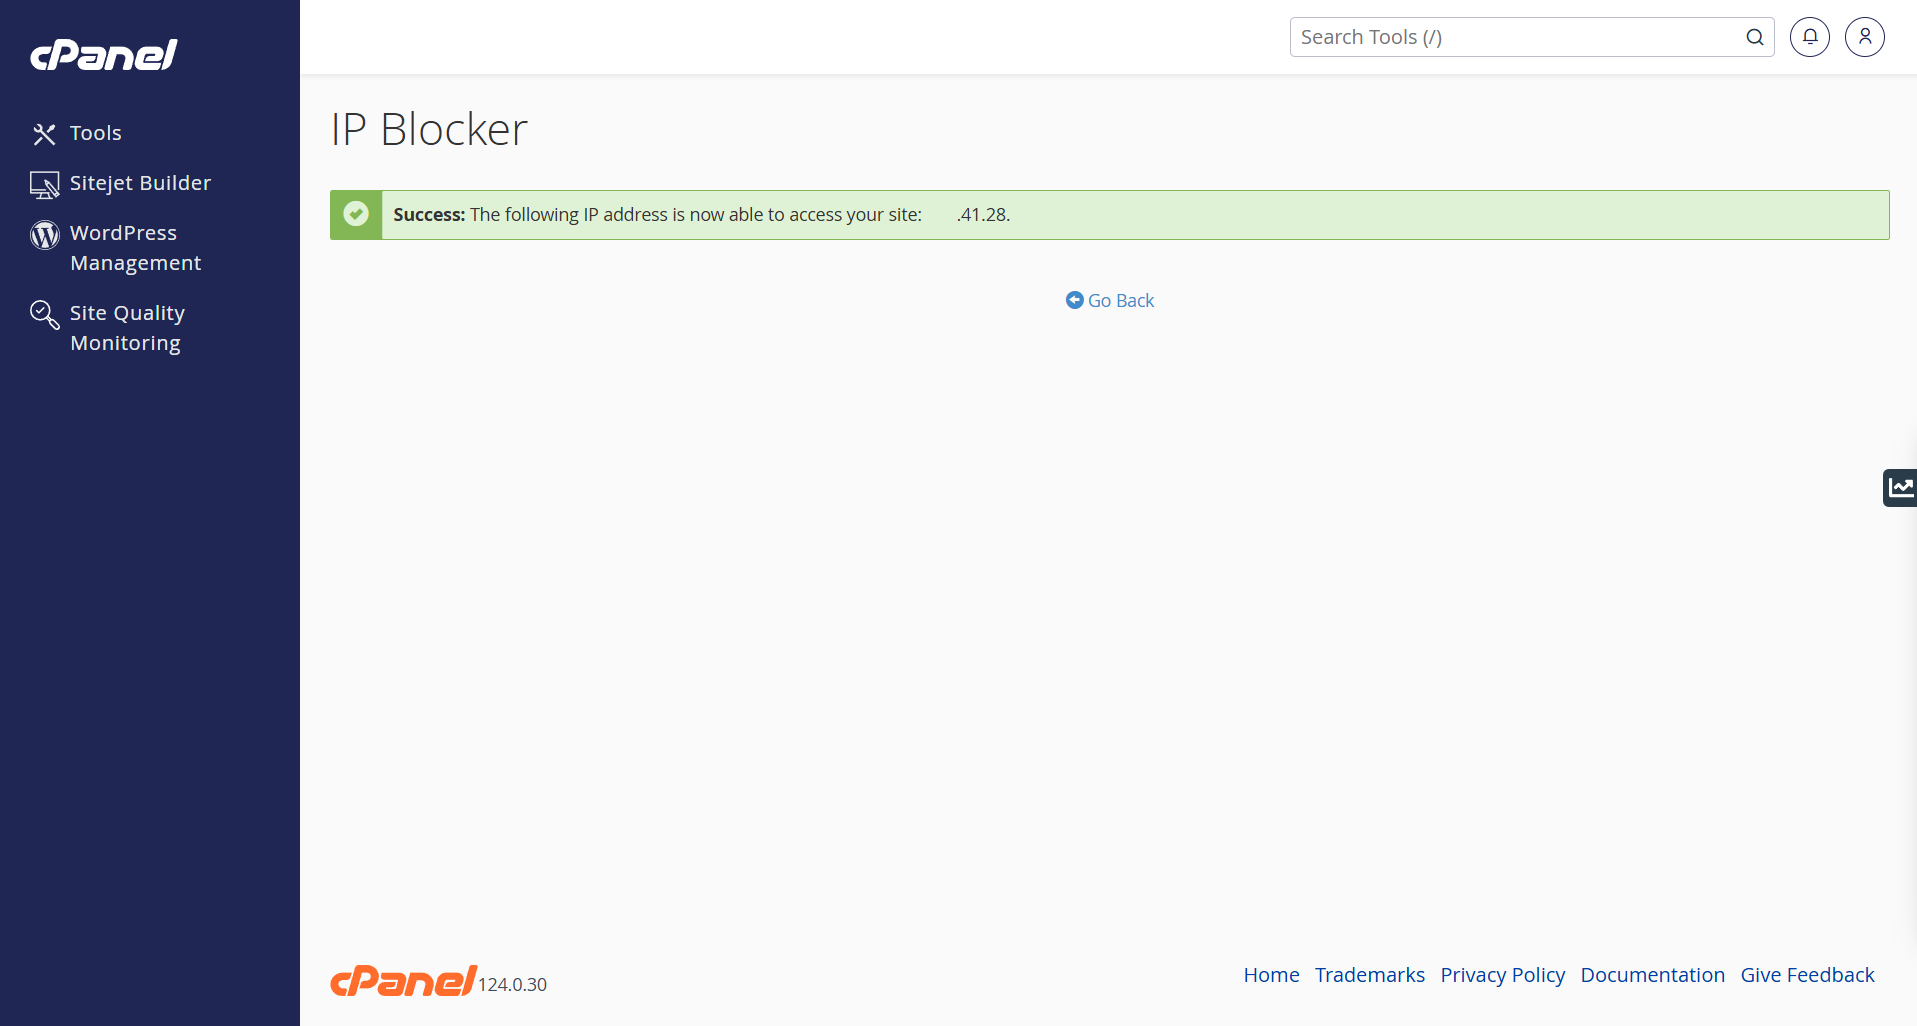
At the next page, you’ll be able to see a bar to input IPv4 and a list of Currently-Blocked IP Addresses:
Conclusion
Using the IP Blocker tool is a simple yet effective way to enhance website security by restricting unwanted access. Ensure you only block necessary IPs to avoid unintentionally restricting legitimate users.
If you encounter any issues, consider checking the CSF logs or open a support ticket through your portal account or contact us at +603-2026 1688. Our team is ready to assist you.
