Search Our Database
How to setup Android email with SSL
Introduction
This article guides users on setting up an email account on a device using IMAP or POP3 protocols. It is intended for users who want to configure their email manually, ensuring better synchronization across devices. The steps cover adding a new account, selecting the correct protocol, and configuring both incoming and outgoing server settings. The guide applies to most email service providers and is particularly useful when automatic configuration is unavailable or if manual setup is preferred for greater control over email settings.
Prerequisite
- Your full email address and password.
- IMAP or POP3 server details provided by your email service provider.
- Internet connection.
Step-by-Step Guide
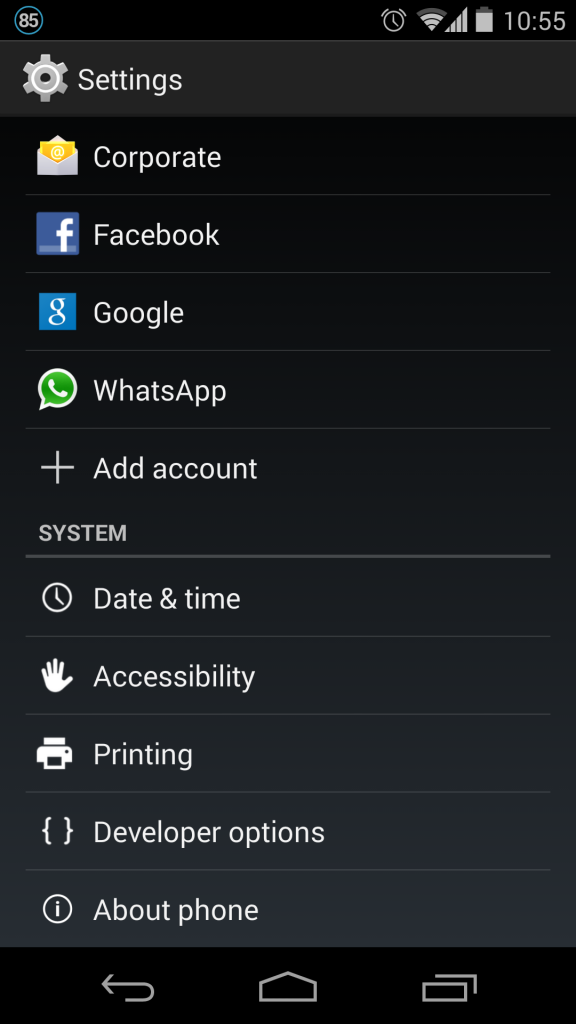
Step 1: Open settings and add a new account
- Navigate to the Settings page on your device.
- Select the Add Account option.
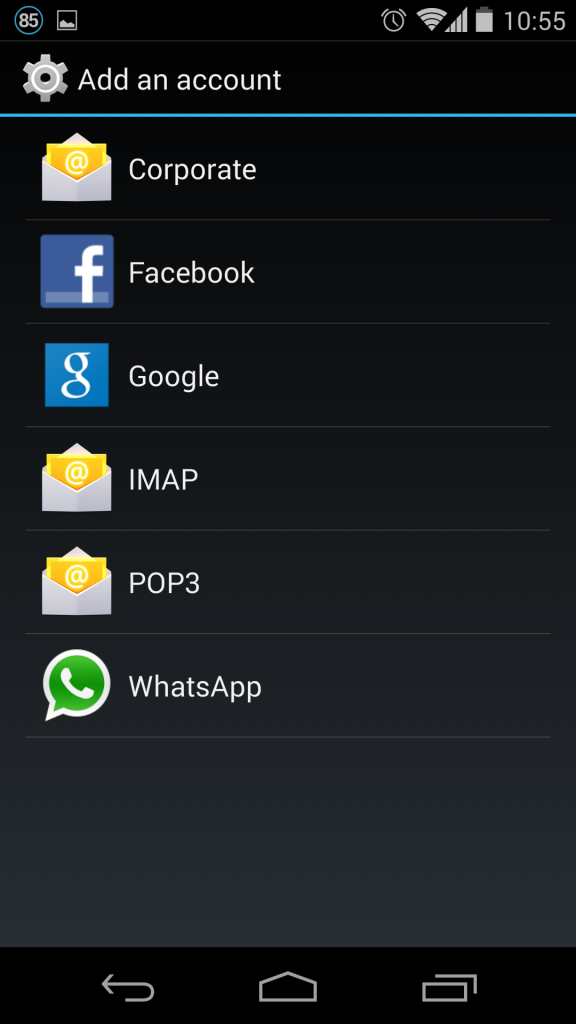
Step 2: Choose IMAP or POP3
- Select the account type—either IMAP or POP3.
- IMAP is recommended for better synchronization across devices.
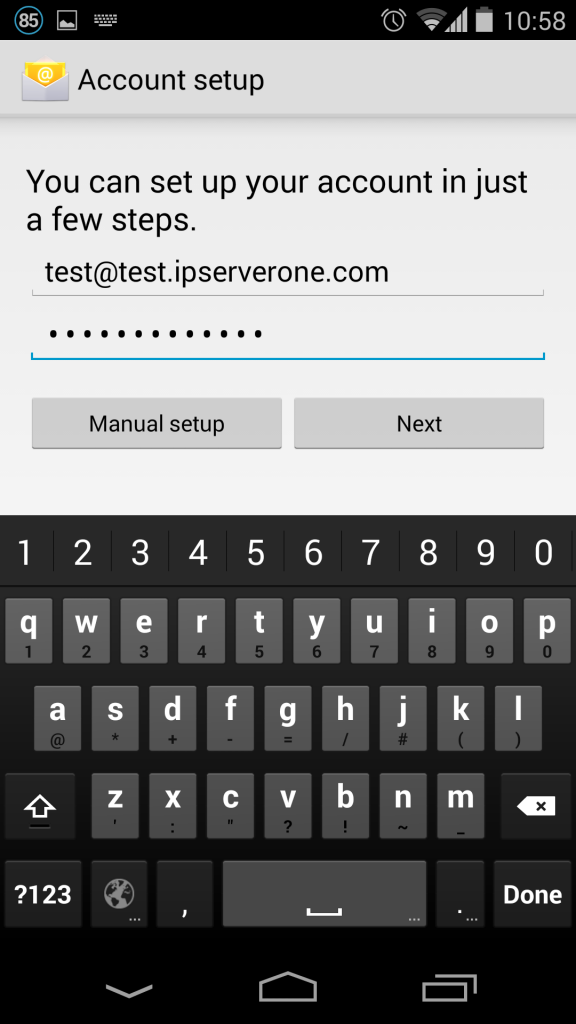
Step 3: Enter your email credentials
- Input your full email address and password.
- Click the Manual Setup button to proceed.
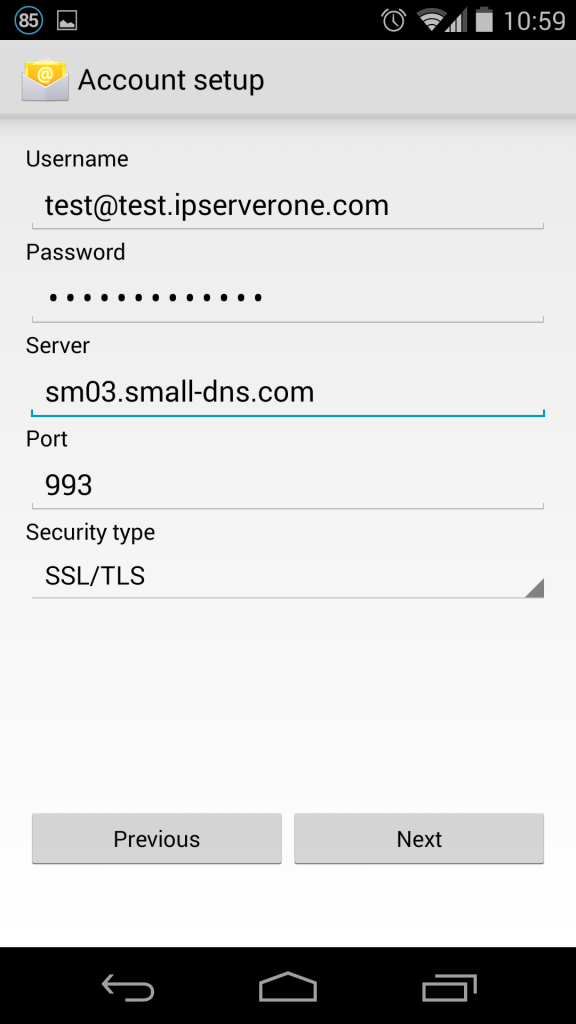
Step 4: Configure IMAP settings
For this example, we will use the IMAP protocol. Enter the following details:
- Mail Server: mail.domain.com
- Security Type: SSL/TLS
- For IMAP, use Port 993
- For POP3, use Port 995
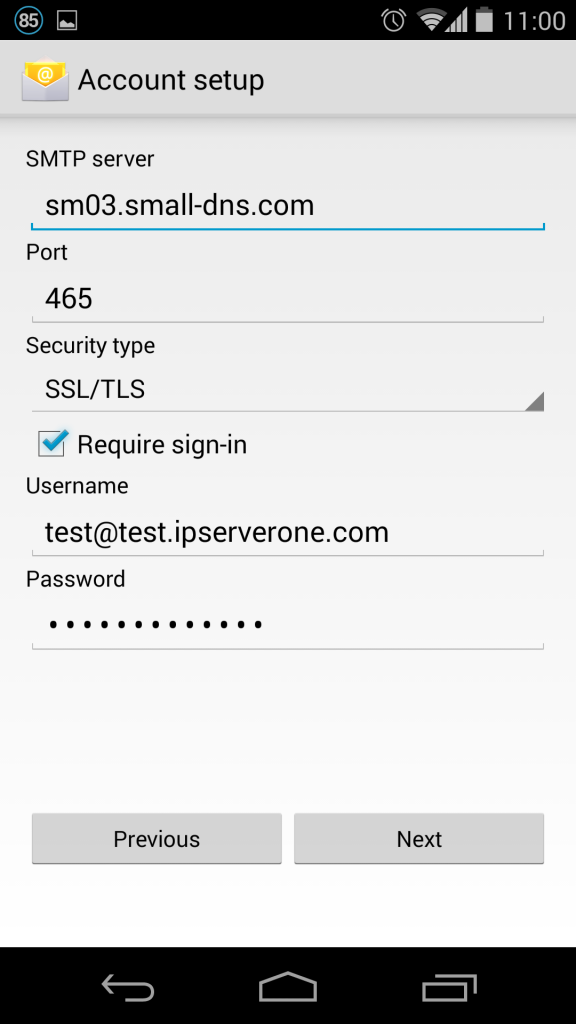
Step 5: Set up the outgoing server
For the outgoing server, use the same server as the incoming one. Configure the following settings:
- Security Type: SSL/TLS
- Port: 465
- Enable Require sign-in
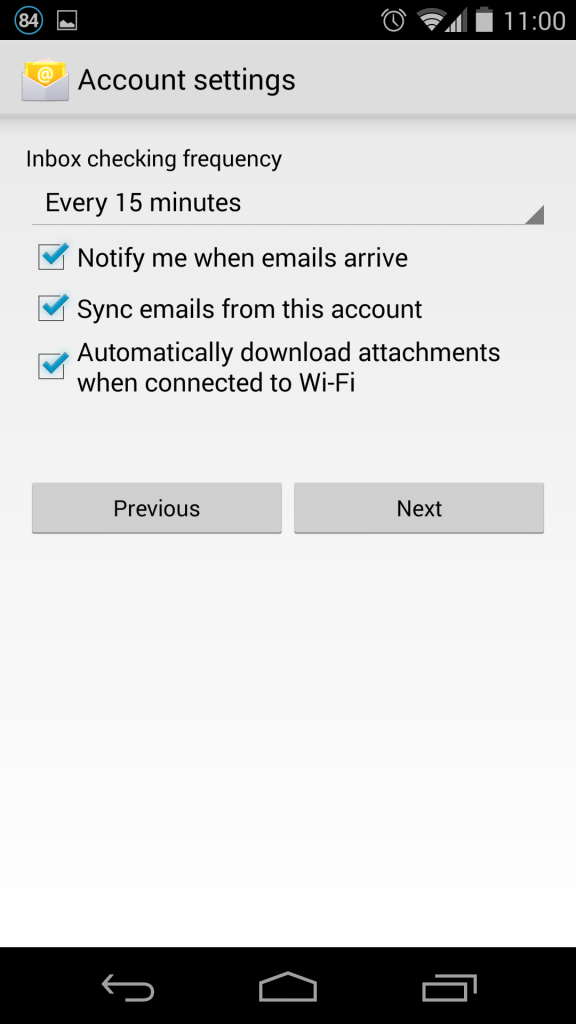
Step 6: Finalize and customize inbox settings
- Once the email settings are verified, you will be directed to the inbox settings page.
- Customize the inbox settings according to your preferences.
Conclusion
Setting up your email account manually gives you more control over how it synchronizes across devices and ensures that you can configure settings to your exact preferences. By following the steps outlined in this guide, you will have successfully added and configured an email account using IMAP or POP3 protocols. IMAP is typically recommended for better synchronization, while POP3 may be suitable if you prefer local storage of emails. Remember to ensure both incoming and outgoing servers are properly configured for a seamless email experience.
For additional assistance or if you encounter any issues, please contact our support team at support@ipserverone.com.
Article posted on 20 March 2020 by Louis