Search Our Database
How to Setup LEMP Stack on Ubuntu for Web Hosting
Introduction
This guide explains how to set up a LEMP stack (Linux, Nginx, MySQL, and PHP) on Ubuntu. A LEMP stack is commonly used to host dynamic websites and web applications. This guide is designed for system administrators and developers who want to configure a secure and optimized environment for running PHP-based applications on an Ubuntu server.
We will cover the installation and configuration of each component in the stack, ensuring that your server is ready to host web applications. This setup applies to both cloud and physical servers running Ubuntu.
Prerequisites
- Access to the Server with root privileges
- Basic understanding of the command line interface
Step-by-Step Guide
Step 1: Update your system
Start by updating your package index to ensure all packages are up to date. Run the following command:
sudo apt update && sudo apt upgrade -y
Step 2: Install Nginx
- Nginx is the web server that will handle HTTP requests. To install Nginx, run:
sudo apt install nginx -y
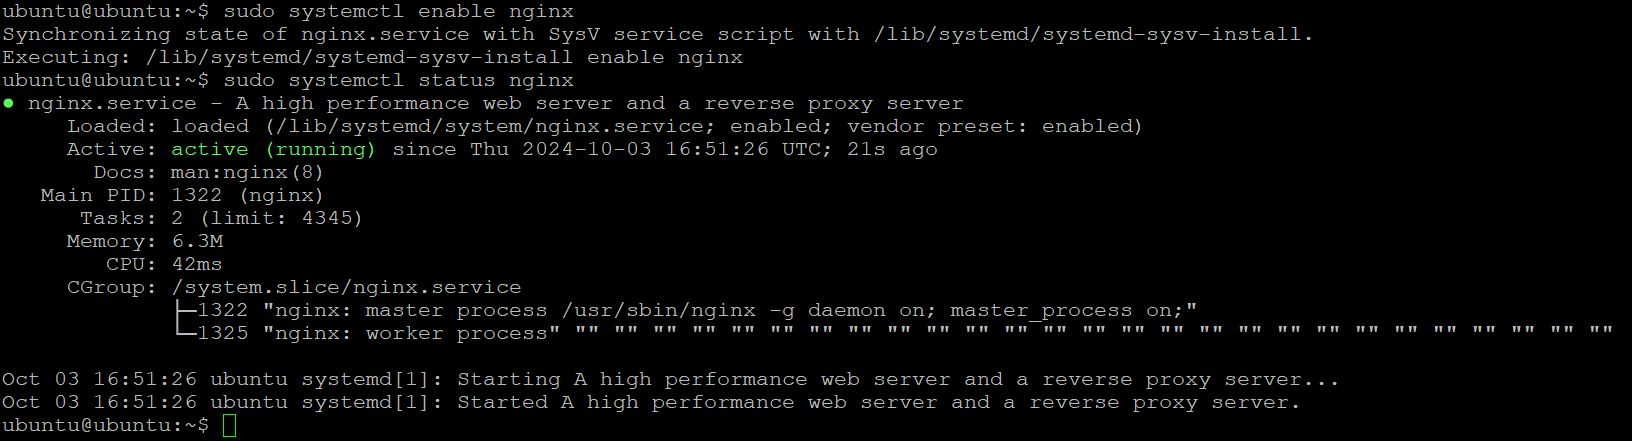
- Once installed, enable Nginx to start on boot and verify its status:
sudo systemctl enable nginx
sudo systemctl status nginx
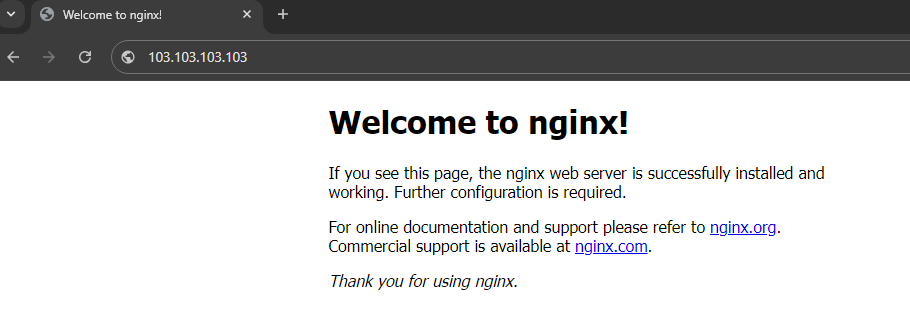
- You should see Nginx running. To verify Nginx is working, open your web browser and go to your server’s IP address eg. http://ipaddress:
Step 3: Install MySQL
- Next, install the MySQL database server to manage your data. To install MySQL, run:
sudo apt install mysql-server -y
- After installation, secure MySQL with the following command:
Important Note: Do not disallow root user to login MySQL if you haven’t created any MySQL user.
sudo mysql_secure_installation
- You will be prompted to set the root password and make other security choices. Follow the prompts to configure MySQL securely.
- To verify that MySQL is running:
sudo systemctl status mysql

Step 4: Install PHP
- PHP is the server-side scripting language used for dynamic content. Install PHP and its necessary components to work with Nginx:
sudo apt install php-fpm php-mysql -y
- Confirm that PHP is installed by checking the version:
php -v

Step 5: Configure Nginx to Use PHP
- Create a new directory in the web root to host your web application. Replace yourdomain.com.my with your domain name.
sudo mkdir -p /var/www/yourdomain.com.my
- Set the necessary ownership permissions for the directory:
sudo chown -R $USER:$USER /var/www/yourdomain.com.my
sudo chmod -R 755 /var/www/yourdomain.com.my
- Create a new Nginx server block (similar to a virtual host in Apache) to serve your website and process PHP files. First, create a new configuration file for your website:
sudo vi /etc/nginx/sites-available/yourdomain.com.my
- Add the following configuration, replacing eg. yourdomain.com.my with your actual domain or server IP.
- Replace document root to your path you created
- Replace PHP version based on the version you installed
server {
    listen 80;
    server_name yourdomain.com.my;
    root /var/www/yourdomain.com.my;

    index index.php index.html index.htm;

    location / {
        try_files $uri $uri/ =404;
    }

    location ~ \.php$ {
        include snippets/fastcgi-php.conf;
        fastcgi_pass unix:/var/run/php/php8.1-fpm.sock;
    }

    location ~ /\.ht {
        deny all;
    }
}
- Save the file and exit the editor.
- Enable the configuration by creating a symbolic link to the sites-enabled directory:
sudo ln -s /etc/nginx/sites-available/yourdomain.com.my /etc/nginx/sites-enabled/
- Test the Nginx configuration to ensure there are no syntax errors:
sudo nginx -t

- Restart Nginx to apply the changes:
sudo systemctl restart nginx
Step 6: Create PHP test file
- To verify that your server is correctly configured to process PHP, create a test PHP file:
sudo vi /var/www/yourdomain.com.my/info.php
- Add the following PHP code:
<?php
phpinfo();
?>
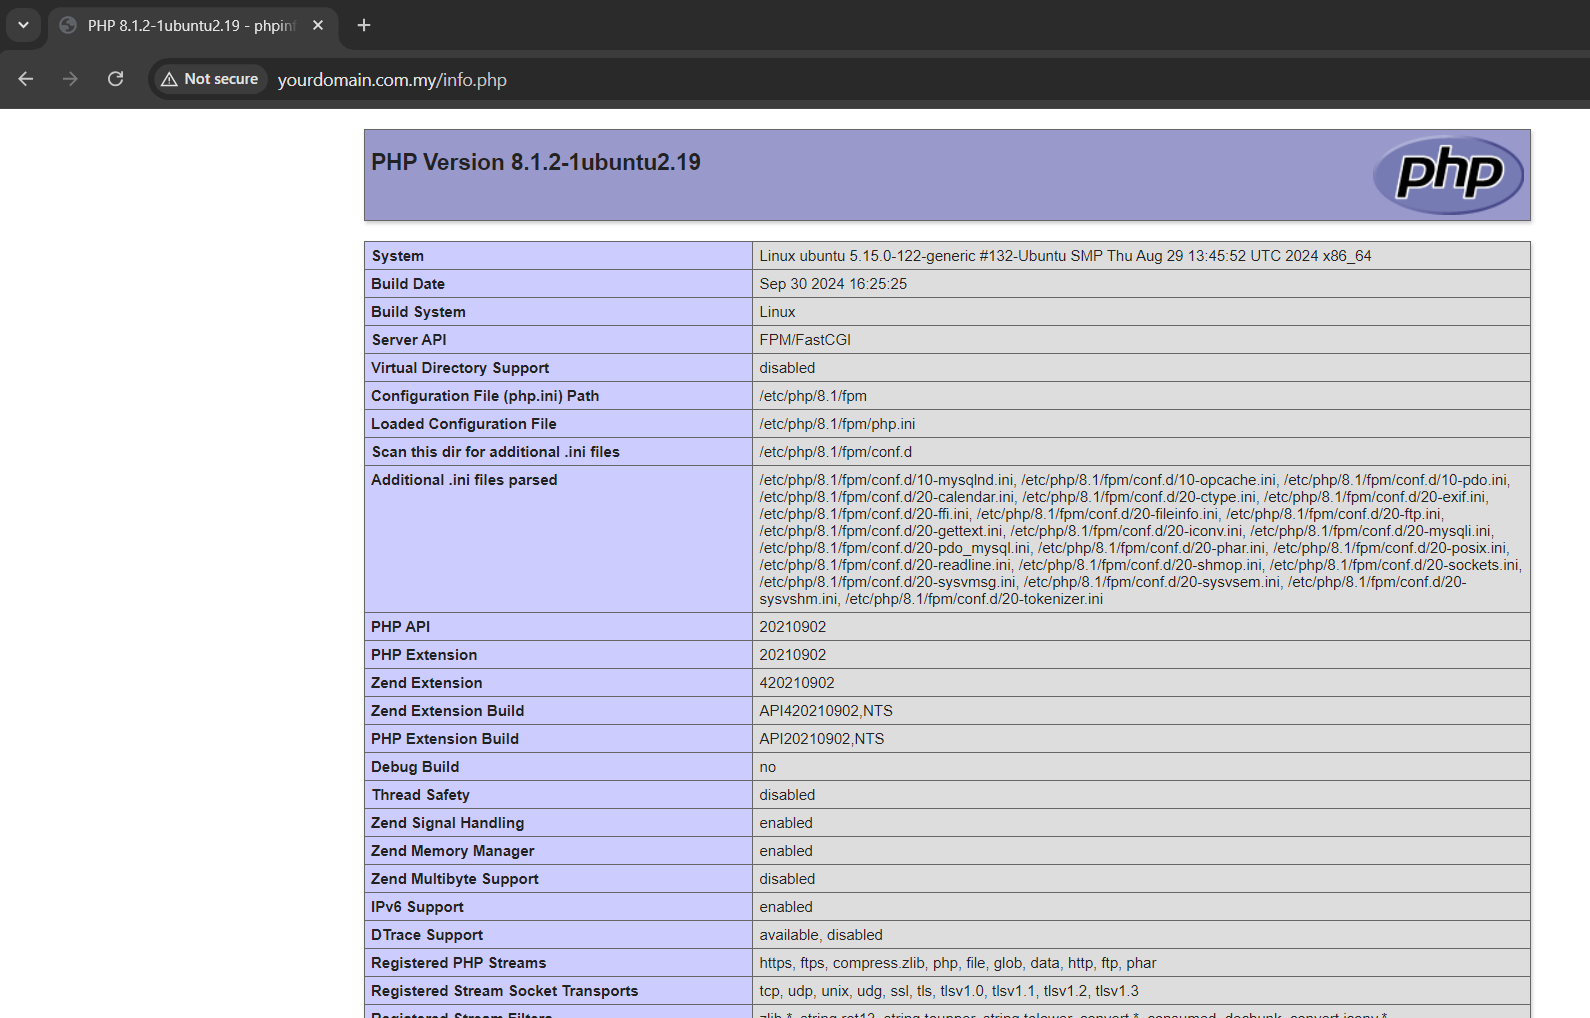
- Save and close the file, then go to http://yourdomain.com.my/info.php in your browser. You should see the PHP information page, confirming that PHP is working correctly with Nginx.
Conclusion
By following these steps, you have successfully set up a LEMP stack on your Ubuntu server for web hosting. This configuration provides a high-performance environment for serving dynamic websites and applications. You can now begin deploying your web projects on your server.
For additional assistance or if you encounter any issues, please contact our support team at support@ipserverone.com.
Article posted 6 April 2020.