Search Our Database
How to Sync Calendar and Contacts on Outlook by CalDAV and CardDav from cPanel
Introduction
This guide explains how to sync Calendar (CalDAV) and Contacts (CardDAV) in Microsoft Outlook using cPanel. Outlook does not natively support these protocols, so users with cPanel-hosted email need an alternative method to ensure seamless synchronization. It is designed for individuals and businesses using cPanel-powered email services who want to integrate their contacts and calendars with Outlook. This setup applies to any hosting provider offering CalDAV and CardDAV access. By using a third-party CalDAV/CardDAV plugin like Outlook CalDav Synchronizer, users can configure Outlook to sync with their cPanel-hosted email system, ensuring smooth and efficient data management across devices.
Prerequisites
- Access to webmail
- CalDAV/CardDAV URLs. These are availables in the Calendars and Contacts section in Webmail
- A working outlook with correct login credentials
Steps to Sync Calendar and Contacts in Outlook using CalDav and CardDAV.
Step 1: Check for CalDAV and CardDAV from Webmail
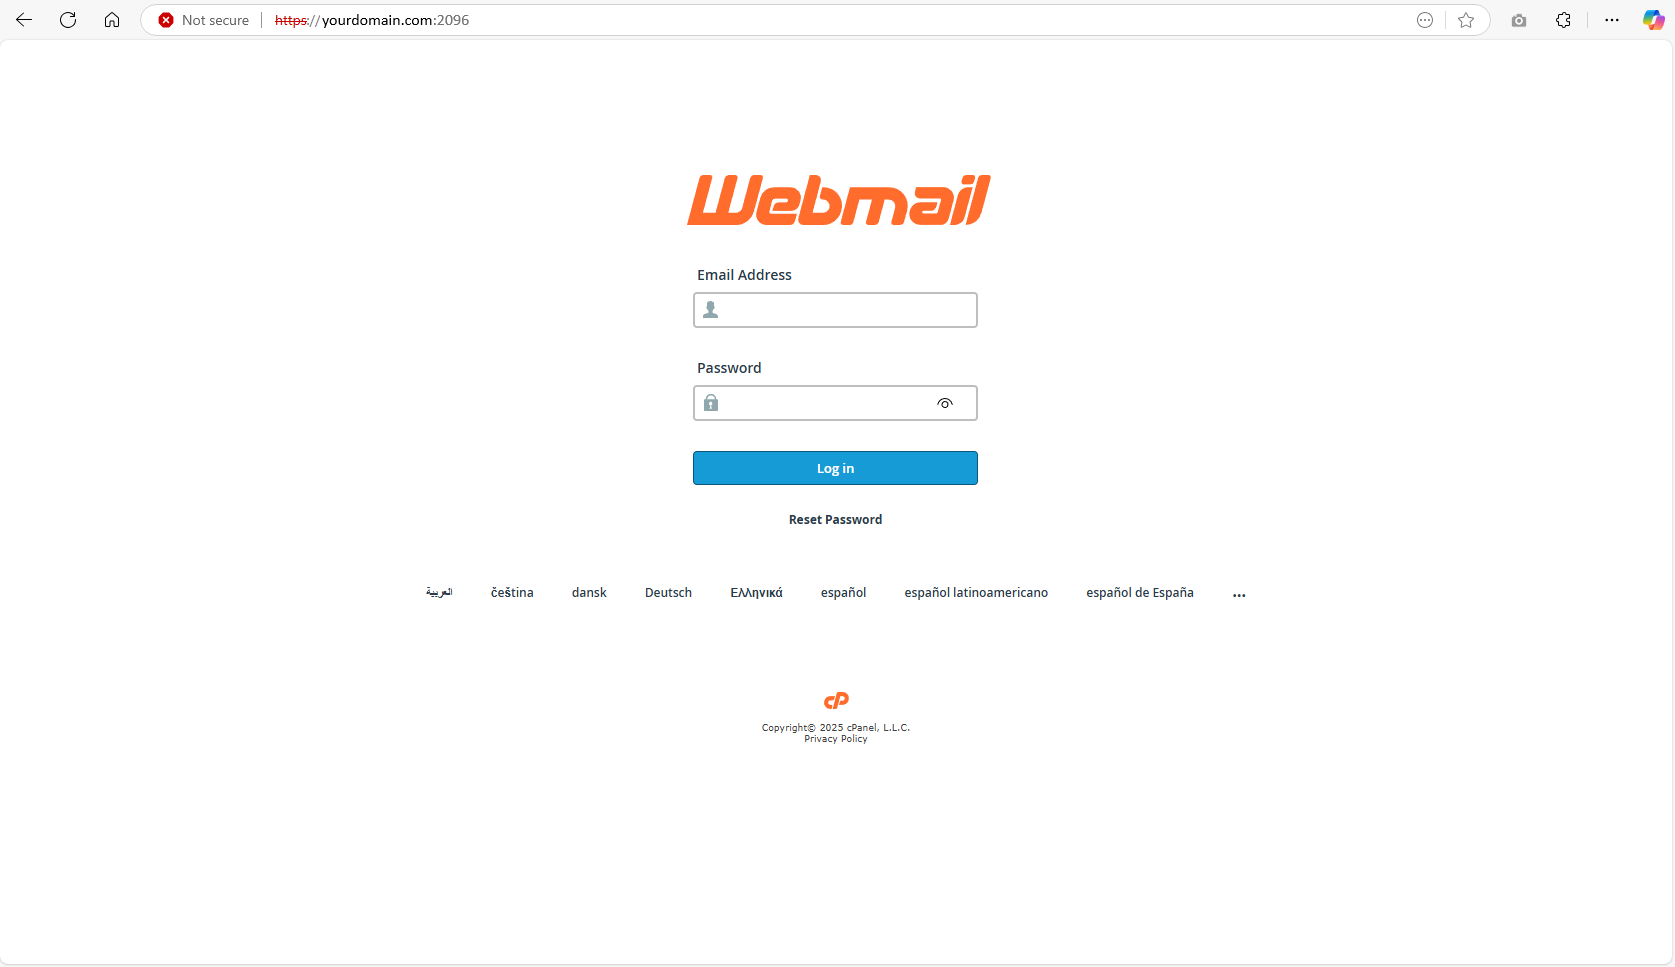
- Open your preferred browser and navigate to the webmail. You may use this link:https://your-domain.com:2096
- Once you are logged in, you can see the Webmail Main Page. You may navigate to Calendar and Contact Configuration and click on it.
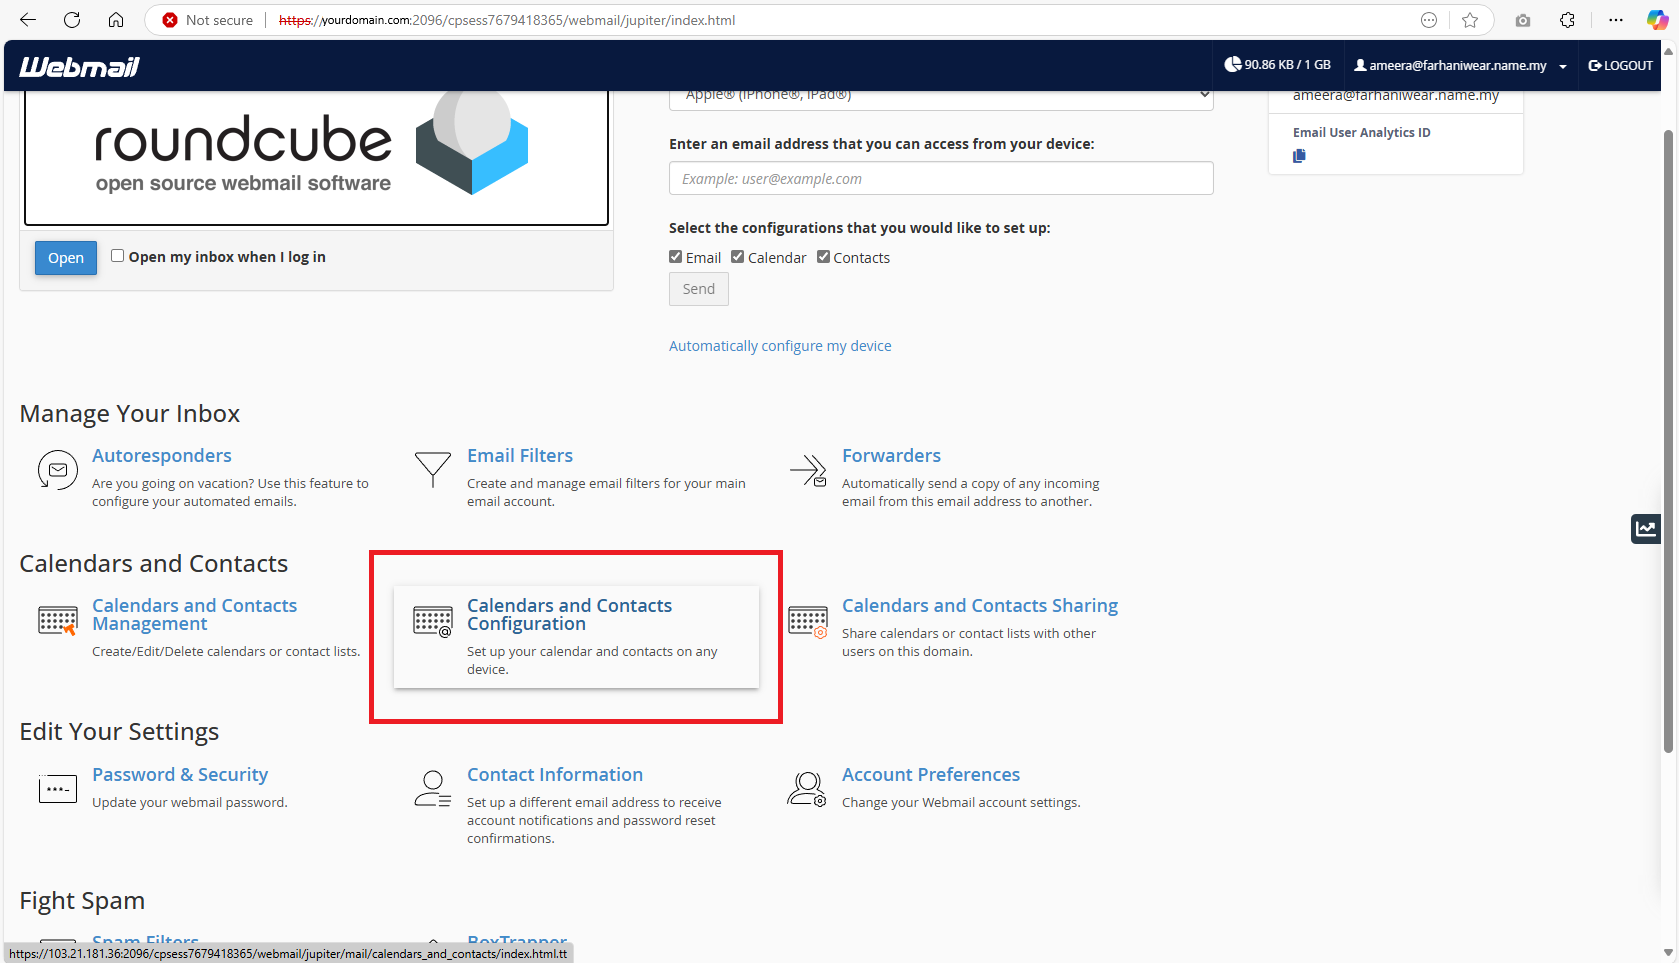
- Once you clicked on it, you will the URL of the CalDAV and CardDAV URLs. It should be something as following:
- CalDAv URL (for Calendar Sync):https://yourdomain.com:2080/rpc/caldav/your-email/
- CardDAV URL (for Contacts Sync):https://yourdomain.com:2080/rpc/carddav/your-email/

- Keep these URLs handy, as they will be needed in the next steps.
Step 2: Install the third party plugin for the Outlook
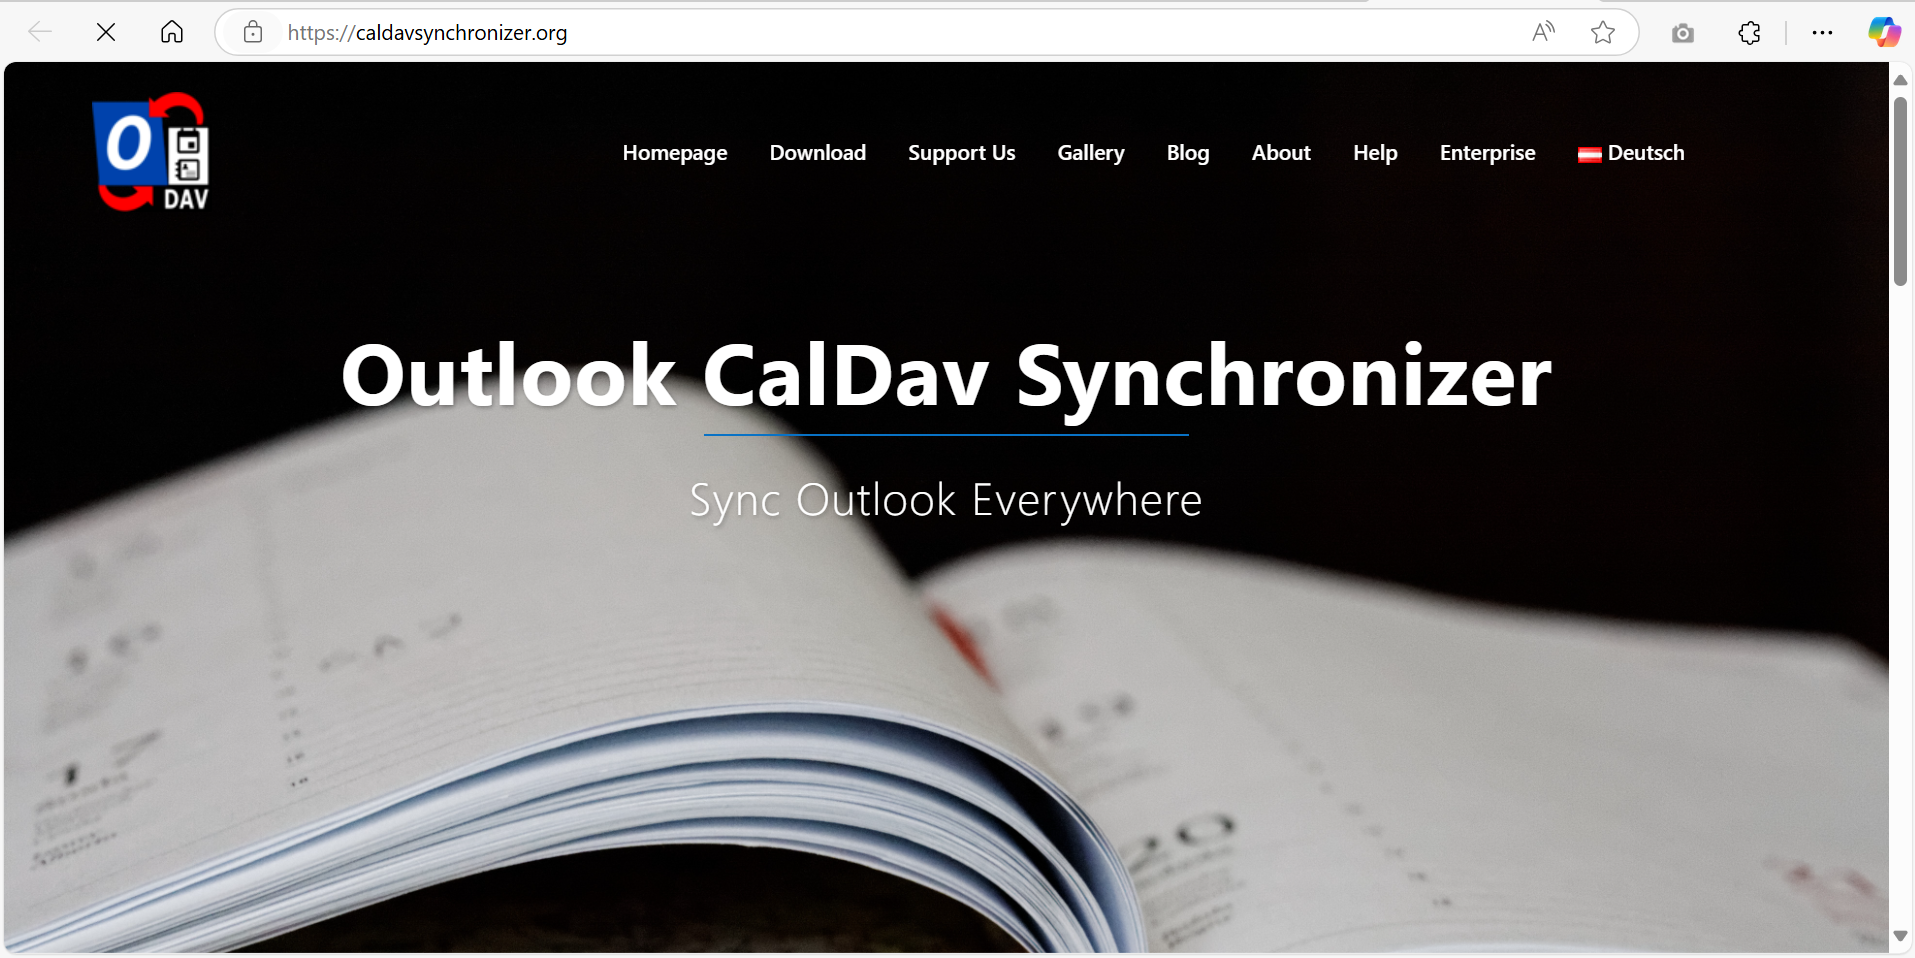
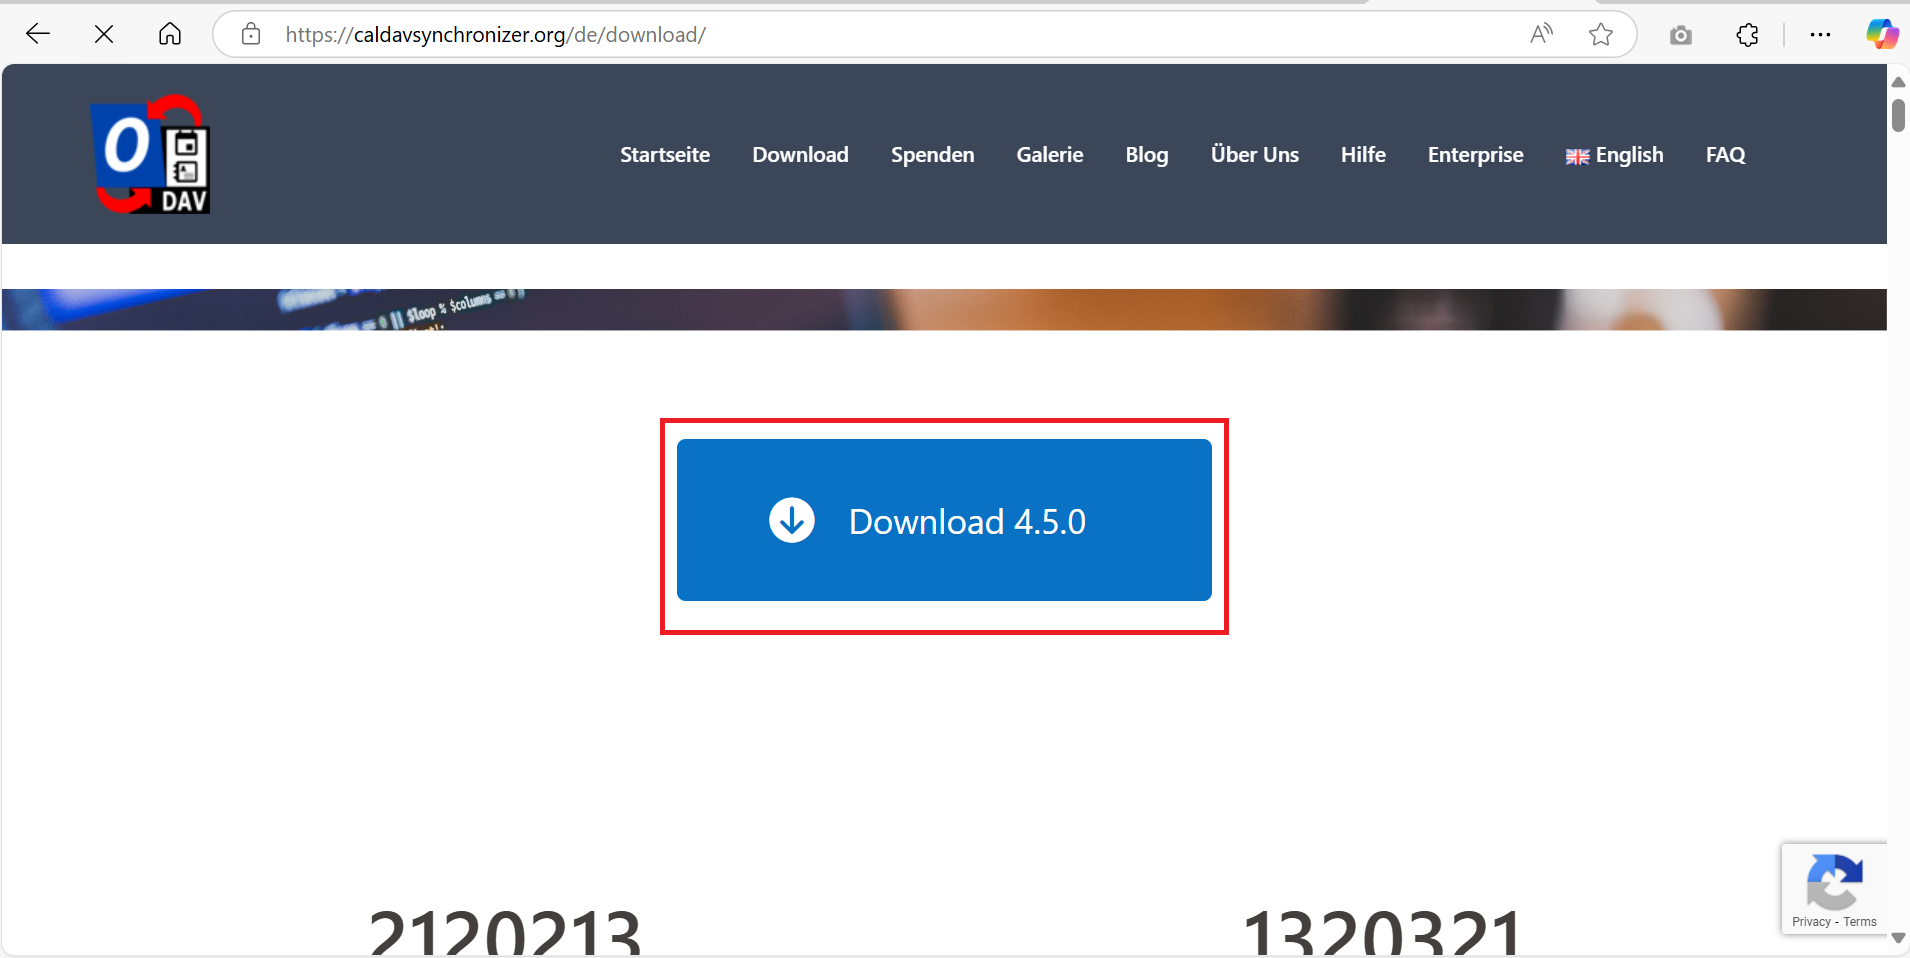
- There is multiple third-party application to sync the CalDAV from the cPanel, but in this guide, we will be using the one from this link: https://caldavsynchronizer.org/
- In your browser, navigate to this link:https://caldavsynchronizer.org/
- You may scroll down and you can see Download button to install the Outlook CalDAV Synschronizer.
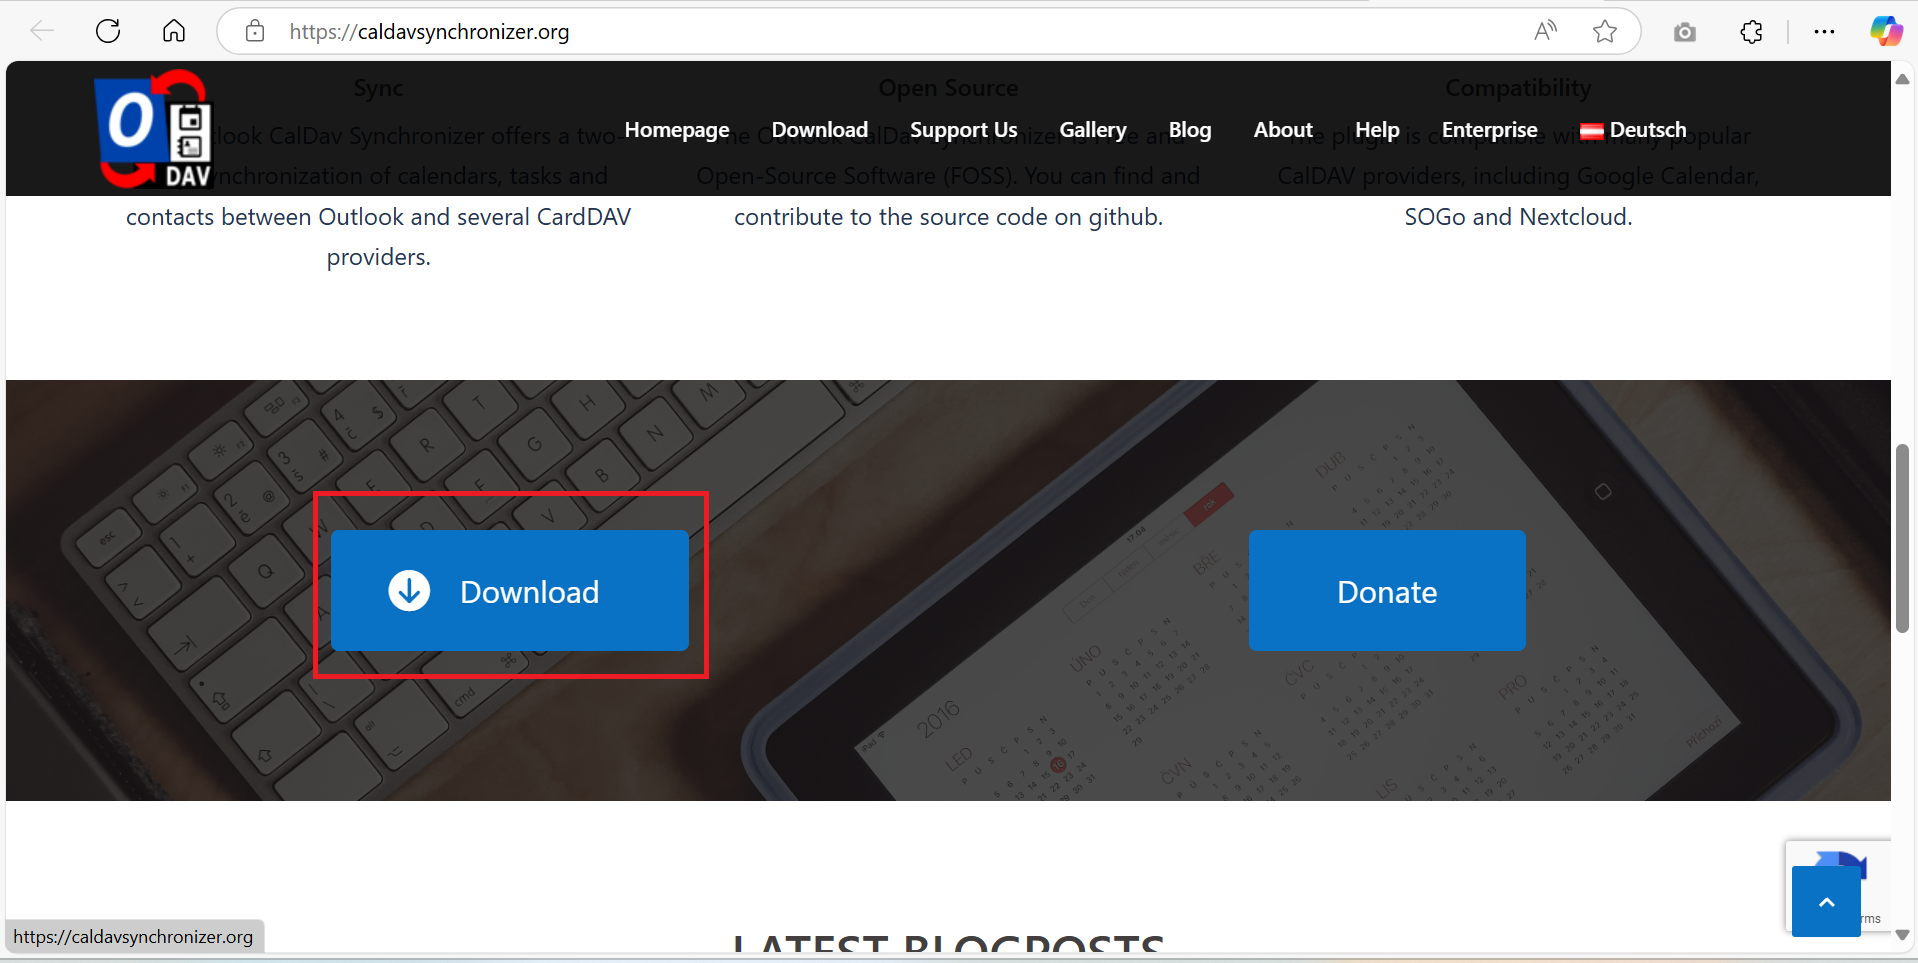
- You may download the latest version of the Outlook CalDAV sync as prompted in this page.
- Once downloaded, you may unzip the file and install the Outlook Sync CalDAV.
Step 3: Configure CalDAV for Calendar Syncronization.
- Open Outlook and navigate to the CalDAV SynChronizer tab. If you can not see it, most probably, you will need to restart the Outlook Application, and the icon should be on top banner.
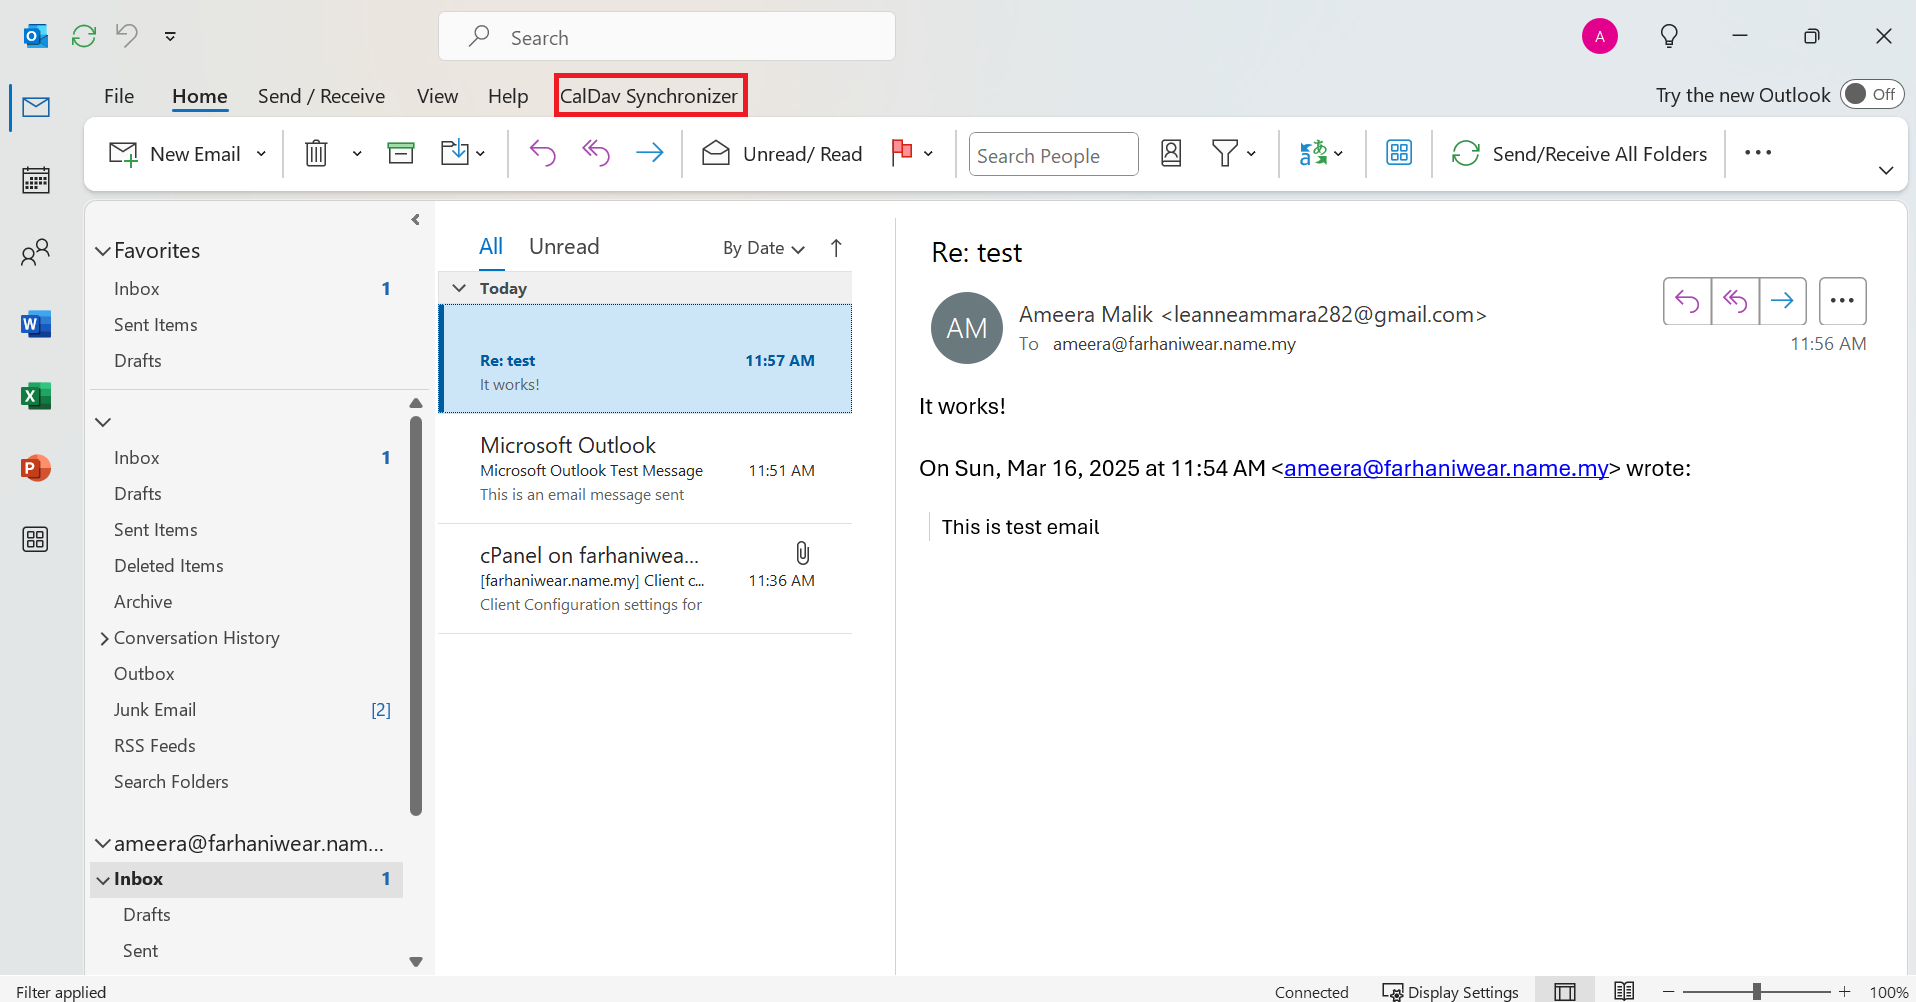
- Click on Synchronize Now.
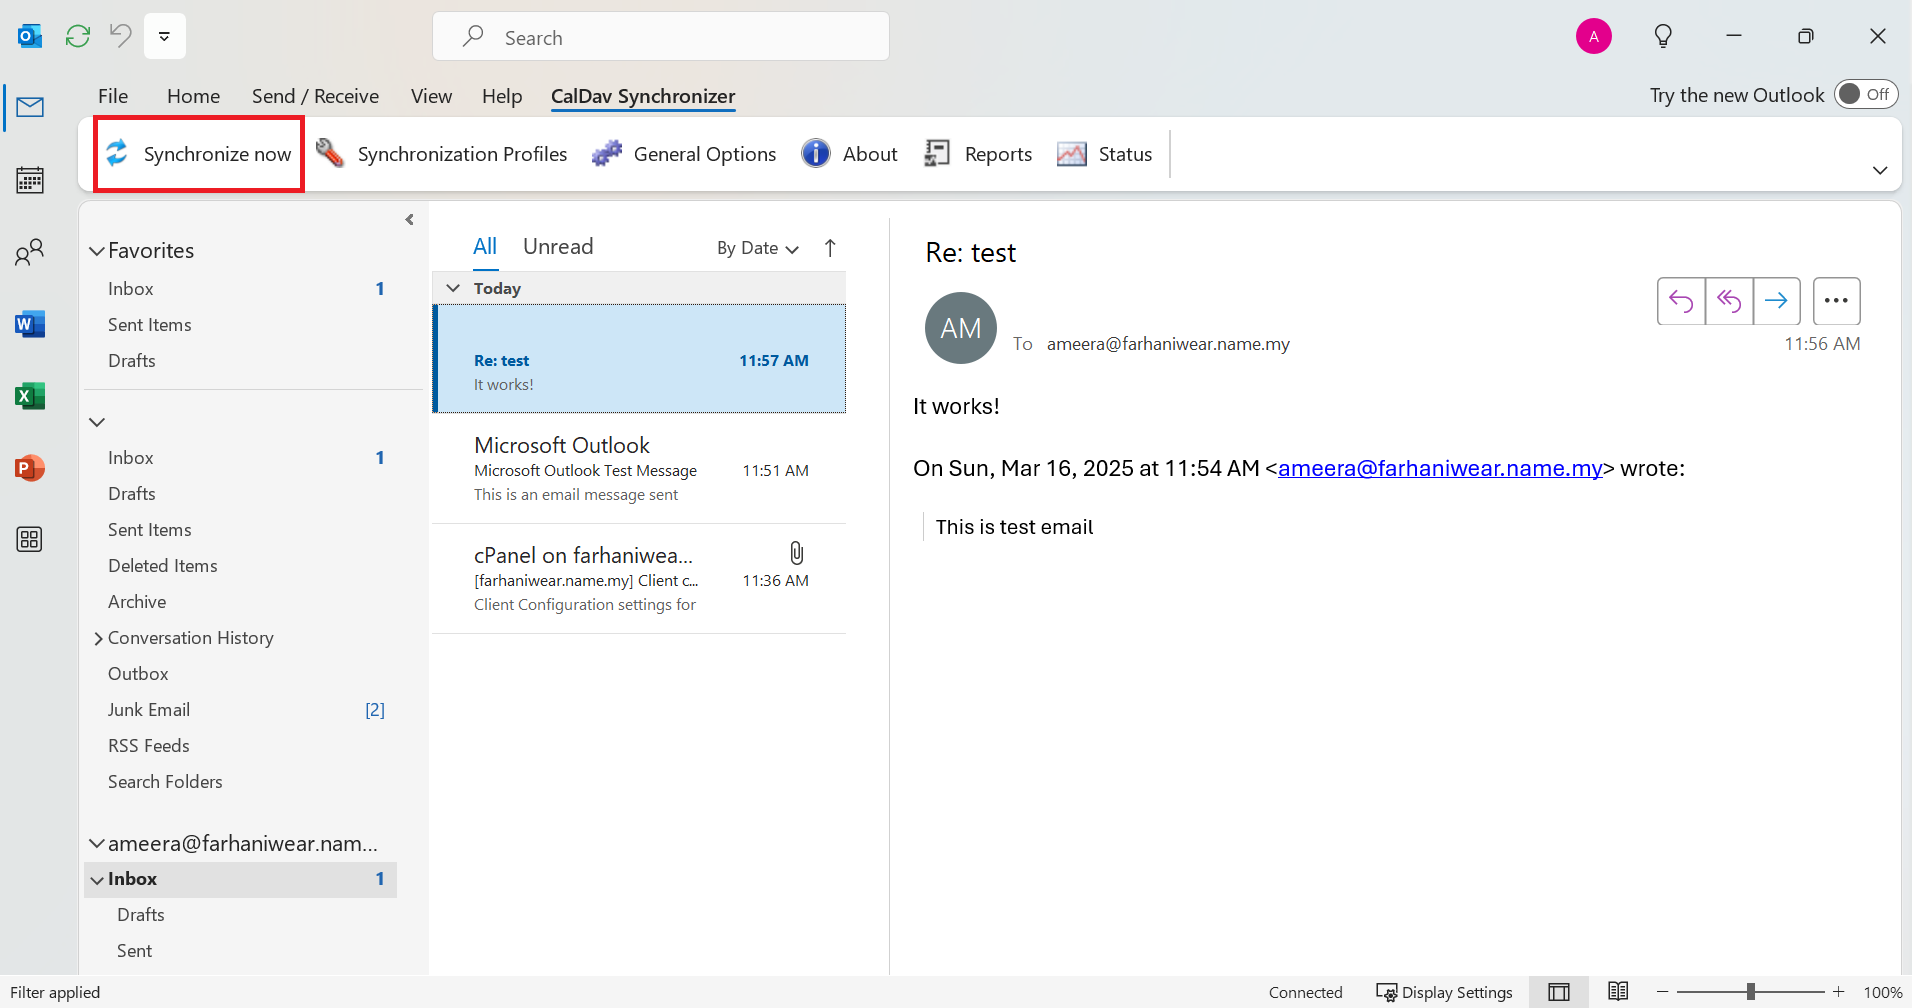
- Once this prompt banner pop out, you may click on the “+” icon, to add the CalDAV URL.
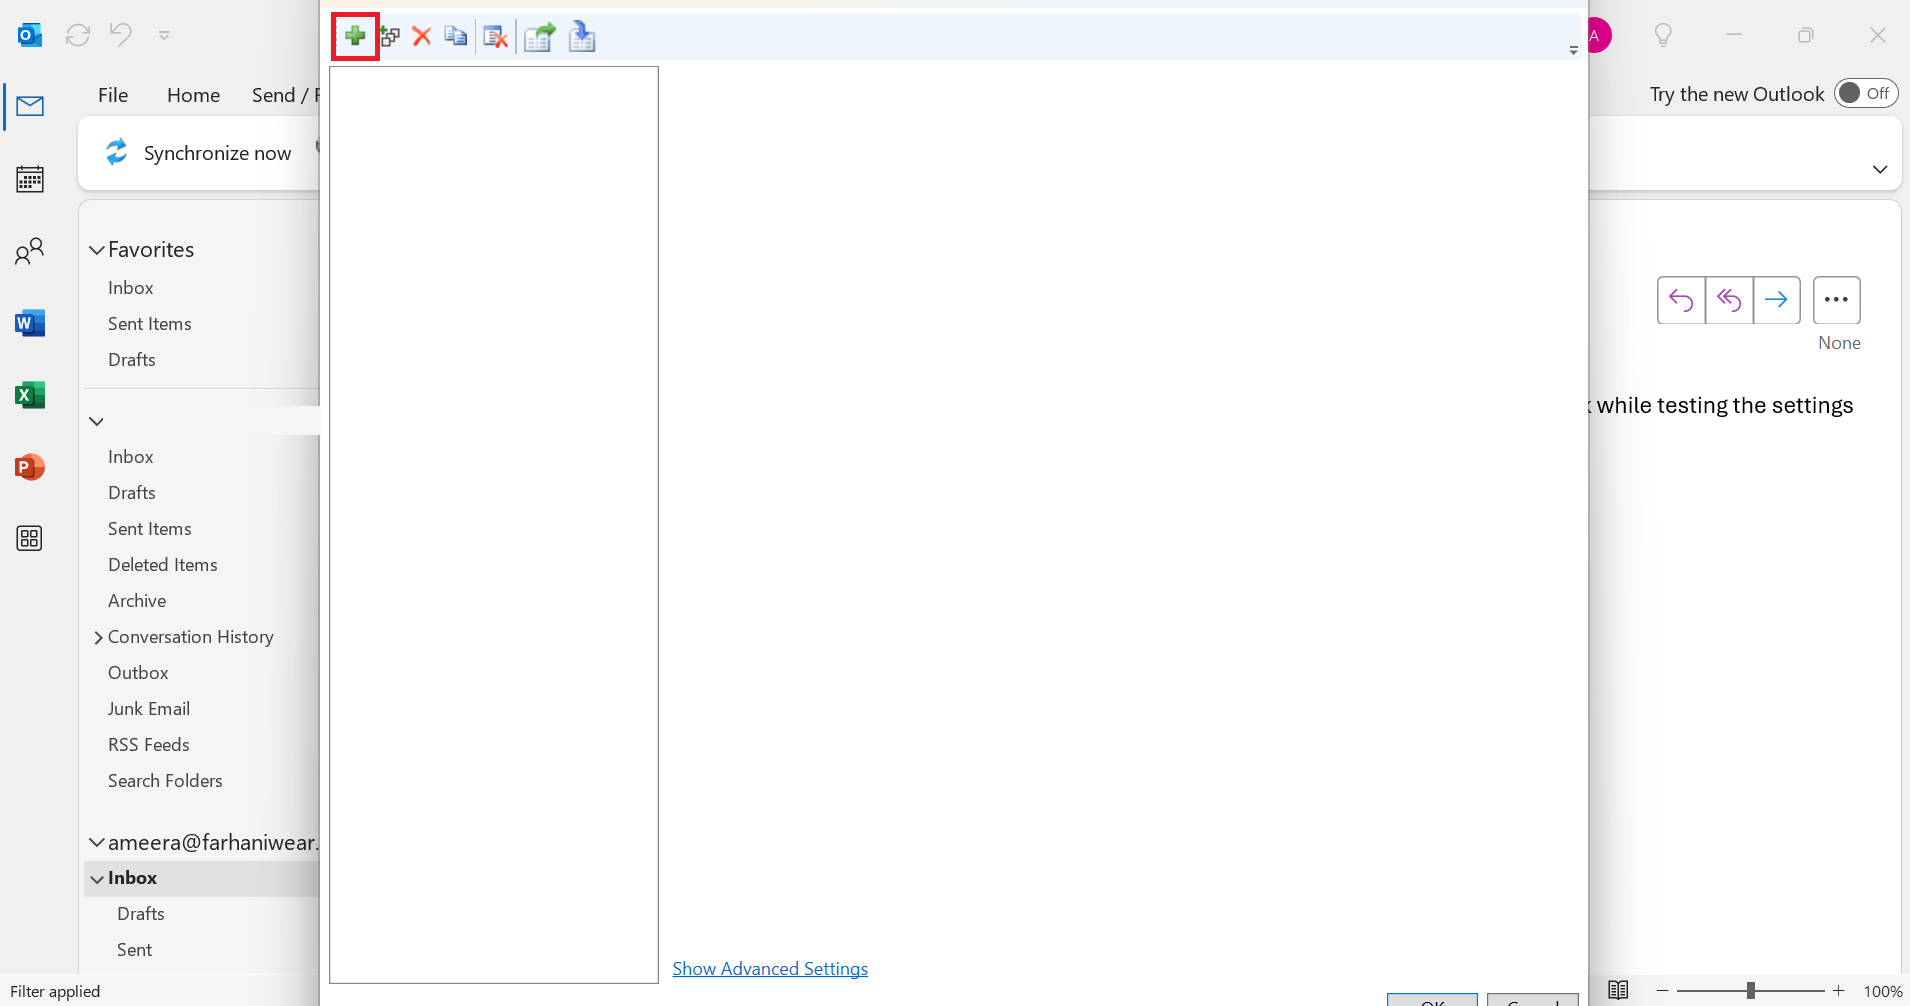
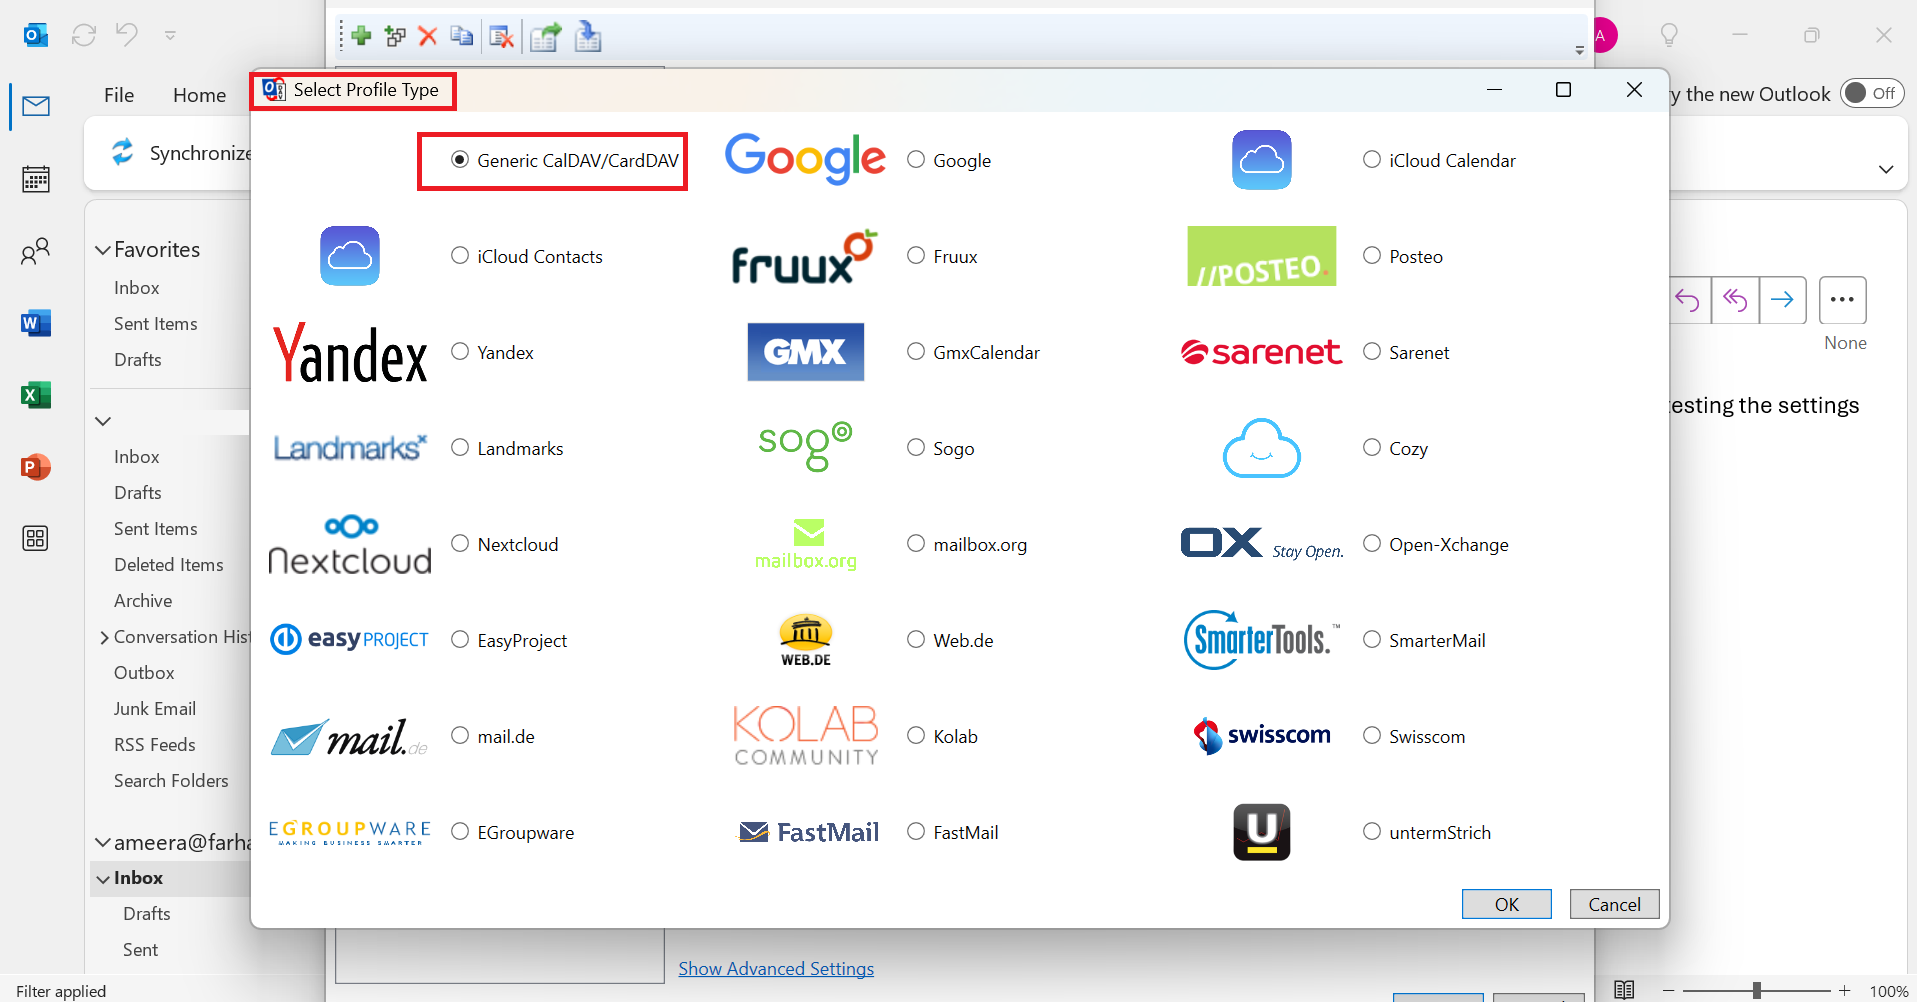
- You will prompted to select which Service Provider for Outlook CalDAV syncronizer. Since you are trying to add custom URL for CalDAV (Calendar) or CardDAV (Contacts), you should select the Generic CalDAV/CardDAV.
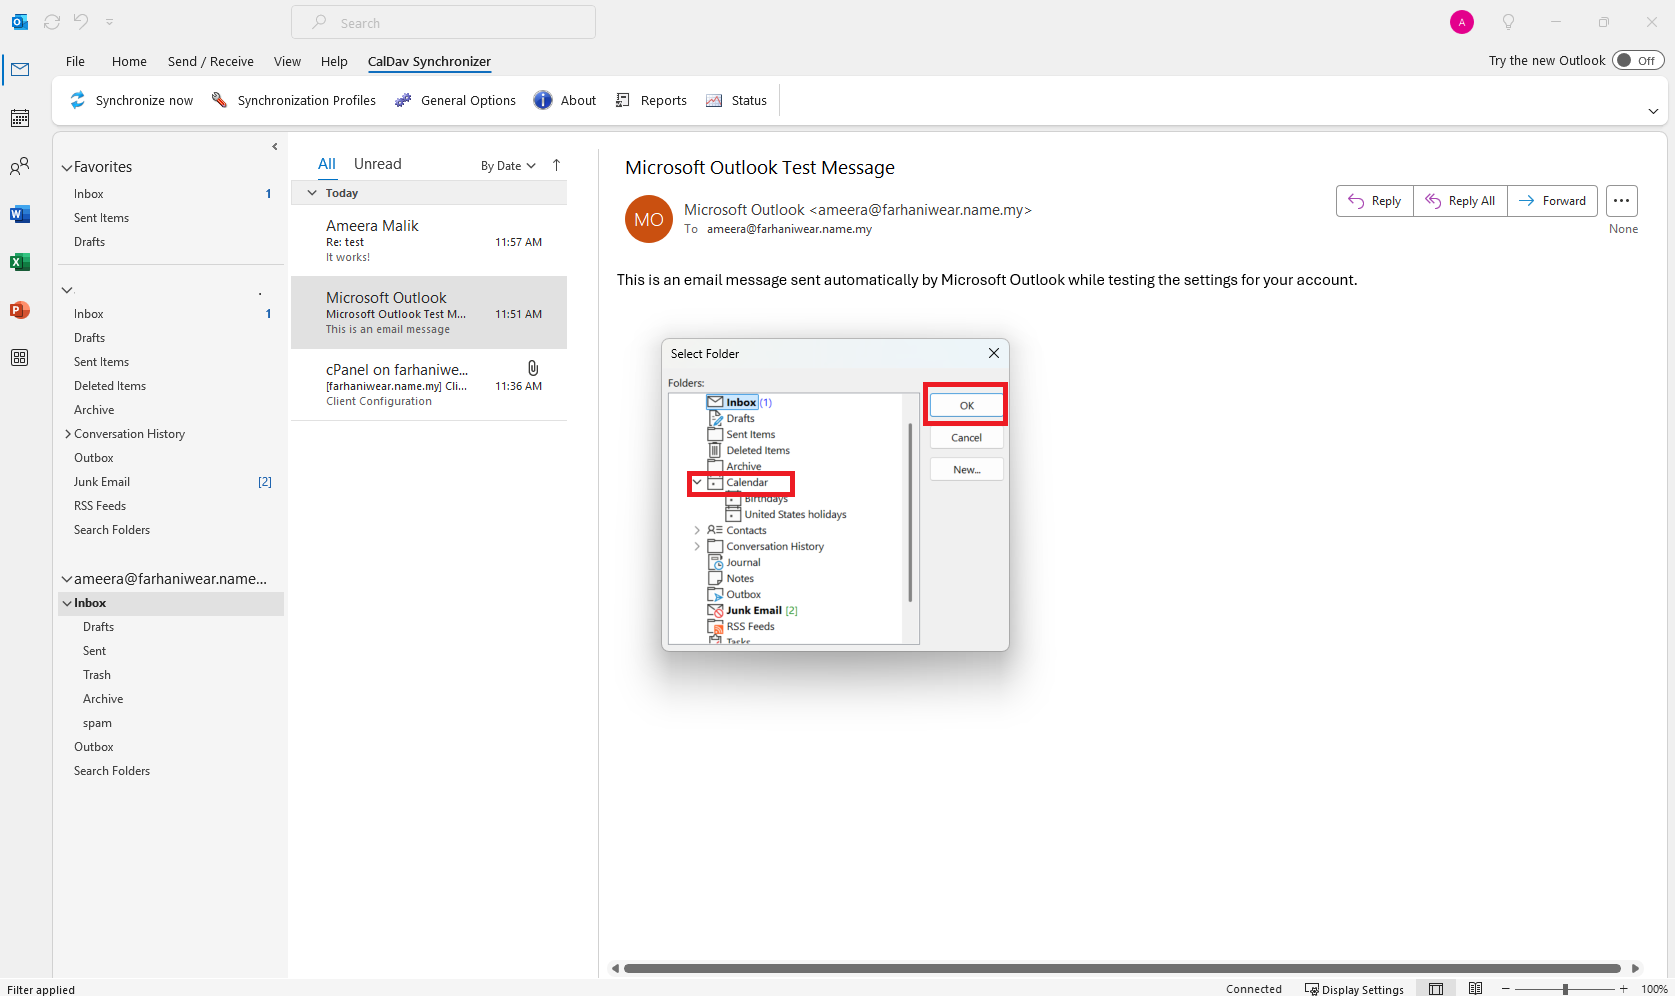
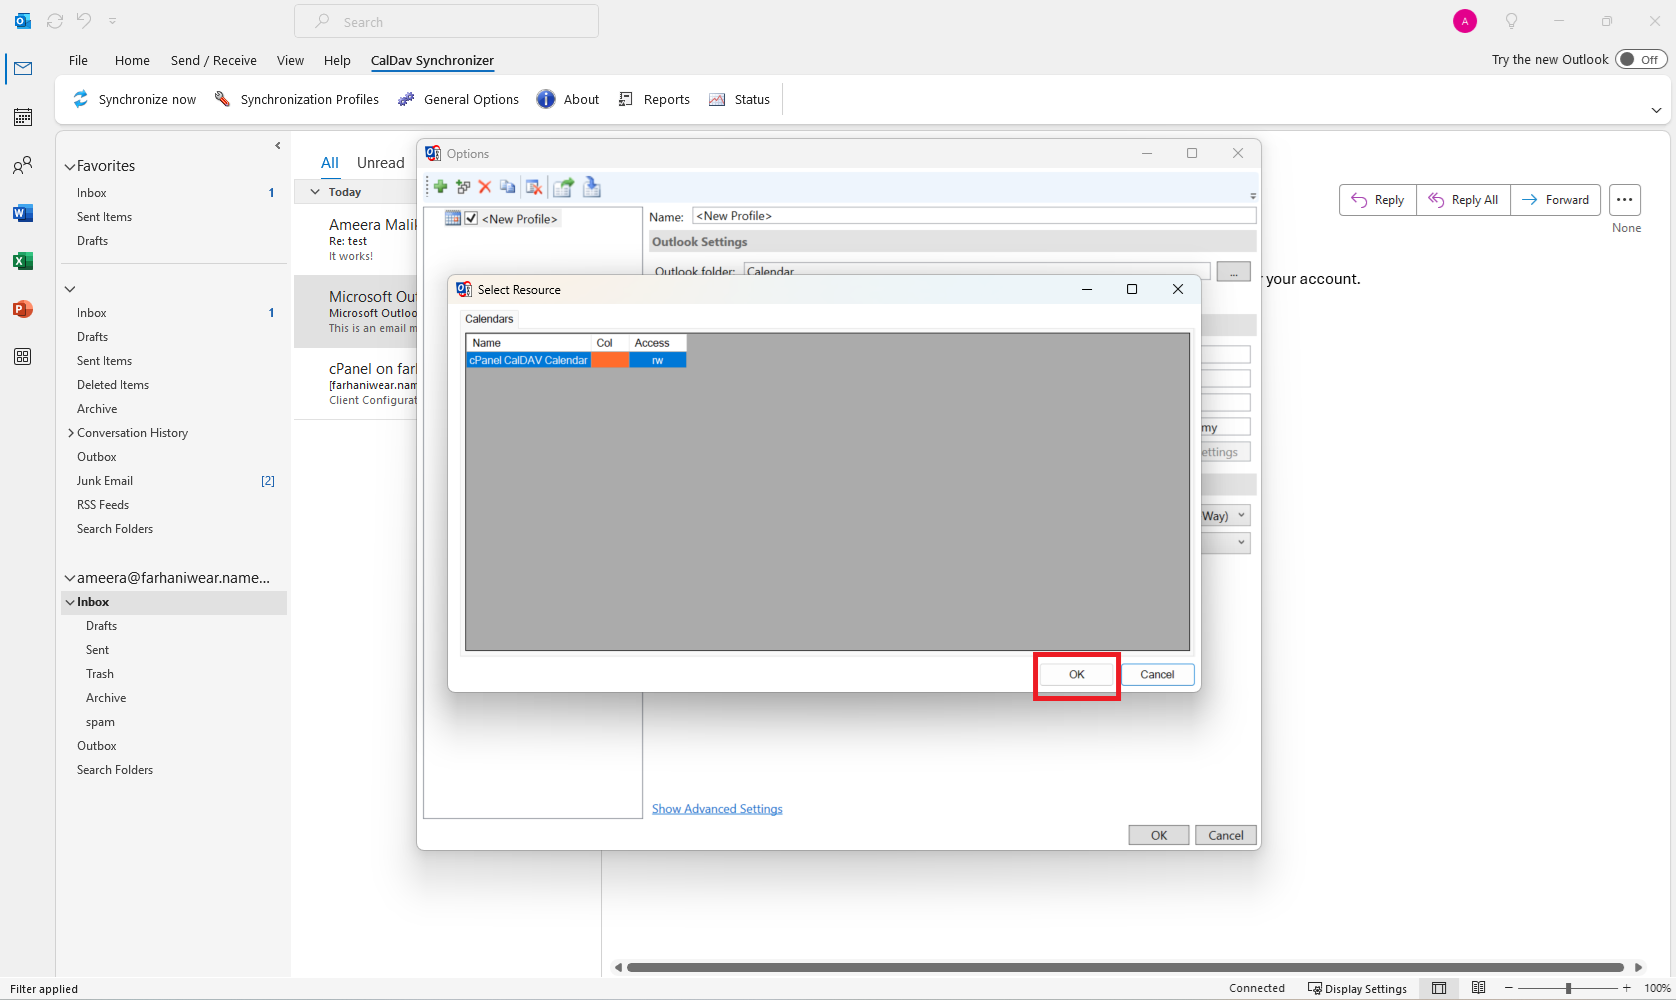
- You will be prompted to fill in the details. But first, you may click on which folder you want to sync, in this case it will be the Calendar folder. Select on the three dots to select the folder.
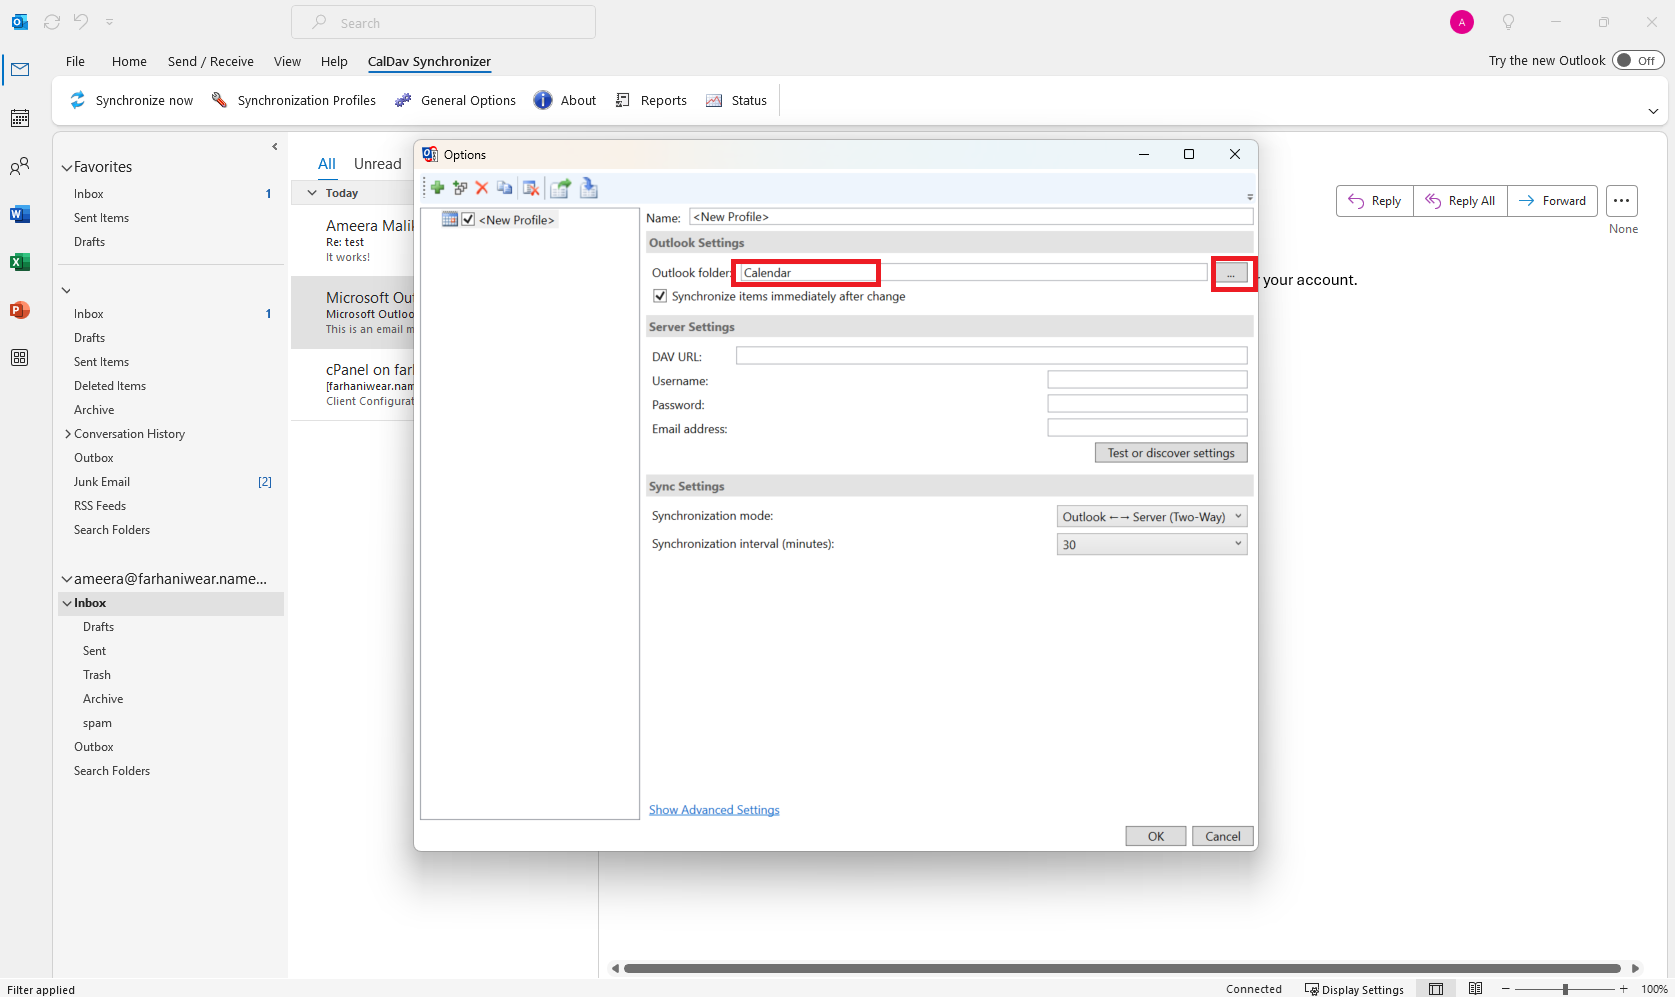
- Then, you will be prompted to select which Outlook Calendar folder where your CalDAV calendar events will be synced. It ensures that the synchronized events from your cPanel-hosted CalDAV server appear in the correct Outlook folder. Click on the r
- You may fill in the URL for the CalDAV that you copied from the Webmail, and also fill in the other details such as your email credentials.
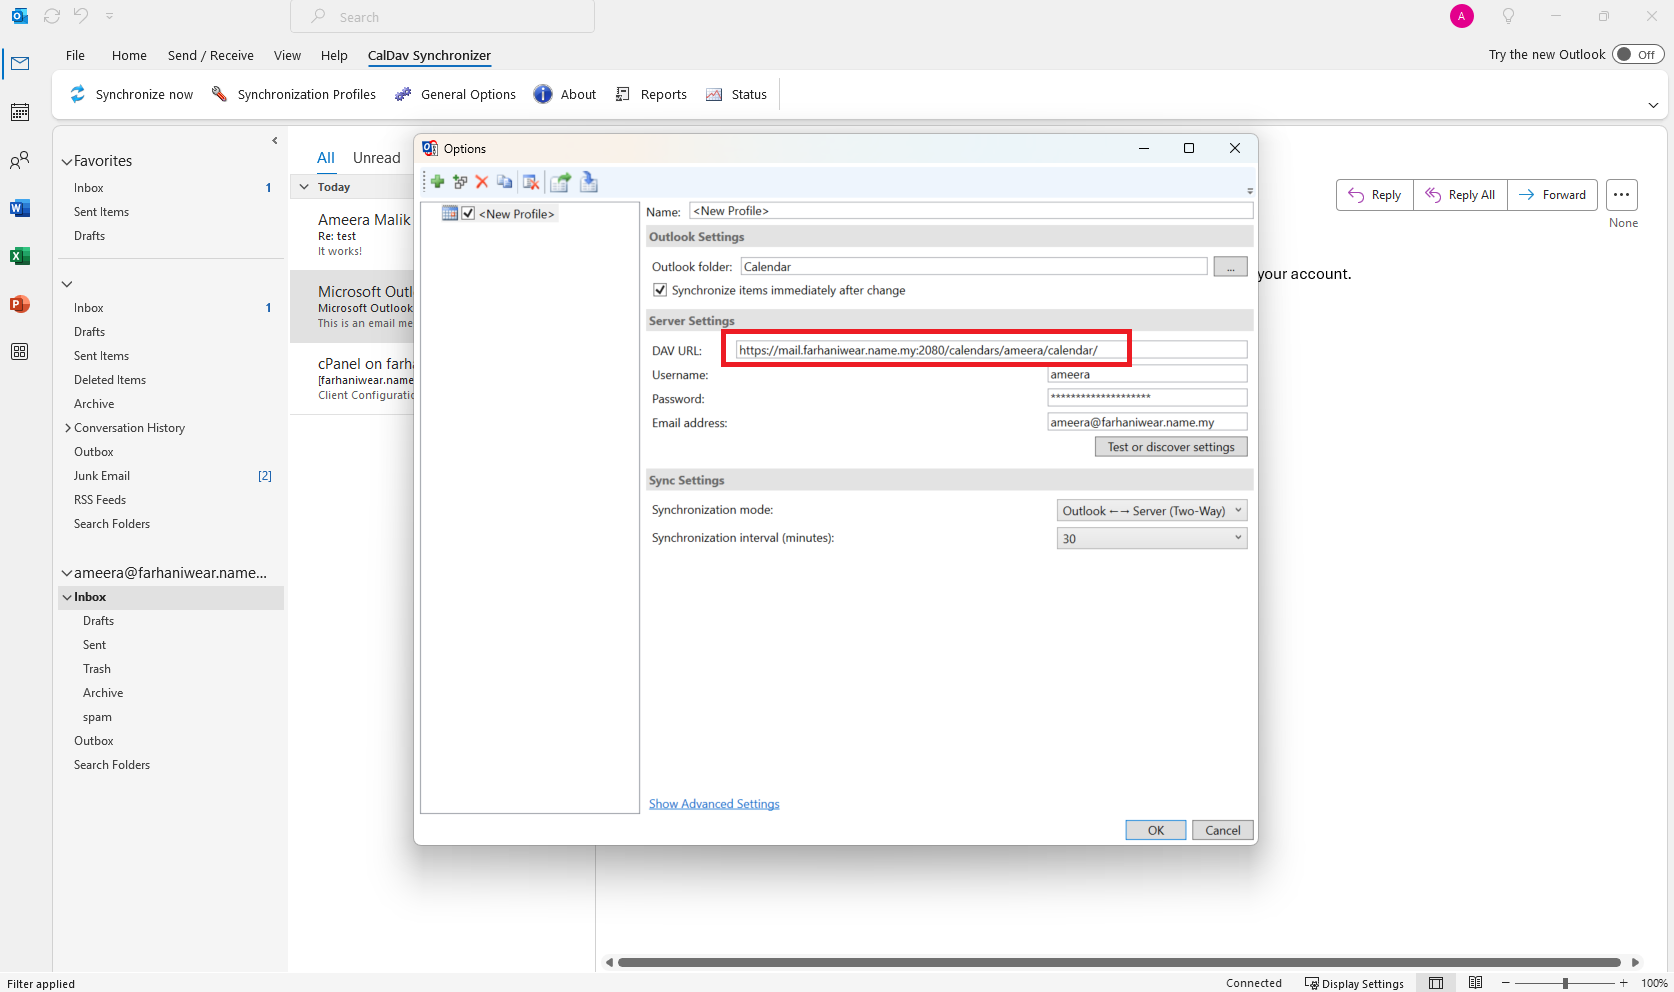
- Then, if you click “OK“, if you are prompted with select Resource banner, you should click “OK”. After that, your calendar should sync.
- You may test the Synchronization by adding new event or contact in Outlook, and it should appear on your Webmail Calendar.
Conclusion
By using a third-party CalDAV and CardDAV plugin, you can successfully sync your Outlook Calendar and Contacts with your cPanel-hosted email. This enables seamless integration across multiple devices and platforms.