Search Our Database
Provision Windows VM in Proxmox
Introduction
This guide outlines the process of creating a new Windows virtual machine (VM) in Proxmox VE, specifically using VirtIO drivers to ensure Windows can detect and interact with VirtIO-based disk and network devices. Intended for system administrators and IT users, this setup typically occurs when deploying Windows 10, 11, or Server editions within the Proxmox environment. The process is performed via the Proxmox web interface, where users upload the Windows ISO and the VirtIO driver ISO, create a VM with VirtIO hardware, and manually load the necessary drivers during Windows installation. This approach enables optimized performance and efficient device integration, ensuring Windows recognizes the attached virtual disk and network adapters.
Prerequisites
- Access to Proxmox VE with privilege to provision new VM
- Windows ISO and Virtio driver ISO has uploaded to the Proxmox VE
- Basic understanding of Proxmox VE
Step-by-step guide
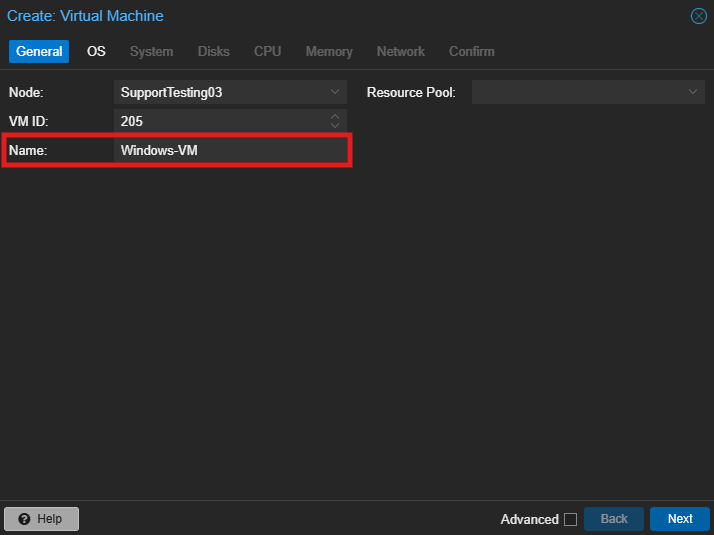
Step 1: Create new VM
- Enter the VN name.
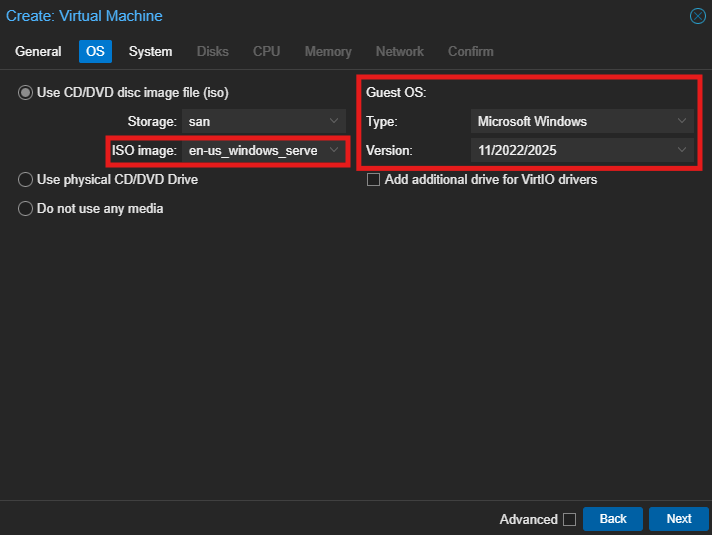
- Select the Windows ISO. For Guest OS, select Microsoft Windows and the version will be depends on the Windows version.
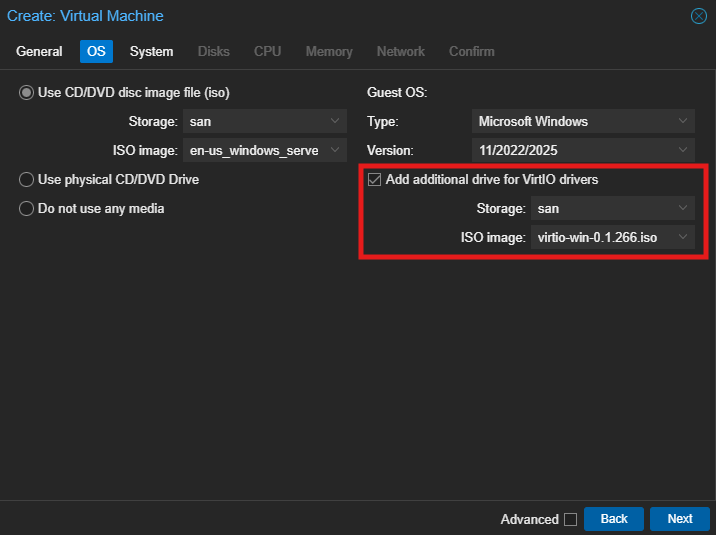
- Tick the option below the Guest OS and select the Virtio ISO.
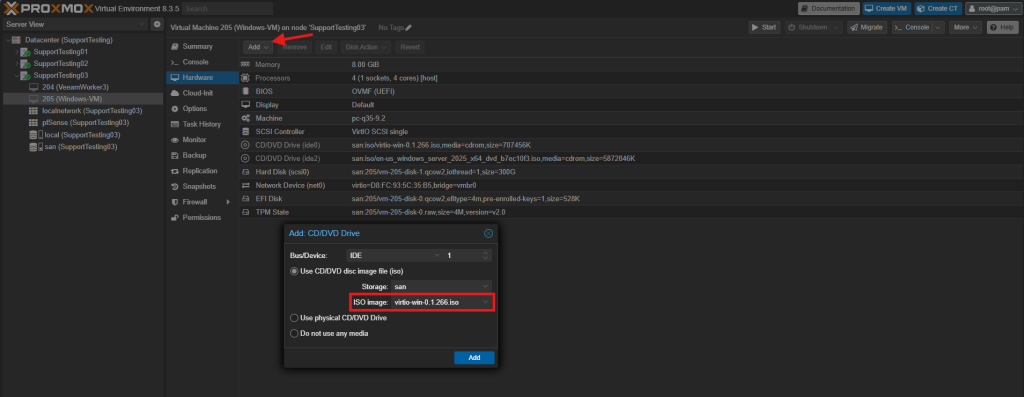
If you have missed out adding the Virtio ISO, you can add in the Virtio ISO on the VM Hardware.
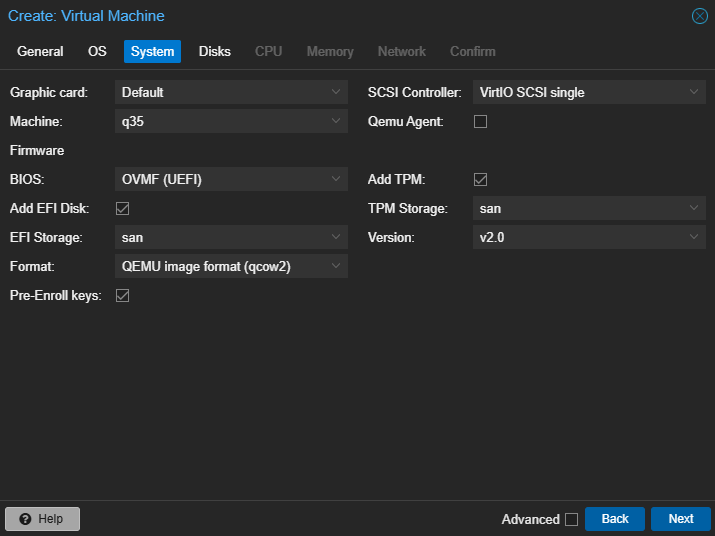
- Click on Next if you have no special configuration.
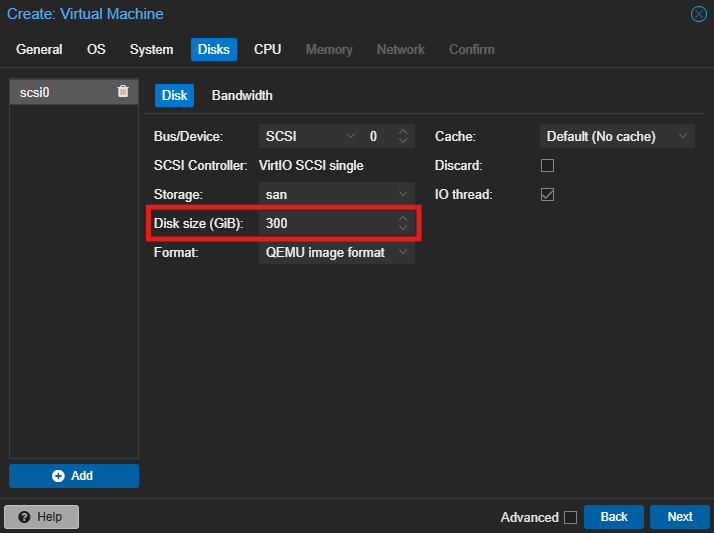
- Enter the VM disk size.
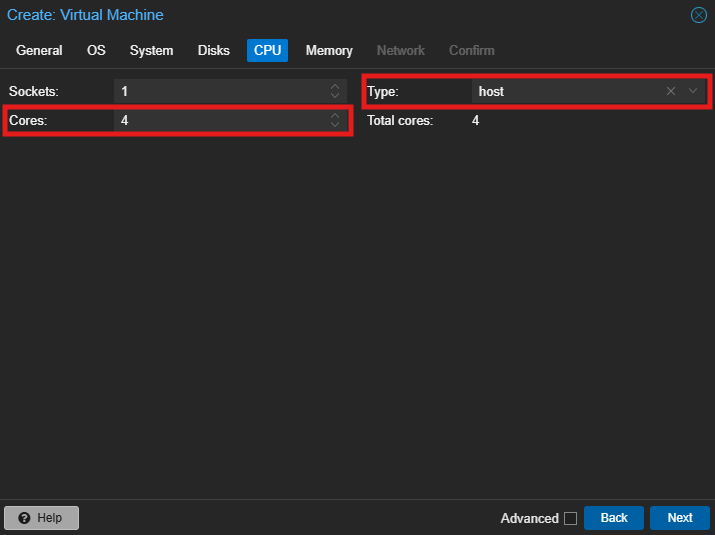
- Enter the Cores you wish to assign to the VM, and select host as the type.
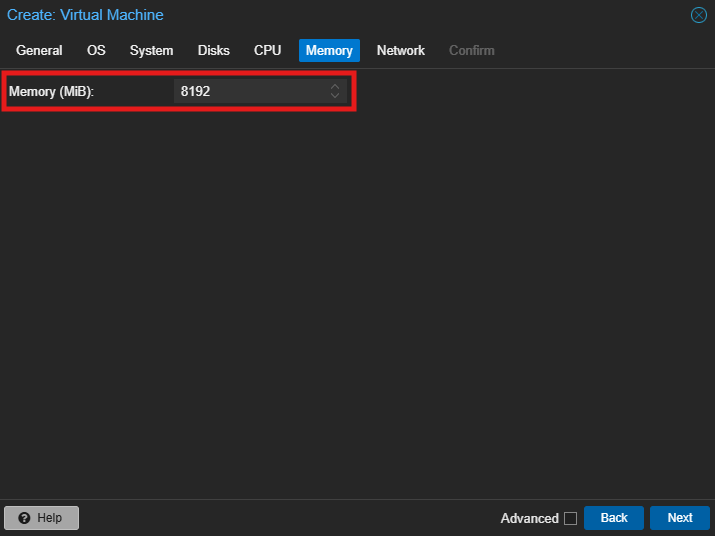
- Enter the RAM that you wish to assign.
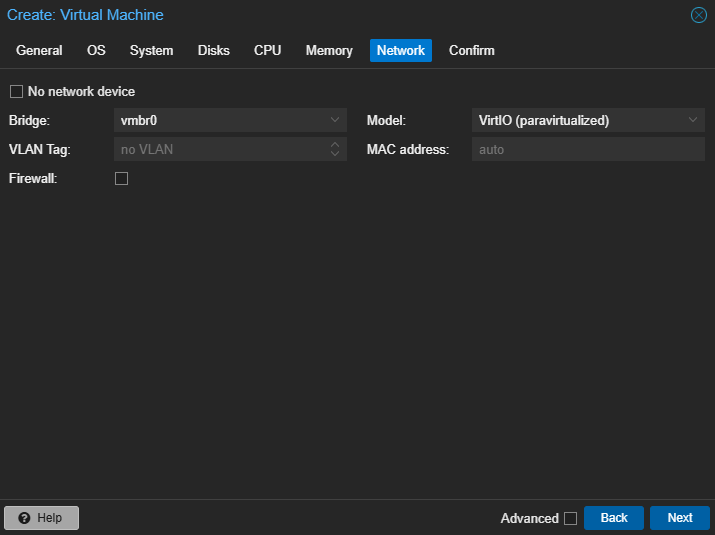
- You may click on Next to use the default Network Configuration, or you may enter your own setup.
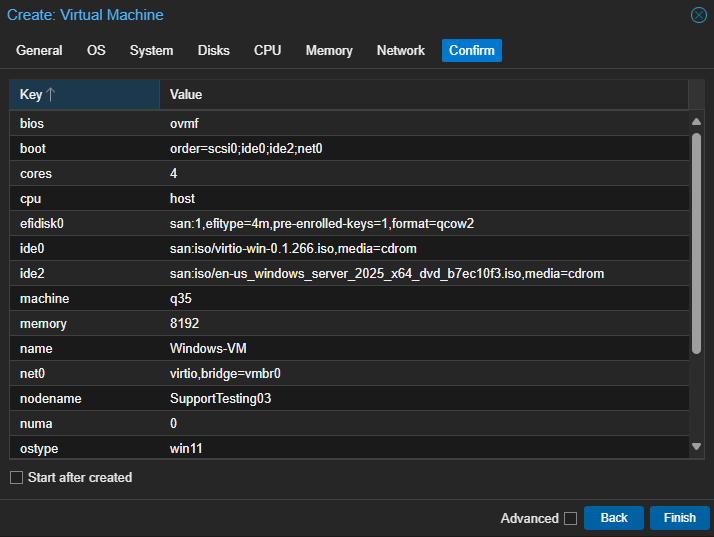
- Click on Finish to confirm the VM setup.

Step 2: Install Virtio driver
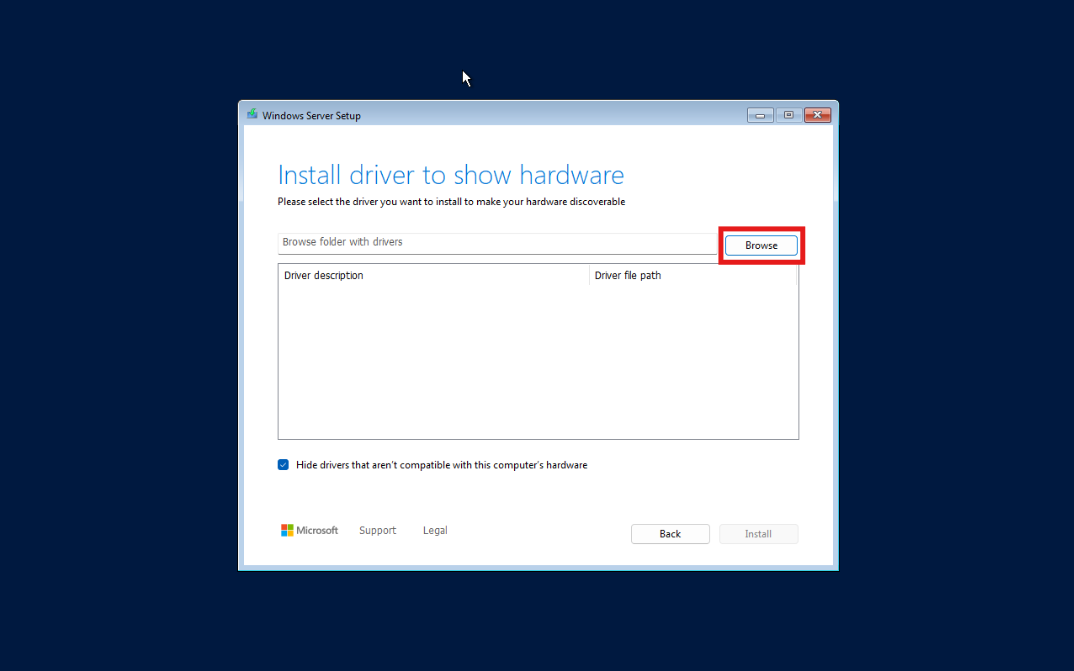
- Once the VM booted, you may see the Virtio driver installation page. Click on Browse to load the Virtio ISO.
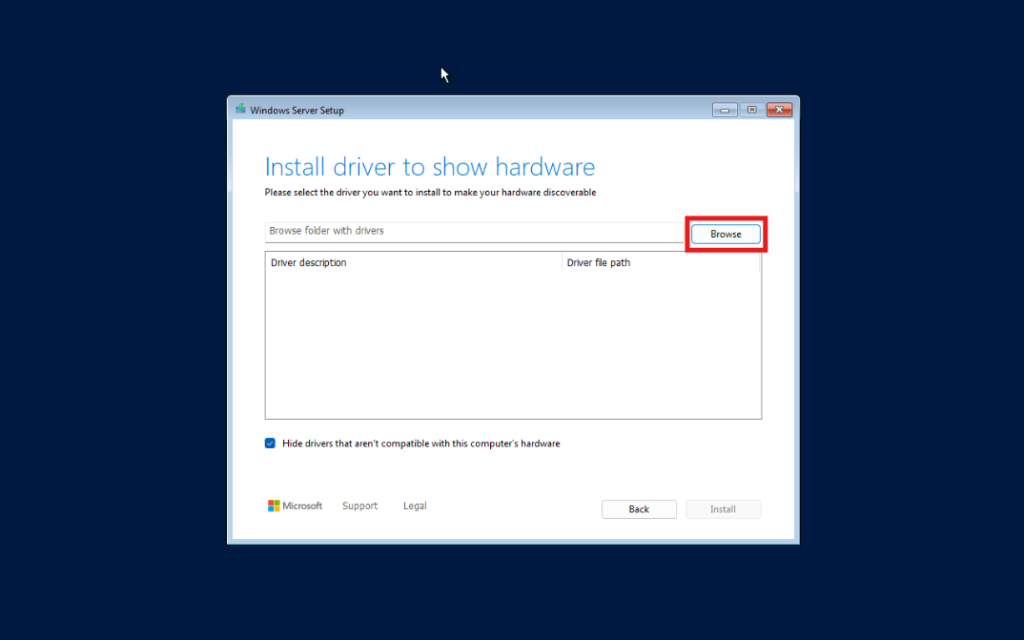
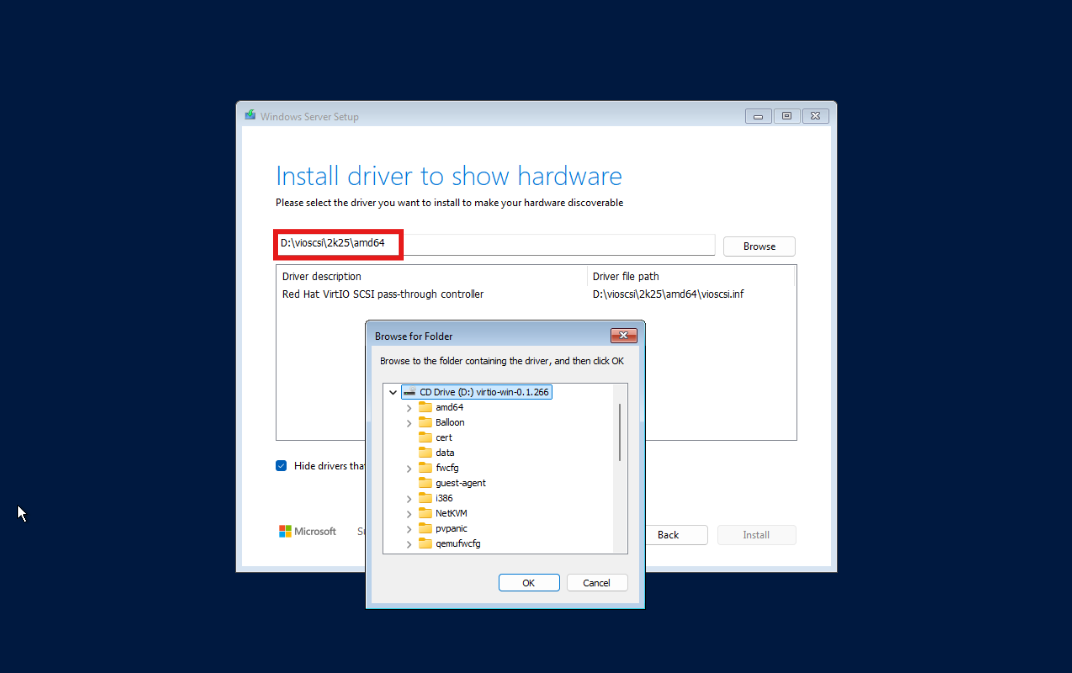
- Expand the Virtio ISO drive and navigate to vioscsi. Expand the driver file depend on the Windows version, if the Windows was Windows 2025, it will be 2k25. Then select the amd64 file.
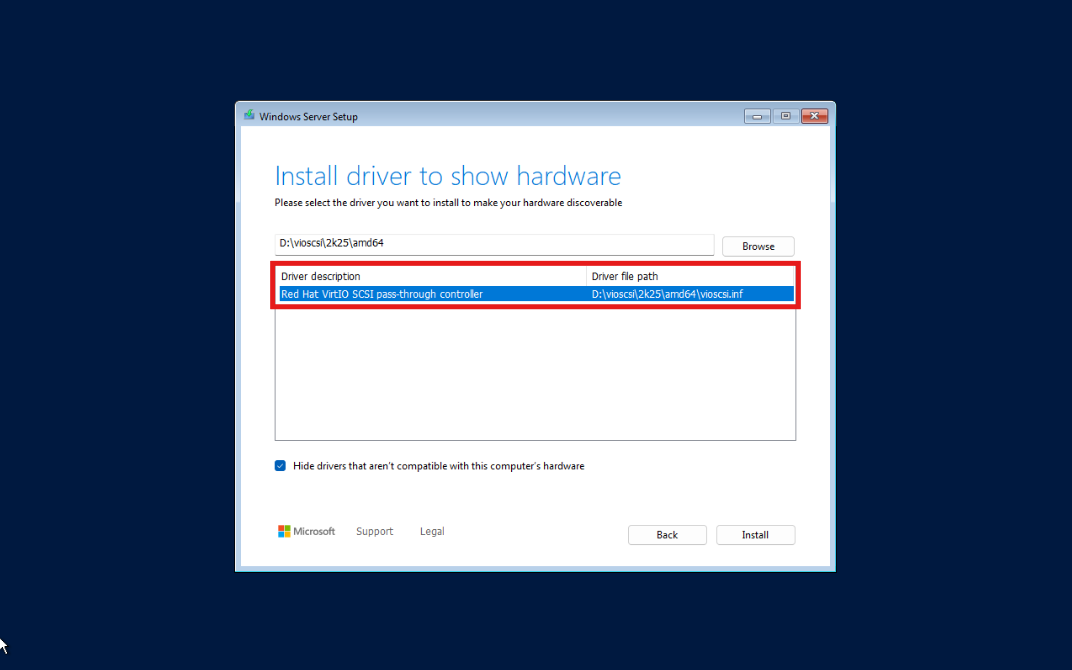
Once the driver is loaded, you will see it shows on the page.

- Select the driver and click Install.

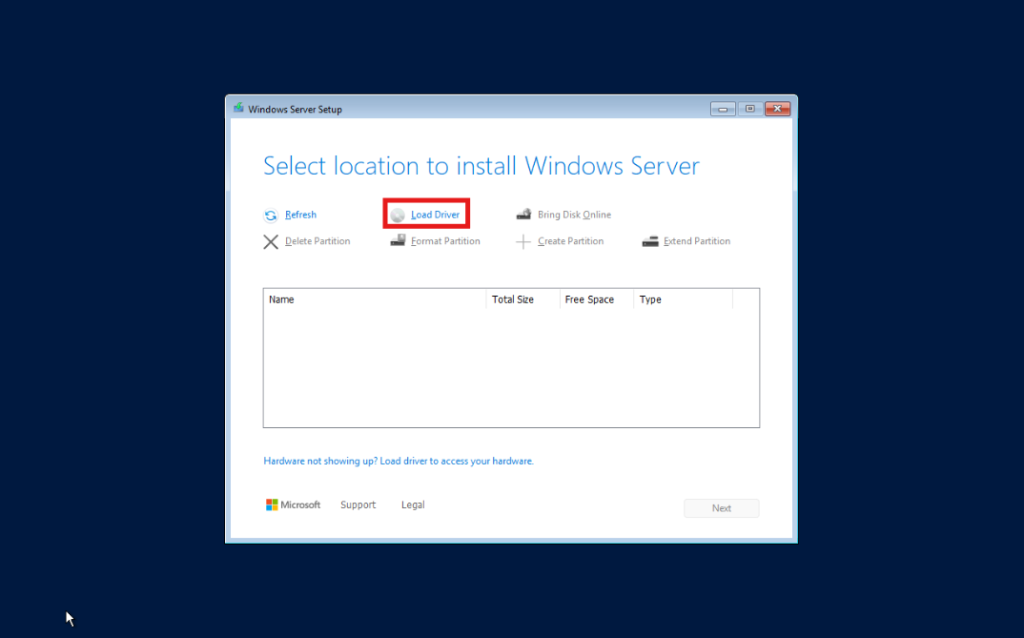
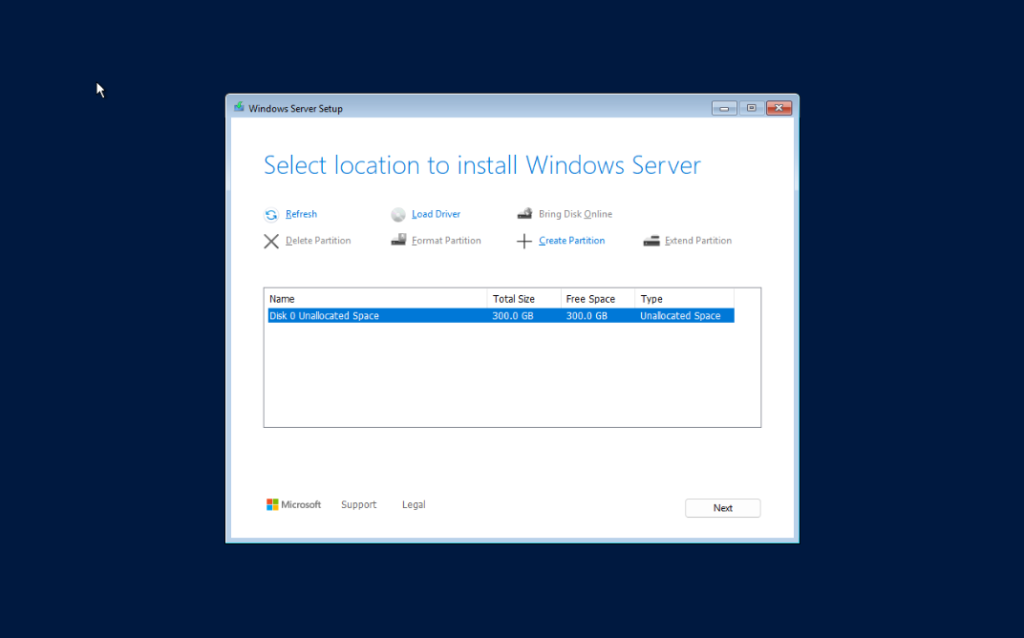
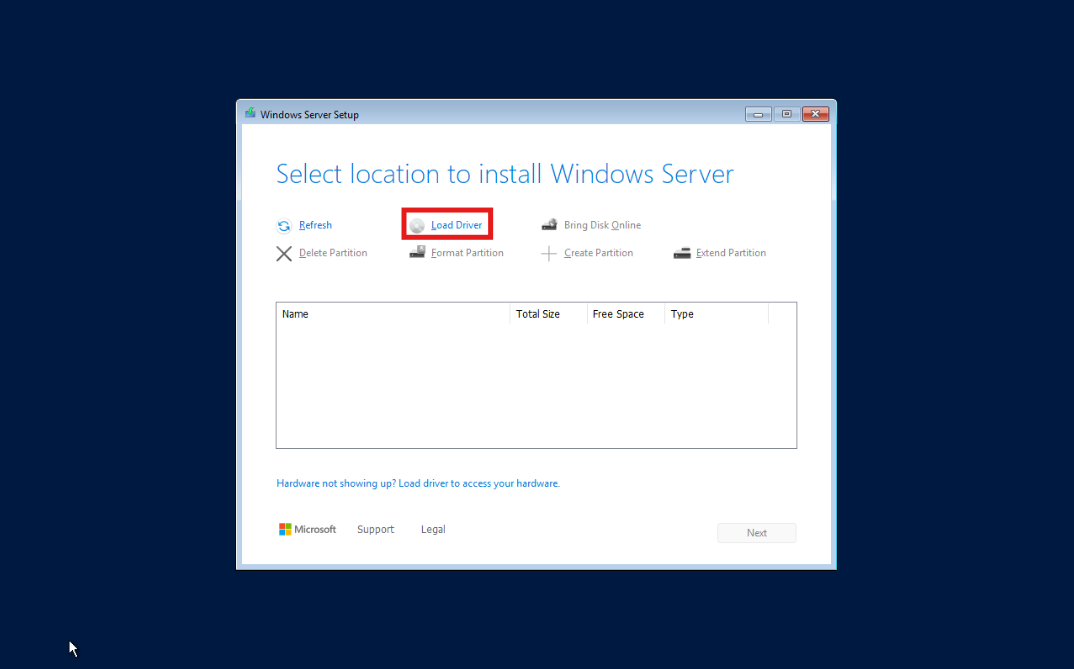
- If the Windows installation page appeared, you may proceed to the setup till disk page and there will be no disk being detected.
Click on the Load Driver to load the Virtio ISO then you may follow the step above to install driver.
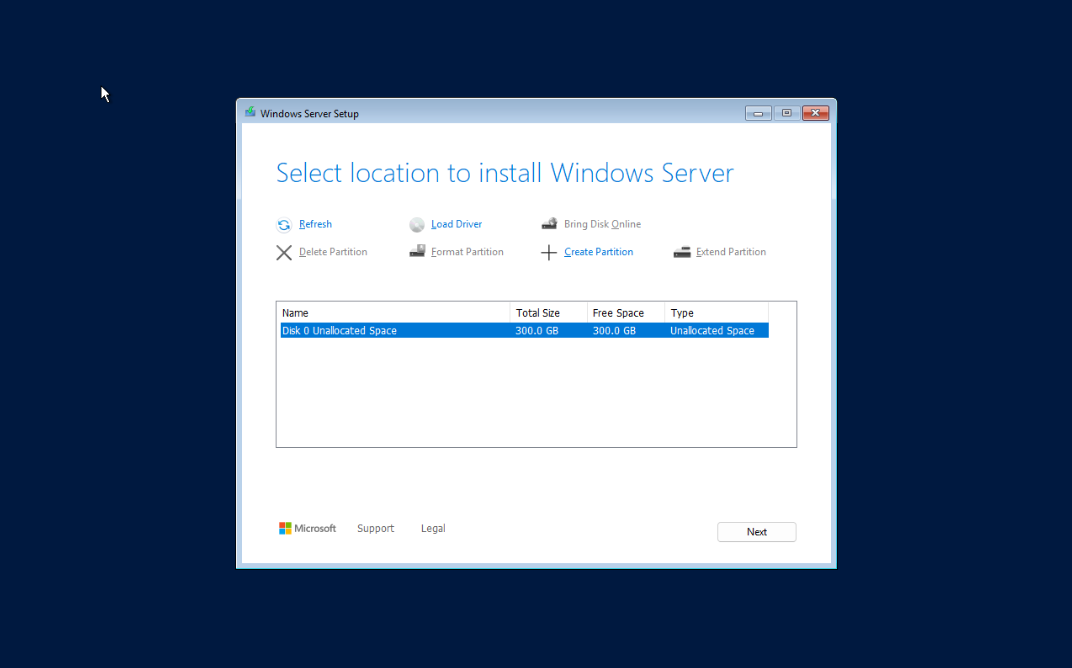
- Once the driver is installed, you may see the disk is able to detect now.
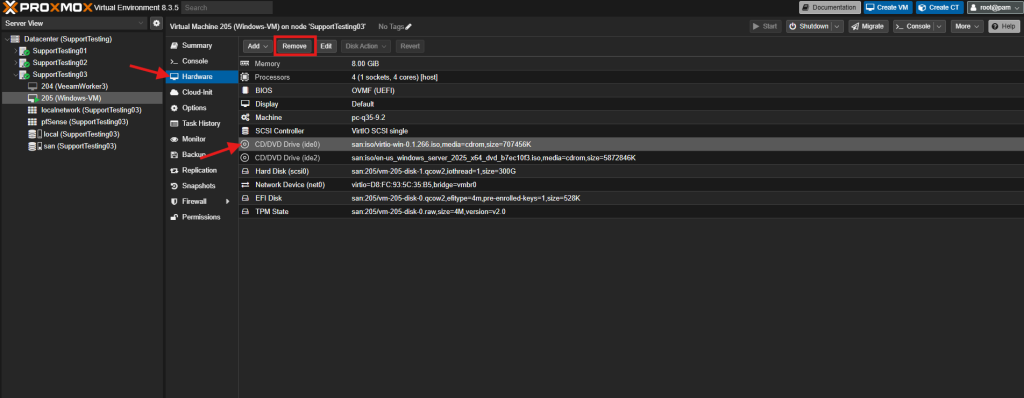
Step 3: Remove the Virtio ISO from the VM Hardware
- Once the Windows is installed and booted up, you may remove the Virtio ISO from the VM Hardware.

Conclusion
By going through this guidance, you will be able to provision a new Windows VM in Proxmox VE together with the installation for the Virtio driver.
For additional assistance or if you encounter any issues, please contact our support team at support@ipserverone.com.