Search Our Database
Upgrade or Downgrade on IPServerOne DNS Hosting Plan
Introduction
This guide explains how to upgrade or downgrade your DNS Hosting Plan through the IPServerOne Customer Portal, allowing you to adjust your plan based on your needs.
Prerequisites
- Active IPServerOne account.
- A valid DNS Hosting Plan subscription.
Step-by-Step Guide
Step 1: Log in to IPServerOne Customer Portal
- Go to the IPServerOne Customer Portal.
- Enter your login credentials and click Login.
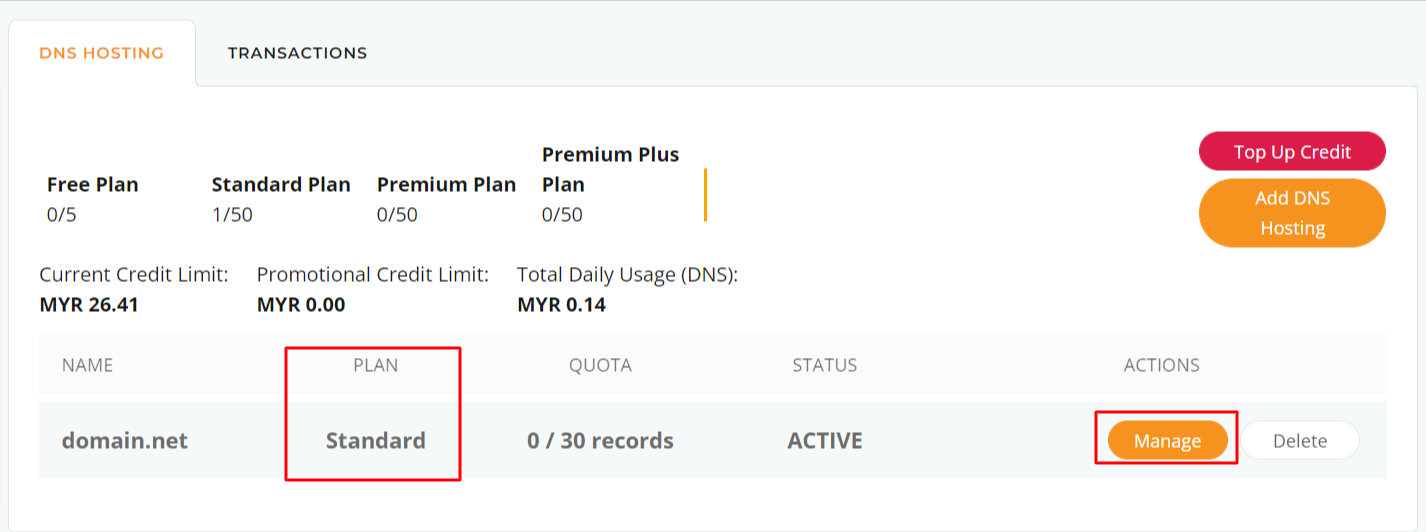
Step 2: Navigate to Your DNS Hosting Plan
- In the dashboard, click “NovaCloud” in the left menu.
- Drop down and click on DNS
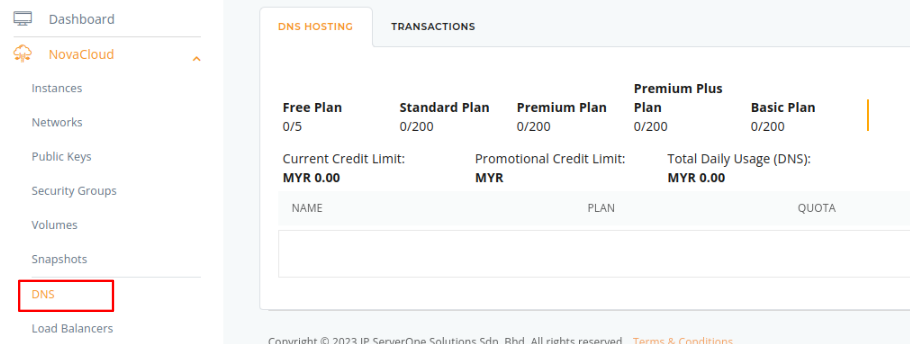
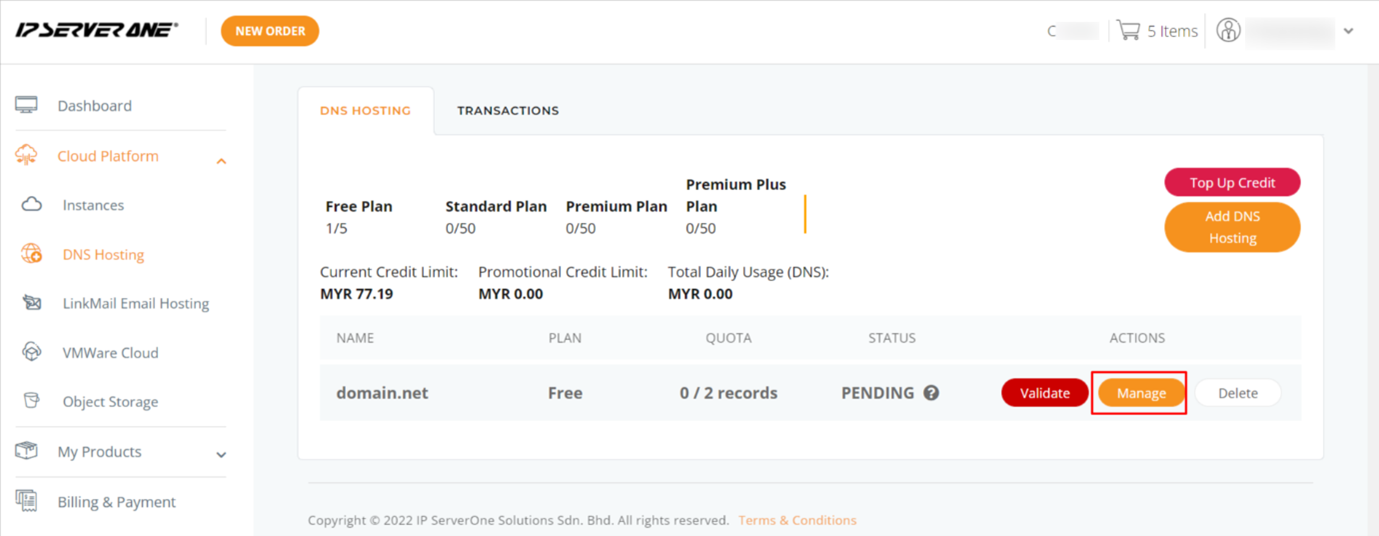
- Locate your DNS Hosting Plan from the list.
- Click Manage next to your DNS Hosting Plan.
Step 3: Upgrade or Downgrade Your Plan
- On the service details page, find the change plan option.
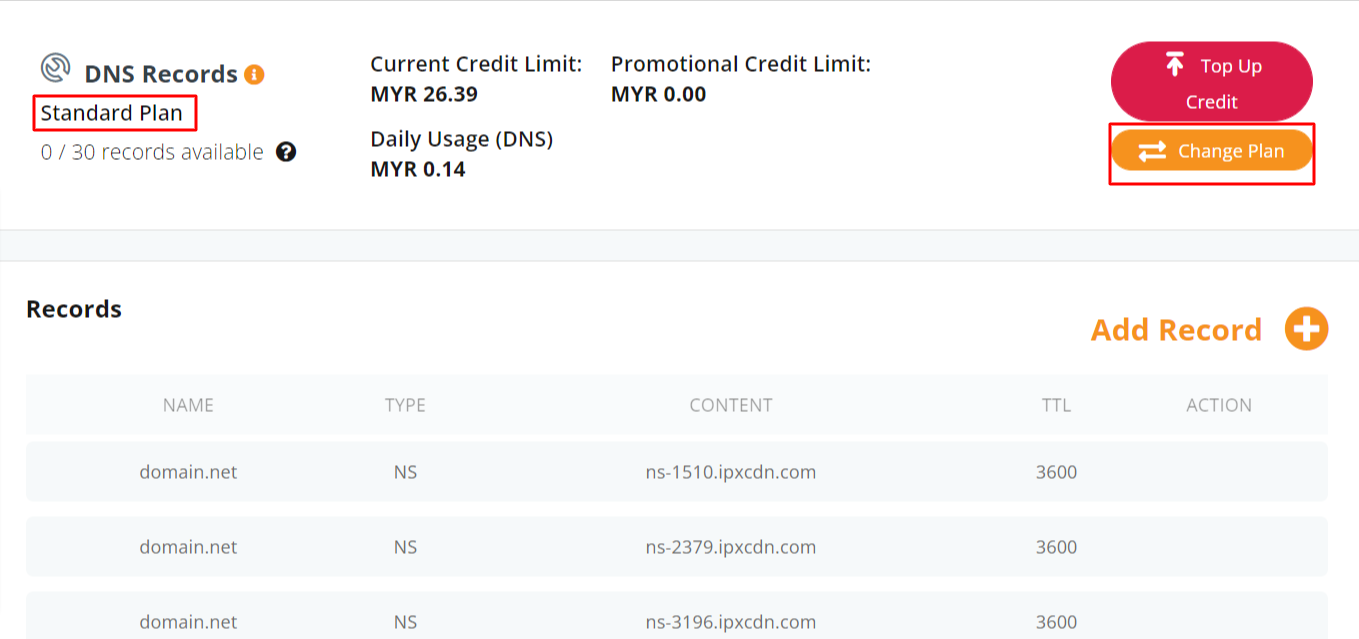
- Choose your desired plan from the list.
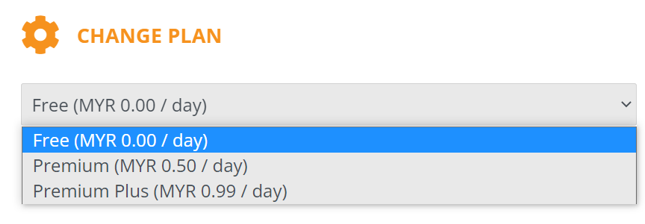
- Once the selection is done, click on Change Plan.
- Click Continue to proceed.
Step 4: Confirm the Change
- After the upgrade or downgrade is processed, you can verify the change by checking your plan tab in the Customer Portal.
Additional Links for Reference
- FAQ on IPServerOne DNS Hosting Plan
- How To Manage DNS Records via Portal
- How To Top-up Cloud Credit On The Cloud Platform
Conclusion
Upgrading or downgrading your DNS Hosting Plan in IPServerOne is a simple process that can be done in just a few steps through the Customer Portal. If you encounter any issues, feel free to contact support@ipserverone.com for assistance.
Article posted on 27th Sep 2023 by Judy